はじめに
もともとzshを15年ぐらい使っていたのですが、カスタマイズすればするほどモッサリとした動きになる点を悩んでいて、サクサク動いてモダンなfishシェルに乗り換えてみました。ついでに見た目も今風なオシャレな感じに仕上げたいと思います。:)
環境
- OSX 10.10.3
- iTerm2 2.0.0.20141103
- fish 2.1.2
- tmux 1.9a
- python
- powerline
- peco 0.3.0
- z 1.8
- python 2.7.9
- pip 6.0.8
- git 2.3.2
- go 1.4.2
- ghq 0.6
fishの構築
fish shellのインストール
fishをbrewでインストールします。
$ brew install fish
$ fish -v
fish, version 2.1.2
oh-my-fishのインストール
oh-my-fishをインストールします。
$ curl -L https://get.oh-my.fish | fish
fishのコンフィグファイルは以下のパスになります。bashやzshの慣例と異ります。
~/.config/fish/config.fish
oh-my-fishをインストールするとfishのコンフィグファイルを置き換えます。
内容は以下のようになります。シンプルですね。
$ cat ~/.config/fish/config.fish
# Path to Oh My Fish install.
set -gx OMF_PATH $HOME/.local/share/omf

# Customize Oh My Fish configuration path.
# set -gx OMF_CONFIG $HOME/.config/omf

# Load oh-my-fish configuration.
source $OMF_PATH/init.fish
agnostrfishテーマ
oh-my-fishのthemeを変更します。agnostrというテーマを利用しています。
set fish_theme agnoster
編集したコンフィグファイルをリロードします。
$ . ~/.config/fish/config.fish
agnostrはPowerline fontsが必要なのでインストールします。フォントをインストールしないと記号が文字化けしてしまします。
$ ghq get powerline/fonts
or
$ git clone git@github.com:powerline/fonts.git

$ cd path/to/install
$ ./install.sh
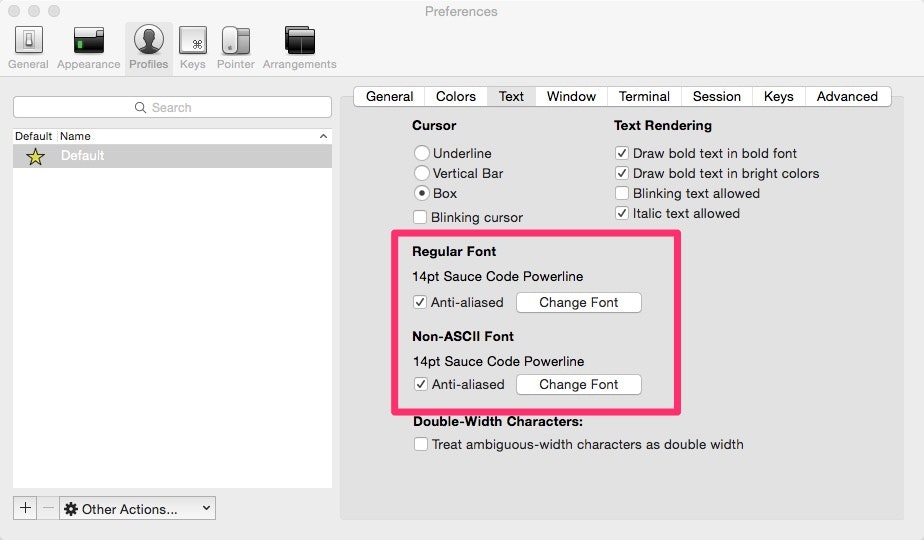
インストールしたフォントをiTerm2に設定します。設定画面のフォント名を以下のように変更します。フォントサイズはお好みで。
ドラキュラテーマ
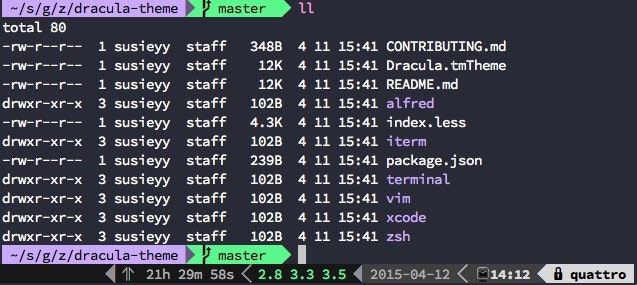
fishのテーマに加えてDraculaテーマを利用しています。パステルなパープル調で妖艶に画面を飾ってくれます。多様な開発ツールのテーマに対応しているので、全体の統一感を得られるのも魅力です。
- Code Editors
- Terminal
- Misc
ダウンロード
$ ghq get zenorocha/dracula-theme
or
$ git clone git@github.com:zenorocha/dracula-theme.git
iTerm2
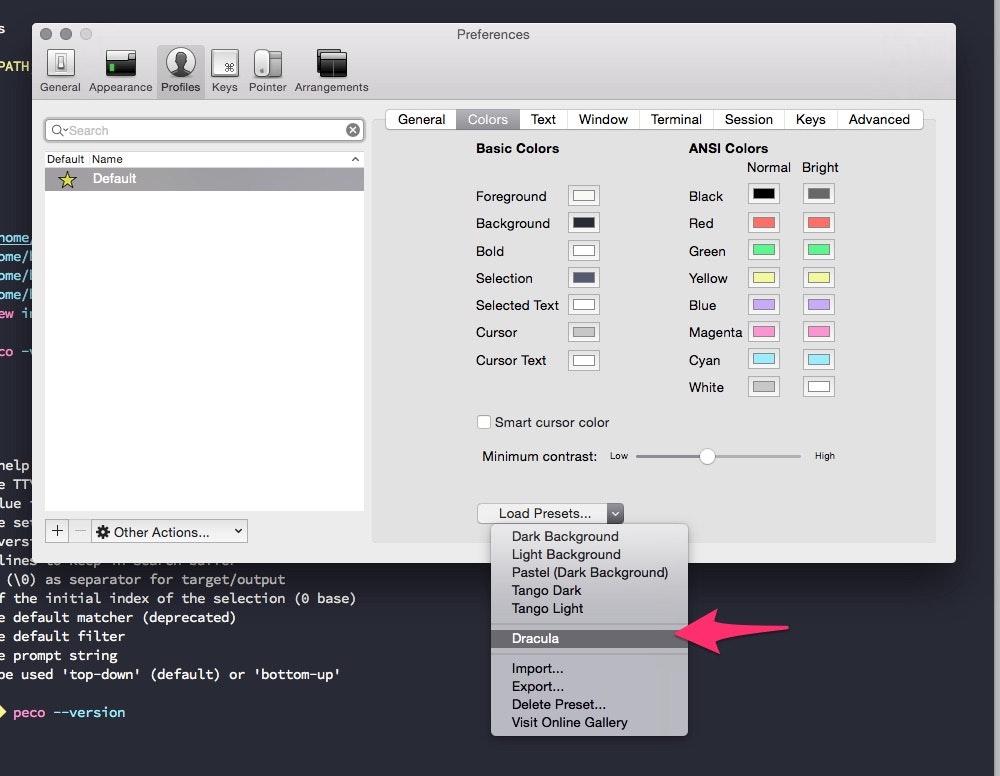
インストールはitermcolorsを開いた後に、PrferncesのLoad PresetsでDraculaを選択します。
$ open ./iterm/Dracula.itermcolors
Alfred
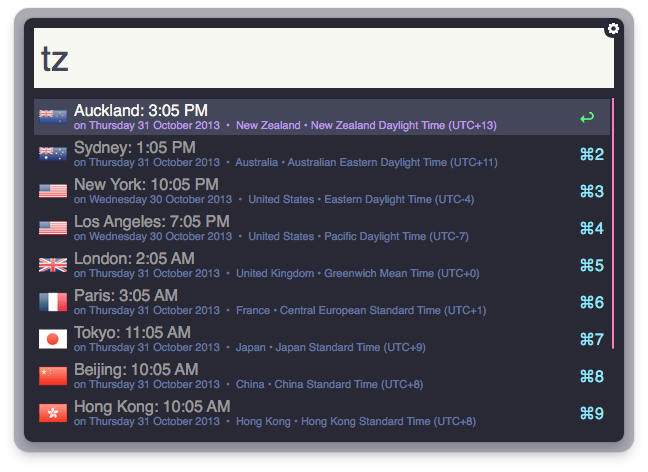
お洒落でかつ視認性も高く気に入っています。
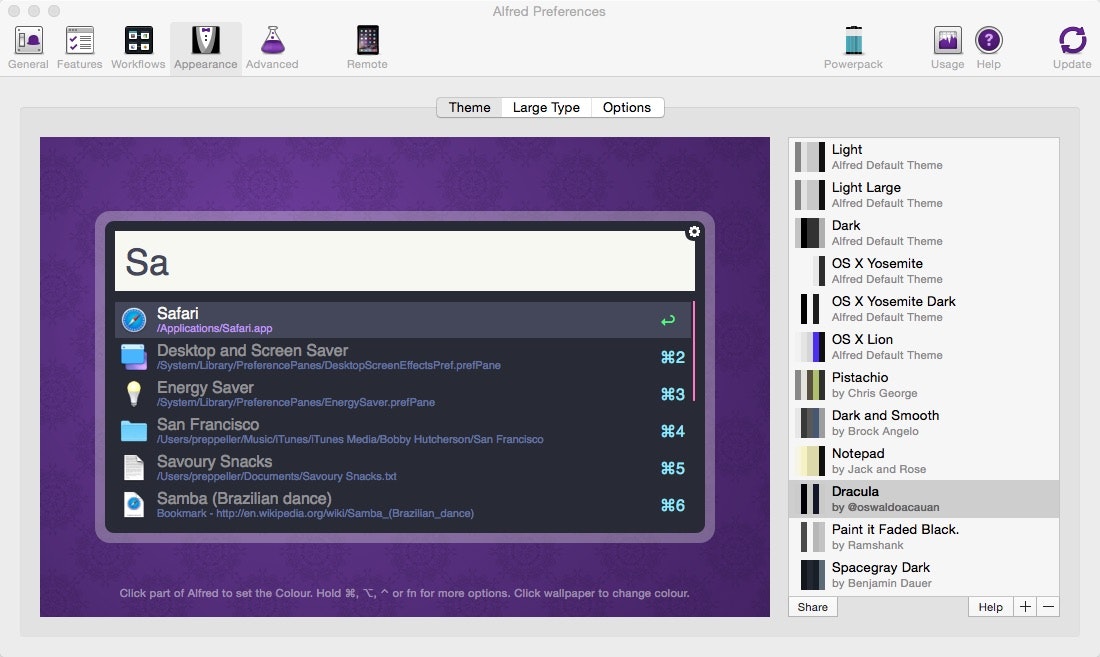
インストールはalfredappearanceを開いた後に、Alfredの設定画面からDraculaを選択します。
$ open ./alfred/Dracula.alfredappearance
【オプション】tmux & powerlineの構築
コンソールの画面分割
tmuxのインストール
$ brew install tmux
powerlineのインストール
$ brew install python
$ pip install git+git://github.com/Lokaltog/powerline
$ pip install psutil
tmux.confにpowerlineを設定します。powerlineがインストールされてパスを確認します。以下のコマンドで/usr/local/lib/python2.7/site-packagesにインストールされていることがわかります。
$ pip show powerline-status
You are using pip version 6.0.8, however version 6.1.1 is available.
You should consider upgrading via the 'pip install --upgrade pip' command.
---
Name: powerline-status
Version: 2.1.dev9999+git.1fad6f4b52e4be10f448b0e539ba61734da400fd
Location: /usr/local/lib/python2.7/site-packages
Requires:
パスを上記に合わせて、tmux.confに追記します。
$ vi ~/.tmux.conf
source /usr/local/lib/python2.7/site-packages/powerline.conf
Powerline fontsが必要なのでインストールします。
agnostrfishテーマの項で既にインストールした場合はこの作業は不要です。
$ ghq get powerline/fonts
or
$ git clone git@github.com:powerline/fonts.git

$ cd path/to/install
$ ./install.sh
【オプション】peco & z & ghqの構築
pecoでコマンド履歴とディレクトリ移動先の検索を行えるようにします。まずはpecoをインストールします。
$ brew install peco
履歴検索
設定ファイルのプラグインの項目にpecoを追加してバインドを定義します。Ctrl+rに割り当てています。
set fish_plugins theme peco

function fish_user_key_bindings
  bind \cr peco_select_history # Bind for prco history to Ctrl+r
end
編集したコンフィグファイルをリロードします。
$ . ~/.config/fish/config.fish
ディレクトリ移動先検索
Pluginがないので自作します。
zのインストール
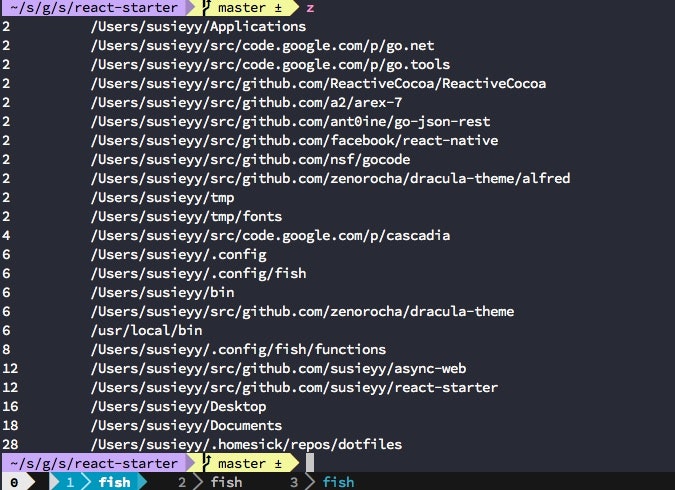
zはcdで移動した履歴を保存してくれて、zコマンドで移動しやすくするツールです。
まずはzをインストールします。
$ brew install z
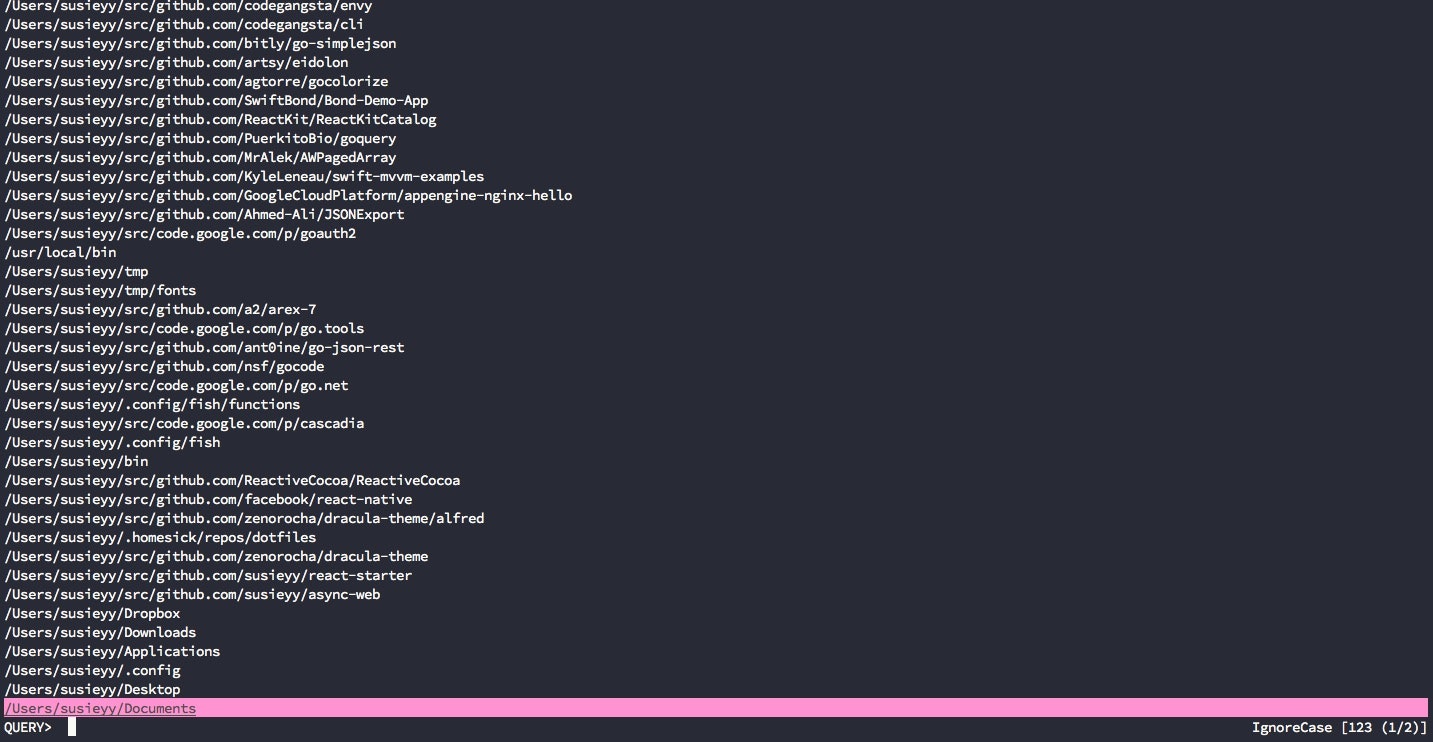
今回は保存した移動履歴をpecoの検索対象に含めるようにして活用します。
ghqのインストール
リモートリポジトリをghqを使ってcloneすることで、golangのディレクトリレイアウト作法に合わせてリポジトリ(ソースコード)を管理するツールです。
ghqで管理することで、リポジトリのパスが自明になり、pecoと合わせることでリポジトリのディレクトリに移動しやすくなります。
$ brew install go
$ go get github.com/motemen/ghq
ghqのお作法でダウンロードしたリポジトリ(ソースコード)はghq list -pコマンドでパスを確認することができます。この一覧をディレクトリ移動先の候補として活用します。
$ ghq list -p
/Users/susieyy/src/code.google.com/p/cascadia
/Users/susieyy/src/code.google.com/p/go.tools
/Users/susieyy/src/github.com/Ahmed-Ali/JSONExport
/Users/susieyy/src/github.com/GoogleCloudPlatform/appengine-nginx-hello
...
ファンクションの作成
~/.config/fish/functions/のディレクトリ以下にfishファイルを配置すると自動的にロードされるようになります。peco_change_directory.fishという名前でファイルを作成しファンクションを記述します。
function _peco_change_directory
  if [ (count $argv) ]
    peco --layout=bottom-up --query "$argv "|perl -pe 's/([ ()])/\\\\$1/g'|read foo
  else
    peco --layout=bottom-up |perl -pe 's/([ ()])/\\\\$1/g'|read foo
  end
  if [ $foo ]
    builtin cd $foo
  else
    commandline ''
  end
end
function peco_change_directory
  begin
    echo $HOME/Documents
    echo $HOME/Desktop
    echo $HOME/.config
    ls -ad */|perl -pe "s#^#$PWD/#"|egrep -v "^$PWD/\."|head -n 5
    sort -r -t '|' -k 3 ~/.z|sed -e 's/\|.*//'
    ghq list -p
    ls -ad */|perl -pe "s#^#$PWD/#"|grep -v \.git
  end | sed -e 's/\/$//' | awk '!a[$0]++' | _peco_change_directory $argv
end
DesktopやDocuments, CURRENT_DIRECTORYなどお好みでディレクトリ移動先の候補を追加します。
このファンクションはfishのディレクトリ移動コマンドを参考にさせて頂きました。
バインドの設定
Ctrl+]に割り当てています。
function fish_user_key_bindings
  bind \c] peco_change_directory # Bind for prco change directory to Ctrl+]
end
編集したコンフィグファイルをリロードします。
$ . ~/.config/fish/config.fish
【オプション】fishのプラグインを追加する
お好みでプラグインを追加しましょう。
set fish_plugins theme git rbenv rails brew bundler gem osx pbcopy better-alias gi peco z tmux
最後に
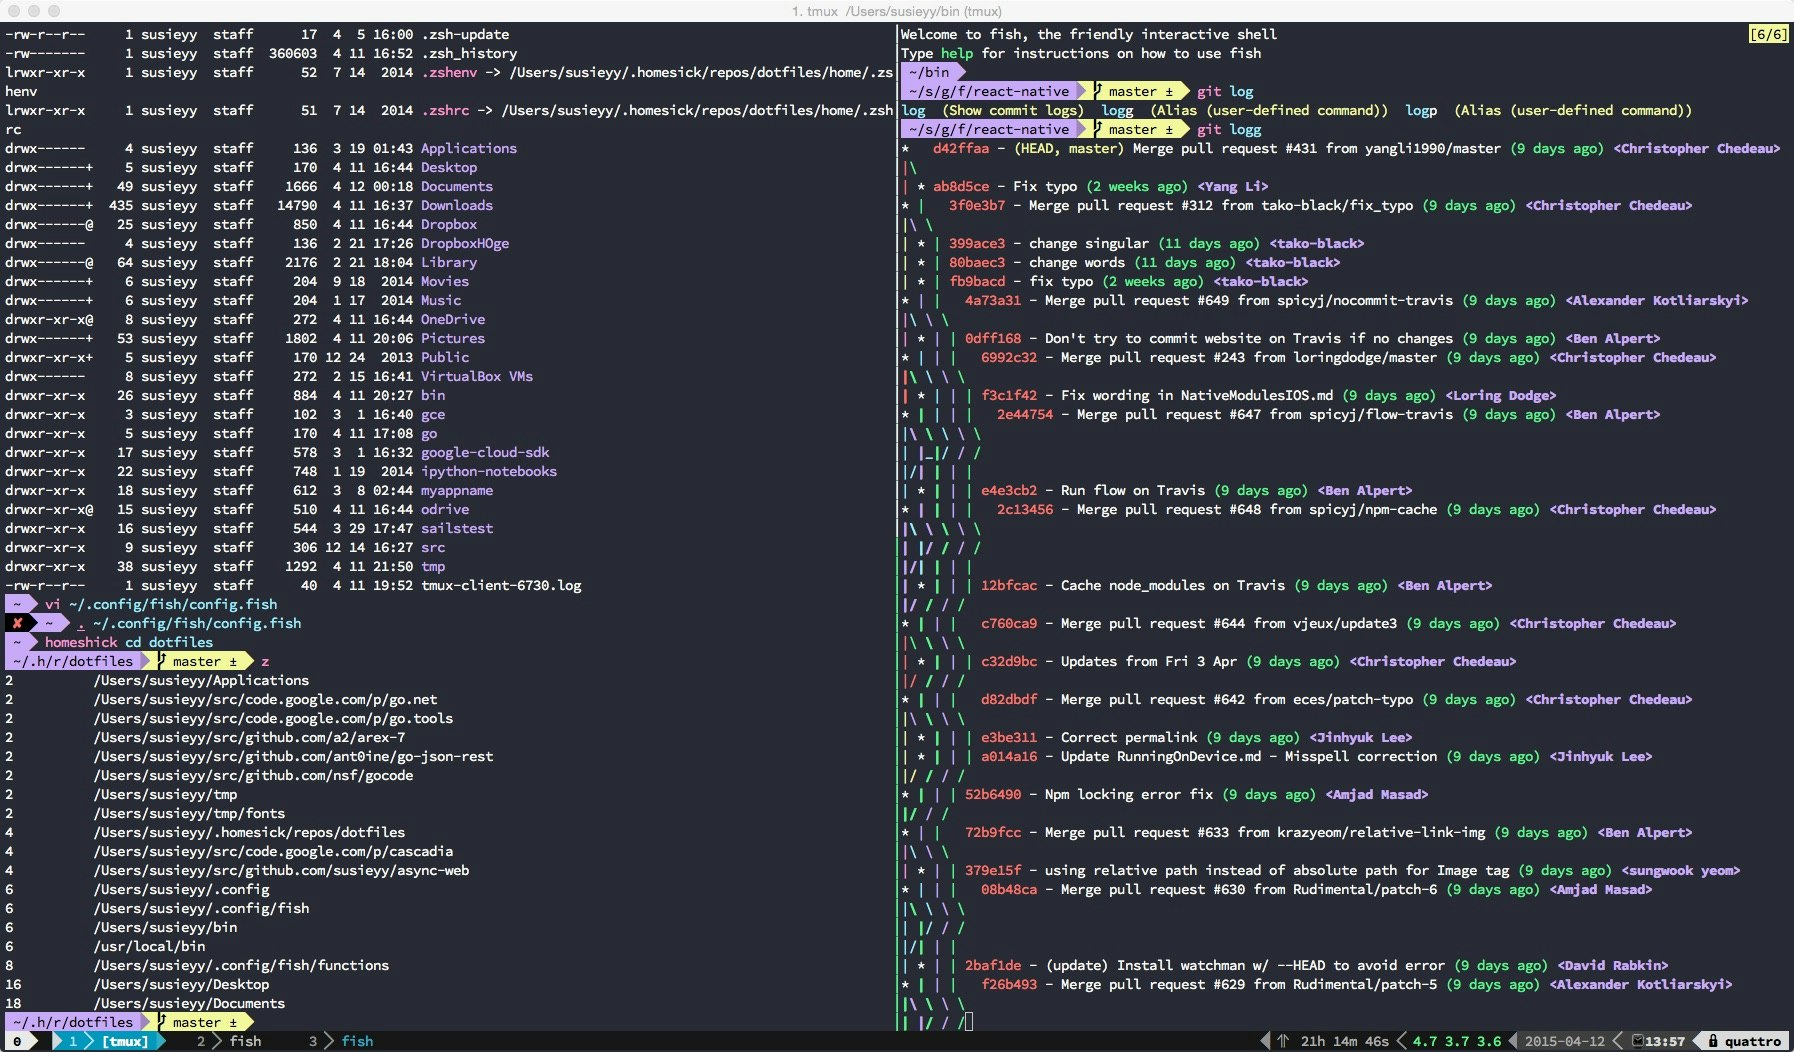
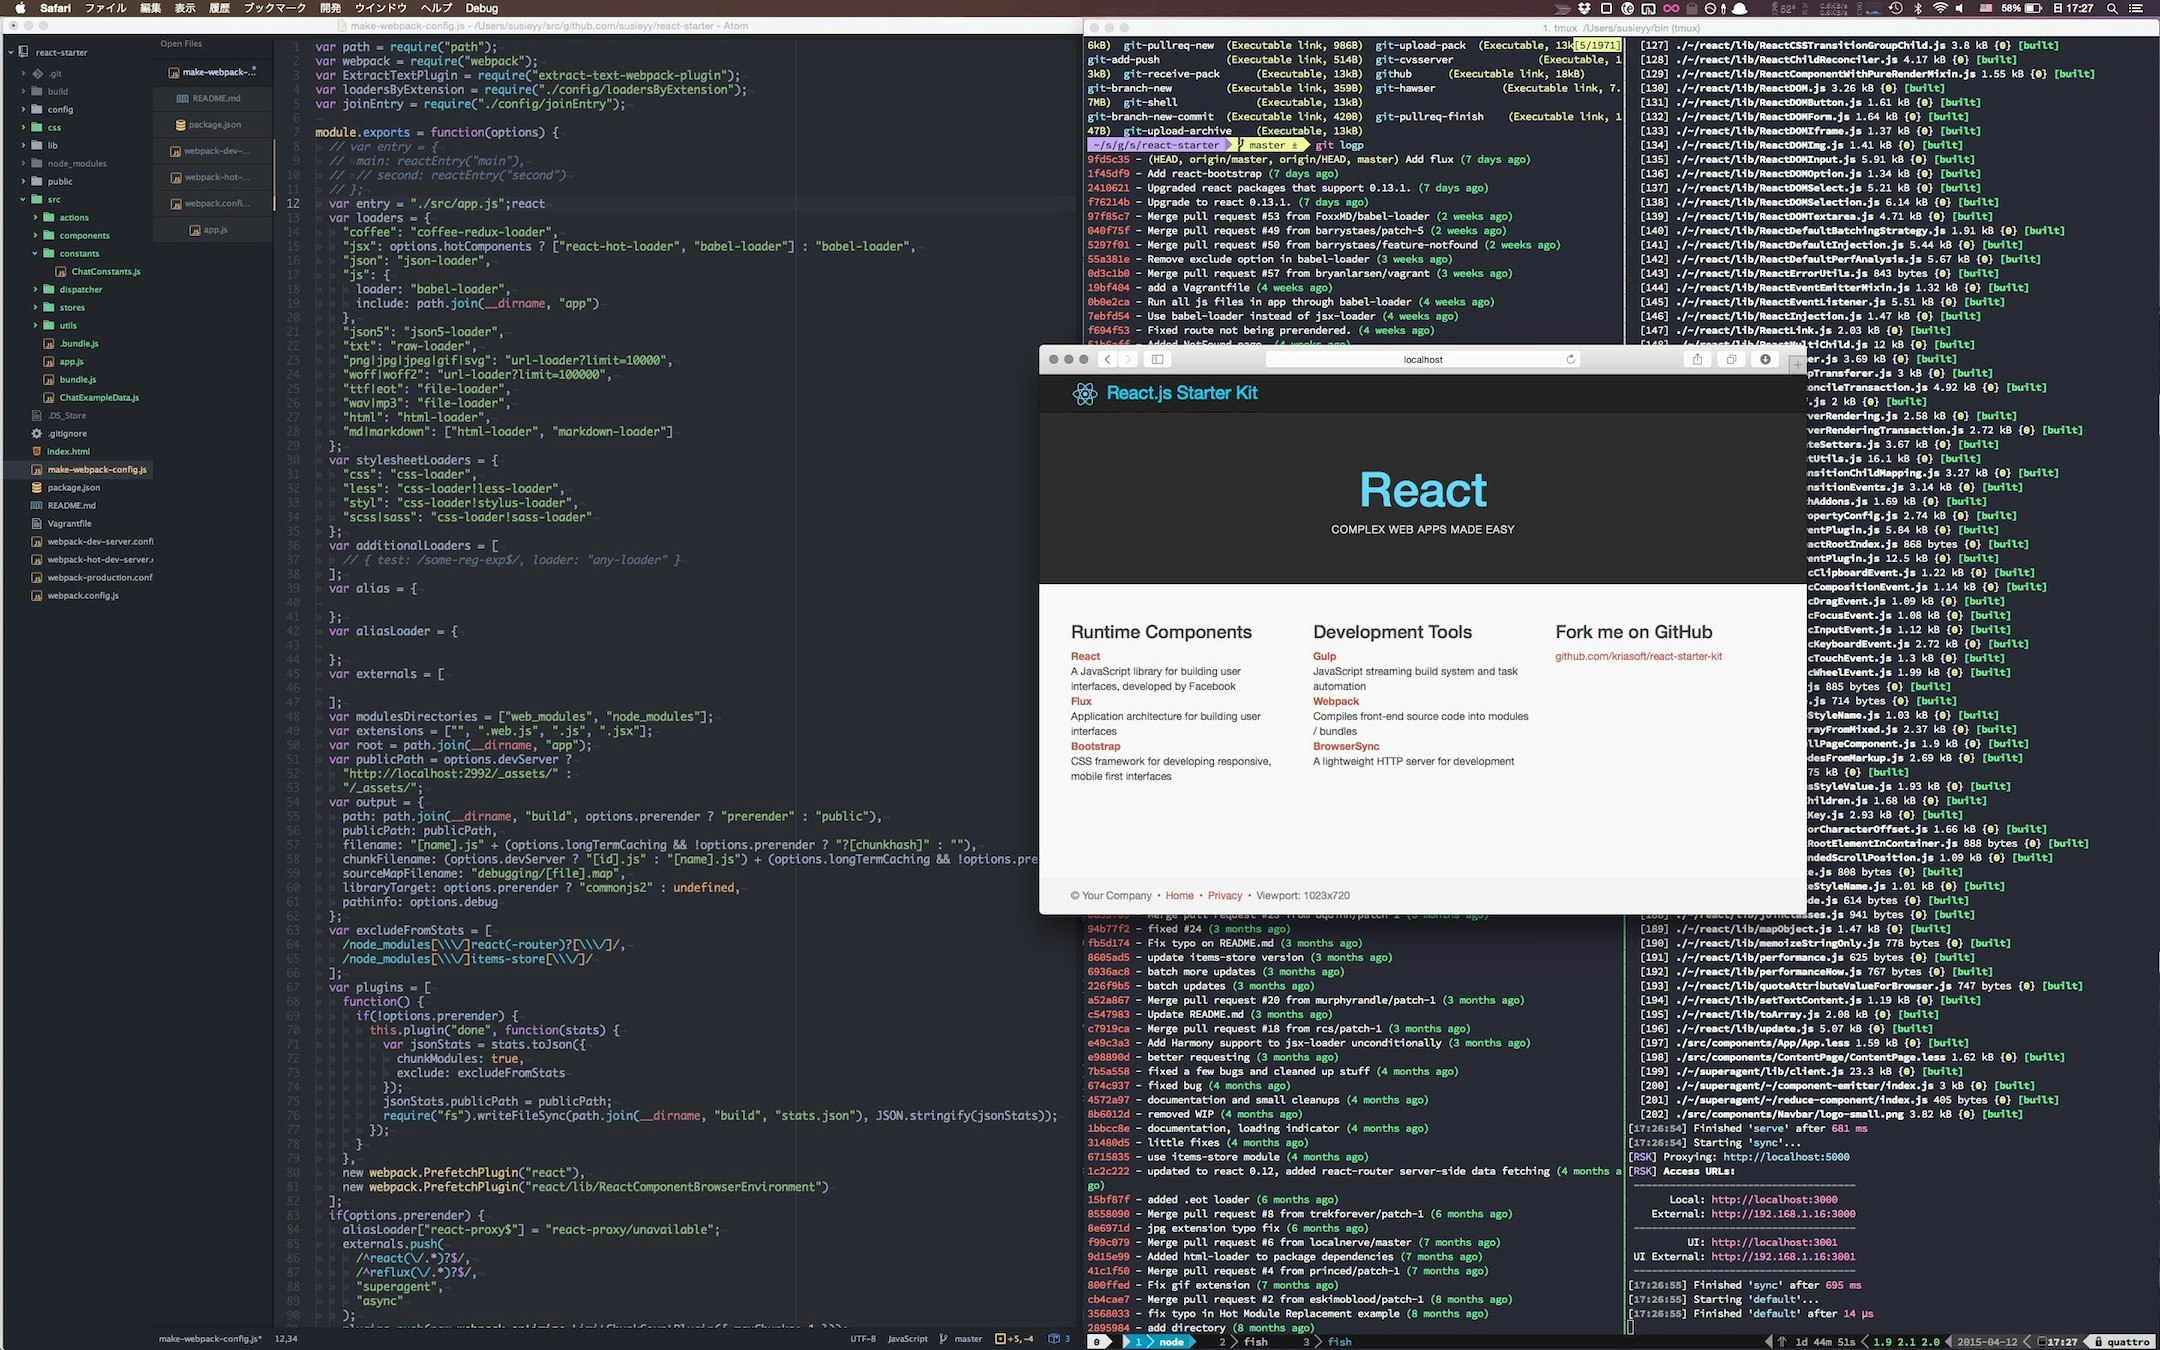
普段はMacBookPro15インチで解像度を2880x1800に変更して以下のような画面で開発しています。
(qiitaで1MB以上のファイルをUPできなかったので75%に縮小しています)
