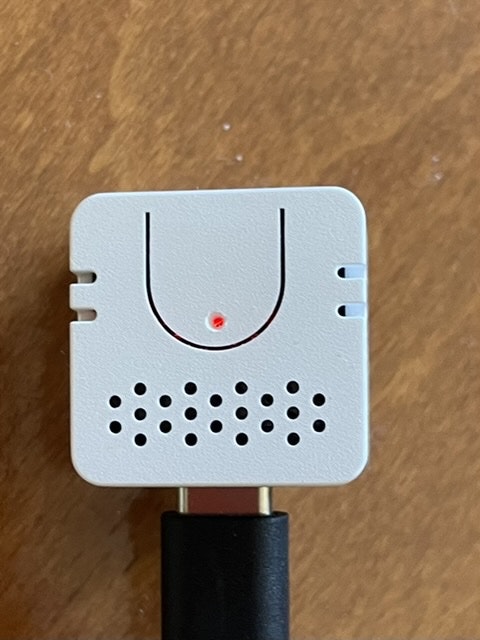
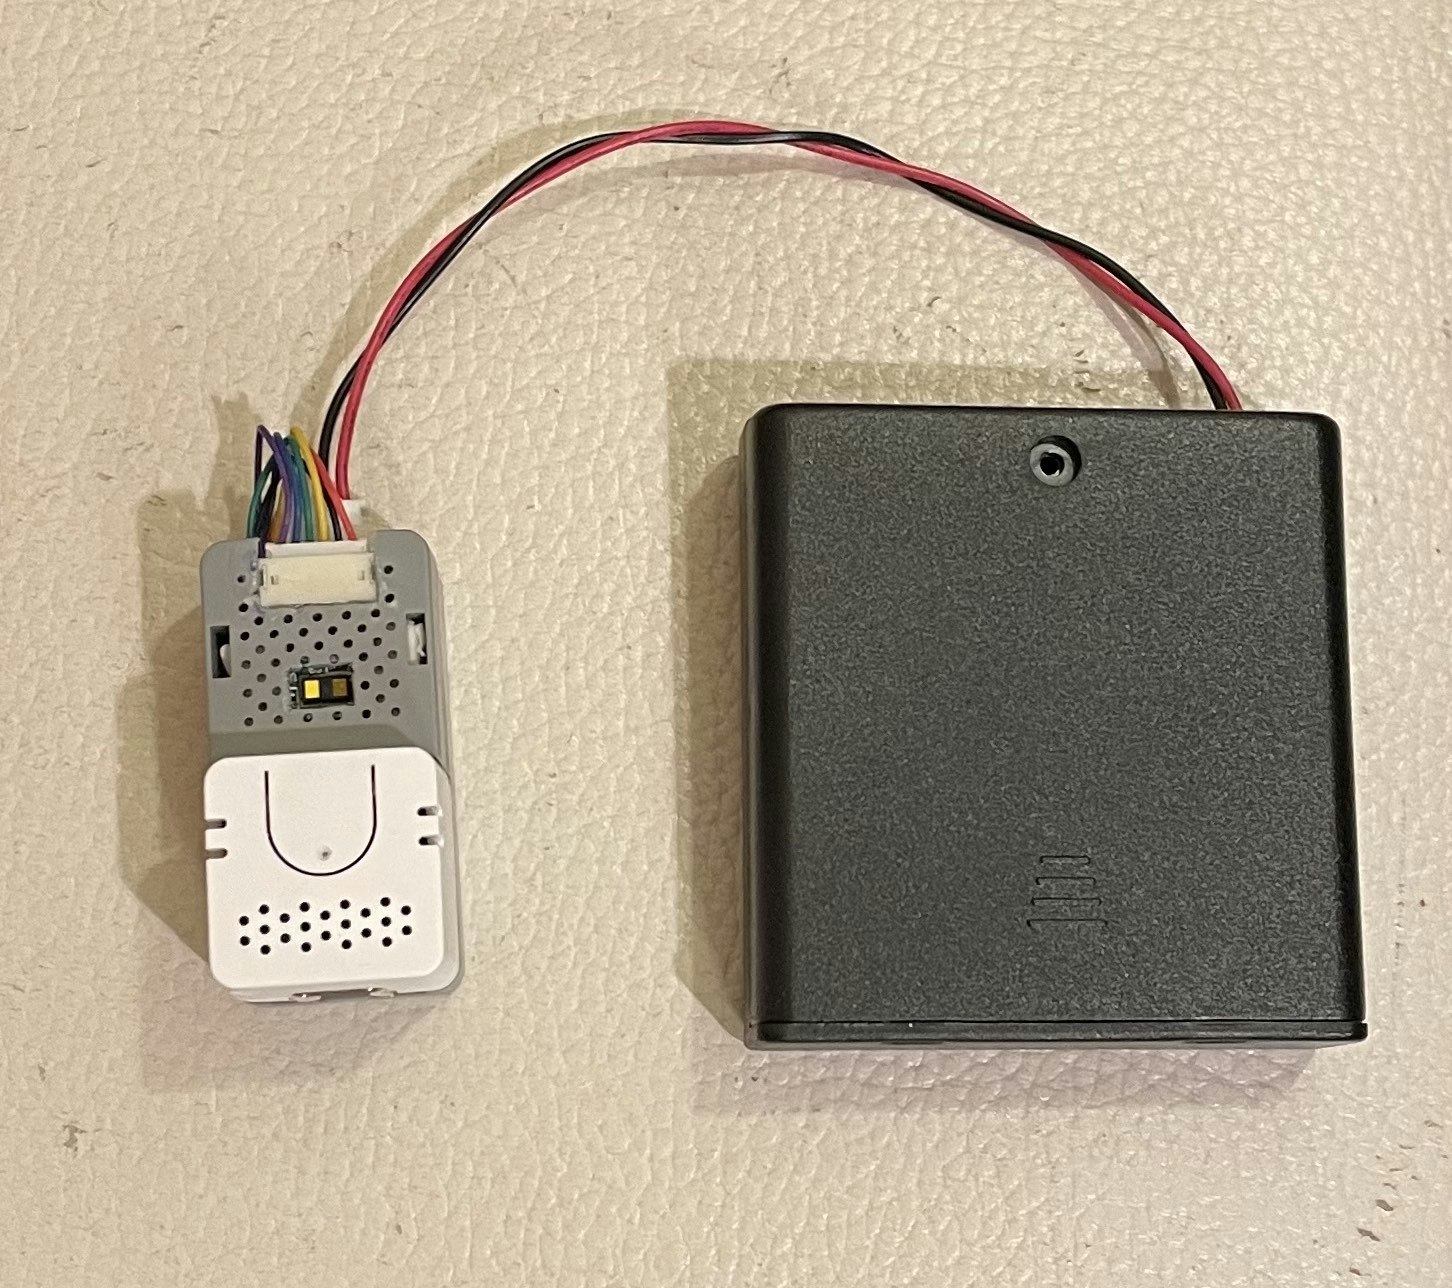
atom echoでやる事
※ボードモジュールはM5Stack Official 1.0.7を使ってください。
(最新2.0.2にすると、AtomEchoのライブラリが動作しません)
(また、2.0.2->1.0.7にした時にesptool関係のerrorが発生して、ビルドできなくなりました。
(MacOSの場合)
cd /Users/xxx/Library/Arduino15/packages/m5stack/
cp hardware/esp32/1.0.7/tools/esptool.py tools/esptool_py/3.0.0/.
chmod a+x tools/esptool_py/3.0.0/esptool.py
として復旧しました)
- bluetooth スピーカー(動作確認)
- とりあえず喋らせる
arduinoのライブラリのサンプル - SPIFFSのファイルで喋らせる
参考: https://lang-ship.com/blog/work/m5stack-atom-echo-spiffs-mp3/ - BLE ペリフェラルになって書き込まれた値に応じて喋りを変える
- エネループ4本で電源供給する
https://akizukidenshi.com/catalog/g/gK-16055/ - VL53L1X(秋月)を使って距離を測る
https://akizukidenshi.com/catalog/g/gM-14249/ - ATOMICプロトタイプキットに組み込む
https://www.switch-science.com/catalog/6345/ - 人が近づいたら喋る
- (おまけ)aquestalkで喋る(これはまだできていない)
https://lang-ship.com/blog/work/aquestalk-esp32-1-0-4/
Bluetoothスピーカーの動作確認
ペアリングされるとLEDが赤から緑になる。
音量大きくは無いし、音質はそれなり。
スピーカーのサイズ、筺体的にこんなものかと。

ついでに、今後のために開腹しておいた😊
裏のESP32にはプラ板が貼ってある!
ネジ穴が貫通してるので、ネジからの保護かな。


Atom EchoのArduinoのサンプル動作確認(PlayMusic)
サンプルのM5Atom>Echo>PlayMusicをビルドして書き込む。
ただし、Partition SchemeはNo OTAにする。
ボードはM5Stack-Atomにした。
あと、鳴り続けるとやかましいので、ボタン押下で再生するように若干修正した。
/****************************************************************
 *
 * This Example only for M5AtomEcho!
 *
 * Arduino tools Setting
 * -board : M5StickC
 * -Upload Speed: 115200 / 750000 / 1500000
 * -partition Scheme: No OTA
 *
****************************************************************/
#include "M5Atom.h"
#include <driver/i2s.h>

extern const unsigned char audio_chocobo[1164240];

#define CONFIG_I2S_BCK_PIN 19
#define CONFIG_I2S_LRCK_PIN 33
#define CONFIG_I2S_DATA_PIN 22
#define CONFIG_I2S_DATA_IN_PIN 23

#define SPEAK_I2S_NUMBER I2S_NUM_0

#define MODE_MIC 0
#define MODE_SPK 1

bool InitI2SSpeakOrMic(int mode)
{
    esp_err_t err = ESP_OK;

    i2s_driver_uninstall(SPEAK_I2S_NUMBER);
    i2s_config_t i2s_config = {
        .mode = (i2s_mode_t)(I2S_MODE_MASTER),
        .sample_rate = 88200,
        .bits_per_sample = I2S_BITS_PER_SAMPLE_16BIT, // is fixed at 12bit, stereo, MSB
        .channel_format = I2S_CHANNEL_FMT_ALL_RIGHT,
        .communication_format = I2S_COMM_FORMAT_I2S,
        .intr_alloc_flags = ESP_INTR_FLAG_LEVEL1,
        .dma_buf_count = 6,
        .dma_buf_len = 60,
    };
    if (mode == MODE_MIC)
    {
        i2s_config.mode = (i2s_mode_t)(I2S_MODE_MASTER | I2S_MODE_RX | I2S_MODE_PDM);
    }
    else
    {
        i2s_config.mode = (i2s_mode_t)(I2S_MODE_MASTER | I2S_MODE_TX);
        i2s_config.use_apll = false;
        i2s_config.tx_desc_auto_clear = true;
    }

    Serial.println("Init i2s_driver_install");

    err += i2s_driver_install(SPEAK_I2S_NUMBER, &i2s_config, 0, NULL);
    i2s_pin_config_t tx_pin_config;

    tx_pin_config.bck_io_num = CONFIG_I2S_BCK_PIN;
    tx_pin_config.ws_io_num = CONFIG_I2S_LRCK_PIN;
    tx_pin_config.data_out_num = CONFIG_I2S_DATA_PIN;
    tx_pin_config.data_in_num = CONFIG_I2S_DATA_IN_PIN;

    Serial.println("Init i2s_set_pin");
    err += i2s_set_pin(SPEAK_I2S_NUMBER, &tx_pin_config);
    Serial.println("Init i2s_set_clk");
    err += i2s_set_clk(SPEAK_I2S_NUMBER, 88200, I2S_BITS_PER_SAMPLE_16BIT, I2S_CHANNEL_MONO);

    return true;
}

void setup()
{
    M5.begin(true, false, true);
    M5.dis.clear();

    Serial.println("Init Spaker");
    InitI2SSpeakOrMic(MODE_SPK);
    delay(100);

    M5.dis.drawpix(0, CRGB(128, 0, 0));
}

bool Spakeflag = false;
size_t bytes_written;

void loop()
{
    if( M5.Btn.wasPressed())
    {
        Spakeflag = ( Spakeflag == true )? false : true;
    }

    if( Spakeflag )
    {
        i2s_write(SPEAK_I2S_NUMBER, audio_chocobo, 1164240, &bytes_written, portMAX_DELAY);
        Spakeflag = false;
    }

    M5.update();
}
SPIFFSにMP3を置いて喋らせる
- SPIFFSにファイルを置けるようにする
- MP3を再生する
- 音源: https://ttsfree.com/
- 参考: https://lang-ship.com/blog/work/m5stack-atom-echo-spiffs-mp3/
手順
- ライブラリのインストール
https://github.com/earlephilhower/ESP8266Audio からzipをダウンロードしてAruduinoの「スケッチ>ライブラリをインクルード」からを選択して読み込む。
また、https://github.com/Gianbacchio/ESP8266_Spiram からもzipをダウンロードして、zipをインクルードする(これは展開不要)。 - はまりポイント
何気なく最後のdelay(1)をdelay(100)にしたら、音がゆっくりになった。
原因に気付くために、ライブラリをかなり読み込んだ。
結局、音声再生のループ周期に効いているので、それが原因だと気づけた。
(今後、何か処理をするときは音声再生と排他とするか処理時間を気にしないと、いけないことに気づけた!。怪我の功名?!) - ソース
サンプルとほぼ同じだが、SPIFFSの中のmp3をボタンを押す度に順に再生する。
再生中はLEDを赤から緑にする。
#include <M5Atom.h>
#include "FS.h"
#include "SPIFFS.h"
#include "AudioFileSourceSPIFFS.h"
#include "AudioFileSourceID3.h"
#include "AudioGeneratorMP3.h"
#include "AudioOutputI2S.h"
AudioGeneratorMP3 *mp3;
AudioFileSourceID3 *id3;
AudioFileSourceSPIFFS *file;
AudioOutputI2S *out;
#define CONFIG_I2S_BCK_PIN      19
#define CONFIG_I2S_LRCK_PIN     33
#define CONFIG_I2S_DATA_PIN     22
#define FILENAME "/pno-cs.mp3" // "/ohayo.mp3"

char fileName[16][32];
int fileCount = 0;
int filePos = 0;

void getMP3FileList()
{
  File root = SPIFFS.open("/");
  if (!root)
  {
    Serial.println("failed open root");
    return;
  }
  if (!root.isDirectory())
  {
    Serial.println("root is not directory");
    return;
  }
  File file = root.openNextFile();
  while(file)
  {
    if (!file.isDirectory())
    {
      sprintf(fileName[fileCount], file.name());
      int len = strlen(fileName[fileCount]);
      Serial.println(fileName[fileCount]);
      if (0 == strcmp(fileName[fileCount] + len - 4, ".mp3"))
      {
        Serial.println("mp3!");
        fileCount ++;
        if (16 <= fileCount)
        {
          Serial.println("file count to max");
          break;
        }
      }
    }
    file = root.openNextFile();
  }
  return;
}

void setup()
{
  M5.begin(true, false, true);
  delay(50);
  M5.dis.drawpix(0, CRGB(128, 0, 0));
  Serial.println();
  SPIFFS.begin();
  Serial.printf("MP3 playback begins...\n");
  audioLogger = &Serial;
  out = new AudioOutputI2S();
  out->SetPinout(CONFIG_I2S_BCK_PIN, CONFIG_I2S_LRCK_PIN, CONFIG_I2S_DATA_PIN);
  out->SetGain(1.5);
  mp3 = new AudioGeneratorMP3();

  getMP3FileList();
}

void loadMP3(const char* filename)
{
  Serial.print("Play:");
  Serial.println(filename);
  file = new AudioFileSourceSPIFFS(filename);
  id3 = new AudioFileSourceID3(file);
  mp3->begin(id3, out);
}

void loop()
{
  M5.update();
  if (M5.Btn.isPressed())
  {
    if (!mp3->isRunning()) {
      if (0 < fileCount) {
        loadMP3(fileName[filePos++]);
      }
      if (fileCount <= filePos)
      {
        filePos = 0;
      }
    }
  }
  if (mp3->isRunning()) {
    M5.dis.drawpix(0, CRGB(0, 128, 0));
    if (!mp3->loop()){
      mp3->stop();
      M5.dis.drawpix(0, CRGB(128, 0, 0));
    }
    delay(1); // do not change delay time
  } else {
    // TODO: do something
    delay(100);
  }
}
BLEペリフェラルにする
- アドバタイズさせる(ボタン押下でManufactureDataを切り替える、MP3も再生)
- writeを受け付けて、MP3を再生する
エネループ4本で電源供給する
- 秋月の3.3V昇降圧コンバーターでエネループ4本(0.7〜1.2V x 4 = 2.8〜4.8V)を3.3Vに変換
- 入力電圧は330KΩ抵抗3本で(2/3)に分圧して読み取る
- なお、AtomEchoのアナログ入力可能な端子はG32のみなので注意 (参考)
- BLEのnotifyで電圧を通知
VL53L1Xで距離を測る
-
配線: バッテリー電圧を読み取るために標準じゃない接続にしています
- V+(赤) --- 3.3V
- GND(黒) --- GND
- SDA(黄) --- G21
- SCL(緑) --- G25
- XSHUT(青) --- (接続しない)
- GPIO(紫) --- G26(INPUT)
-
ライブラリはライブラリマネージャーよりSpakFunのモジュールをinstallして使う
-
https://github.com/sparkfun/SparkFun_VL53L1X_Arduino_Library
-
Exampleを参考に、距離、SignalRate、RangeStatusをモニター
-
測距Windowを設定してみる
#include <M5Atom.h>
/*
  Reading distance from the laser based VL53L1X
  By: Nathan Seidle
  SparkFun Electronics
  Date: April 4th, 2018
  License: This code is public domain but you buy me a beer if you use this and we meet someday (Beerware license).

  SparkFun labored with love to create this code. Feel like supporting open source hardware?
  Buy a board from SparkFun! https://www.sparkfun.com/products/14667

  This example prints the distance to an object.

  Are you getting weird readings? Be sure the vacuum tape has been removed from the sensor.
*/

#include <Wire.h>
#include "SparkFun_VL53L1X.h" //Click here to get the library: http://librarymanager/All#SparkFun_VL53L1X

//Optional interrupt and shutdown pins.
#define SHUTDOWN_PIN -1
#define INTERRUPT_PIN 26

#define I2C_SDA_PIN 21
#define I2C_SCL_PIN 25

#define GPIO_PIN 26

SFEVL53L1X distanceSensor;
//Uncomment the following line to use the optional shutdown and interrupt pins.
//SFEVL53L1X distanceSensor(Wire, SHUTDOWN_PIN, INTERRUPT_PIN);

#define DISTANCE_THRESHOLD_LOW 100 // mm
#define DISTANCE_THRESHOLD_HIGH 500 // mm
#define DISTANCE_WINDOW_MODE 3
//0: Interrupt triggered on measured distance below lowThresh.
//1: Interrupt triggered on measured distance above hiThresh.
//2: Interrupt triggered on measured distance outside of bounds.
//3: Interrupt triggered on measured distance inside of bounds.

#define RANGE_STATUS_MAX 8
const char ppcharRangeStatus[RANGE_STATUS_MAX][32] = {
  "Good", // 0
  "Sigma fail", // 1
  "Signal fail", // 2
  "Unknown: %d", // 3
  "Unknown: %d", // 4
  "Unknown: %d", // 5
  "Unknown: %d", // 6
  "Wrapped target fail", // 7
};

void setup(void)
{
  M5.begin(true, false, true);
  Wire.begin(I2C_SDA_PIN, I2C_SCL_PIN);

  M5.dis.clear();

  Serial.begin(115200);
  Serial.println("VL53L1X Test");
  M5.dis.drawpix(0, CRGB(128, 0, 0));

  pinMode(GPIO_PIN, INPUT);

  if (distanceSensor.begin() != 0) //Begin returns 0 on a good init
  {
    Serial.println("Sensor failed to begin. Please check wiring. Freezing...");
    while (1)
    {
      M5.dis.drawpix(0, CRGB(32, 32, 0));
      delay(200);
      M5.dis.drawpix(0, CRGB(0, 0, 0));
      delay(200);
    }
    ;
  }
  Serial.println("Sensor online!");
  M5.dis.drawpix(0, CRGB(0, 128, 0));

  distanceSensor.setDistanceThreshold(DISTANCE_THRESHOLD_LOW, DISTANCE_THRESHOLD_HIGH, DISTANCE_WINDOW_MODE);
}

int gpio = 0;

void loop(void)
{
  distanceSensor.startRanging(); //Write configuration bytes to initiate measurement
  while (!distanceSensor.checkForDataReady())
  {
    M5.dis.drawpix(0, CRGB(0, 128, 0));
    delay(1);
    if (gpio != digitalRead(GPIO_PIN))
    {
      gpio = digitalRead(GPIO_PIN);
      Serial.println(gpio);
    }
  }
  gpio = digitalRead(GPIO_PIN);
  Serial.println(gpio);

  M5.dis.drawpix(0, CRGB(0, 0, 128));

  int distance = distanceSensor.getDistance(); //Get the result of the measurement from the sensor
  distanceSensor.clearInterrupt();
  distanceSensor.stopRanging();

  Serial.print("Distance(mm): ");
  Serial.print(distance);
  Serial.println();


  int signalRate = distanceSensor.getSignalRate();
  Serial.print("\tSignal rate: ");
  Serial.print(signalRate);

  byte rangeStatus = distanceSensor.getRangeStatus();
  char buf[64];
  if (rangeStatus >= RANGE_STATUS_MAX) {
    sprintf(buf, ppcharRangeStatus[RANGE_STATUS_MAX - 1], rangeStatus);
  } else {
    sprintf(buf, ppcharRangeStatus[rangeStatus], rangeStatus);
  }
  Serial.print("\tRange Status: ");
  Serial.println(buf);
}
GPIOの割り込みで距離を読み出す
割込みを使う実装はまだできていないが、GPIOをポーリングすることで取得待ちはできる。
(都度、I2Cの通信が生じないので、若干?効率がいいはず)
ATOMICプロトタイプキットに組み込む
- DC/DCを組み込む
電池ボックスケーブルは付属のVHコネクタを使う - VL53L1Xを組み込む
SDA/SCLはGrobeコネクタからなのだが、先々の拡張を考えて、基板内から配線を引き出して、基板に回して、VL53L1Xのケーブルに接続する(Atom Echoははめ殺しにする)
人が近づいたら喋る

