はじめに
FESTA 2019に参加させて頂くことになったので、デモ映像を流す映像展示用デバイスを作りました。
やったこと
- ラズパイ上にVue.js環境を構築
- Vue.jsで動画再生サイトを作成(複数動画を順次再生
- 作成したサイトをオフラインで実行できるように修正
参考サイト
- https://jsfiddle.net/6qmjw5xd/2/
-
vue.jsで動画を連続再生してみるネッサンス
- 動画再生サイトのソースはほぼそのまま拝借しました
- How to Install Node.js 12 on Ubuntu 19.04
- Vue.js を vue-cli を使ってシンプルにはじめてみる
-
Ubuntu で日本語キーボードレイアウト
- 本筋から外れますが助かりました。
できたもの
ラズパイ接続のモニタに映像が表示されました。会場の通信障害が怖いのでオフラインでも動作するようにしました。
FESTA 2019用に映像展示デバイスを ラズパイ と Vue.js で作った。デザインは後まわし #MA_FESTA #ウソ穴 間に合うのだろうか。。 pic.twitter.com/ybhIhZI5q8
— j4amountain (@zsipparu) December 1, 2019
ラズパイについて
-
Raspberry Pi 3 Model B+です。OSはこちら
$ lsb_release -a
No LSB modules are available.
Distributor ID: Raspbian
Description:    Raspbian GNU/Linux 10 (buster)
Release:        10
Codename:       buster
では、ここから作り方を紹介します。
Nodejsをインストールしよう
npmのバージョンを最新版に更新します。
sudo npm install npm@latest -g
バージョン確認
$ npm -v
5.8.0
nodejs v12をインストールします。(※以前のバージョンがあると削除してからインストールしないとバージョンが上がらないそうです)
$ sudo apt update
$ sudo apt install curl
$ curl -sL https://deb.nodesource.com/setup_12.x | sudo -E bash -
$ sudo apt install nodejs -y
$ node -v
バージョンはこのようになりました。
$ node -v
v12.13.1
vue-cliをインストールしよう
vue-cliをインストールします。
$ sudo npm install -g @vue/cli
コマンド1つで終わりです。
プロジェクトを作成しよう
プロジェクトを作成します。vue create コマンド実行後に何か聞かれますが、今回はデフォルト設定 (何も入力せずEnter)で進めます。
$ vue create usoana
これでプロジェクト作成が完了しました。
起動してみよう
起動します。
$ cd usoana
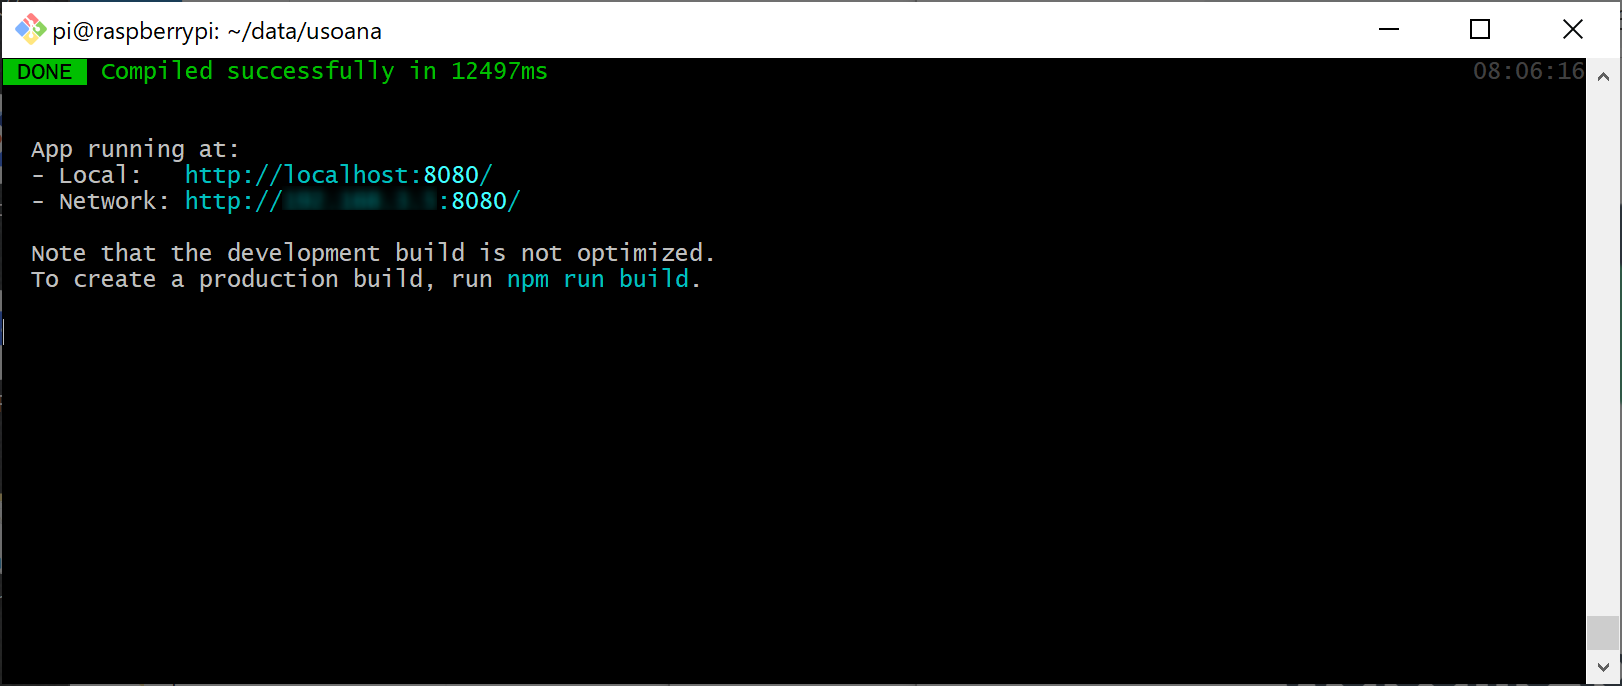
$ npm run serve
このような画面になると起動成功です。
このようなウェブサイトが開けば成功です。

動画再生サイト作ろう
サイトが作れたので、動作再生のサイトを作ります。
作成したプロジェクト配下にpublicというフォルダがあるので、そのpublicフォルダは以下にindex.htmlを作成します。(中身は以下です)
<!DOCTYPE html>
<html>
<head>
    <title>ウソ穴-覗きたい!を叶えたい!#ウソ穴</title>
    <script src="https://unpkg.com/vue"></script>
</script>
</head>
<body>
<h1>usoana</h>
<div id="app">
    <video id="video1" v-bind:src="video" v-on:ended="onEnded" autoplay></video>
    <a href="javascript:vplay();">再生</a>
</div>
<script>
    var v = new Vue({
        el: "#app",
        data: {
            items: [
                {"url": "xxx1.mp4"},
                {"url": "xxx2.mp4"},
                {"url": "xxx3.mp4"}
            ],
            next: 0,
            video: ""
        },
        created: function () {
            this.getItems();
        },
        methods: {
            onEnded: function () {
                this.getItems();
            },
            getItems: function () {
                var url = this.items[this.next].url;
                console.log('success:' + new Date());
                this.video = url;
                this.next++;
                if (this.items.length <= this.next) {
                    this.next = 0;
                }
            }
        }
    });
    function vplay() {
        var v = document.getElementById("video1");
        v.play();
    }
</script>
</body>
</html>
ブラウザで、http://<ラズパイIP>:8080/index.htmlを開き、動画が再生されれば成功です。インターネット上で公開されている動画のURLを指定しても再生できました。
オフライン対応しよう
作成した動画サイトをオフラインでも動作できるように修正します。展示会場では通信障害が発生しても動画は再生できる、という算段です。
vue.jsをダウンロードします。バージョンによってURLが変わると思いますので気を付けてください。(https://unpkg.com/vueをブラウザで開くと、最新バージョンのURLが取得できると思います)
# vue.jsダウンロード
wget https://unpkg.com/vue@2.6.10/dist/vue.js
ダウンロードしたvue.jsファイルをindex.htmlと同じ階層~/data/usoana/public/に格納しました。ダウンロードしたvue.jsファイルをロードするようにindex.htmlを修正します。
<!DOCTYPE html>
<html>
<head>
    <title>ウソ穴-覗きたい!を叶えたい!#ウソ穴</title>
    <!-- script src="https://unpkg.com/vue"></script -->
    <script src="vue.js"></script>
</head>
<body>
<h1>usoana</h>
<div id="app">
    <video id="video1" v-bind:src="video" v-on:ended="onEnded" autoplay></video>
    <a href="javascript:vplay();">再生</a>
</div>
<script>
    var v = new Vue({
        el: "#app",
        data: {
            items: [
                {"url": "xxx1.mp4"},
                {"url": "xxx2.mp4"},
                {"url": "xxx3.mp4"}
            ],
            next: 0,
            video: ""
        },
        created: function () {
            this.getItems();
        },
        methods: {
            onEnded: function () {
                this.getItems();
            },
            getItems: function () {
                var url = this.items[this.next].url;
                console.log('success:' + new Date());
                this.video = url;
                this.next++;
                if (this.items.length <= this.next) {
                    this.next = 0;
                }
            }
        }
    });
    function vplay() {
        var v = document.getElementById("video1");
        v.play();
    }
</script>
</body>
</html>
これでオフライン用の修正は完了です。
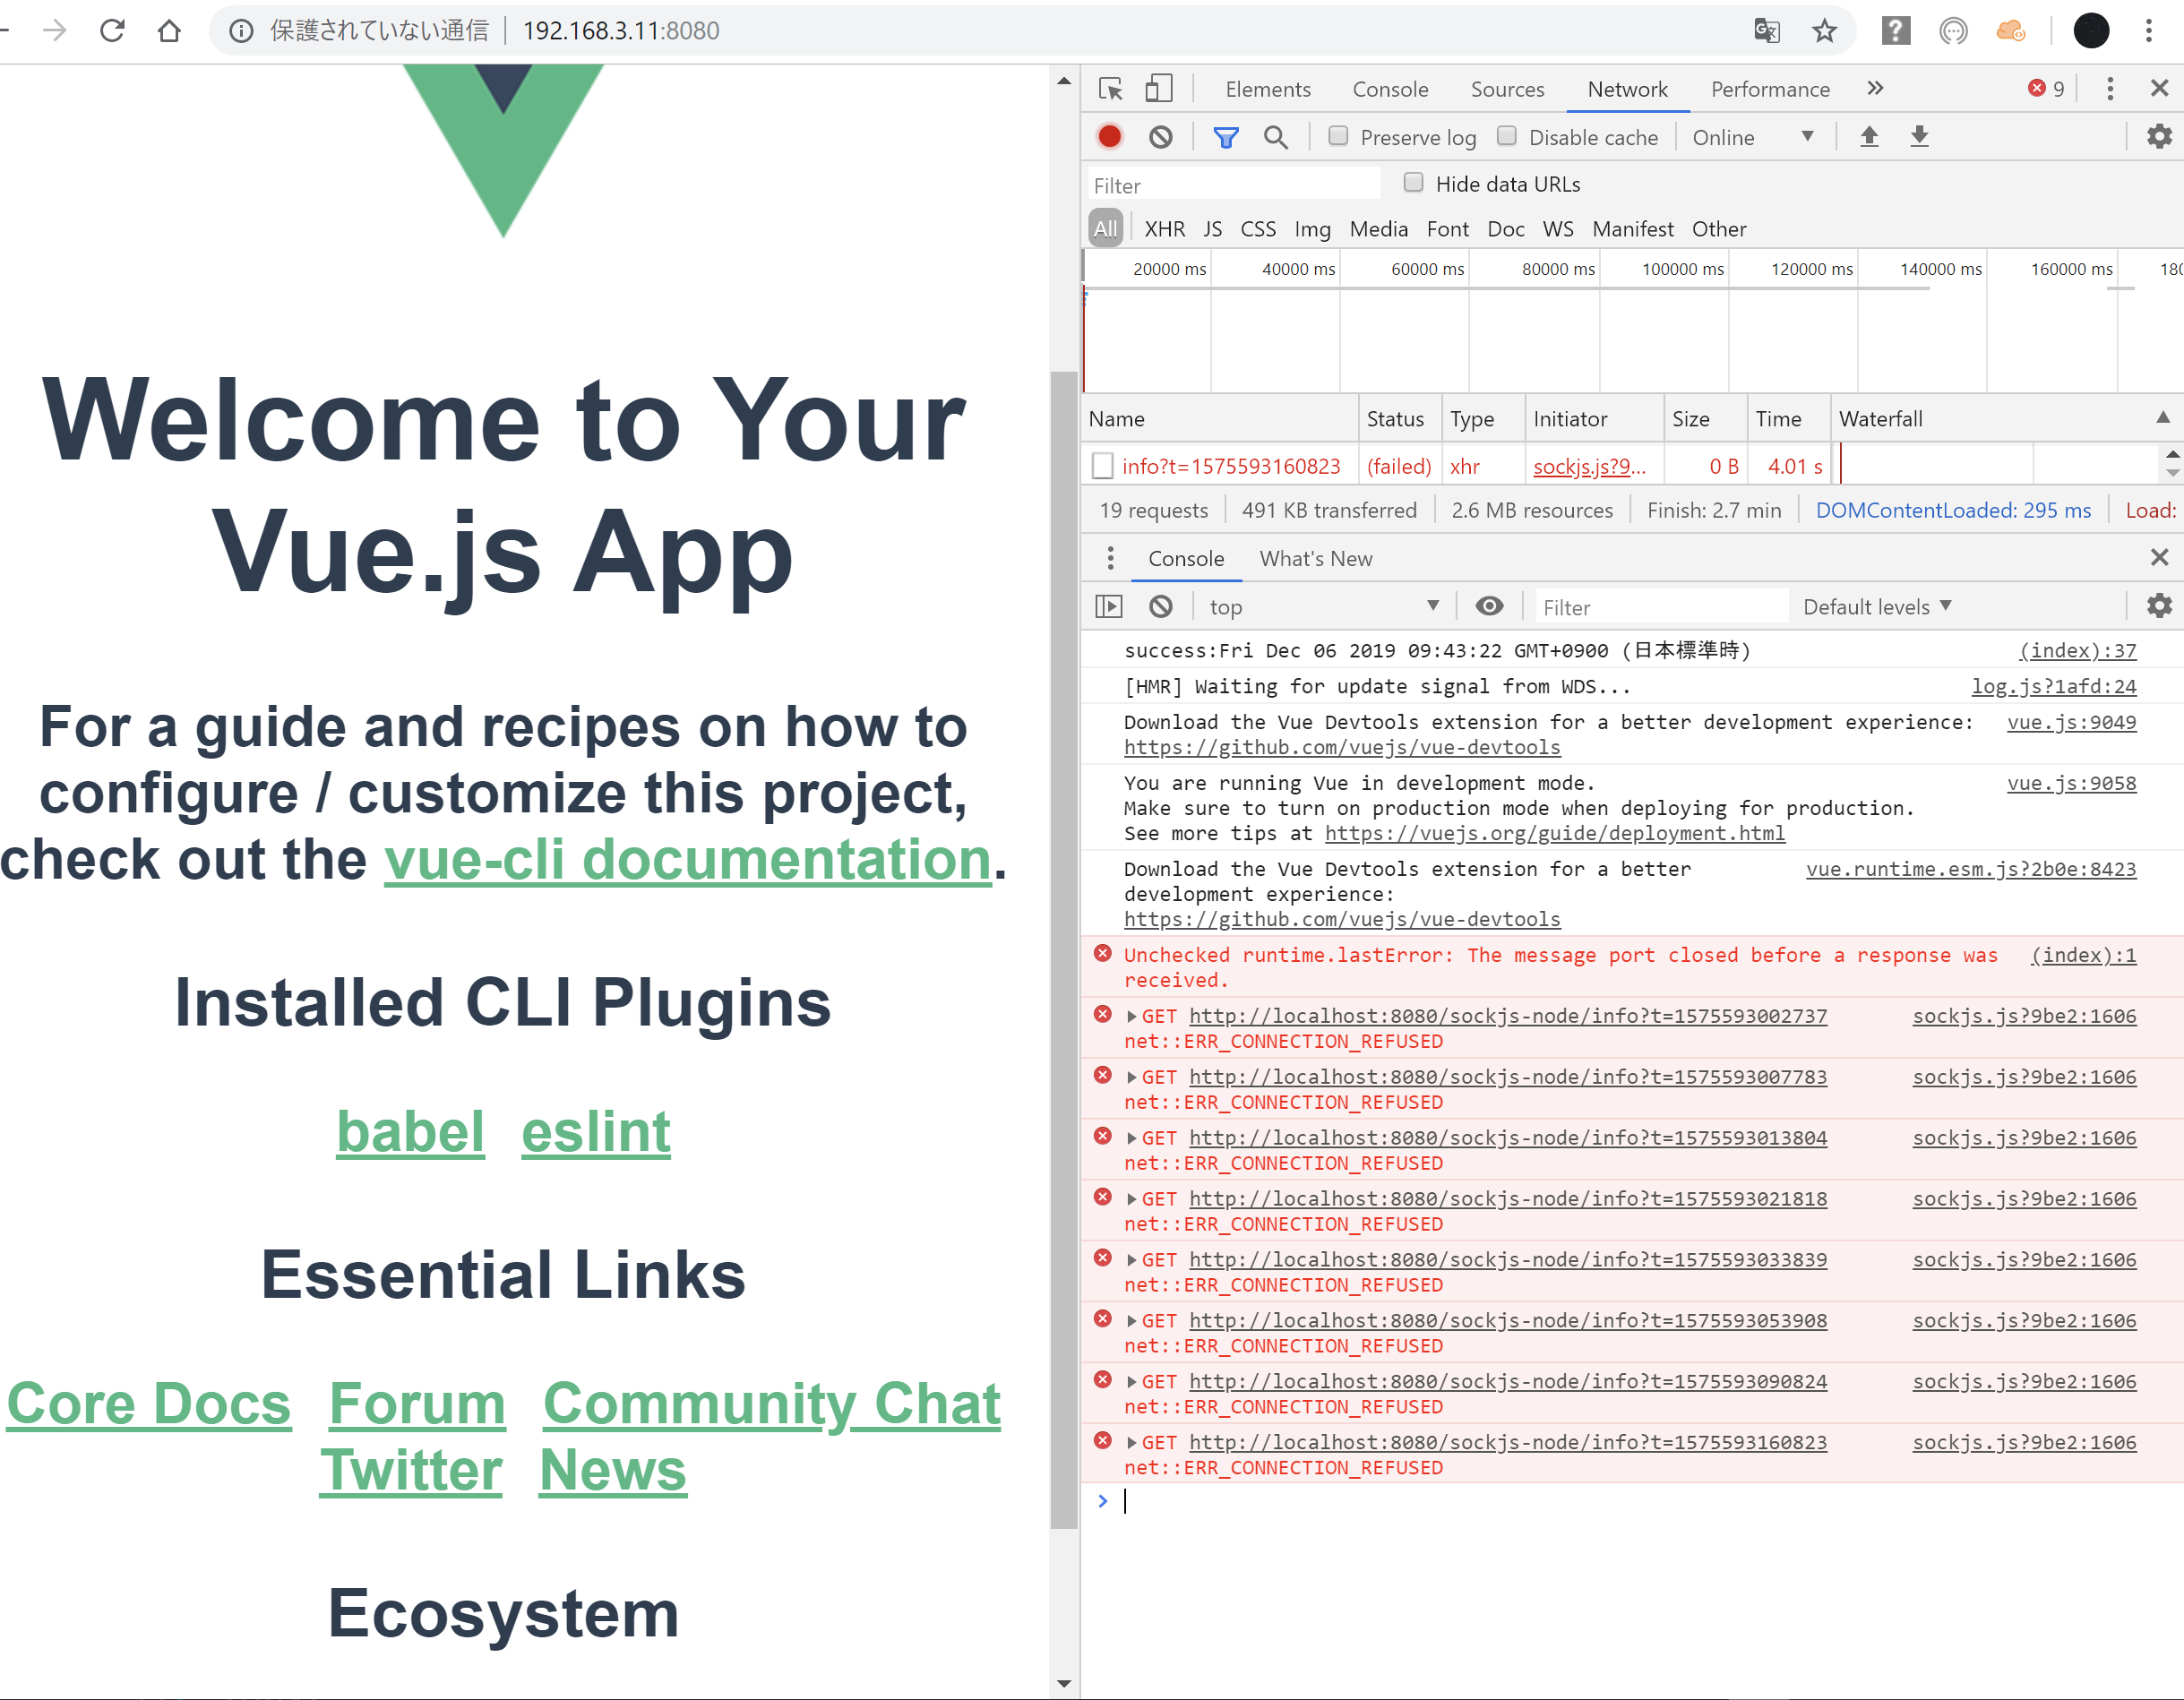
ラズパイのネットワーク通信を無効化しても、ラズパイ接続のモニタにてサイトが動作すれば成功です。
ネットワーク経由では再生に失敗する
余談
ラズパイについて、Raspberry Pi 3 Model B+を使ったのですが、Raspberry Pi 3 Model B(プラスじゃない)を使う予定だったのを今気が付いた。基板を変更して作り直し。。手順をまとめておいてよかった。