はじめに
本記事は筆者の備忘録です。
最近ローカル環境を汚すことが多かったので、今回はWSL2 + DockerでGPU環境を構築します。
Minicondaを採用した理由としては、普段Poetryを使ってPytorchをインストールすることにストレスが溜まったためだったりします。
環境
- Windows 10 Home
- バージョン: 22H2
- OSビルド: 19045 .2364
- RAM: 32GB
- GPU: RTX2080Ti
WSL2のインストール
管理者権限でコマンドプロンプトを起動し、以下コマンドを実行します。
$wsl --install
Dockerのインストール
ここからDocker Desktopのインストーラをダウンロードしてください。
インストーラー起動後は基本的にはデフォルトで進めて大丈夫ですが、途中の「Use WSL2 instead lf Hyper-V(recommended)」にチェックボックスにチェックを入れてください。
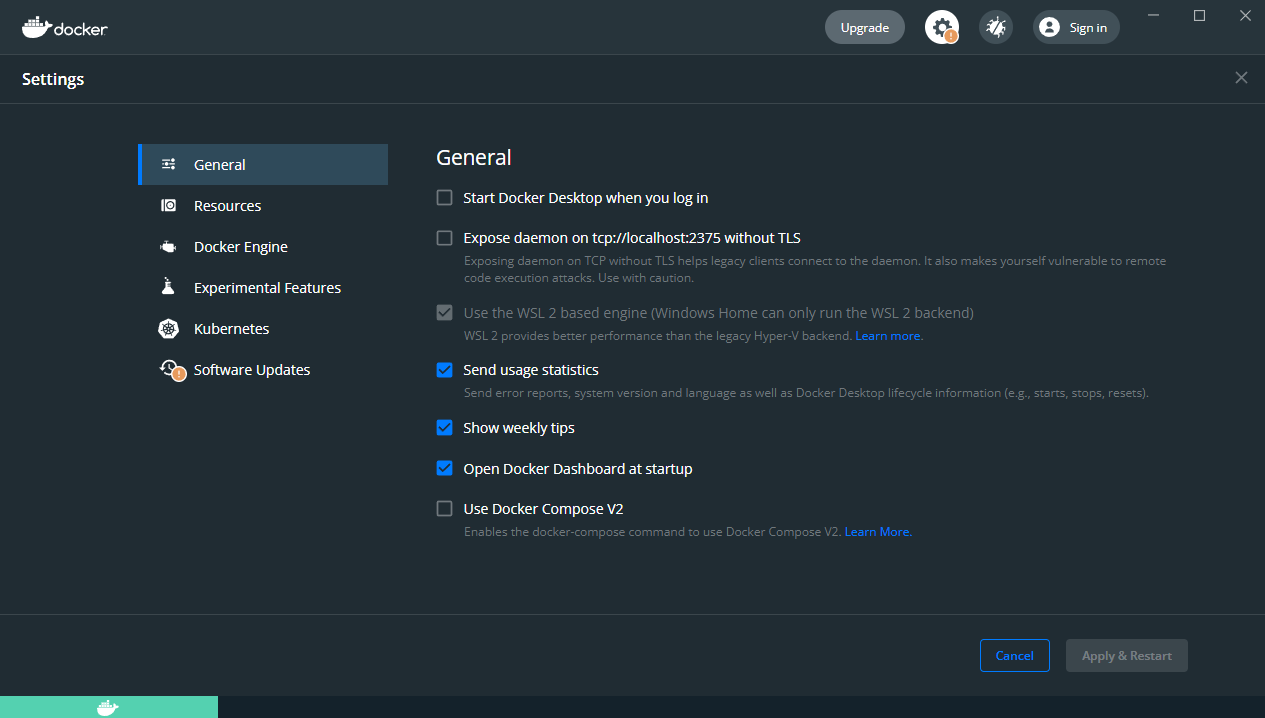
無事インストールができれば、以下画像のように【Use the WSL2 based engine (Windows Home Can only run the WSL2 backend】にチェックが入っているかと思います。
コンテナでのGPUの確認
以下コマンドを実行してGPUが認識できているかを確認します。
自分はいつもPowerShellを利用しているので、PowerShell上でコマンドを実行しました。
PS D:\test> docker run --rm -it --gpus all nvcr.io/nvidia/k8s/cuda-sample:nbody nbody -gpu -benchmark -numbodies=512000
Run "nbody -benchmark [-numbodies=<numBodies>]" to measure performance.
        -fullscreen       (run n-body simulation in fullscreen mode)
        -fp64             (use double precision floating point values for simulation)
        -hostmem          (stores simulation data in host memory)
        -benchmark        (run benchmark to measure performance)
        -numbodies=<N>    (number of bodies (>= 1) to run in simulation)
        -device=<d>       (where d=0,1,2.... for the CUDA device to use)
        -numdevices=<i>   (where i=(number of CUDA devices > 0) to use for simulation)
        -compare          (compares simulation results running once on the default GPU and once on the CPU)
        -cpu              (run n-body simulation on the CPU)
        -tipsy=<file.bin> (load a tipsy model file for simulation)

NOTE: The CUDA Samples are not meant for performance measurements. Results may vary when GPU Boost is enabled.

> Windowed mode
> Simulation data stored in video memory
> Single precision floating point simulation
> 1 Devices used for simulation
GPU Device 0: "Turing" with compute capability 7.5

> Compute 7.5 CUDA device: [NVIDIA GeForce RTX 2080 Ti]
number of bodies = 512000

512000 bodies, total time for 10 iterations: 4827.246 ms
= 543.051 billion interactions per second
= 10861.017 single-precision GFLOP/s at 20 flops per interaction
結果を確認するとRTX2080Tiをちゃんと認識できていることがわかりました。
Minicondaを含んだDockerfileの作成
MinicondaがインストールされたDockerイメージを作成します。
自分はCUDA11.3とCuDNN8のコンテナを作りたかったので以下のようなDockerfileを作成しました。
FROM nvcr.io/nvidia/cuda:11.3.0-cudnn8-devel-ubuntu20.04

RUN apt-get update && apt-get install -y sudo wget
WORKDIR /opt

RUN wget https://repo.anaconda.com/miniconda/Miniconda3-latest-Linux-x86_64.sh && \
    bash Miniconda3-latest-Linux-x86_64.sh -b -p /opt/miniconda3 && \
    rm -r Miniconda3-latest-Linux-x86_64.sh

ENV PATH /opt/miniconda3/bin:$PATH

RUN pip install --upgrade pip && conda update -n base -c defaults conda && conda init


CMD ["bin/bash"]
これをビルド・実行してみた結果を以下に記載します。
# Dockerイメージのビルド(nvidia-test:0.1は任意)
PS D:\test> docker build . -t nvidia-test:0.1

# コンテナを起動
PS D:\test> docker run --gpus all -it nvidia-test:0.1
==========
== CUDA ==
==========

CUDA Version 11.3.0

Container image Copyright (c) 2016-2022, NVIDIA CORPORATION & AFFILIATES. All rights reserved.

This container image and its contents are governed by the NVIDIA Deep Learning Container License.
By pulling and using the container, you accept the terms and conditions of this license:
https://developer.nvidia.com/ngc/nvidia-deep-learning-container-license

A copy of this license is made available in this container at /NGC-DL-CONTAINER-LICENSE for your convenience.

*************************
** DEPRECATION NOTICE! **
*************************
THIS IMAGE IS DEPRECATED and is scheduled for DELETION.
    https://gitlab.com/nvidia/container-images/cuda/blob/master/doc/support-policy.md
(base) root@0f5e7c49b70f:/#
(base) root@0f5e7c49b70f:/# nvidia-smi
Mon Jan  9 14:08:09 2023
+-----------------------------------------------------------------------------+
| NVIDIA-SMI 515.65.01    Driver Version: 516.94       CUDA Version: 11.7     |
|-------------------------------+----------------------+----------------------+
| GPU  Name        Persistence-M| Bus-Id        Disp.A | Volatile Uncorr. ECC |
| Fan  Temp  Perf  Pwr:Usage/Cap|         Memory-Usage | GPU-Util  Compute M. |
|                               |                      |               MIG M. |
|===============================+======================+======================|
|   0  NVIDIA GeForce ...  On   | 00000000:01:00.0  On |                  N/A |
| 35%   42C    P0    59W / 260W |   1285MiB / 11264MiB |      5%      Default |
|                               |                      |                  N/A |
+-------------------------------+----------------------+----------------------+

+-----------------------------------------------------------------------------+
| Processes:                                                                  |
|  GPU   GI   CI        PID   Type   Process name                  GPU Memory |
|        ID   ID                                                   Usage      |
|=============================================================================|
|  No running processes found                                                 |
+-----------------------------------------------------------------------------+
GPU名が省略されていますが、無事認識できているようです。
Pytorch+GPUができるか確認
実際にMinicondaの環境上にPytorchをインストールしてGPUを認識するか確認します。
ここを参照してPytorch==1.12.1+cu113をインストールします。
(base) root@0f5e7c49b70f:/# conda create -n test python=3.9
(base) root@0f5e7c49b70f:/# conda activate test

# 本当であればconda installを使うべきですが、めんどくさかったのでpipでインストールしています。
(test) root@0f5e7c49b70f:/# pip install torch==1.12.1+cu113 --extra-index-url https://download.pytorch.org/whl/cu113
(test) root@0f5e7c49b70f:/# python
Python 3.9.15 (main, Nov 24 2022, 14:31:59)
[GCC 11.2.0] :: Anaconda, Inc. on linux
Type "help", "copyright", "credits" or "license" for more information.
>>> import torch
>>> print(torch.cuda.is_available())
True
>>> print(torch.cuda.device_count())
1
>>> print(torch.cuda.get_device_name())
NVIDIA GeForce RTX 2080 Ti
>>> print(torch.cuda.get_device_capability())
(7, 5)
>>>
ちゃんとRTX2080Tiを認識して利用可能になっています。
おわりに
本記事では備忘録としてWindows10上でWSL2 + Docker-DesktopによるGPU環境を構築しました。
Windows+PoetryではPytorchをインストールするのがつらかったのですが、このGPU環境によって楽に環境構築することができそうです。