PostGraphileは、PostgreSQLのデータベースにGraphQL APIを生やすミドルウェアです。PostGraphileの概要は次の記事をご覧ください。
この投稿では、PostGraphileをインストールし、シンプルなGraphQL APIを構築するまでの手順を説明します。
PostGraphileをインストールする
PostGraphileはJavaScriptのHTTPフレームワークExpressで実装されたミドルウェアで、NPMでインストールできます。
# NPMでインストールする場合
npm install postgraphile
# Yarnでインストールする場合
yarn add postgraphile
PostgreSQLサーバーをインストールする
PostGraphileはPostgreSQLサーバーが必要なので、インストールしておきます。Homebrewで入れるのが簡単です。PostGraphileの動作要件によると、PostgreSQL v12が公式サポートされている最新バージョンなので、インストールするのはバージョン12にしておきます。
brew install postgresql@12
PostgreSQLサーバーを起動する
PostgreSQLサーバーのインストールができたら、起動します。起動コマンドは次のとおりです:
/usr/local/opt/postgresql@12/bin/postgres -D /usr/local/var/postgresql@12
サーバーにつながるかチェックするために、psqlコマンドでSQLを実行してみます:
export PATH="/usr/local/opt/postgresql@12/bin:$PATH"
psql postgres:///postgres -c 'select version();'
次のような結果が出ればOKです。
                                                      version
-------------------------------------------------------------------------------------------------------------------
 PostgreSQL 12.7 on x86_64-apple-darwin19.6.0, compiled by Apple clang version 12.0.0 (clang-1200.0.32.29), 64-bit
(1 row)
データベースを作る
サーバーの準備ができたので、ここではデータを作っていきます。まず、次のファイルdatabase.sqlを作ります。
create table if not exists authors
(
  id   serial not null primary key,
  name text   not null default ''
);

create table if not exists posts
(
  id        serial not null primary key,
  title     text   not null default '',
  body      text   not null default '',
  author_id int    not null references authors on update cascade on delete cascade
);

truncate table authors restart identity cascade;
truncate table posts restart identity cascade;

insert into authors
  (name)
  values
    ('alice'),
    ('bob'),
    ('carol');

insert into posts
  (title, body, author_id)
  values
    ('投稿1', '本文1', 1),
    ('投稿2', '本文2', 1),
    ('投稿3', '本文3', 1),
    ('投稿4', '本文4', 2),
    ('投稿5', '本文5', 2),
    ('投稿6', '本文6', 2),
    ('投稿7', '本文7', 3),
    ('投稿8', '本文8', 3),
    ('投稿9', '本文9', 3);
このファイルをDBに流し込んで、データを作ります:
psql postgres:///postgres -f database.sql
データが入ったか確認しておきます:
psql postgres:///postgres -c 'select * from posts'
 id | title | body  | author_id
----+-------+-------+-----------
  1 | 投稿1 | 本文1 |         1
  2 | 投稿2 | 本文2 |         1
  3 | 投稿3 | 本文3 |         1
  4 | 投稿4 | 本文4 |         2
  5 | 投稿5 | 本文5 |         2
  6 | 投稿6 | 本文6 |         2
  7 | 投稿7 | 本文7 |         3
  8 | 投稿8 | 本文8 |         3
  9 | 投稿9 | 本文9 |         3
(9 rows)
PostGraphileを起動する
データベースの準備ができたので、いよいよPostGraphileを起動します。PostGraphileは実運用に入ったときに、起動オプションが多くなっていくので、最初から起動用のシェルスクリプトを作っておきます。起動スクリプトファイル名はなんでもいいですが、ここではbin/postgraphile.shという名前にします。
# !/usr/bin/env bash
pnpx postgraphile \
  --connection postgres:///postgres \
  --watch
この--watchオプションはデータベーススキーマが変更されたときに、GraphQLのスキーマもそれに追従するようにさせるためのものです。
実行権限付与も忘れずに:
chmod +x bin/postgraphile.sh
PostGraphileを起動していきます:
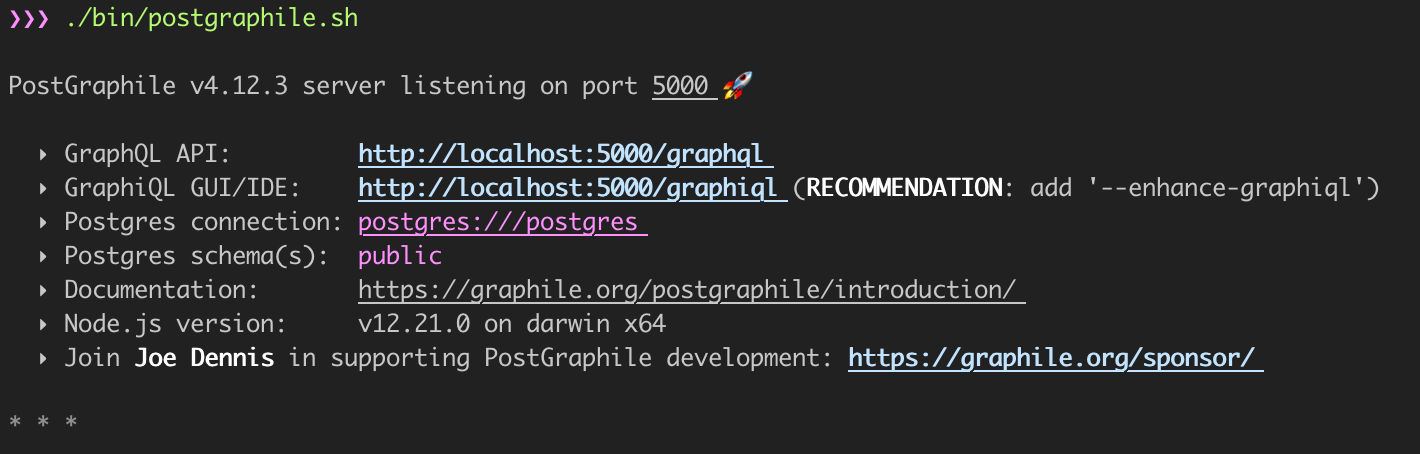
./bin/postgraphile.sh
起動すると、GraphQL APIが自動構築され、もう使える状態になっています。ターミナルにはいくつかの情報が表示されます。このうち、「GraphiQL GUI/IDE」に表示されたURLがGraphQLをブラウザ上で試せる画面になるので、そのURLをブラウザで開き、実際にGraphQLを使ってみましょう。
構築されたGraphQLを使ってみる
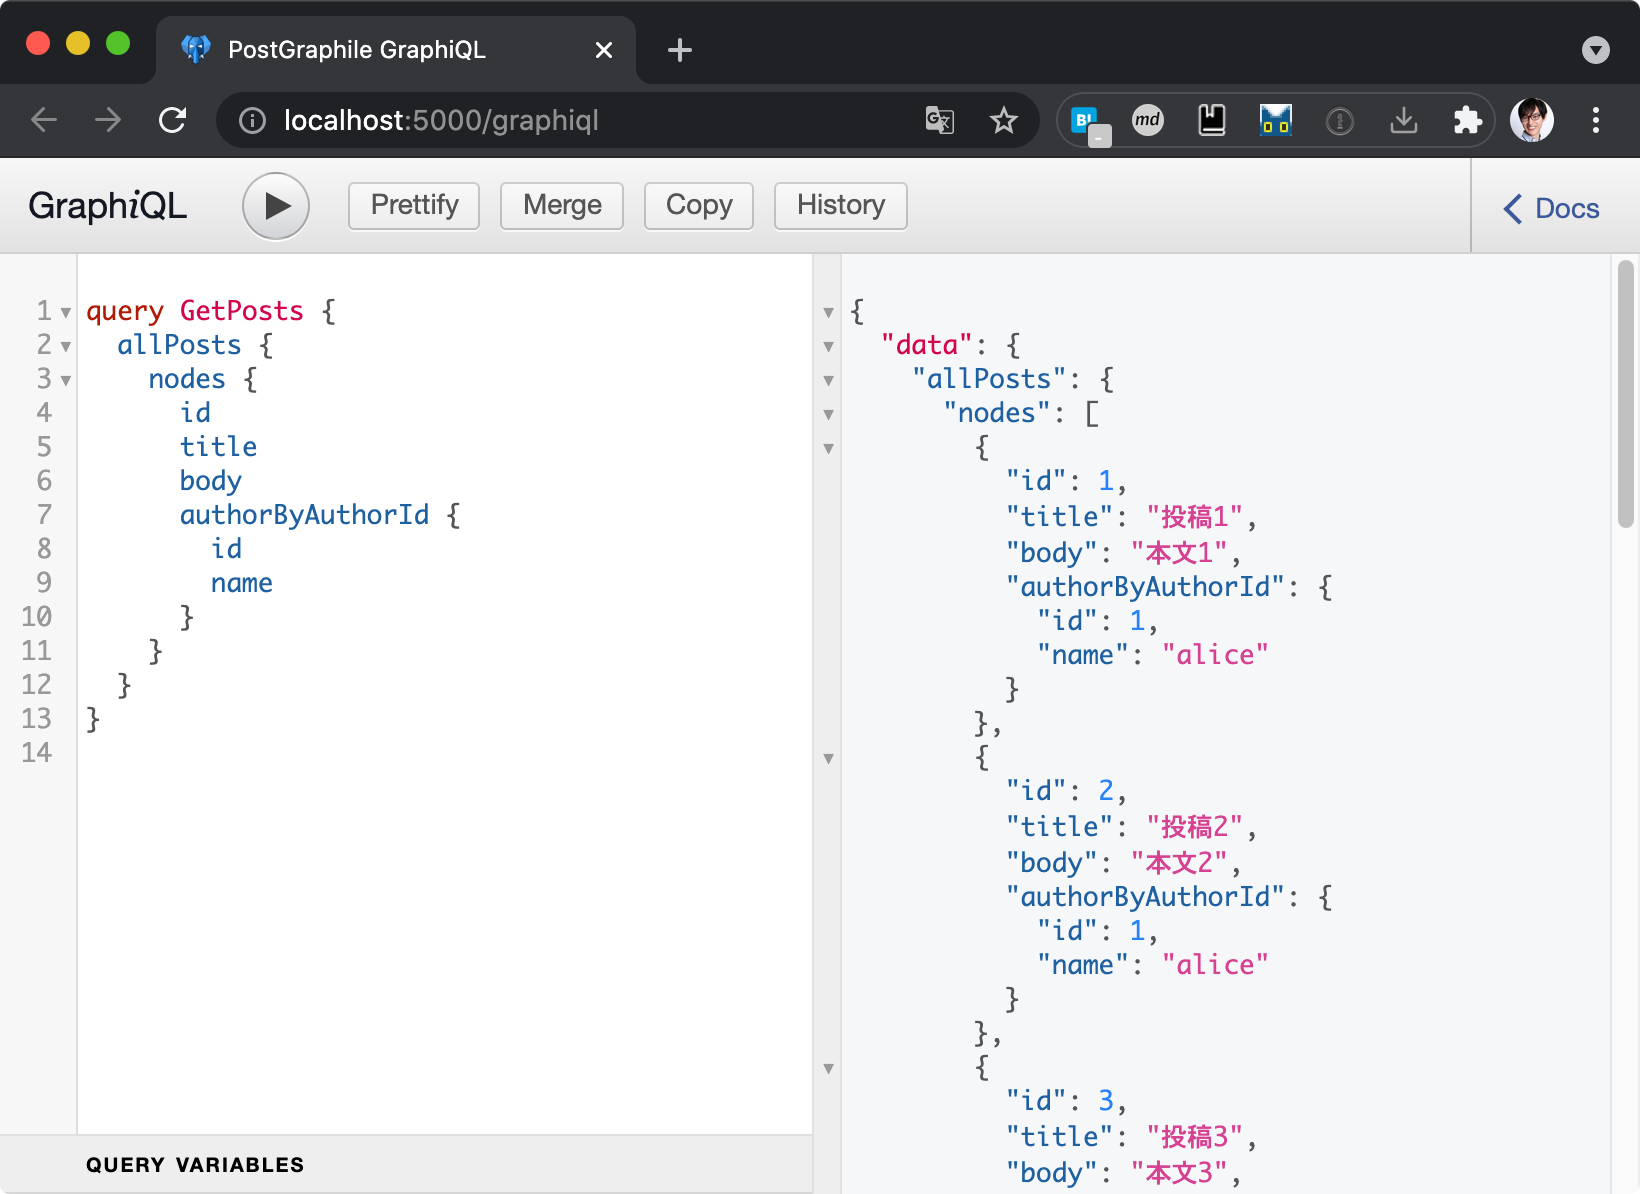
GraphiQL GUI/IDEを開いたら、次のクエリを書いてみましょう。
query GetPosts {
  allPosts {
    nodes {
      id
      title
      body
      authorByAuthorId {
        id
        name
      }
    }
  }
}
これを実行すると、postsテーブルの内容と、postsテーブルに関連しているauthorsテーブルのデータも同時に取れているはずです。
以上で、PostGraphileのインストールからシンプルなGraphQL APIの構築までの手順はおしまいです。
まとめ
- PostGraphileをインストールし、シンプルなGraphQL APIを構築するまでの手順を説明しました。
つづき
この投稿はPostGraphileのとっかかりだけを書いたものです。実際に使うときは、次のことを知らないといけないと思うので、その続きを書いていきたいと思います。
- 認証と認可のやりかた
- マイグレーションのやりかた
- 複雑な検索条件をGraphQLで使えるようにする方法