Rails×React×Dockerにて開発環境を構築したので、アウトプット用に残しておきます。
下記の記事を参考にして構築していきました。
前提知識の確認
自分は初学者でrailsでしかWebアプリを構築した事がなかったのですが、Dockerで開発環境を構築する場合は、
rails newをする前に、いくつかのファイルを用意する必要があります。
※詳しくはこちらが分かり易い
- [Docker 公式ドキュメントの Rails Quickstart 完全解説] (https://qiita.com/y_shinoda/items/1d02d3c63e003e6c7ea2)
簡単に伝えると、プロジェクトのディレクトを作成した後rails newをする前にDocker環境構築用のファイルをいくつか作成した後で、
rails newやcreate-react-app行う。
フォルダ構造は下記のような形からスタートする
- アプリ名
- backend
- Dockerfile
- entrypoint.sh
- Gemfile
- Gemfile.lock
- frontend
- Dockerfile
- docker-compose.yml
①ファイルを用意していく
上記構造のディレクトリとファイルを作成したら、中身を記述していく。
※アプリ名と記載がある部分は、ご自分で作成中のアプリ名に変更して下さい。
docker-compose.yml
version: "3"
services:
  db:
    image: mariadb
    command: mysqld --character-set-server=utf8 --collation-server=utf8_unicode_ci
    environment:
      MYSQL_DATABASE: "アプリ名_development"
      MYSQL_ROOT_PASSWORD: "password"
    volumes:
      - mysql-data:/var/lib/mysql/data
      - /tmp/dockerdir:/etc/mysql/conf.d/
    ports:
      - 3306:3306
  backend:
    build:
      context: ./backend/
      dockerfile: Dockerfile
    command: bash -c "rm -f tmp/pids/server.pid && bundle exec rails s -p 3001 -b '0.0.0.0'"
    volumes:
      - .:/アプリ名
    ports:
      - "3001:3001"
    depends_on:
      - db
  frontend:
    build:
      context: ./frontend/
      dockerfile: Dockerfile
    volumes:
      - ./frontend:/usr/src/app/frontend
    working_dir: /usr/src/app/frontend
    command: sh -c "npm start --host 0.0.0.0 --port 3000"
    ports:
      - "3000:3000"
    stdin_open: true
volumes:
  mysql-data: {}
dbには、mysqlを使用しております。
rails(backend)側では、3001番ポートで立ち上がるよう設定しており、react(frontend)側では3000番ポートにしてあります。
backend:
  build:
    ports:
      - "3001:3001"

frontend:
  build:
    ports:
      - "3000:3000"
rails側のファイル用意(全部で4つ)
- Dockerfile
- entrypoint.sh
- Gemfile
- Gemfile.lock
Dockerfile(アプリ名/backend/Dockerfile)
FROM ruby:2.7.2
RUN apt-get update -qq && apt-get install -y build-essential libpq-dev nodejs
RUN mkdir /アプリ名
WORKDIR /アプリ名
COPY Gemfile /アプリ名/Gemfile
COPY Gemfile.lock /アプリ名/Gemfile.lock
RUN bundle install
COPY . /アプリ名

# Add a script to be executed every time the container starts.
COPY entrypoint.sh /usr/bin/
RUN chmod +x /usr/bin/entrypoint.sh
ENTRYPOINT ["entrypoint.sh"]
EXPOSE 3001

# Start the main process.
CMD ["rails", "server", "-b", "0.0.0.0"]
Gemfile
source 'https://rubygems.org'
gem 'rails', '5.2.5'
railsのバージョンは5.2.5にしてあります。
最近発生していたmimemagi関連のエラーを回避する為ですが、
rails6系が良い方は、6.0.3.6又は6.1.3.1であれば、エラー回避出来るようなので、どちらかを指定して下さい。
※詳しくは下記を参照下さい
RailsのGPL混入問題についてまとめ(mimemagic)
Gemfile.lock
touch Gemfile.lockで作成したら、空ファイルのままで大丈夫です。
entrypoint.sh
# !/bin/bash
set -e

# Remove a potentially pre-existing server.pid for Rails.
rm -f /アプリ名/tmp/pids/server.pid

# Then exec the container's main process (what's set as CMD in the Dockerfile).
exec "$@"
これで、rails側の準備はOKです。
react側のファイル用意
Dockerfile(アプリ名/frontend/Dockerfile)
FROM node:14.15.1-alpine
※この記述だけで大丈夫です。
②Dockerコマンドを実行する
順番に実行して下さい。
アプリ名 $ docker-compose run backend rails new . --force --no-deps --database=mysql --api
アプリ名 $ docker-compose build
アプリ名 $ docker-compose run --rm frontend sh -c "npm install -g create-react-app && create-react-app frontend"
成功すると、見慣れたディレクトリ構造になってるかと思います。
database.yml(backend/config/database.yml)を修正する
default: &default
  adapter: mysql2
  encoding: utf8
  pool: <%= ENV.fetch("RAILS_MAX_THREADS") { 5 } %>
  username: 自分で設定
  password: "自分で設定"
  host: db
  socket: /var/run/mysqld/mysqld.sock

development:
  <<: *default
  database: アプリ名_development

test:
  <<: *default
  database: アプリ名_test
usernameとpasswordは、お好きに設定して下さい。mysqlをターミナルから使用する際に求められます。
再びDockerコマンドを実行
アプリ名 $ docker-compose up
アプリ名 $ docker-compose run api rake db:create
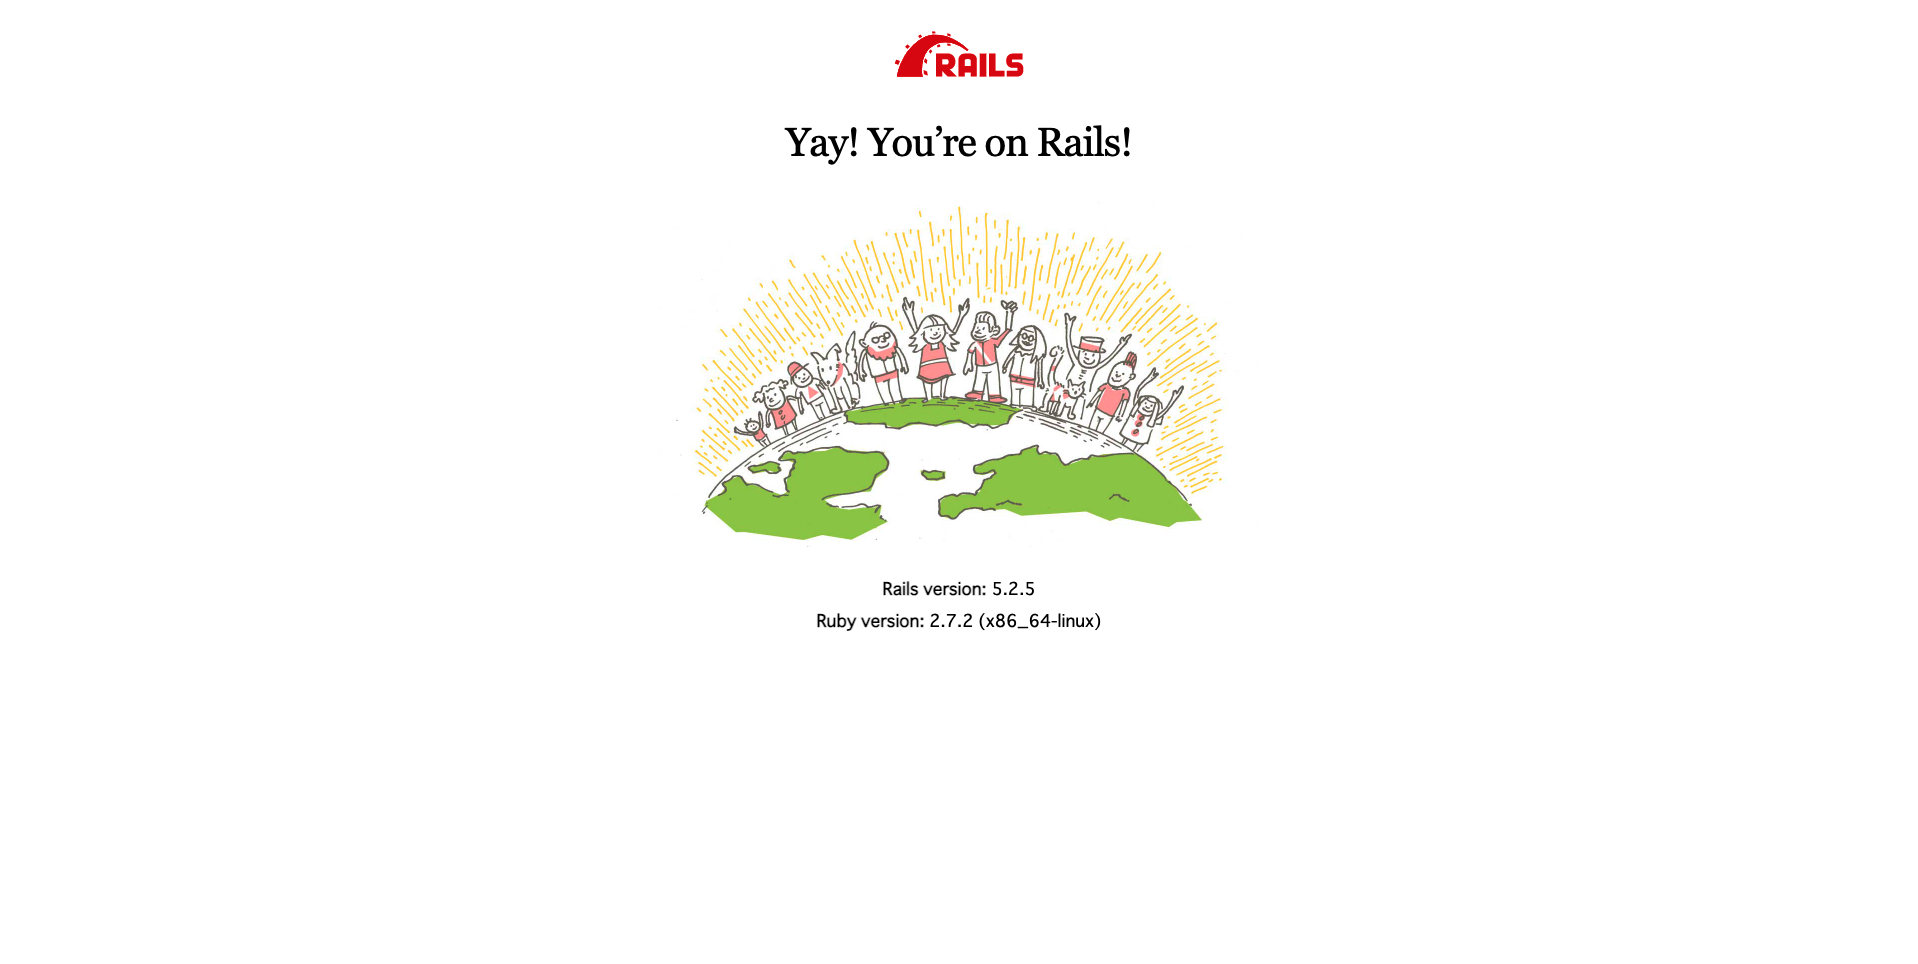
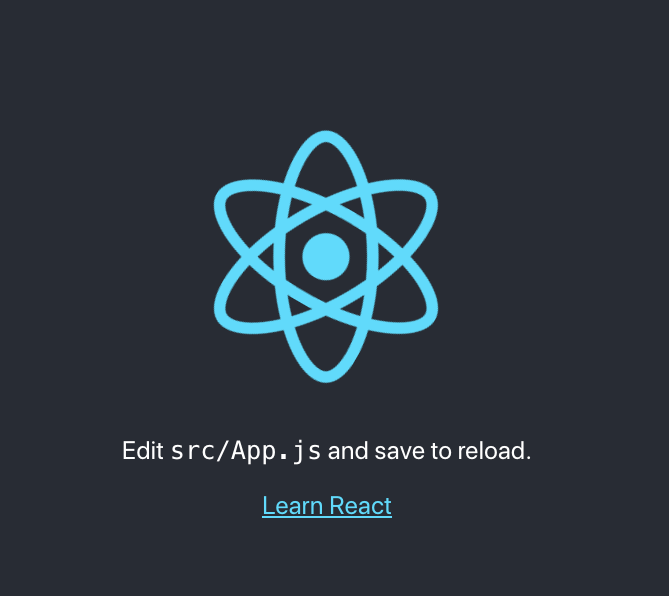
下記の画面が出ていれば、成功
rails(localhost:3001)
react(localhost:3000)
最後に
記事をまとめるのは、難しいですね・・・
初めてなので、稚拙な部分も沢山あったかと思いますが、
不明点や記述の仕方に対するフィードバックが御座いましたら、お教え頂けますと幸いです。


