はじめに
最先端の論文は知りたいけど、時間が無くて論文を読む気にならない。。。
arXiv見ても英語でよくわからないから、日本語がよい。。。
Slackとかよくわかんないし、Lineに通知して欲しい。。。
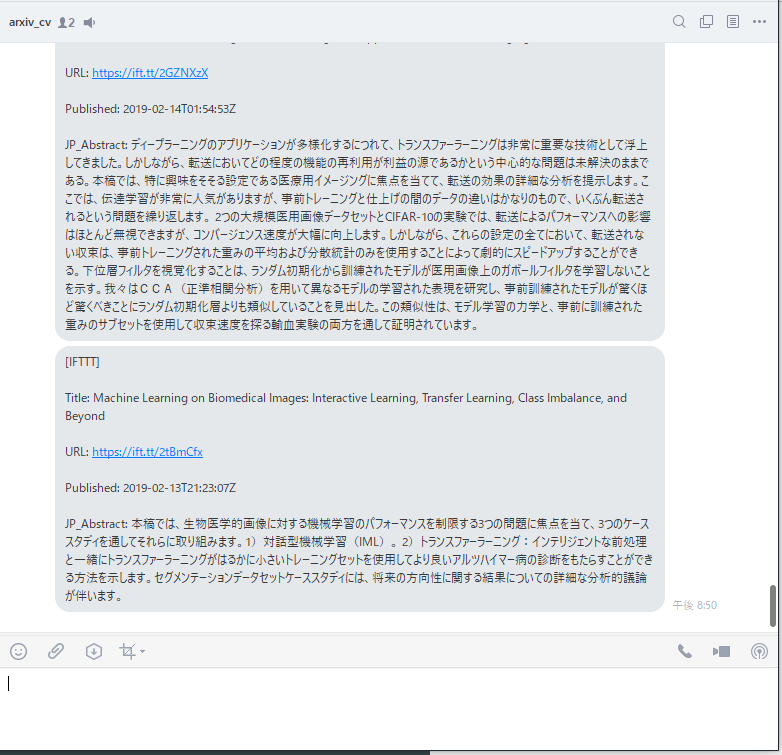
ということで、これらを満たすようなシステムを構成してみました!
追記★20210421
翻訳でエラーが出たら下記参照!
https://qiita.com/_yushuu/items/83c51e29771530646659
システム構成
こんな感じで実装していきます。トリガーは、Pythonコード実行です。
①~③をpythonコード上に記述し、④、⑤はIFTTTの設定で行います。

ちなみに、IFTTTの設定を変えれば、投稿先をlineから簡単にslackやtwitterに変えることができます。
では、各々について説明していきます。
①~③:論文取得からPOSTまでの実装
arxivからの取得コードに関しては、下記URLを参考(流用)しております。HK様感謝。
参考 : Slackで論文収集botを作る
主な変更点は2点
①:取得したAbstをGoogle翻訳にかけている
②:Post先がIFTTTのwebhook
となります。
コードの下に、個々の環境で動作させるための変更点が記述してあります。
from datetime import datetime
import re
import requests
import pickle
import os
from googletrans import Translator

import requests

# webhook POST先URL
API_URL = "https://maker.ifttt.com/trigger/<IFTTTに設定するイベント名>/with/key/<IFTTTでの個人用KEY>"

# 検索ワード
QUERY = "(cat:cs.CV)+AND+(abs:depth)"


def parse(data, tag):
    # parse atom file
    # e.g. Input :<tag>XYZ </tag> -> Output: XYZ

    pattern = "<" + tag + ">([\s\S]*?)<\/" + tag + ">"
    if all:
        obj = re.findall(pattern, data)
    return obj


def search_and_send(query, start, ids, api_url):
    translator = Translator()
    while True:
        counter = 0

        url = 'http://export.arxiv.org/api/query?search_query=' + query + '&start=' + str(
            start) + '&max_results=100&sortBy=lastUpdatedDate&sortOrder=descending'
        # Get returned value from arXiv API
        data = requests.get(url).text
        # Parse the returned value
        entries = parse(data, "entry")
        for entry in entries:
            # Parse each entry
            url = parse(entry, "id")[0]
            if not (url in ids):
                # parse
                title = parse(entry, "title")[0]
                abstract = parse(entry, "summary")[0]
                date = parse(entry, "published")[0]

                # abstの改行を取る
                abstract = abstract.replace('\n', '')

                # 日本語化 ★②の部分
                title_jap = translator.translate(title, dest='ja')
                abstract_jap = translator.translate(abstract, dest='ja')

                message = "\n".join(
                     ["<br>Title:  " + title, "<br><br>URL: " + url, "<br><br>Published: " + date, "<br><br>JP_Abstract: " + abstract_jap.text])

                # webhookへPost ★①の部分
                response = requests.post(api_url, data={"value1": message})


                ids.append(url)
                counter = counter + 1
                if counter == 10:
                    return 0
        if counter == 0 and len(entries) < 100:
            requests.post(api_url, data={"value1": "Currently, there is no available papers"})
            return 0
        elif counter == 0 and len(entries) == 100:
            # When there is no available paper and full query
            start = start + 100


if __name__ == "__main__":
    print("Publish")
    # setup =========================================================
    # Set URL of API
    api_url = API_URL

    # Load log of published data
    if os.path.exists("published.pkl"):
        ids = pickle.load(open("published.pkl", 'rb'))
    else:
        ids = []

    # Query for arXiv API
    query = QUERY


    # start =========================================================
    start = 0

    # Post greeting to your Slack
    dt = datetime.now().strftime("%Y/%m/%d %H:%M:%S")
    requests.post(api_url, data={"value1": dt})

    # Call function
    search_and_send(query, start, ids, api_url)

    # Update log of published data
    pickle.dump(ids, open("published.pkl", "wb"))
個々の環境で動作させるために、変更が必要になる部分は、コード上部の下記の部分になります。
# webhook POST先URL
API_URL = "https://maker.ifttt.com/trigger/<①IFTTTに設定するイベント名>/with/key/<②IFTTTでの個人用KEY>"

# 検索ワード
QUERY = "(cat:cs.CV)+AND+(abs:depth)"
API_URLは、webhook POST先URLを、QUERYはarxivでの検索ワードとなります。
API_URLには、
①:IFTTTに設定するイベント名
②:IFTTTでの個人用KEY
を各自で設定する必要があります。
QUERYに関しては、arxiv APIでググると出てきます。現状は、CV分野でアブストの中にdepthと記述してあるものです。
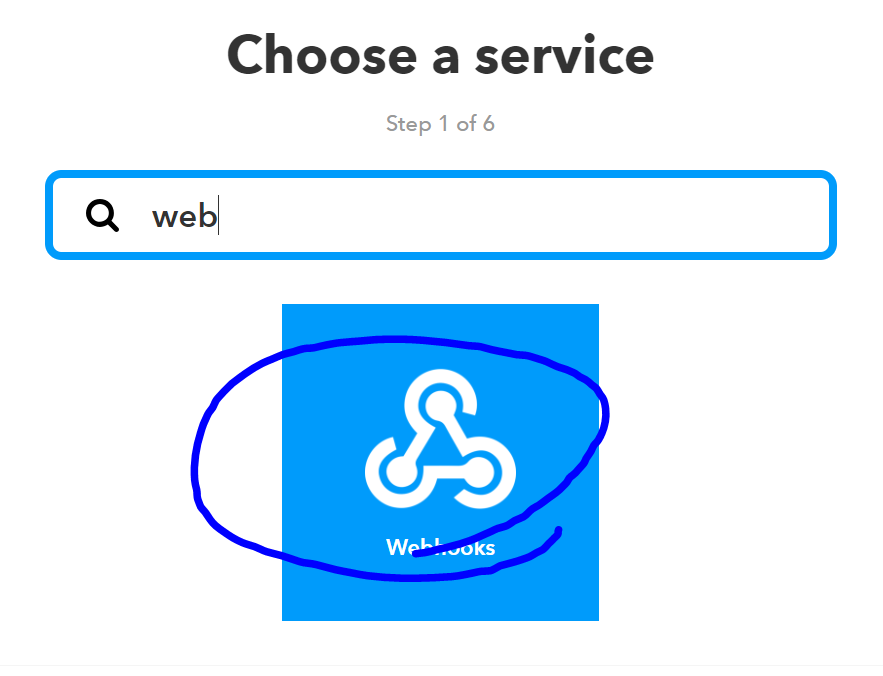
④、⑤:IFTTT設定
さっそく設定をしていきます。
前提として、IFTTT登録済みとさせていただきます。
まだの方は、下記のページで登録までやっちゃいましょう。
https://ifttt.com/discover
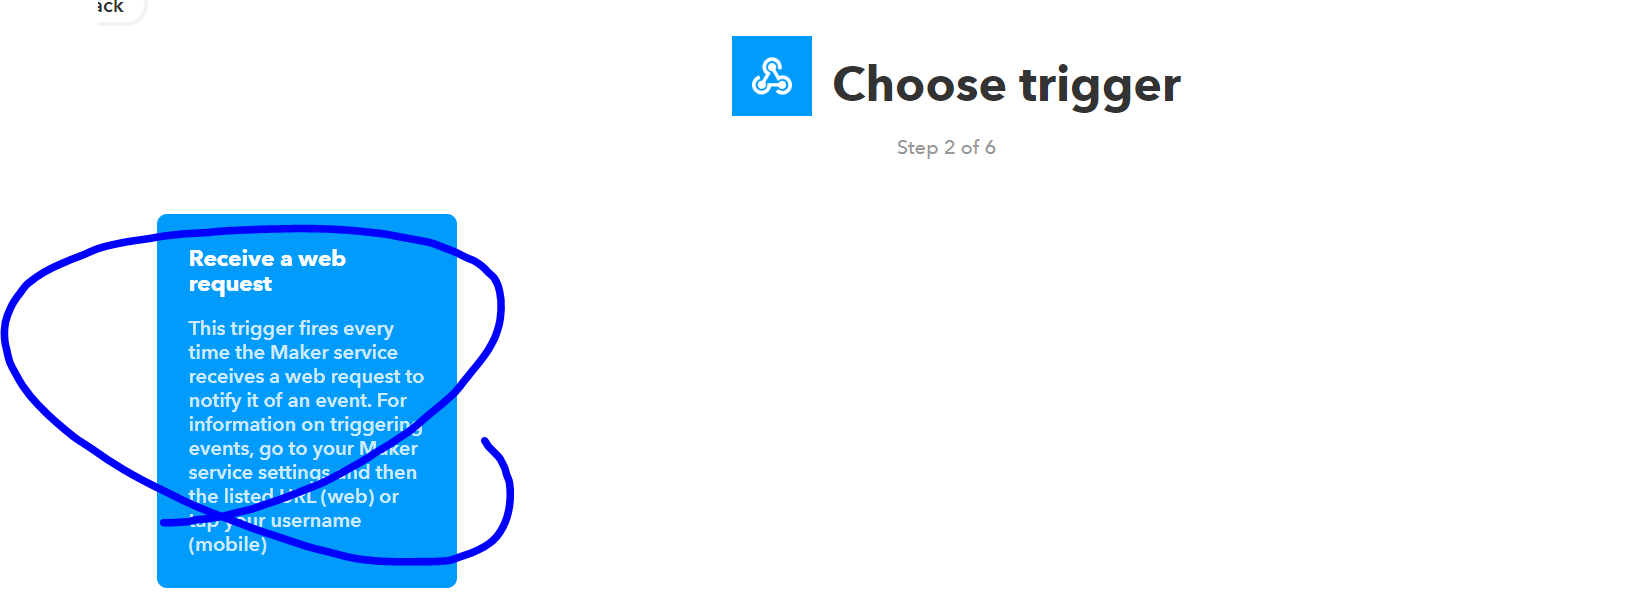
Applet作成
Trigger側の設定作成!
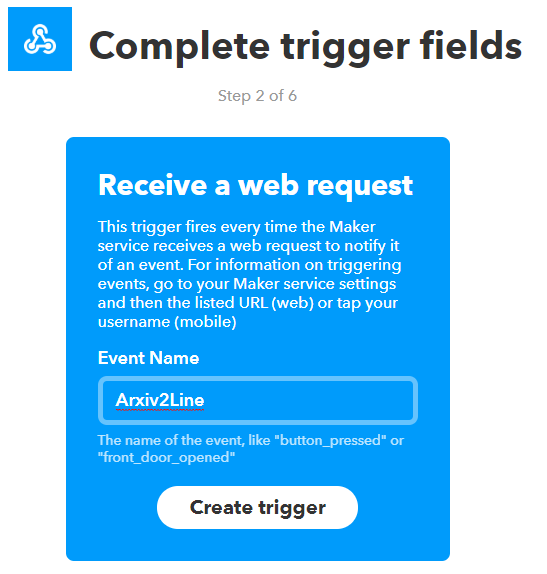
下記の入力ボックスに独自のEvent NameをつけてCreateTriggerをポチります。
ここのEvent Nameが、先ほどのpythonコード中の<①:IFTTTに設定するイベント名>となります。
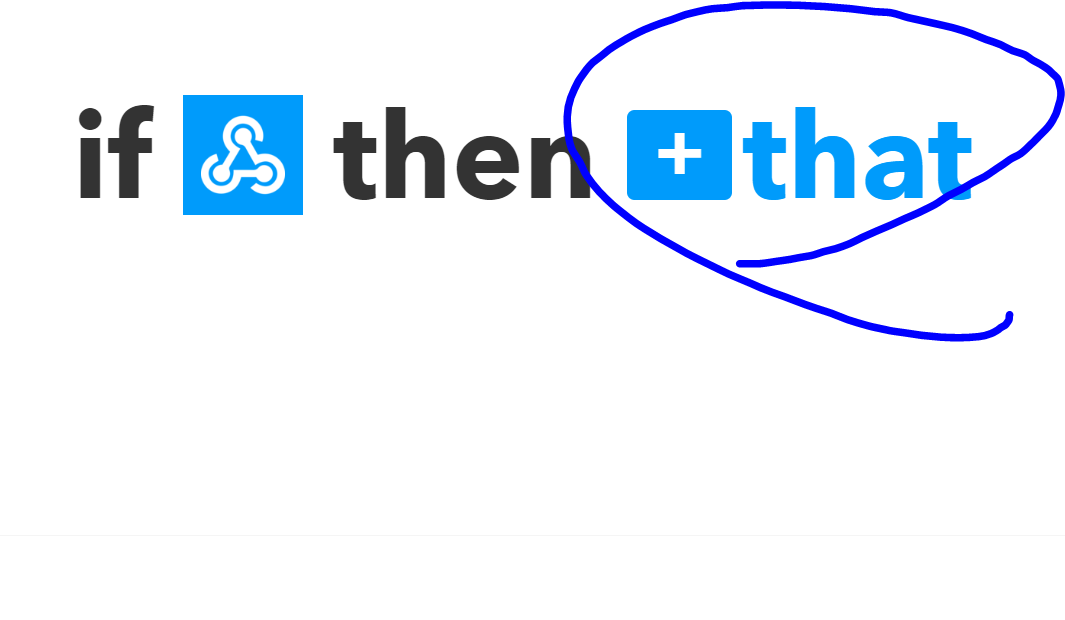
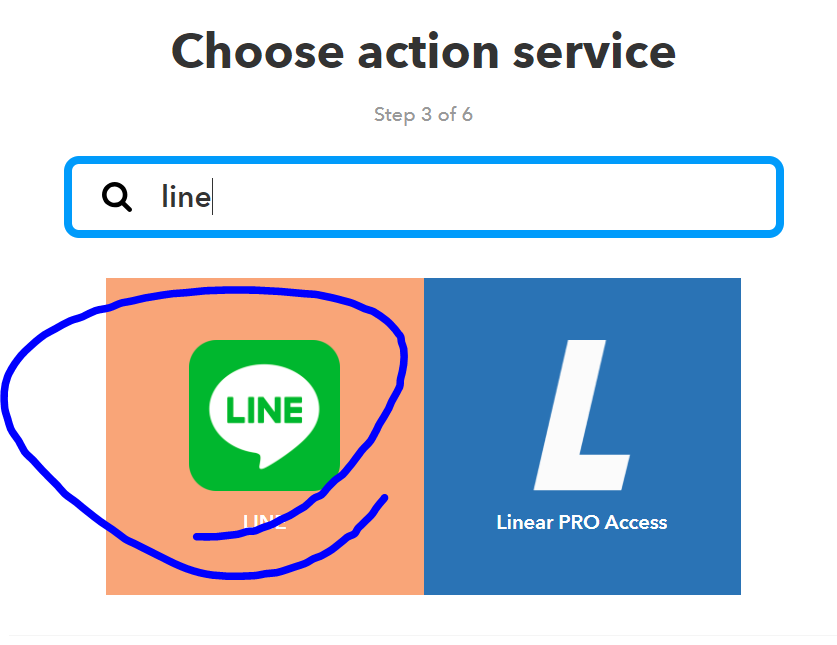
Action側の設定作成!
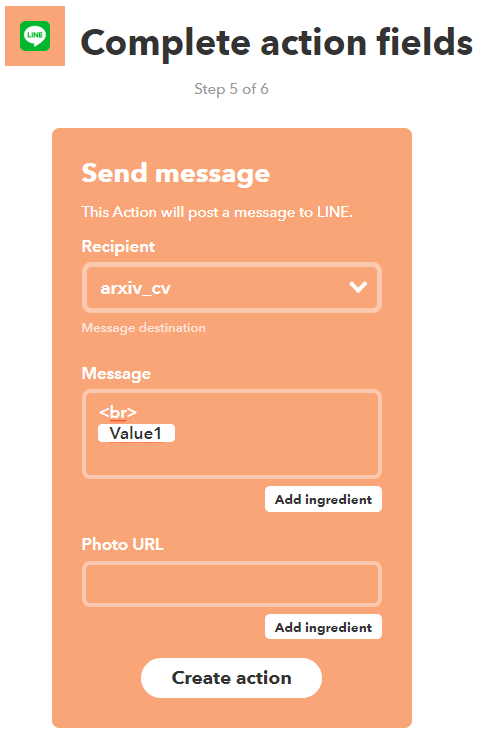
続いて、Action側の設定を行っていきます。
あらかじめ、Lineグループを作成しておくと、そこにPostすることができます。
IFTTTでの個人用KEY取得
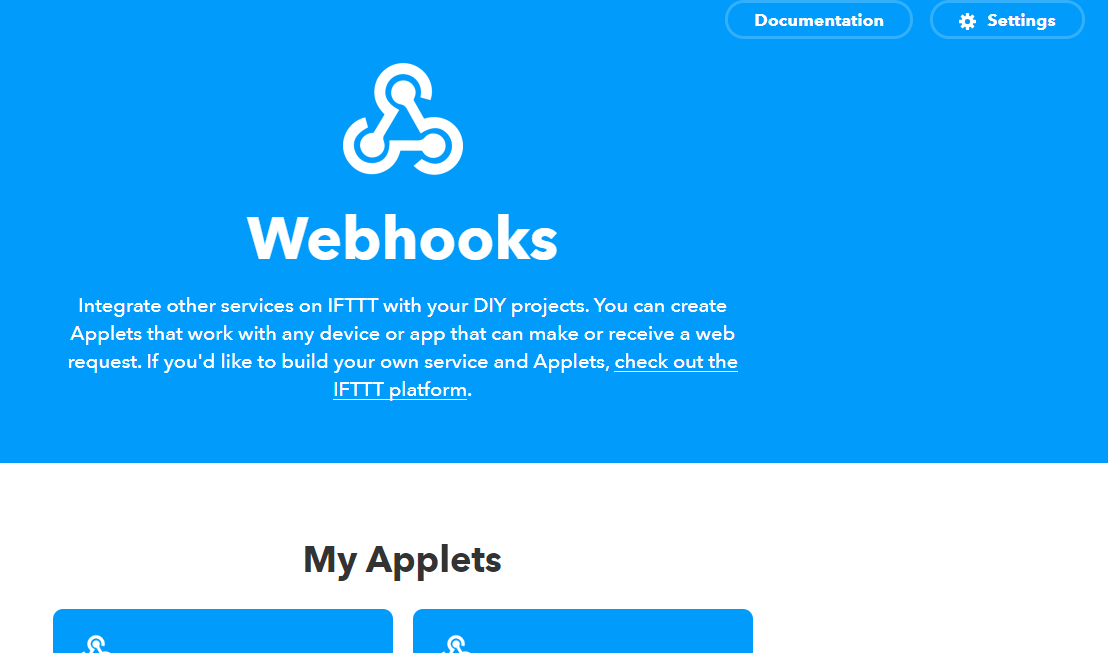
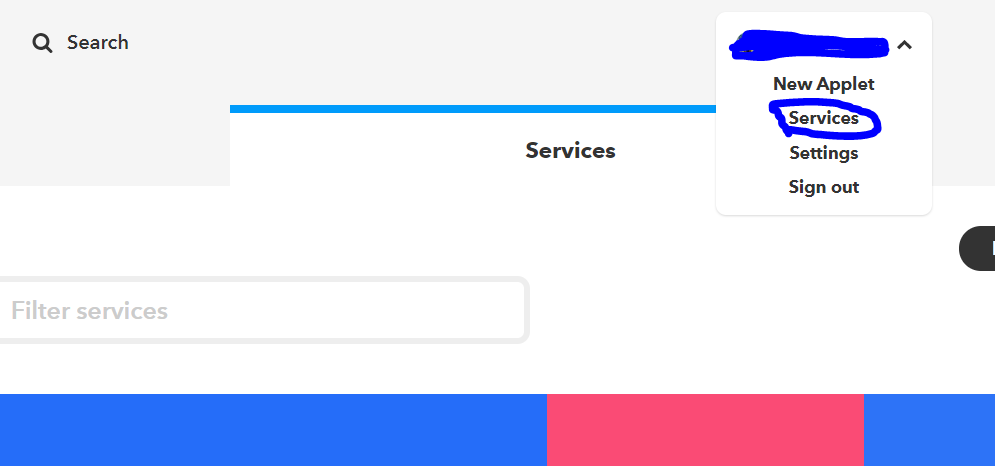
右上のsettings->serviceをポチ
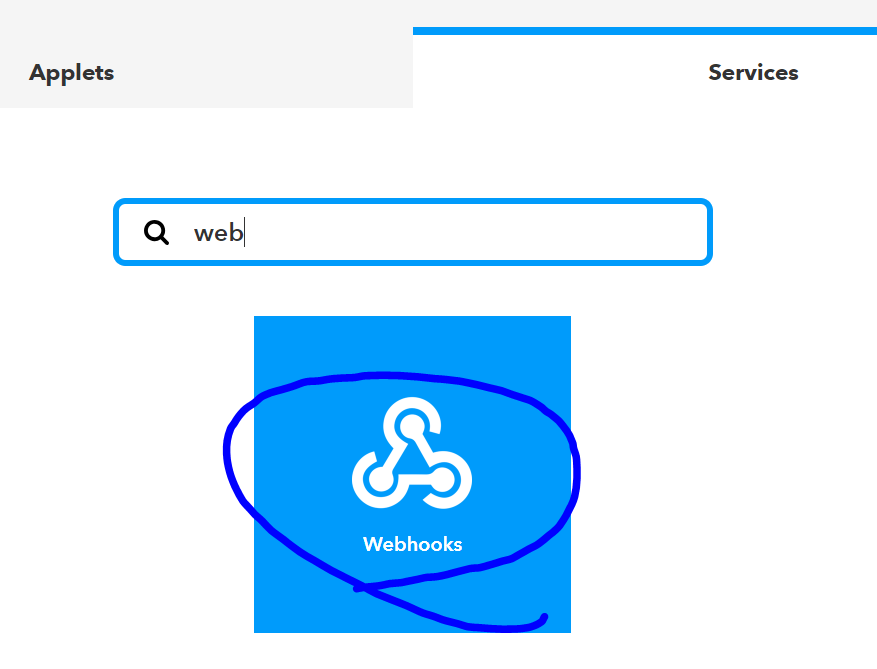
serviceからwebhookを検索し、ポチる。
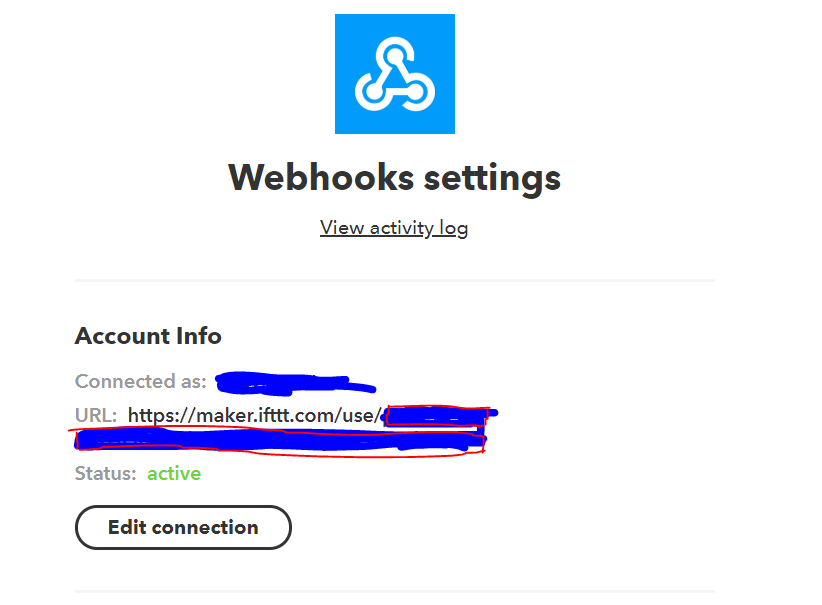
ここの、赤で囲った部分が、IFTTTでの個人用KEYとなります。
まとめ
こんな感じで実装することで、簡単にLINEに論文まとめを投稿することができます!
今回、僕はgoogle coraboratoryを使用して、これらを実装をいたしました。
https://colab.research.google.com/notebooks/welcome.ipynb?hl=ja
次の目標は、AWSで定期的実行する、といったところでしょうか。
IFTTTのよい勉強になりました!
