はじめに
前回の記事で、DataZone の QuickStart を実行しました。前回は S3 にデータを格納して、Athena 経由でクエリーを行う内容を確認しました。DataZone は、Redshift とも連携機能があるので、この記事で Redshift との連携を確認してみます。
Redshift Provisioned を用意
Redshift の Provisioned cluster を用意します。

Redshift に接続します。
psql \
-h redshift-cluster-1.chigetqqkdgx.us-east-1.redshift.amazonaws.com \
-p 5439 \
-U awsuser \
-d tpch_3tb
次のように、 TPC-H の 8テーブルを準備しました。
- tpch_3tb データベース
- public スキーマ
tpch_3tb=# \dt
          List of relations
 schema |   name   | type  |  owner
--------+----------+-------+---------
 public | customer | table | awsuser
 public | lineitem | table | awsuser
 public | nation   | table | awsuser
 public | orders   | table | awsuser
 public | part     | table | awsuser
 public | partsupp | table | awsuser
 public | region   | table | awsuser
 public | supplier | table | awsuser
(8 rows)
DataZone のデータソースに Redshift を追加
DataZone に Redshift を連携させます。
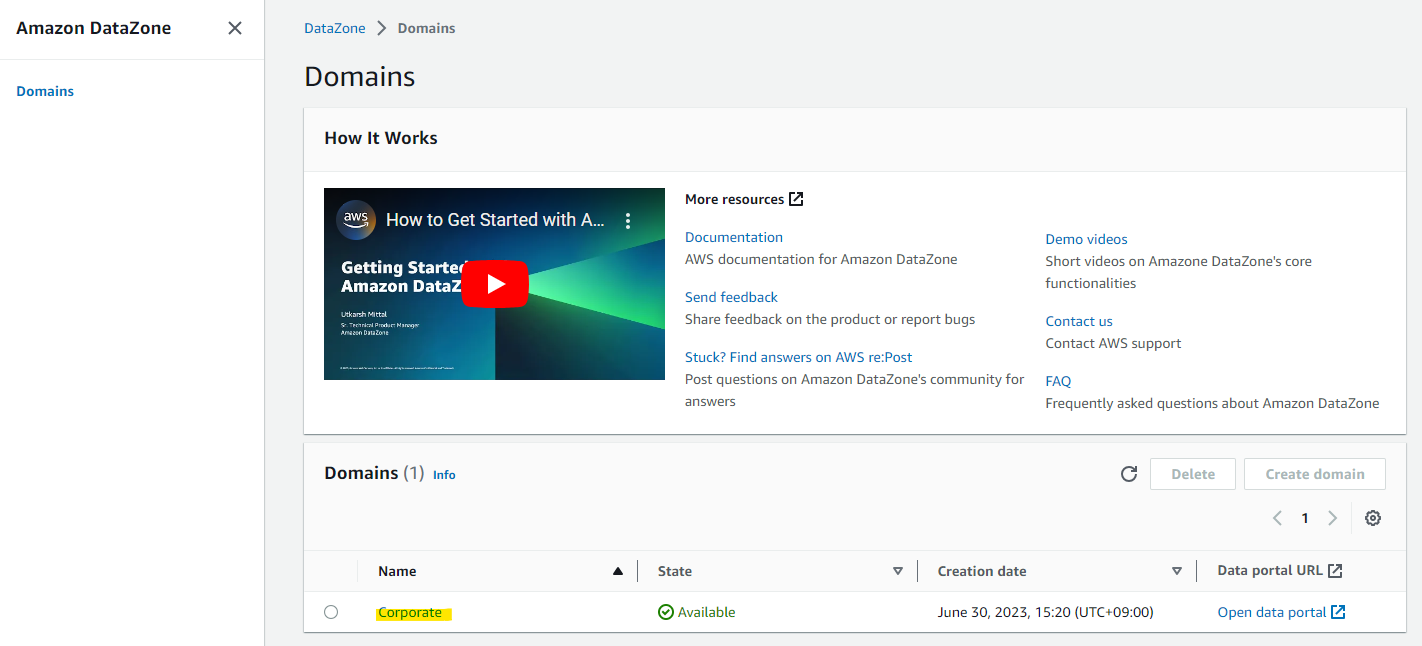
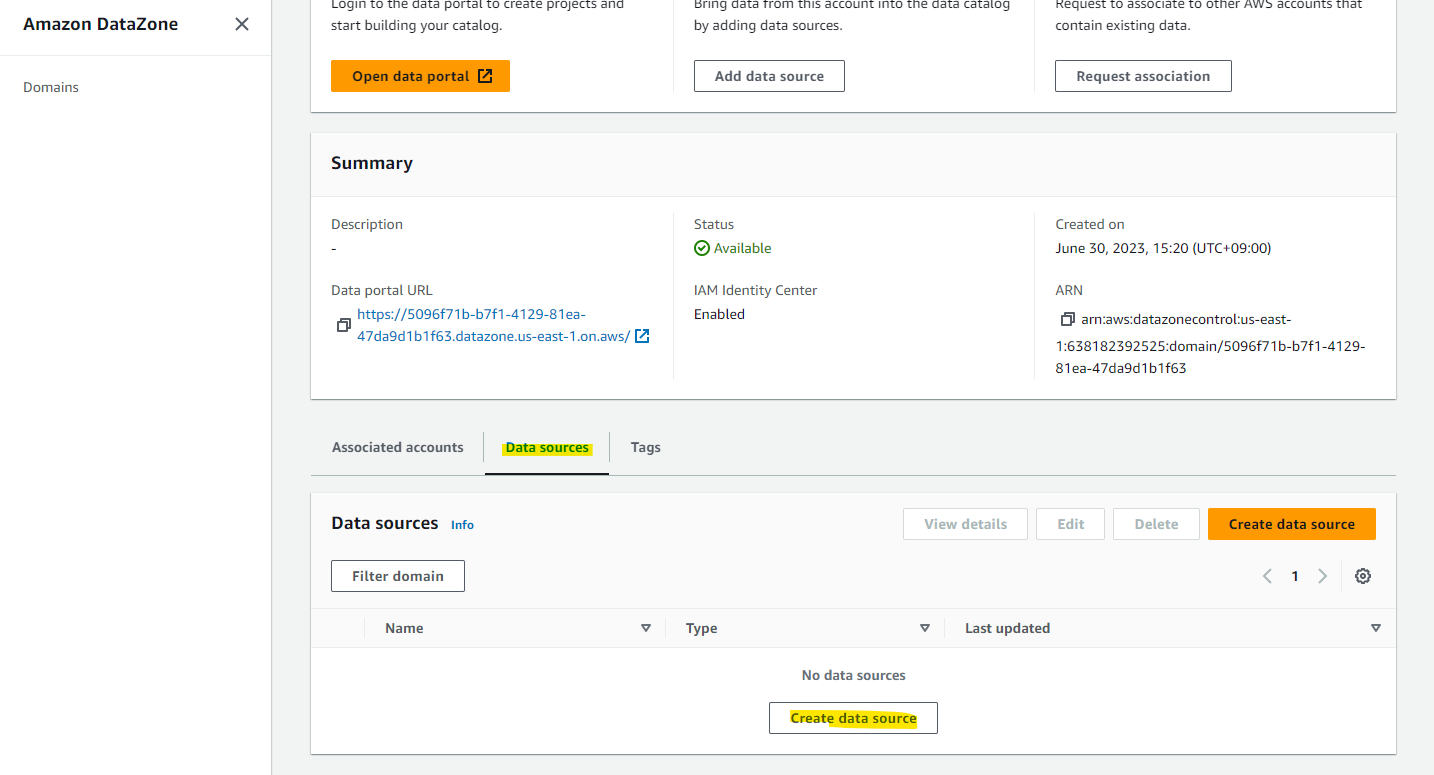
Data source のタブで Create data source を選択します。
適当に名前を指定して、連携したい DataZone 上の Domain を指定します。
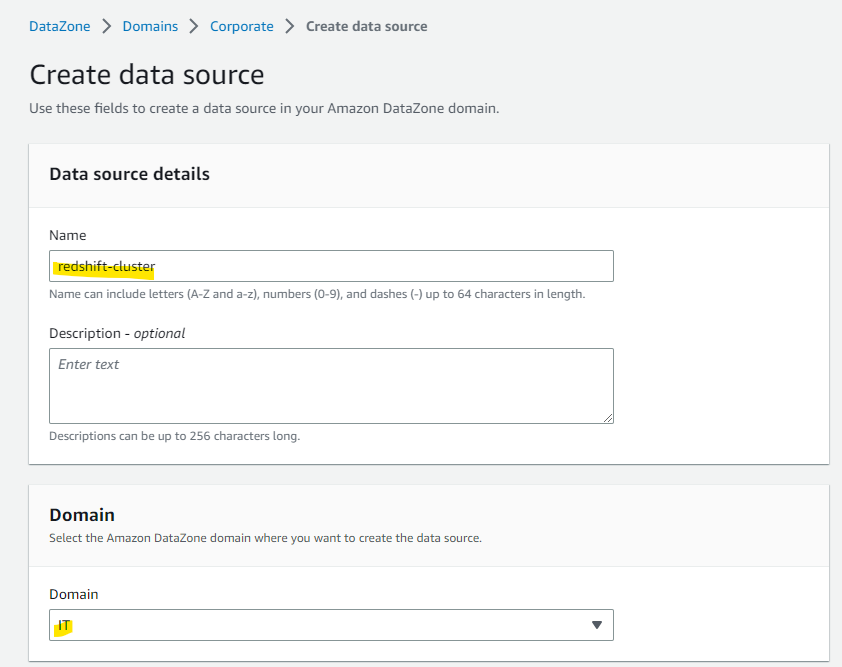
Redshift 上の Database tpch_3tb を指定します。
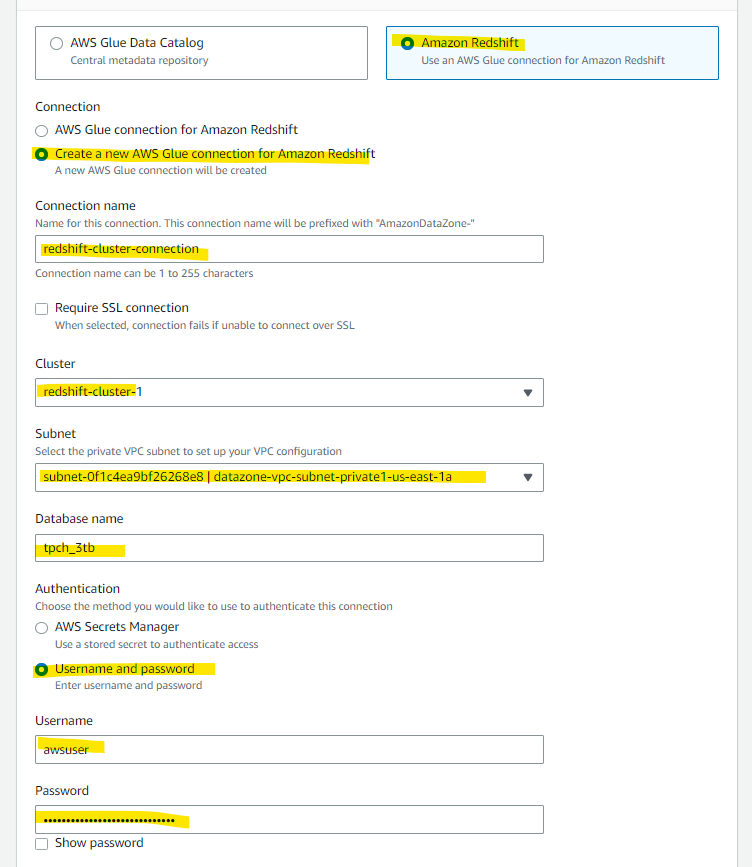
このあたりの IAM Role はよくわからないので、自動生成に任せます。

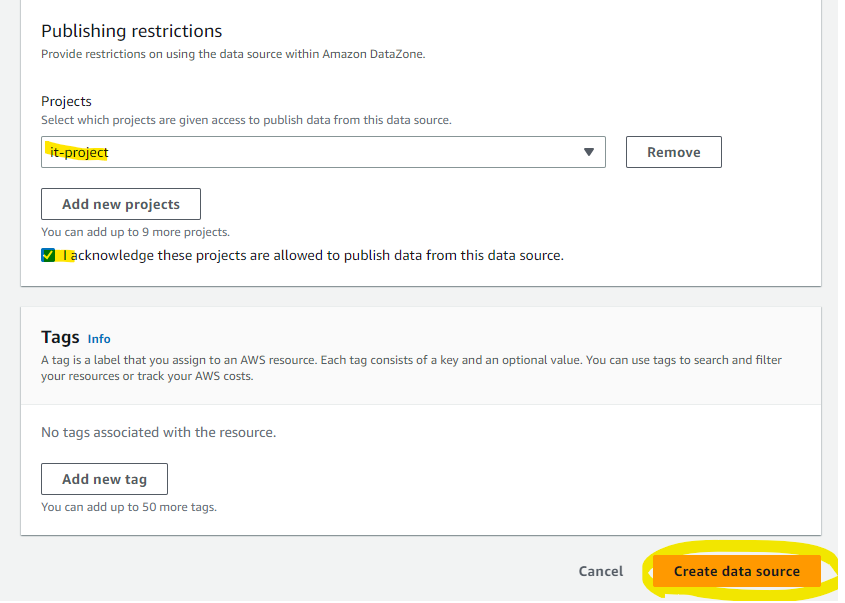
対象の Project を指定して、Create を押します。
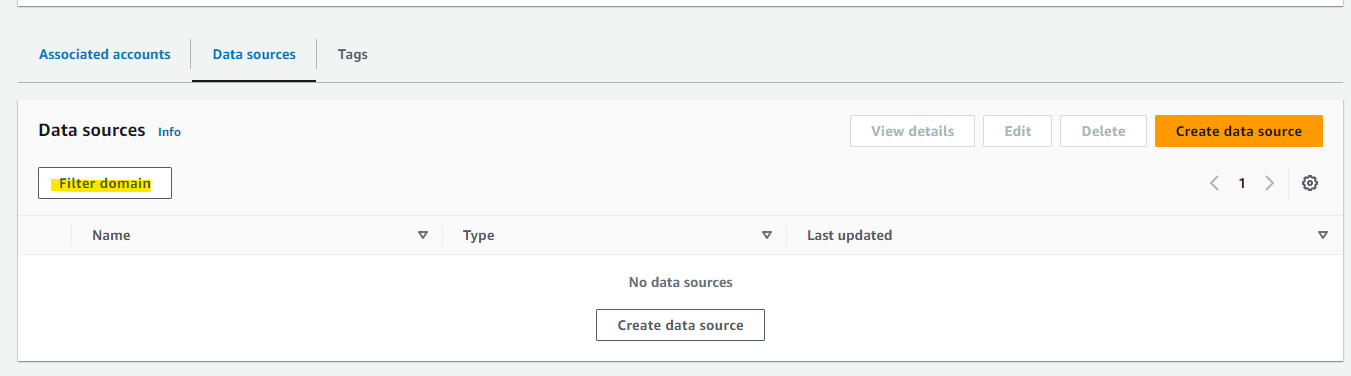
一見、Data source には何も追加されていないように見えますが、Filter domain を選択します。
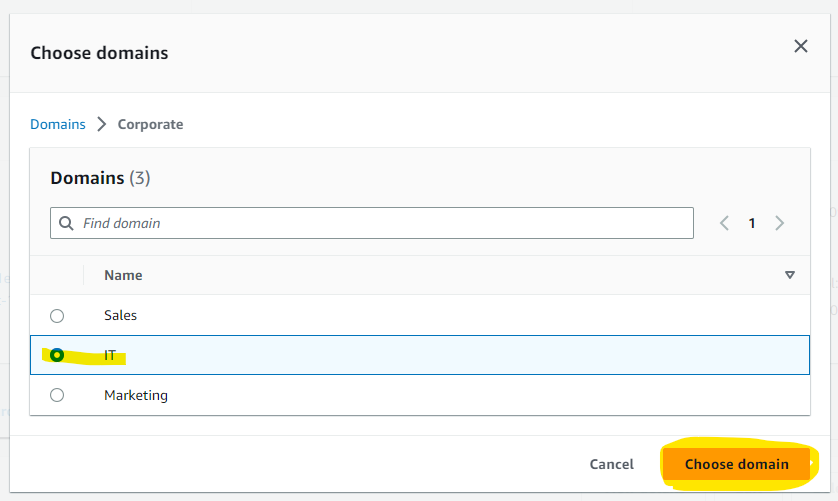
IT ドメインを指定します。
Redshift Cluster が登録されていることを確認しました。

IT Project 上で Redshift のデータを Publish
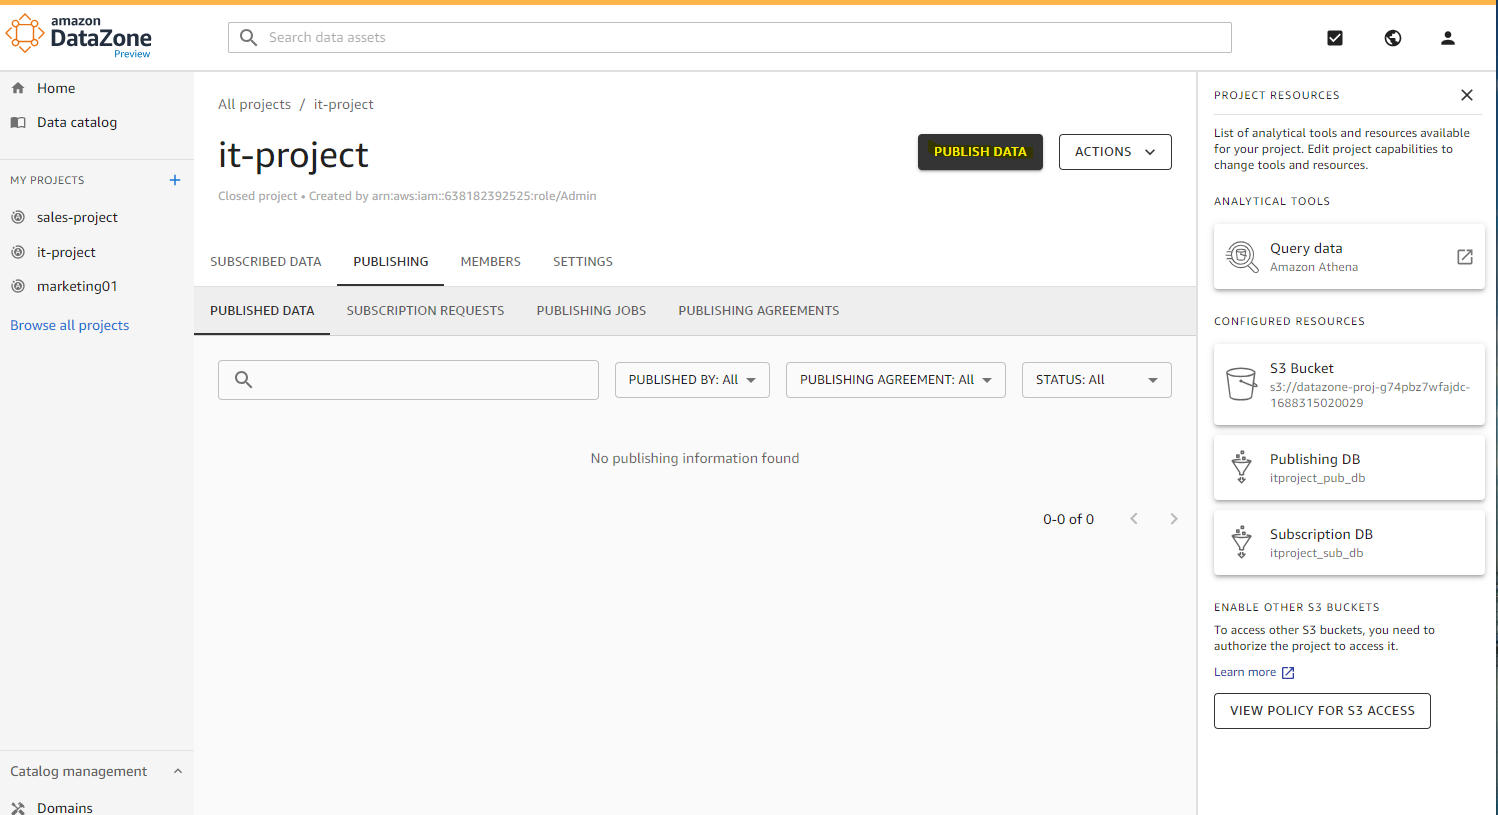
DataZone の IT Project 上で Publish Data を押して、Redshift のデータをデータカタログに公開します。
適当に Job の名前を入れます。
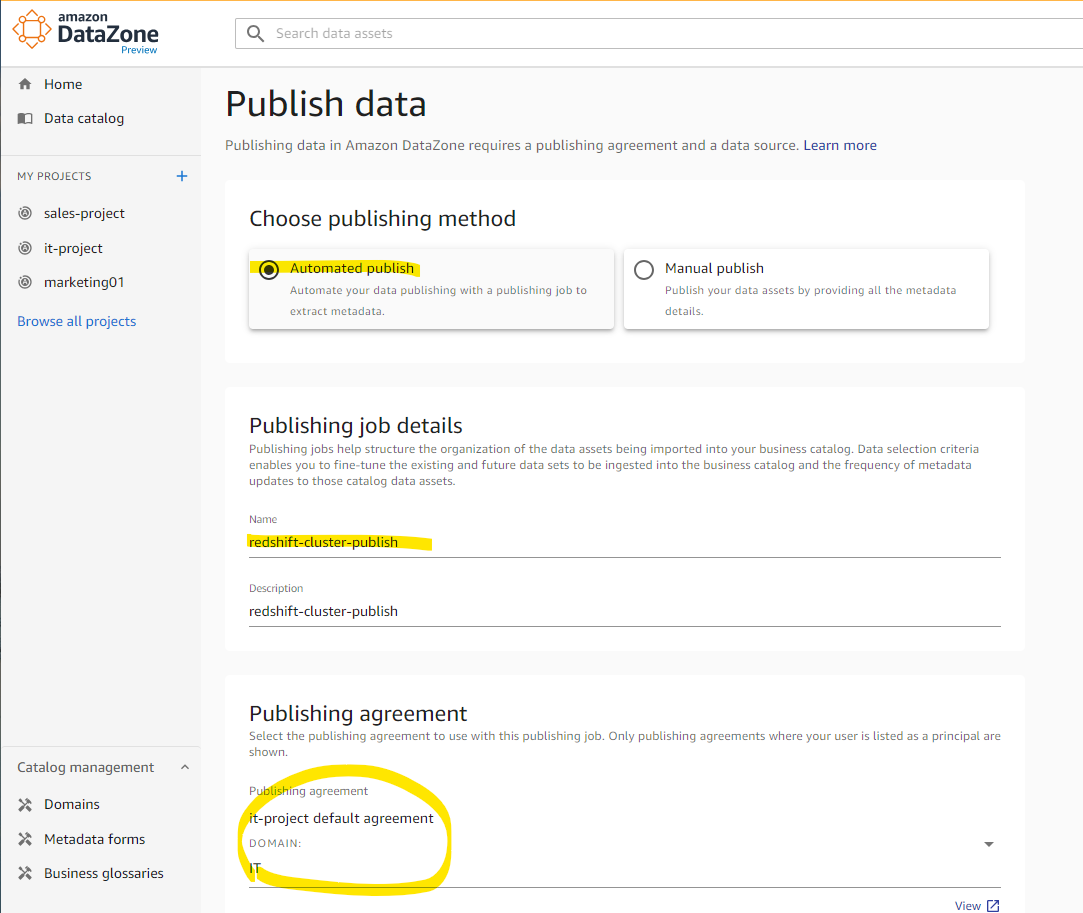
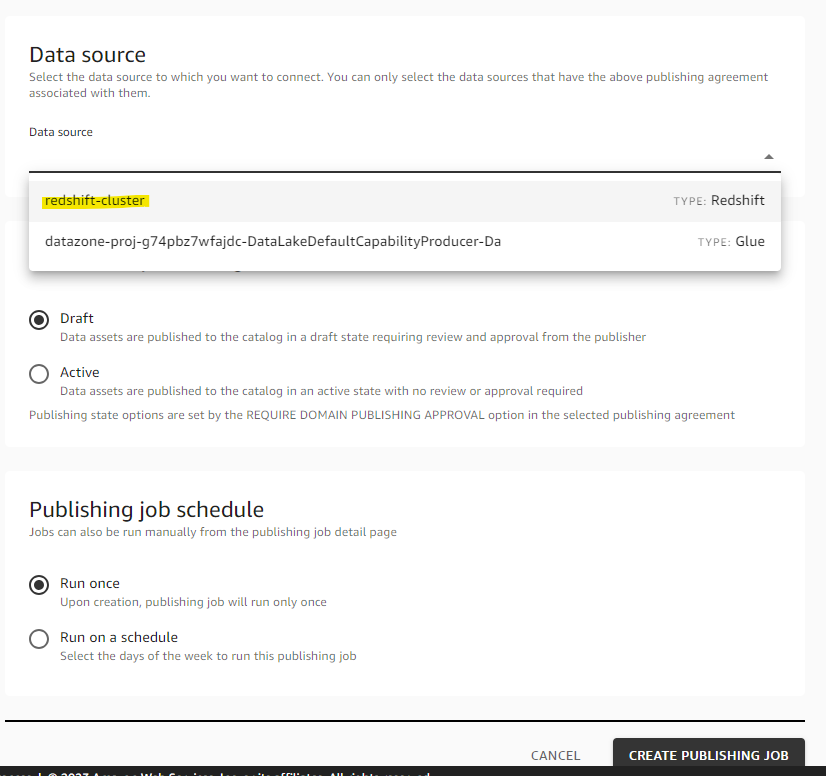
Data Source で Redshift が選択できるようになっています。redshift-cluster を選択します。
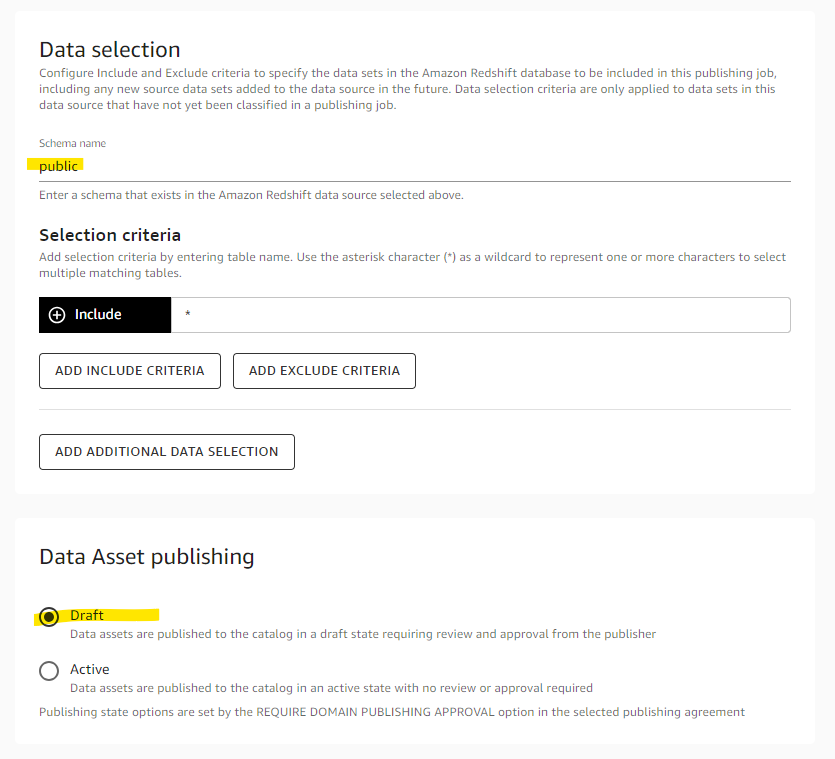
Redshift 上のスキーマを指定します。public スキーマを指定します。
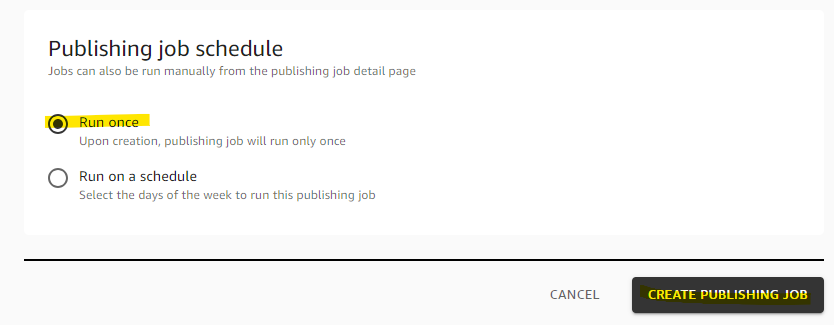
Run once を選択して、Create を押します。
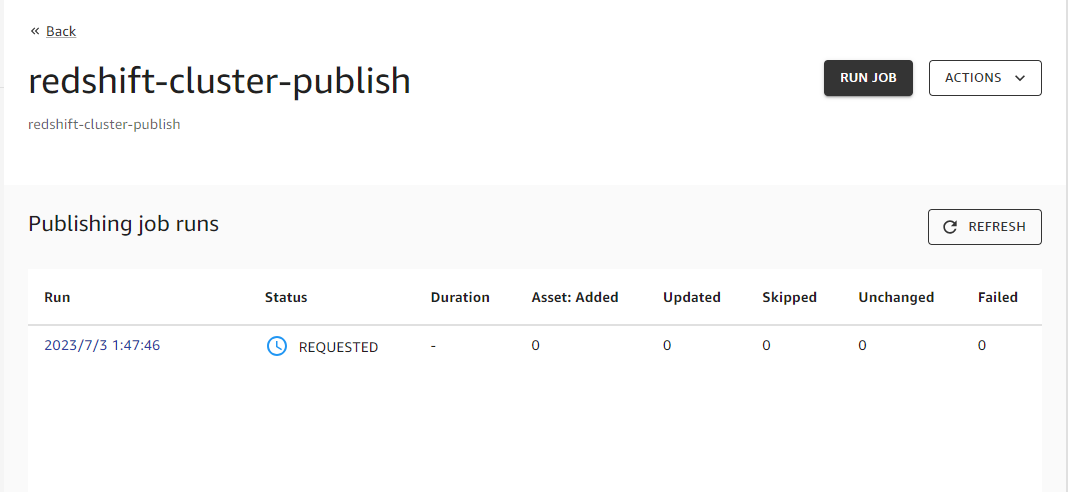
REQUESTED になりました。
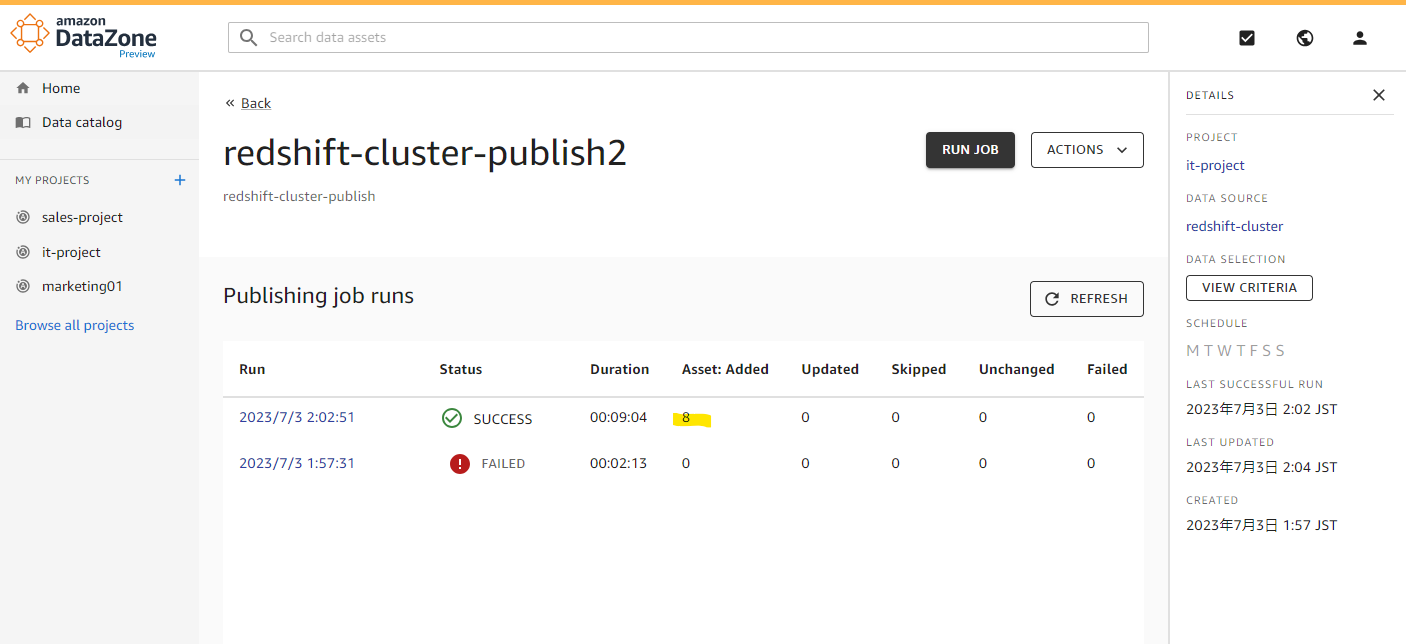
一定時間後、SUCCESS に変わり、Redshift 上の 8 テーブルが追加されました。
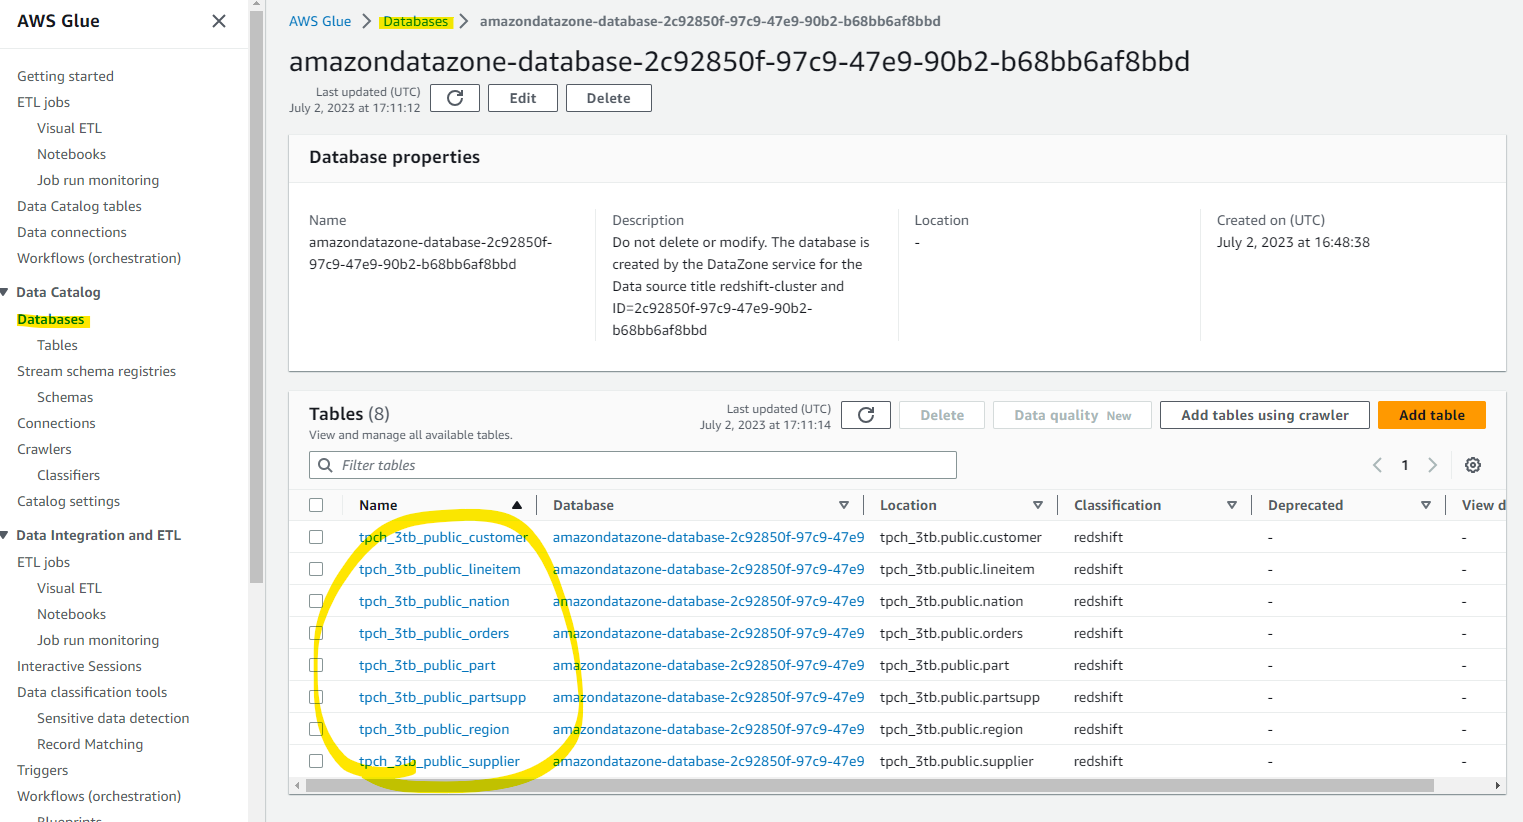
Glue DataCatalog 上にも自動的に Database が作成され、Table が追加されています
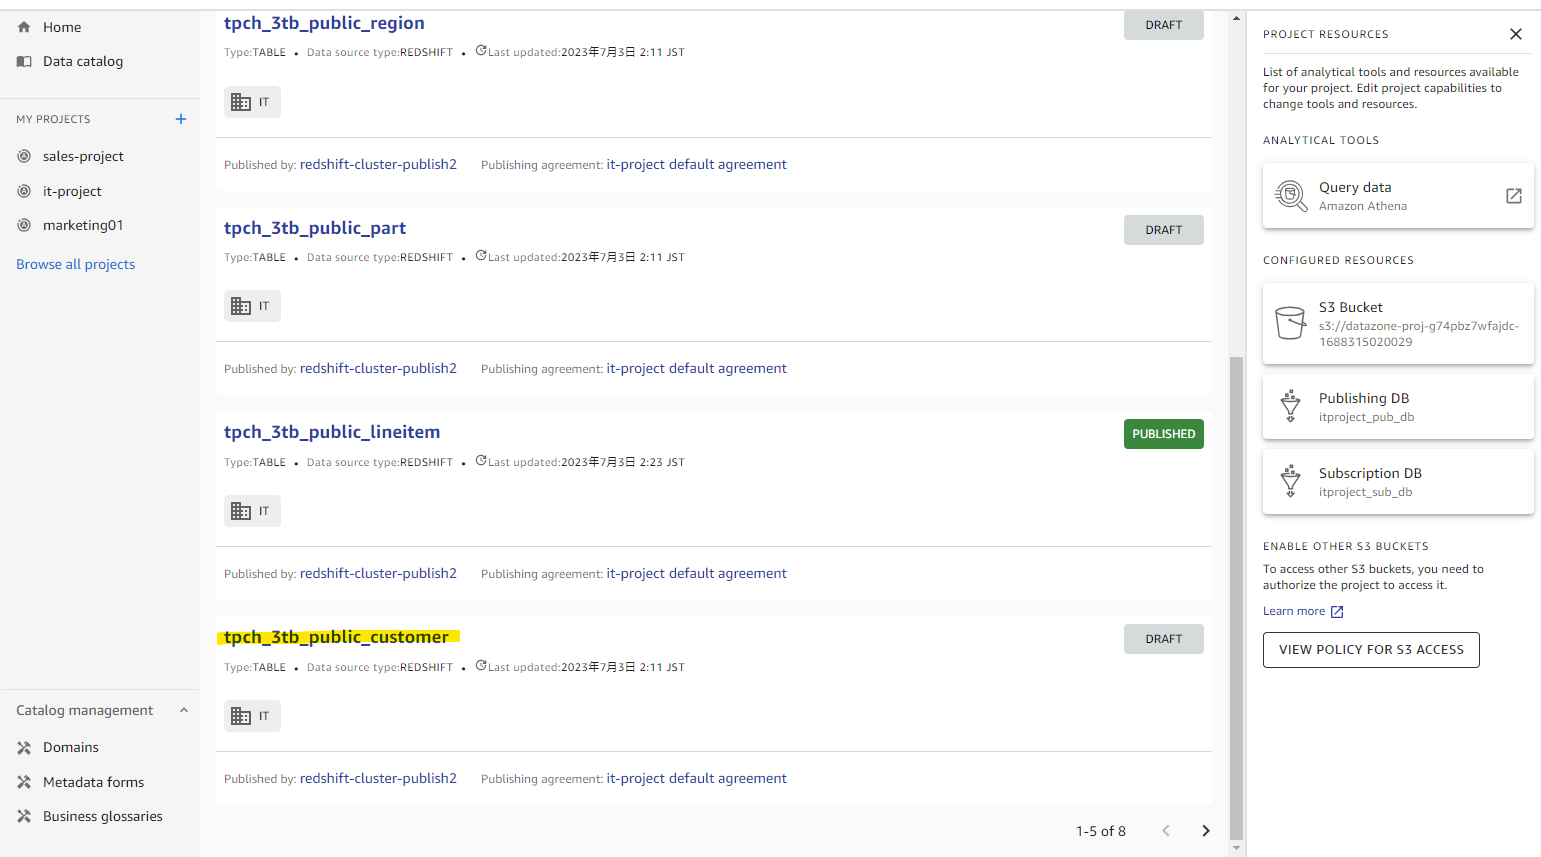
Draft として 8 テーブルが認識されています。

日本語のメタデータを入力するため、適当にテーブルを選択します。
Edit を押します。
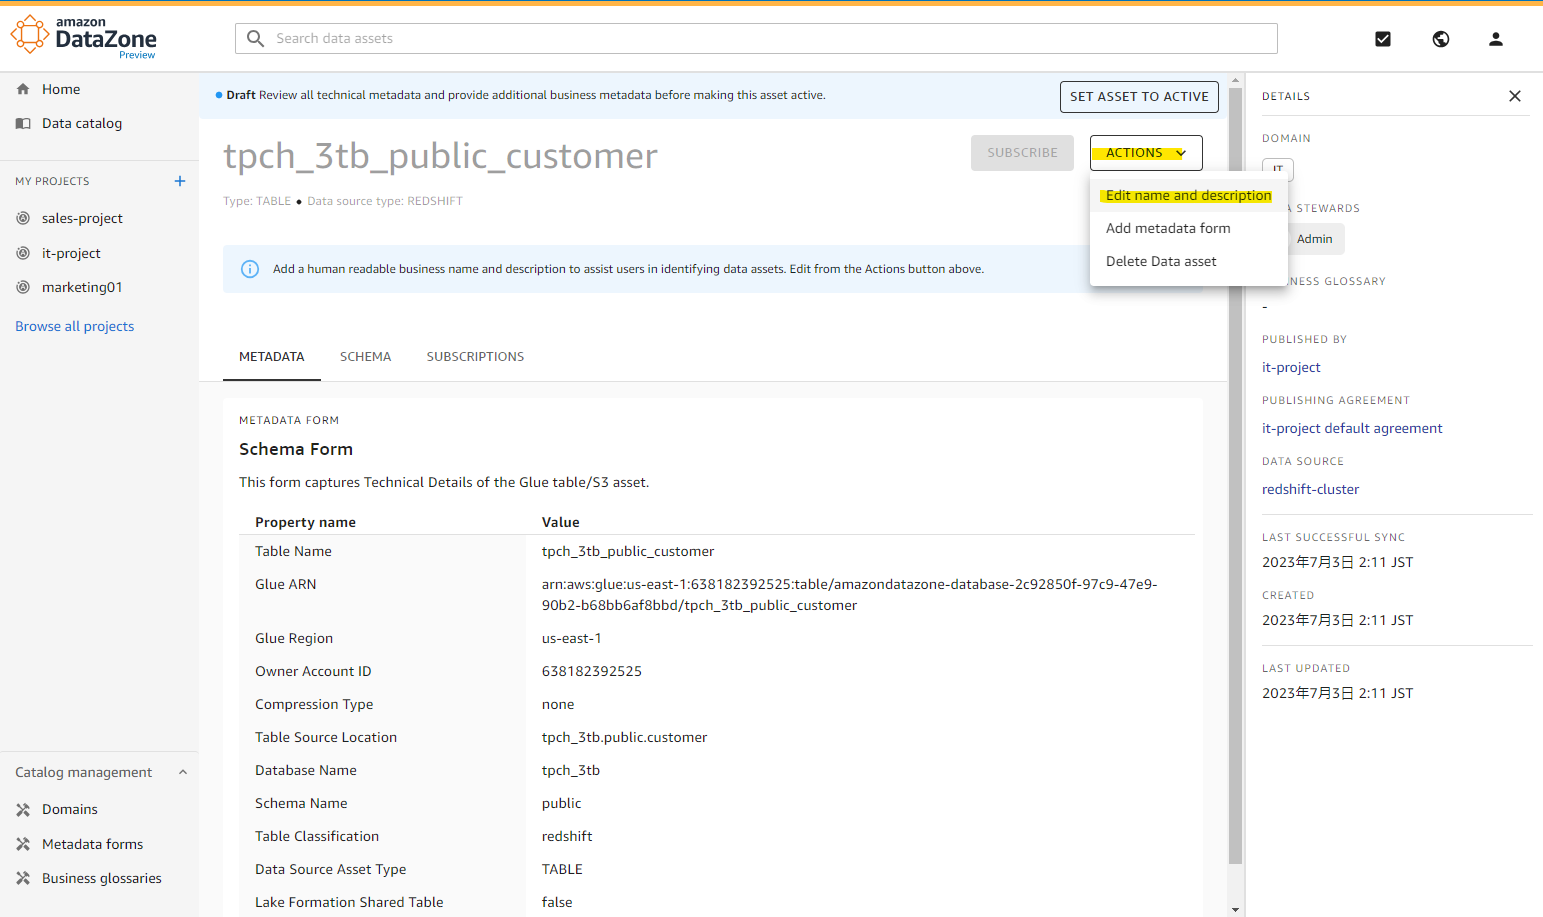
テーブル名のわかりやすい名前をいれます。
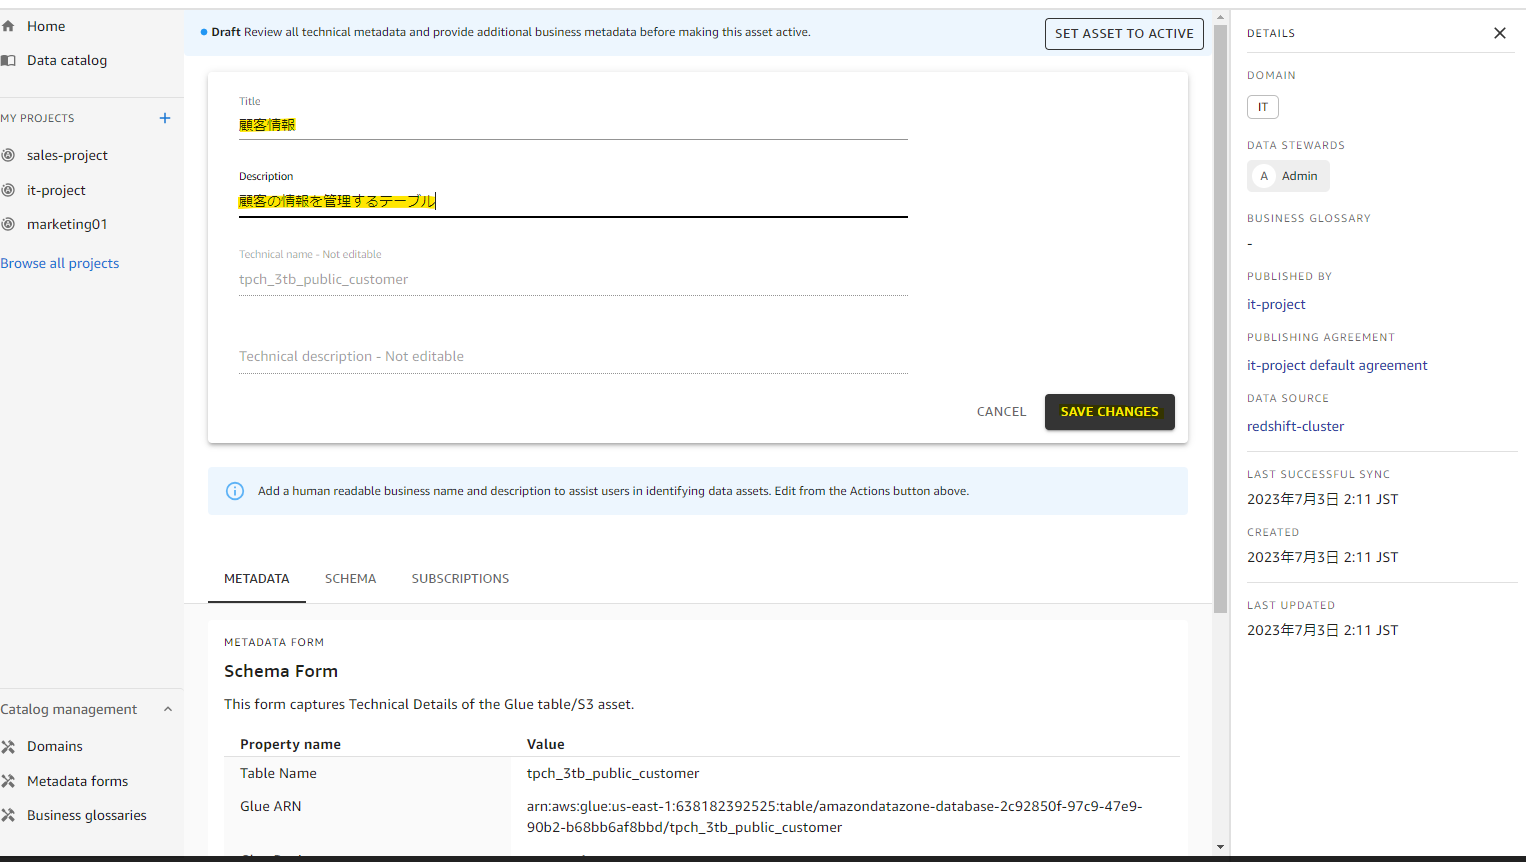
スキーマ情報も自動認識されています。
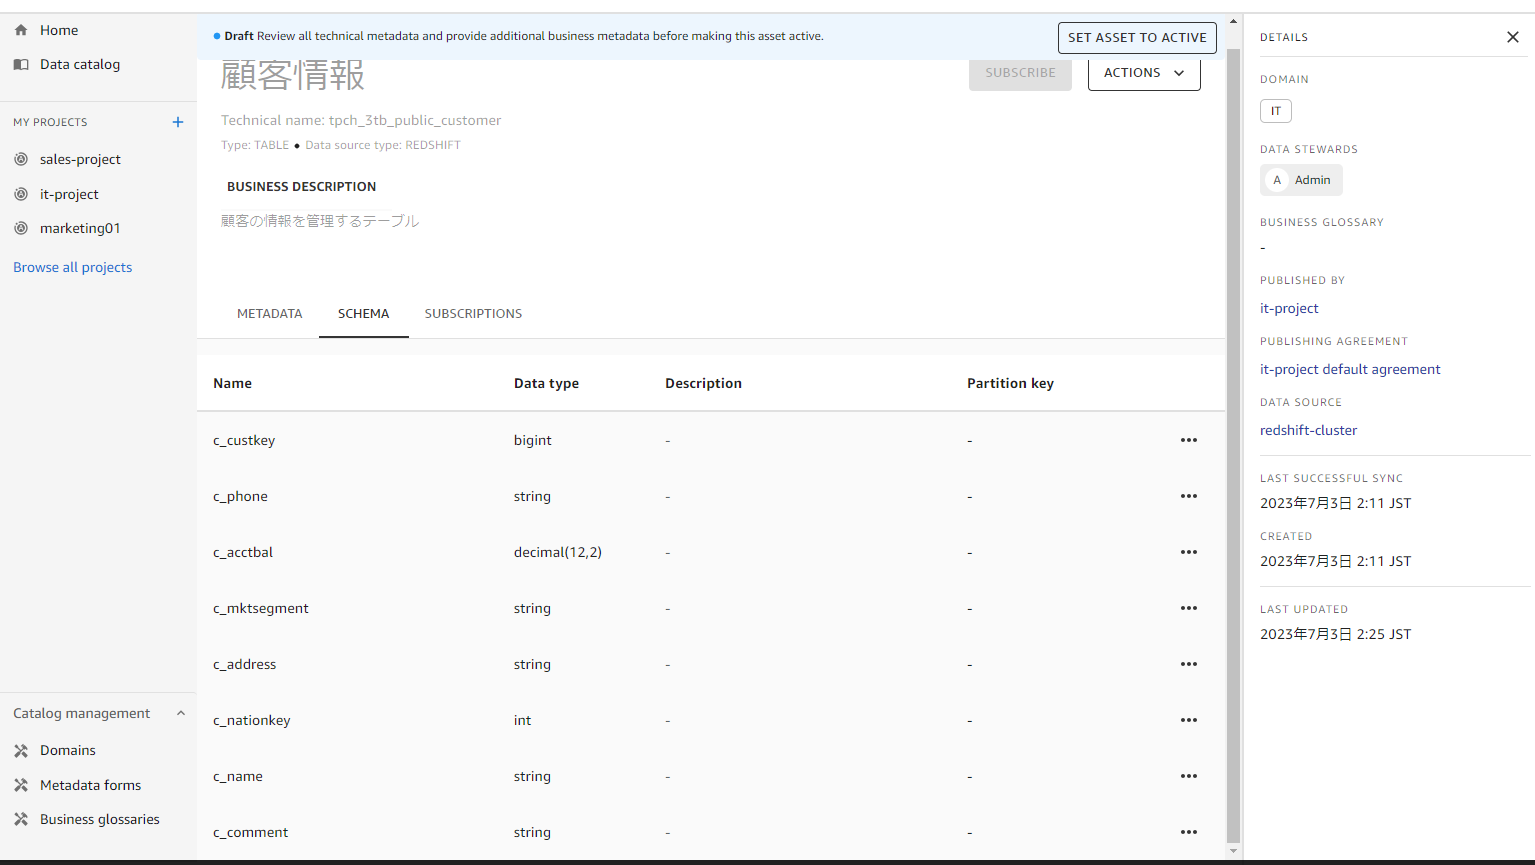
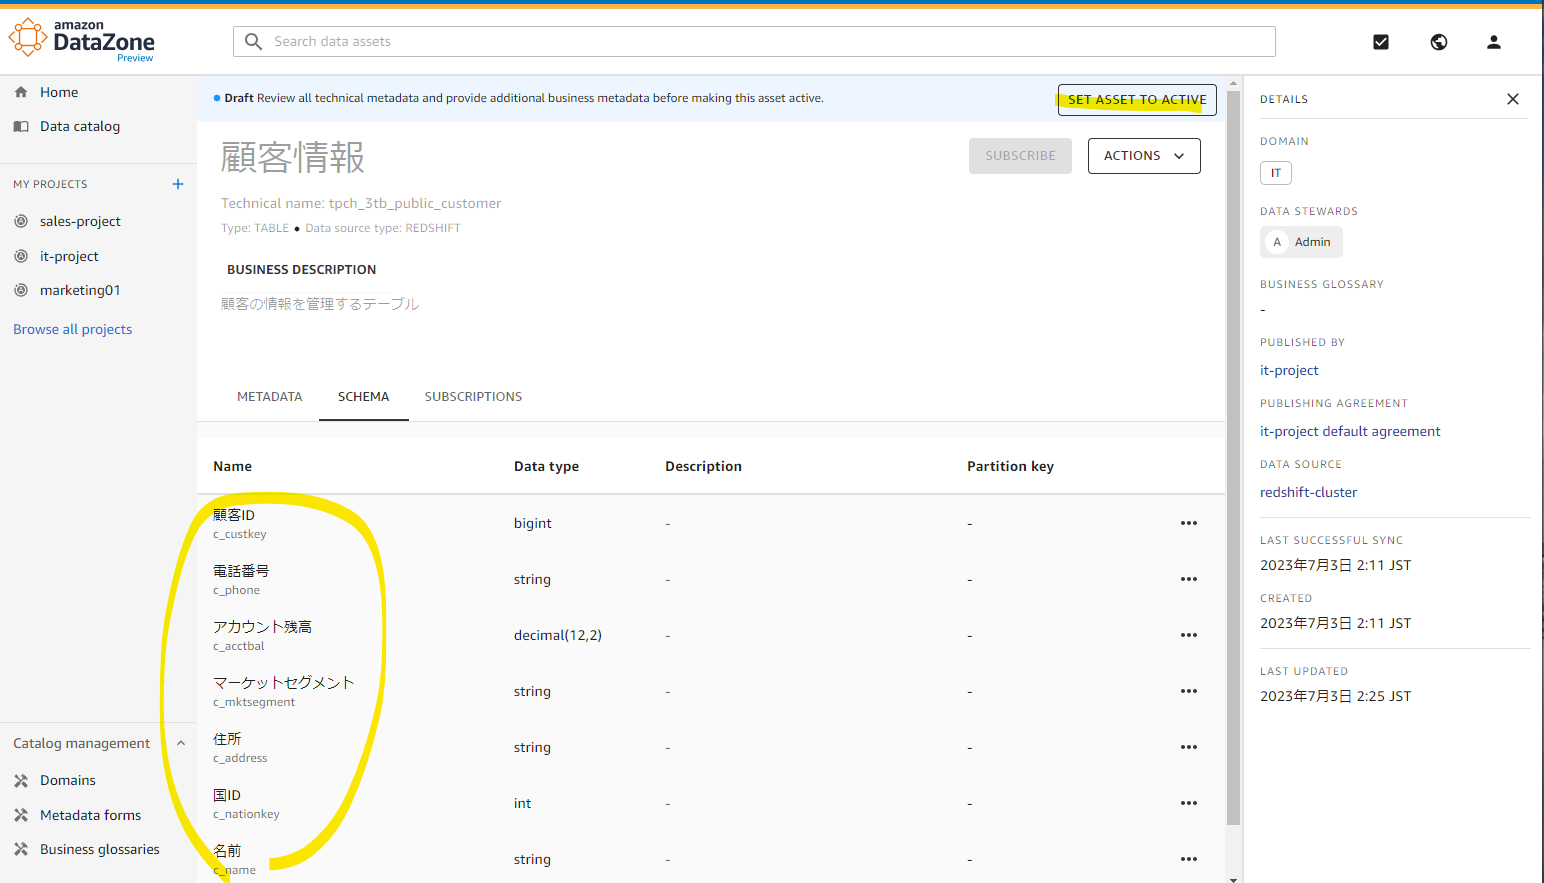
日本語の説明を入れて、Active に変更します。
データカタログで検索
DataZone の検索ボックスで、「顧客」を検索します。
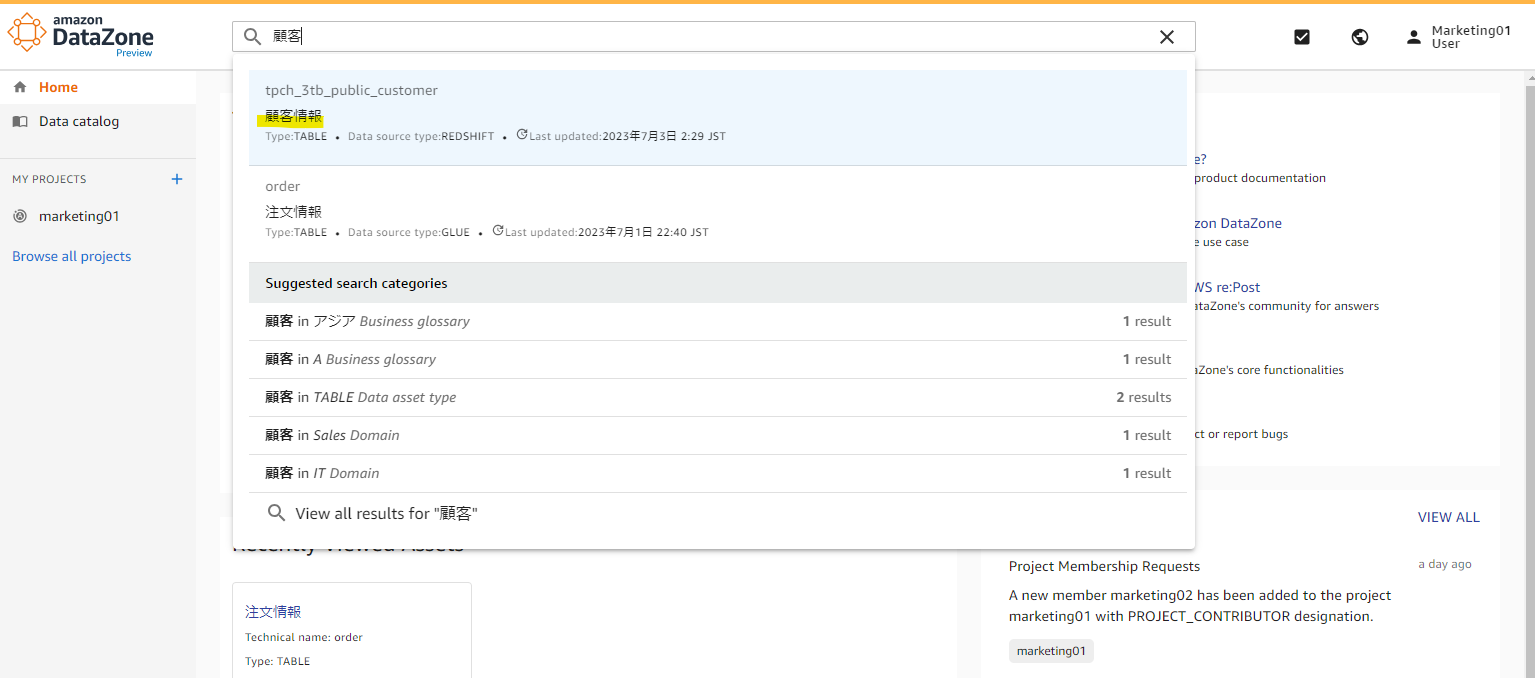
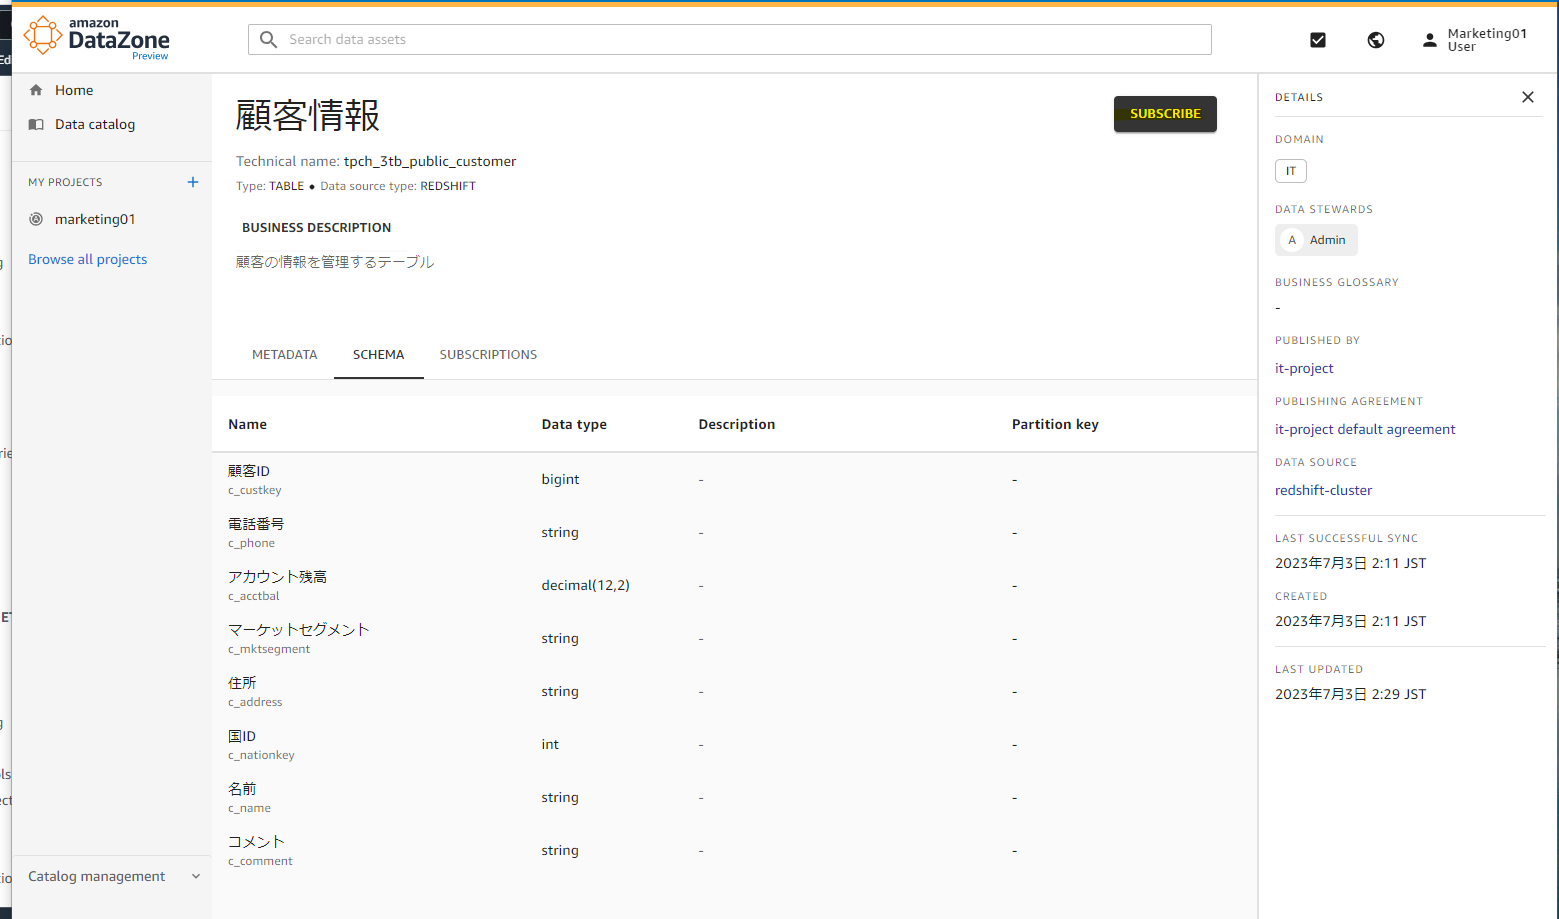
このカタログ上では、Redshift Cluster の名前や、テーブル名がわかります。

スキーマ情報もわかります。

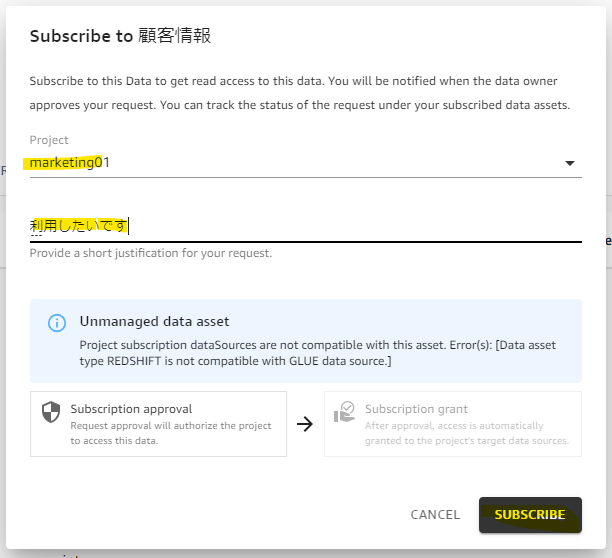
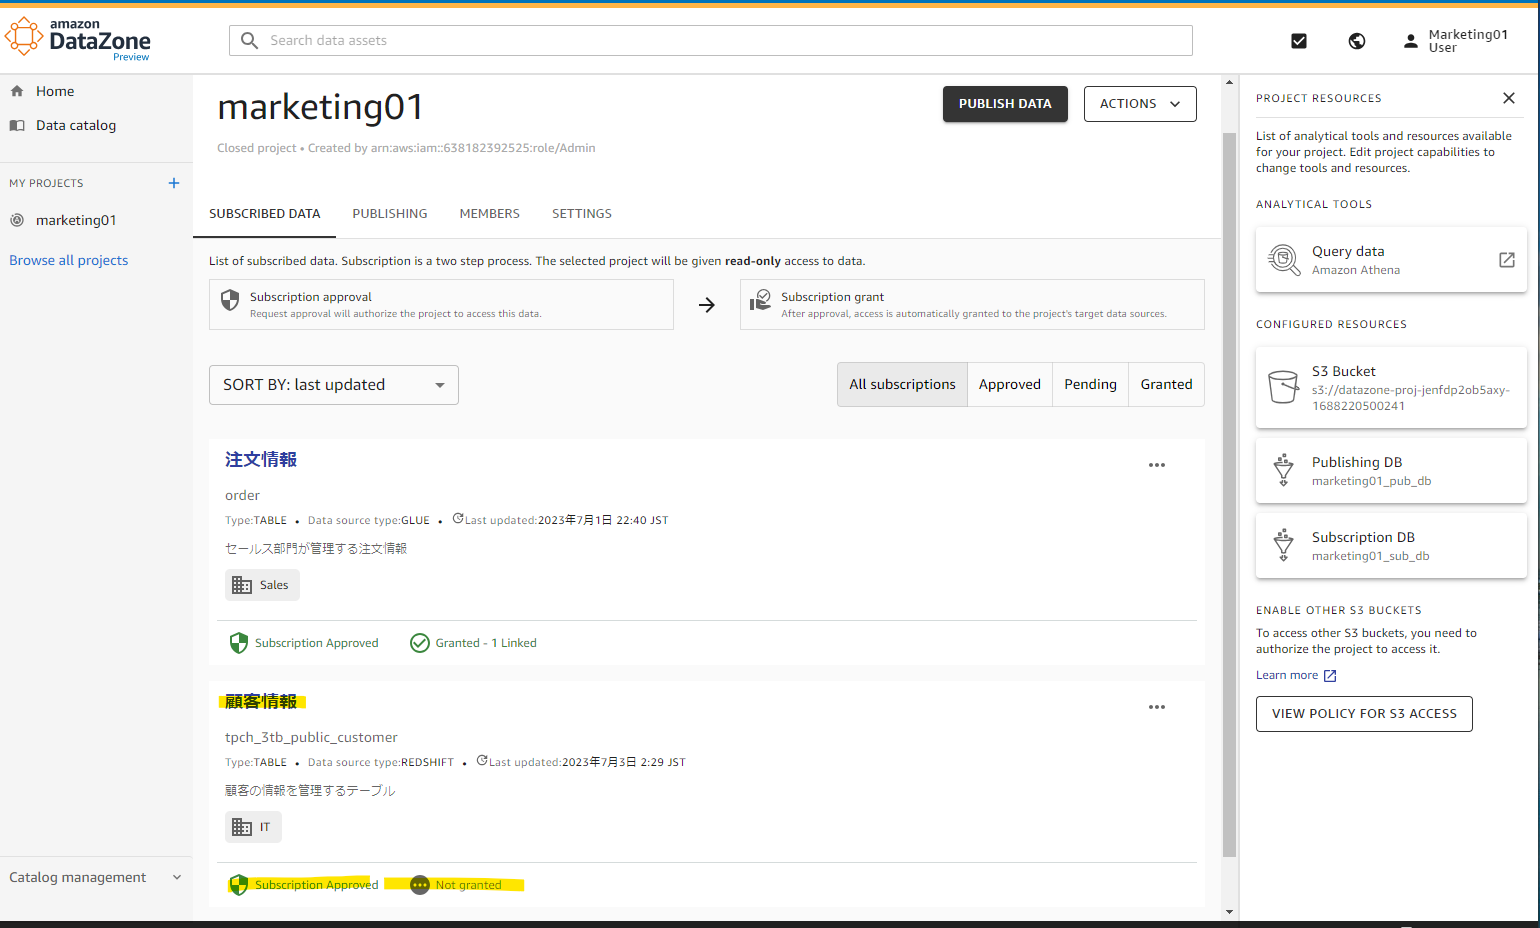
(動作しなかった)サブスクライブ
この Redshift のデータをサブスクライブができます。
サブスクライブします。
管理者アカウントに申請がきています。
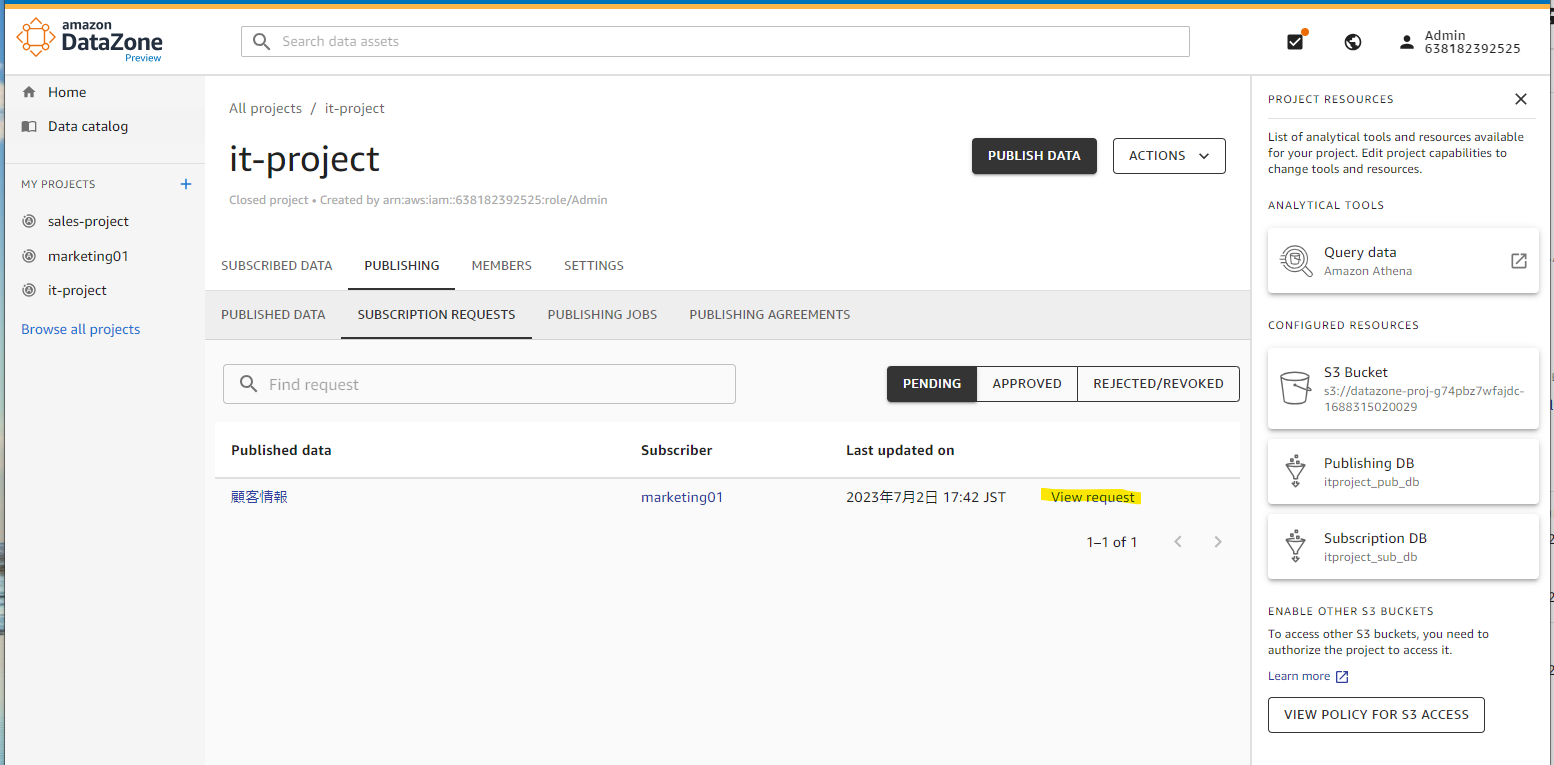
承認します。

Not granted となっていました。
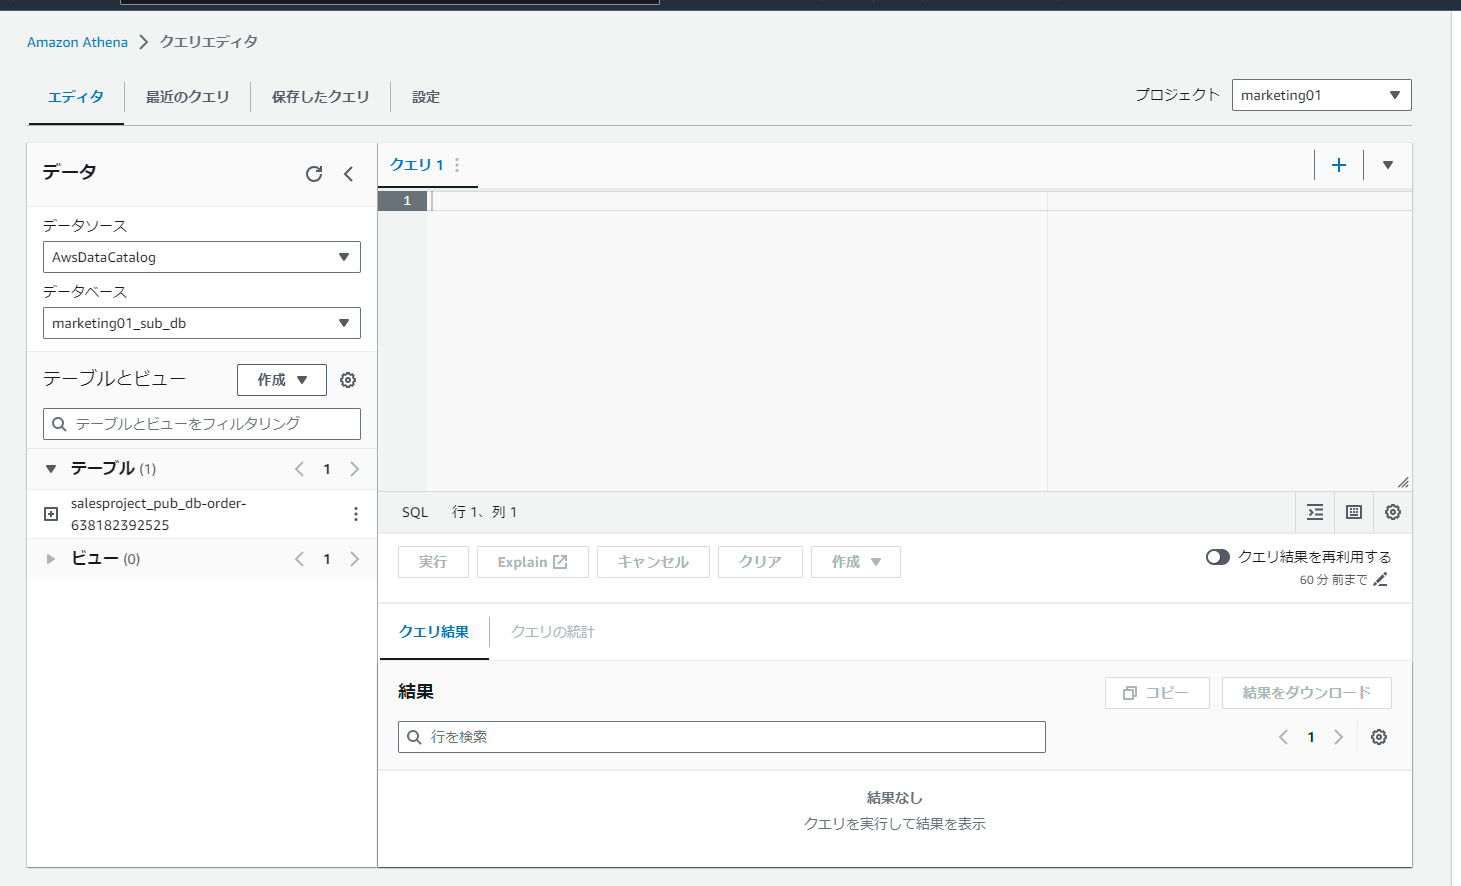
Athena 上でも出てこない。
ちなみに、AWS Document 上では、Redshift でもクエリーができるようでした。この辺りは今後確認します。