はじめに
AWS CLI のインストールをして、S3 を各種操作する方法を簡単にまとめます。一連の流れがわかりやすく整理された AWS Document があまり見つからなかったので、後から見返したときにわかりやすいように整理しました。
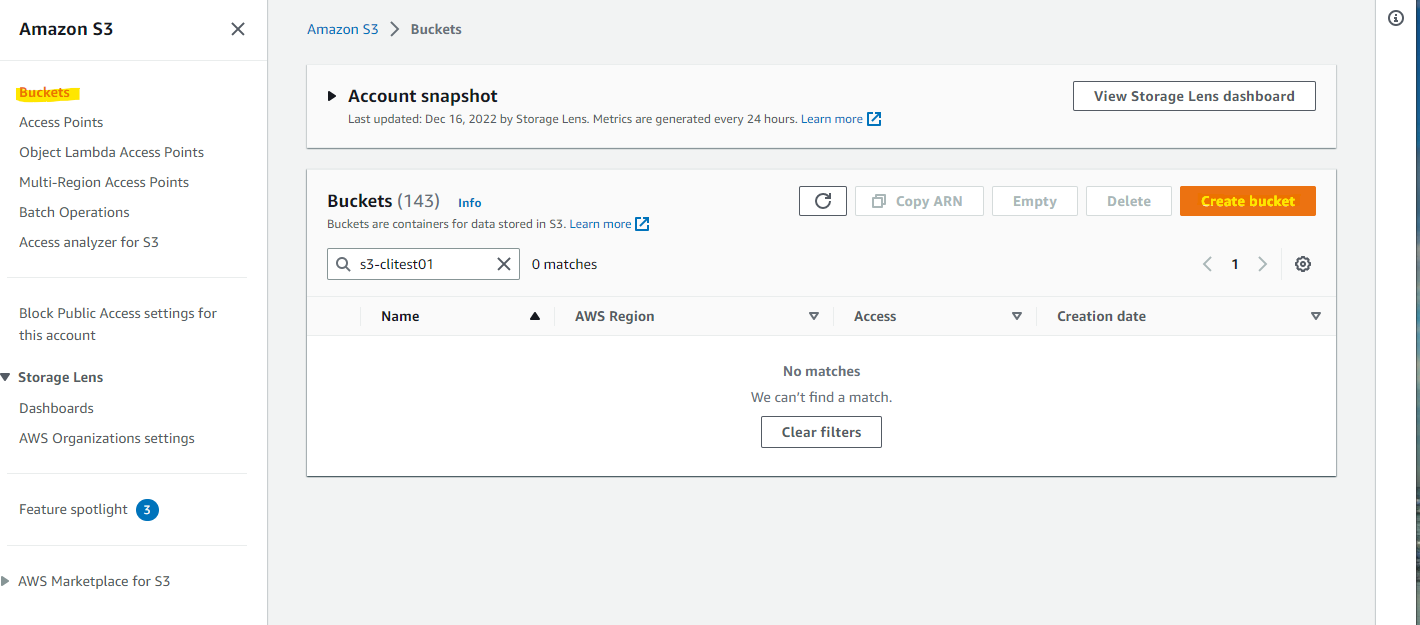
S3 Bucket の作成
ファイルをアップロードするための、S3 Bucket を作成します。S3 の画面で、Create bucket を押します。
名前とリージョンを指定します。

Create bucket を押します。

S3 Bucket が作成されました。

IAM Policy の作成
作成した S3 Bucket にだけアクセスが出来る IAM Policy を作成します。
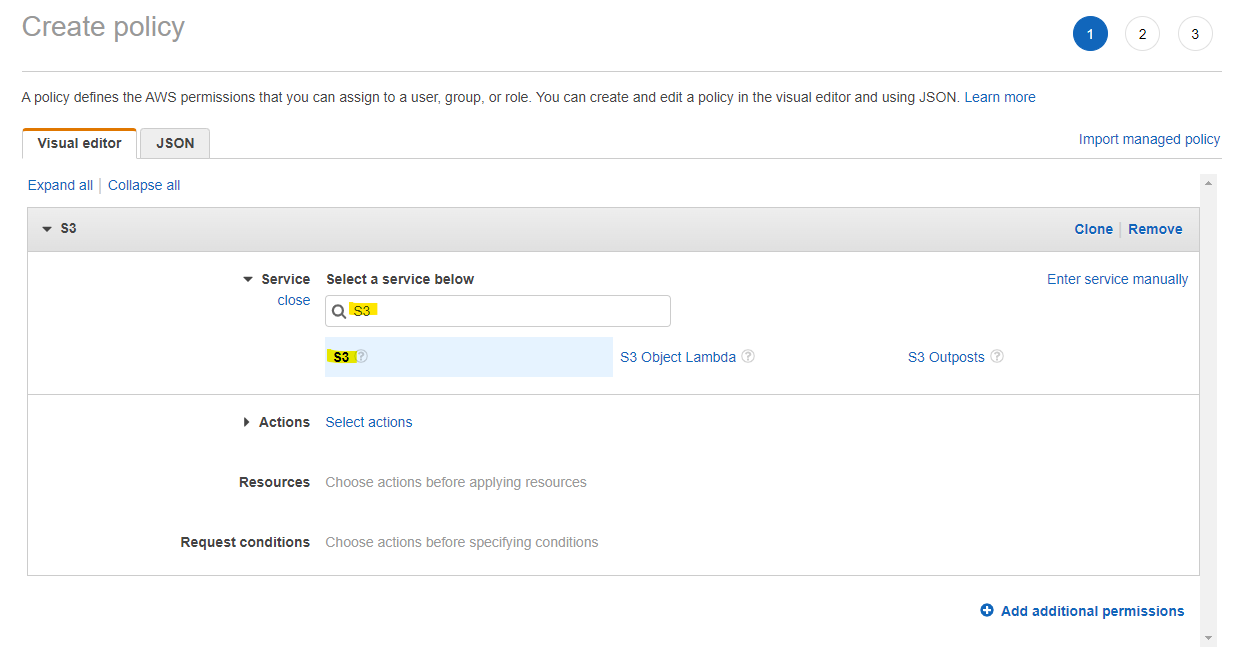
Create policy を押します。

Service で S3 を選択します。
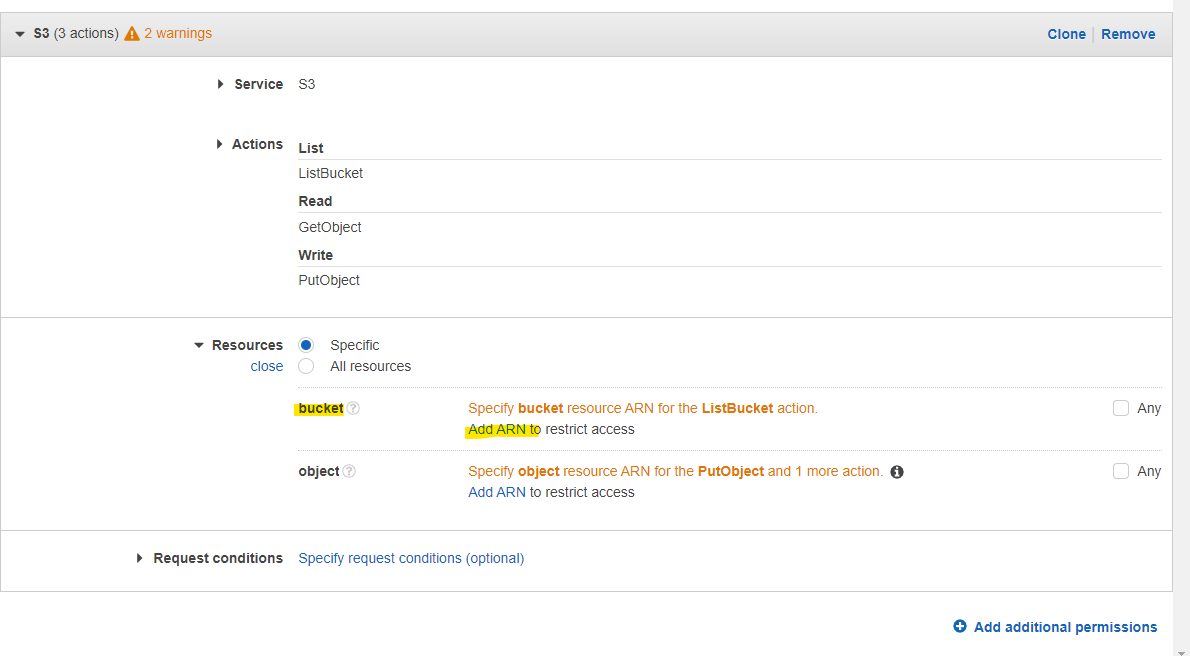
s3 cp や s3 sync などに必要な権限を指定します。
- ListBucket
- GetObject

- PutObject
- DeleteObject

bucket で Add ARN を押します。
作成した Bucket 名を入力して、Add を押します。

object で Add ARN を押します。
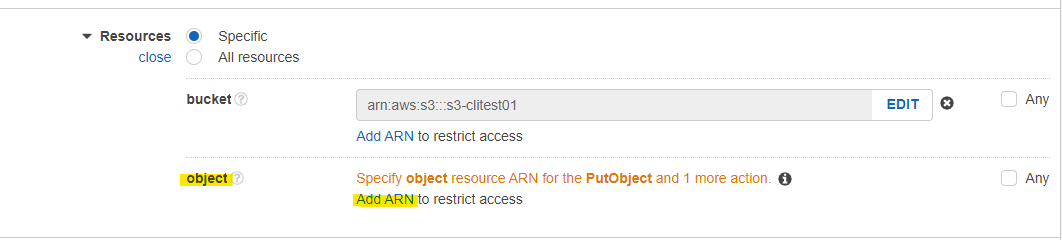
Bucket と Object の名前を指定します。Object は Any にチェックを入れます。

Next Tags を押します。

Next を押します。

適当に名前を入れて、Create policy を押します。
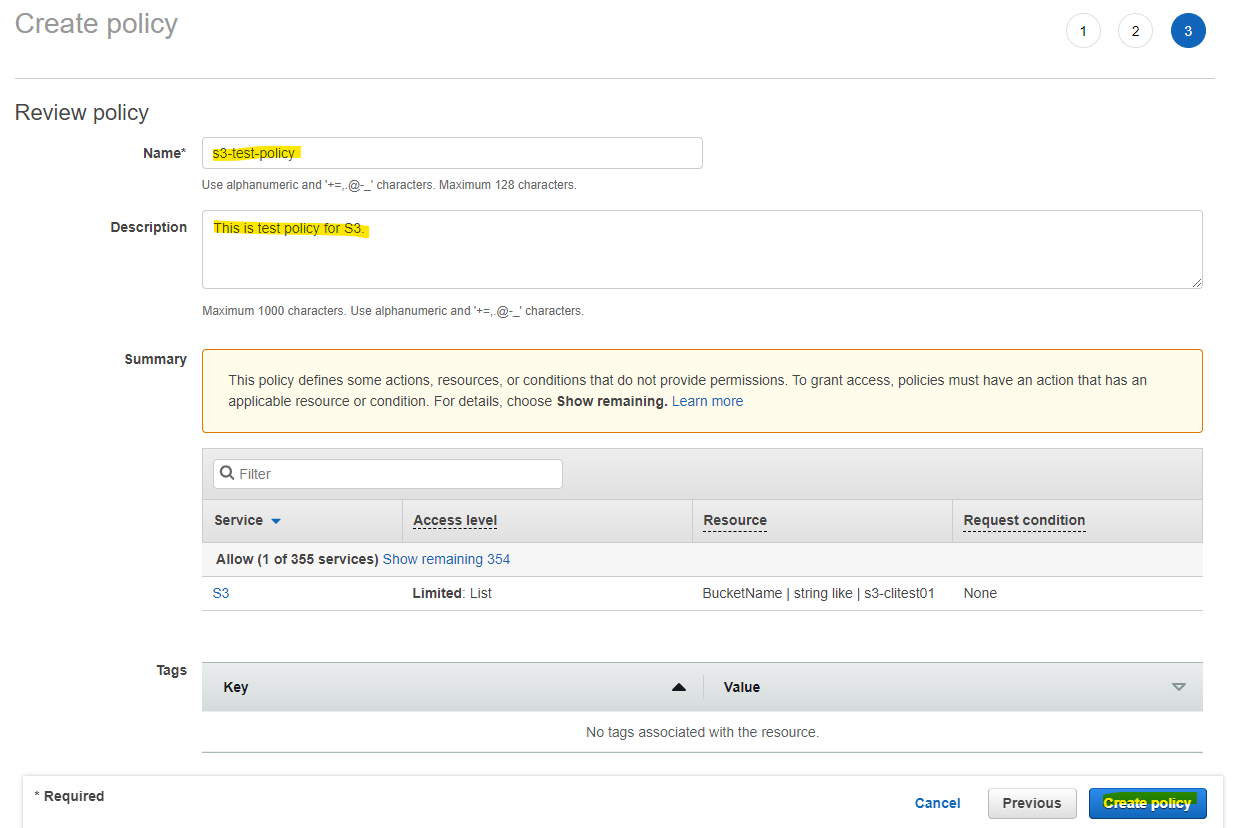
IAM Policy が作成されました。
IAM User の作成
AWS CLI で利用する Access Key 等を生成するために、IAM User を作成します。Add users を押します

User 名を入力し、Access key を選び、Next を押します。

作成した IAM Policy を選択して、Next を押します。

Next を押します。

Create user を押します。

画面に表示される Access key と Secret access key を控えておきます。

AWS CLI のインストール
次の Document に従って、AWS CLI をインストールします。
インターネットから AWS CLI をダウンロードしてインストールします。
curl "https://awscli.amazonaws.com/awscli-exe-linux-x86_64.zip" -o "awscliv2.zip"
unzip awscliv2.zip
sudo ./aws/install
これで aws コマンドが利用可能となりました。AWS CLI の version を確認します。
$ aws --version
aws-cli/2.9.8 Python/3.9.11 Linux/5.10.157-139.675.amzn2.x86_64 exe/x86_64.amzn.2 prompt/off
AWS CLI の高速セットアップ
aws configure コマンドで、AWS CLI の設定を行います。
aws configure
aws configure コマンドでは、Access Key や Secret Access Key 等を入力していきます。
$ aws configure
AWS Access Key ID [None]: <your Access Key>
AWS Secret Access Key [None]: <your Secret Access Key>
Default region name [None]: ap-northeast-1
Default output format [None]: json
この AWS CLI が、どの IAM User としてコマンドが実行されているか確認できます。
aws sts get-caller-identity
実行例
- s3-cliuser として実行していることがわかります。
$ aws sts get-caller-identity
{
    "UserId": "AIDAVNVNXMHCNCIH5VARA",
    "Account": "xxxxxxxxxxxx",
    "Arn": "arn:aws:iam::xxxxxxxxxxxx:user/s3-cliuser"
}
S3 にファイルをアップロード
実際に S3 にファイルをアップロードするためにテストファイルを作成します。
echo "hello, I am test file01." > test01.txt
ローカルで作成したテストファイル test01.txt を S3 Bucket にアップロードします。
aws s3 cp test01.txt s3://s3-clitest01/
実行例
$ aws s3 cp test01.txt s3://s3-clitest01/
upload: ./test01.txt to s3://s3-clitest01/test01.txt
ls コマンドで、ファイルがアップロードされていることがわかります。
$ aws s3 ls s3://s3-clitest01/
2022-12-17 10:14:19         25 test01.txt
マネージメントコンソール上でも確認をします。S3 Bucket 上にオブジェクトがアップロードされていることがわかります。
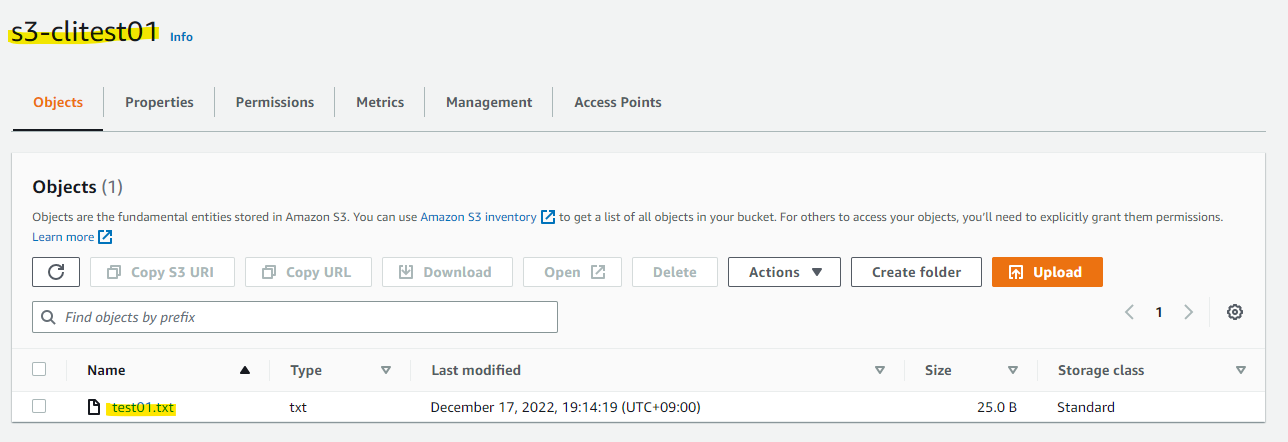
選択して Open を選択します。
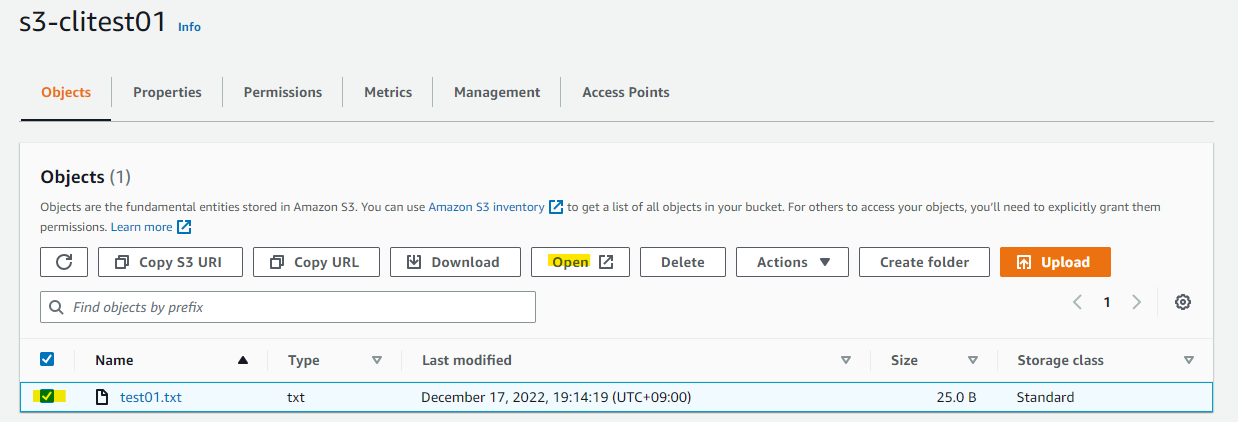
ブラウザ上でファイルの中身を確認できました。

S3 にディレクトリ単位でアップロード
アップロード対象のディレクトリを作成します。
mkdir testdir01
echo "hello, I am test file01." > testdir01/test01.txt
echo "hello, I am test file02." > testdir01/test02.txt
echo "hello, I am test file03." > testdir01/test03.txt
ローカルに作成した testdir01 ディレクトリに 3 つのファイルが作成されました。
$ ls -la testdir01/
total 12
drwxrwxr-x 2 ec2-user ec2-user  60 Dec 17 10:21 .
drwx------ 6 ec2-user ec2-user 152 Dec 17 10:21 ..
-rw-rw-r-- 1 ec2-user ec2-user  25 Dec 17 10:21 test01.txt
-rw-rw-r-- 1 ec2-user ec2-user  25 Dec 17 10:21 test02.txt
-rw-rw-r-- 1 ec2-user ec2-user  25 Dec 17 10:21 test03.txt
ディレクトリ単位で S3 にアップロードができます。ドライランのオプションを付けて、どのファイルがアップロード対象になるか確認をします。
-
--recursiveを指定して、ディレクトリ単位にアップロード -
--dryrunでドライランを有効化
aws s3 cp testdir01 s3://s3-clitest01/testdir01 --recursive --dryrun
実行例 : dryrun なので実際にアップロードはされませんが、どのファイルが処理対象として選ばれるかわかります。
$ aws s3 cp testdir01 s3://s3-clitest01/testdir01 --recursive --dryrun
(dryrun) upload: testdir01/test01.txt to s3://s3-clitest01/testdir01/test01.txt
(dryrun) upload: testdir01/test02.txt to s3://s3-clitest01/testdir01/test02.txt
(dryrun) upload: testdir01/test03.txt to s3://s3-clitest01/testdir01/test03.txt
--dryrun を外して、実際にディレクトリ単位でアップロードを行います。
aws s3 cp testdir01 s3://s3-clitest01/testdir01 --recursive
実行例
$ aws s3 cp testdir01 s3://s3-clitest01/testdir01 --recursive
upload: testdir01/test01.txt to s3://s3-clitest01/test01.txt
upload: testdir01/test02.txt to s3://s3-clitest01/test02.txt
upload: testdir01/test03.txt to s3://s3-clitest01/test03.txt
確認
$ aws s3 ls s3://s3-clitest01/testdir01/
2022-12-17 10:30:54         25 test01.txt
2022-12-17 10:30:54         25 test02.txt
2022-12-17 10:30:54         25 test03.txt
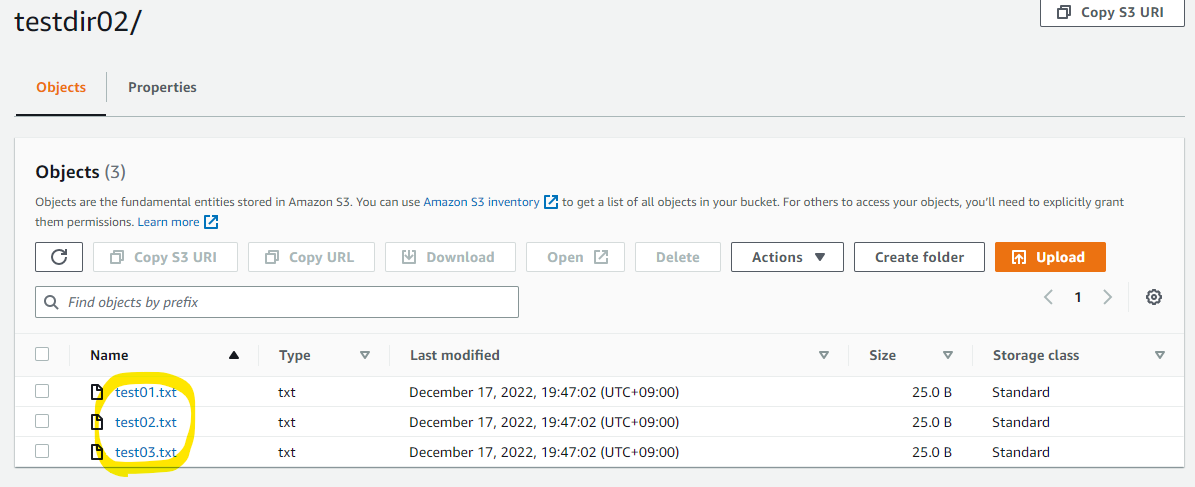
マネージメントコンソールでも、testdir01 が見えています。

ローカルにあった、3 個のファイルがアップロードされています。

S3 にディレクトリを同期
s3 sync コマンドでディレクトリ単位の同期ができます。動作確認のため、testdir02 ディレクトリを作成してみましょう。
mkdir testdir02
echo "hello, I am test file01." > testdir02/test01.txt
echo "hello, I am test file02." > testdir02/test02.txt
echo "hello, I am test file03." > testdir02/test03.txt
ディレクトリが作成されました。
$ ls -la testdir02/
total 12
drwxrwxr-x 2 ec2-user ec2-user  60 Dec 17 10:44 .
drwx------ 7 ec2-user ec2-user 169 Dec 17 10:44 ..
-rw-rw-r-- 1 ec2-user ec2-user  25 Dec 17 10:44 test01.txt
-rw-rw-r-- 1 ec2-user ec2-user  25 Dec 17 10:44 test02.txt
-rw-rw-r-- 1 ec2-user ec2-user  25 Dec 17 10:44 test03.txt
s3 sync コマンドで、ドライランをしてみます。
aws s3 sync testdir02 s3://s3-clitest01/testdir02 --dryrun
実行例 : 同期されそうなことがわかります。
$ aws s3 sync testdir02 s3://s3-clitest01/testdir02 --dryrun
(dryrun) upload: testdir02/test01.txt to s3://s3-clitest01/testdir02/test01.txt
(dryrun) upload: testdir02/test02.txt to s3://s3-clitest01/testdir02/test02.txt
(dryrun) upload: testdir02/test03.txt to s3://s3-clitest01/testdir02/test03.txt
実際に実行してみましょう。
$ aws s3 sync testdir02 s3://s3-clitest01/testdir02
upload: testdir02/test01.txt to s3://s3-clitest01/testdir02/test01.txt
upload: testdir02/test03.txt to s3://s3-clitest01/testdir02/test03.txt
upload: testdir02/test02.txt to s3://s3-clitest01/testdir02/test02.txt
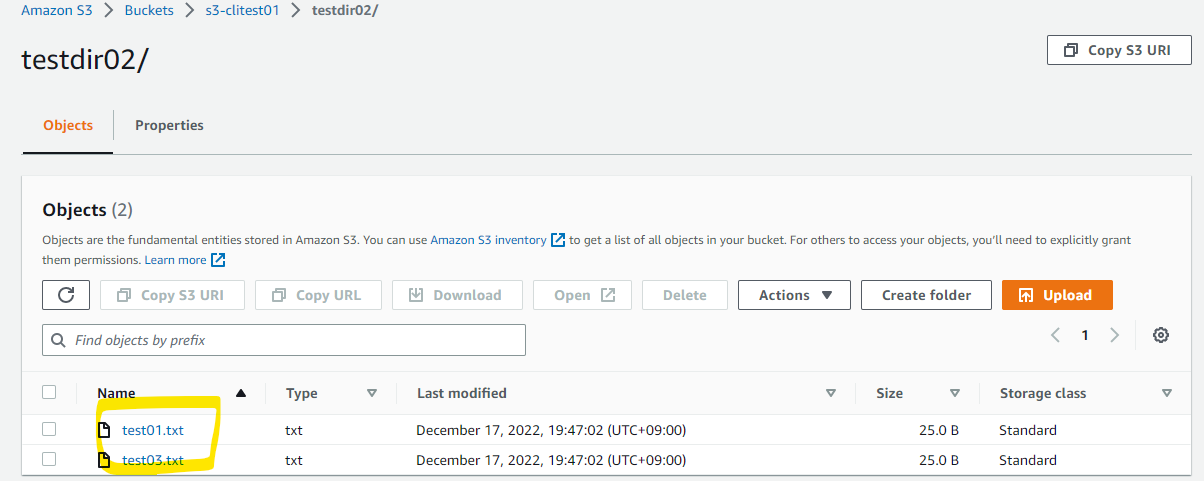
S3 上に、ローカルのディレクトリが同期されています。

ディレクトリの配下もみてみます。
次に、ローカルにある test02.txt を削除してみます。
rm testdir02/test02.txt
削除されました
$ ls -la testdir02/
total 8
drwxrwxr-x 2 ec2-user ec2-user  42 Dec 17 10:50 .
drwx------ 7 ec2-user ec2-user 169 Dec 17 10:44 ..
-rw-rw-r-- 1 ec2-user ec2-user  25 Dec 17 10:44 test01.txt
-rw-rw-r-- 1 ec2-user ec2-user  25 Dec 17 10:44 test03.txt
--delete を付けると、同期元で存在しないファイルは、同期先でも削除されます。
$ aws s3 sync testdir02 s3://s3-clitest01/testdir02 --delete --dryrun
(dryrun) delete: s3://s3-clitest01/testdir02/test02.txt
実際に実行
$ aws s3 sync testdir02 s3://s3-clitest01/testdir02 --delete
delete: s3://s3-clitest01/testdir02/test02.txt
削除されました。
参考 URL