はじめに
S3 に配置されたファイルを CloudFront を使って配信しているときに、特定の IP アドレスに限定して配信したいときがあります。次の3つの要素を組み合わせることで、実現できます。
- S3 で Public Access を Block
- S3 で Bucket Policy を設定し、CloudFront の OAI(Origin Access Identity) を使い、特定の Distributions のみアクセス許可
- CloudFront に WAF ACL を設定し、特定の IP アドレスのみアクセス許可
詳細な設定手順を備忘録として残しておきます。
S3 にファイルを配置
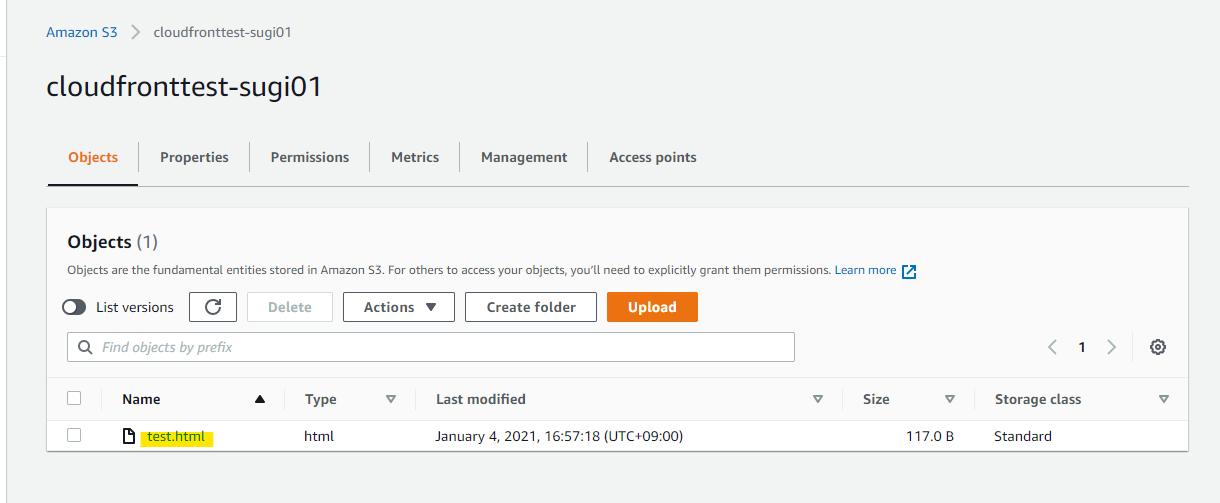
まず、S3 Bucket にテスト用のファイルを配置します。適当に作成した Bucket を開きます
こんな感じのテストファイルを格納します
<html>
 <head>
  <meta http-equiv="Content-Type" content="text/html; charset=utf-8"/>
  <title>CloudFront用制限</title>
 </head>
 <body>
  <h1>CloudFront用制限</h1>
 </body>
</html>
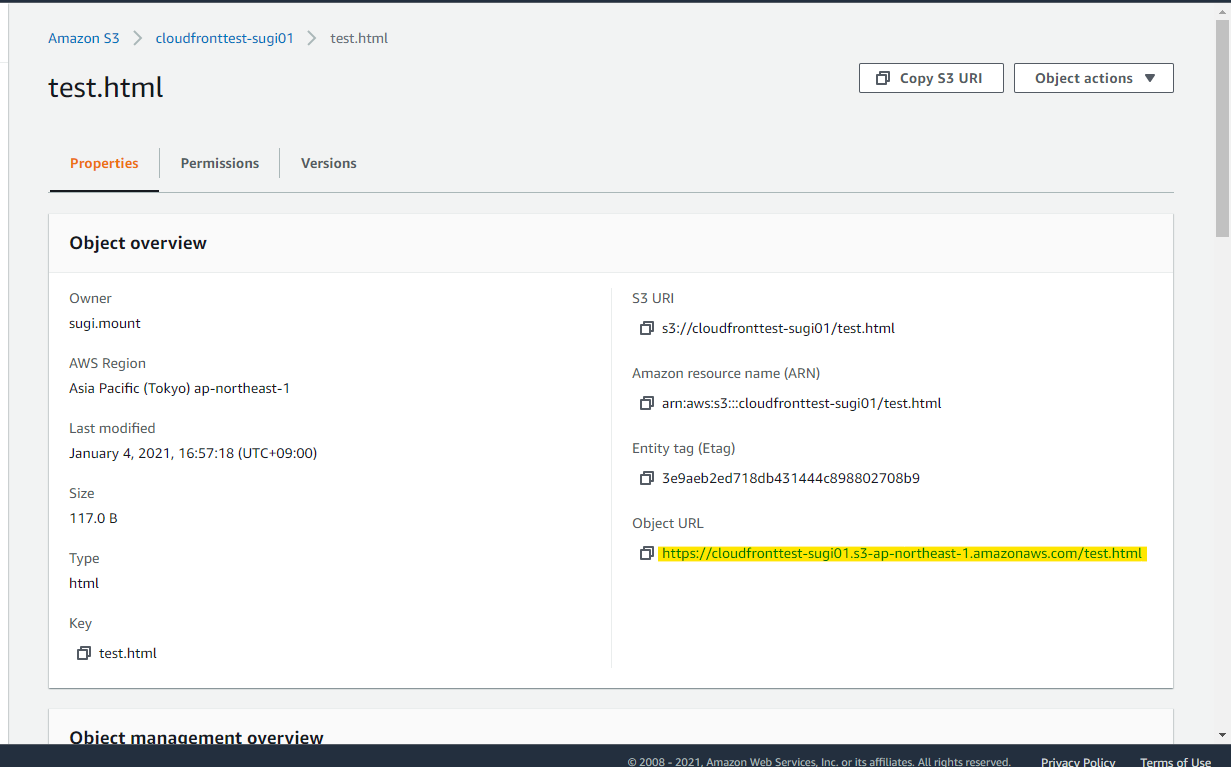
このように test.html としてアップロードしています
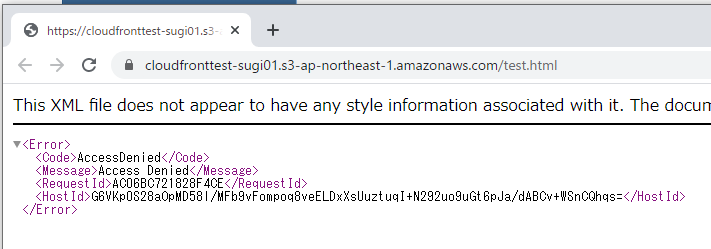
ObjectURLをクリックしても、、、
Access Denied となり、アクセスできません。Public Access をブロックしているので、正しい動作です。
CloudFront Distribution 作成
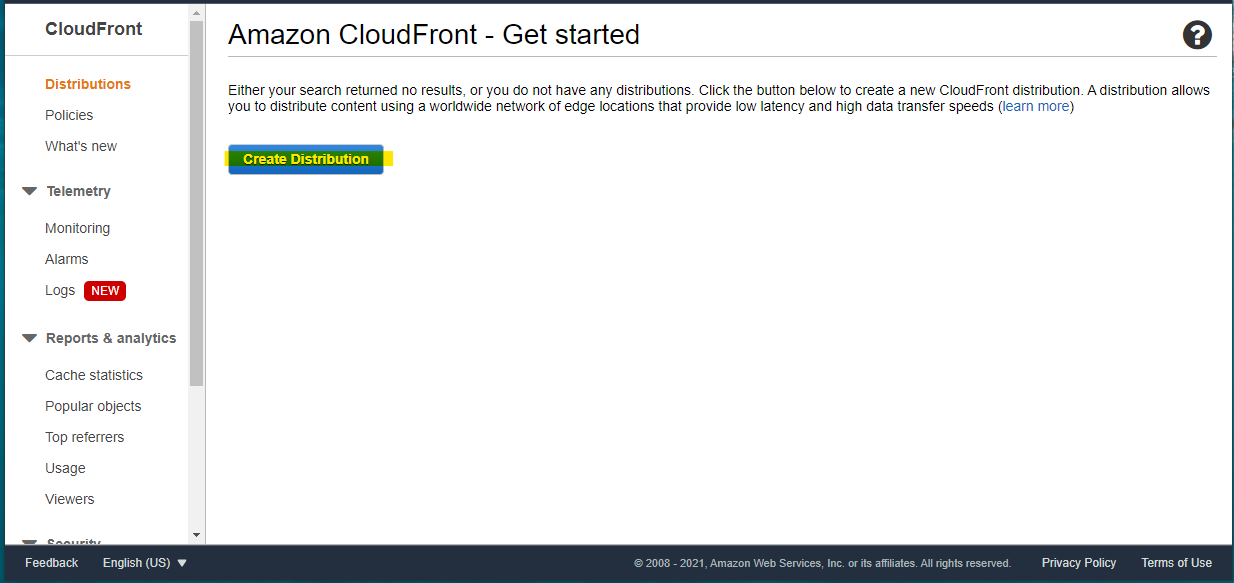
CloudFront で、Create Distribution
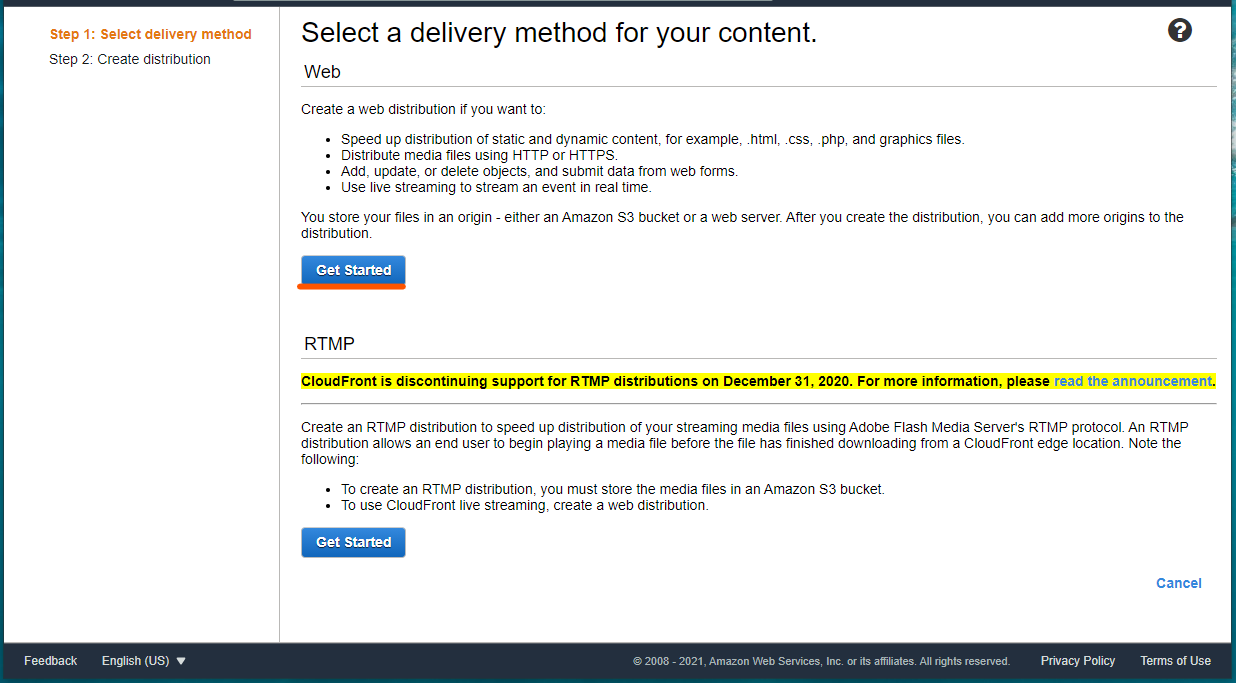
Get Started
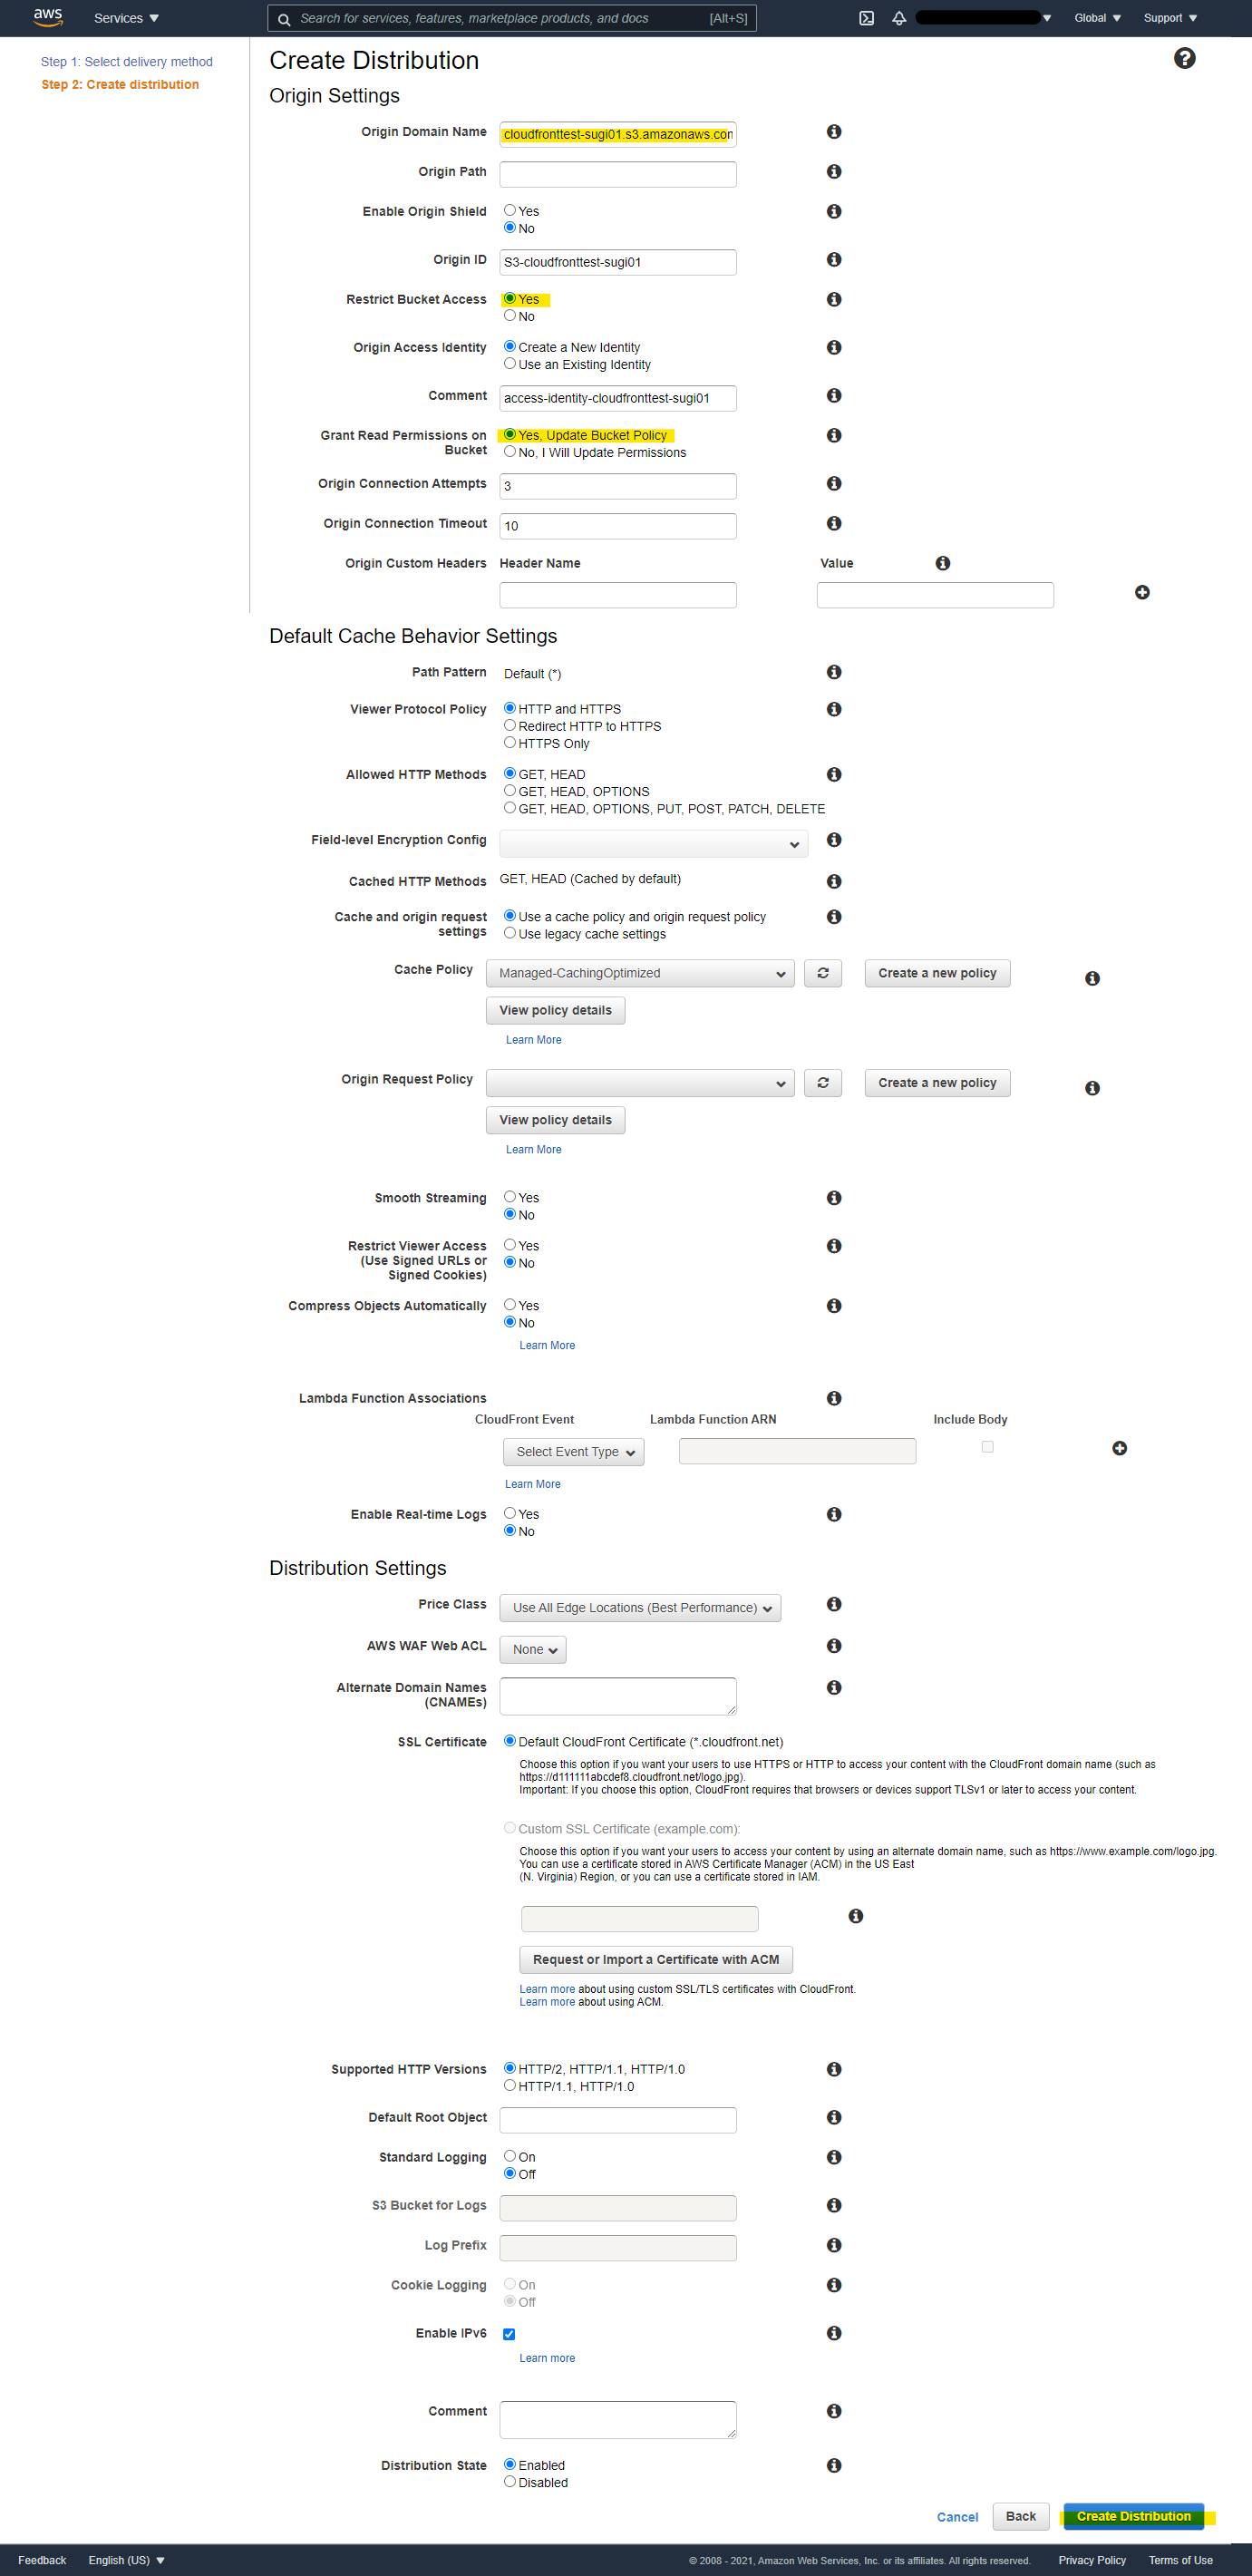
パラメータを入れて Create を押します
- Origin Domain Name : S3 の名前を選択
- Restrict Bucket Access : Yes にすると、OAI (Origin Access Identity) などの設定項目が現れます
- Grant Read Permission on Bucket : S3 Bucket Policy を自動的に設定し、新たに作成する Distribution のみアクセス許可
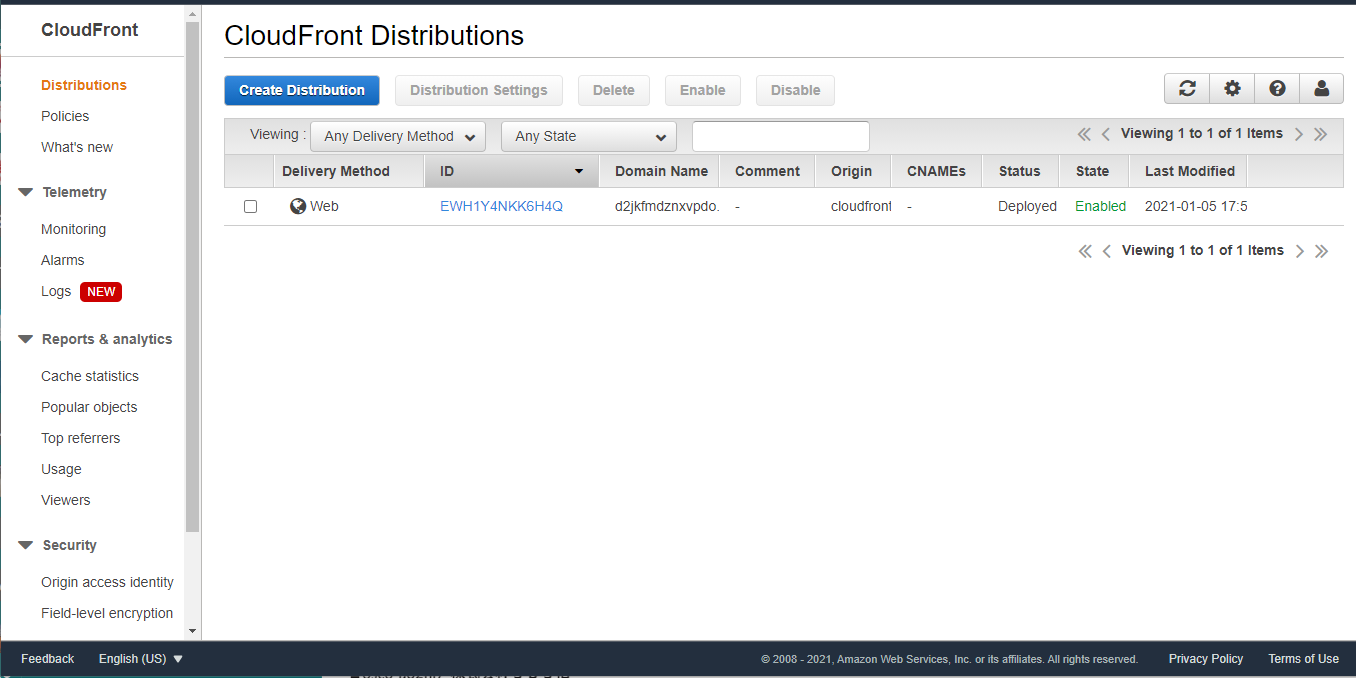
作成完了 (Enabled)
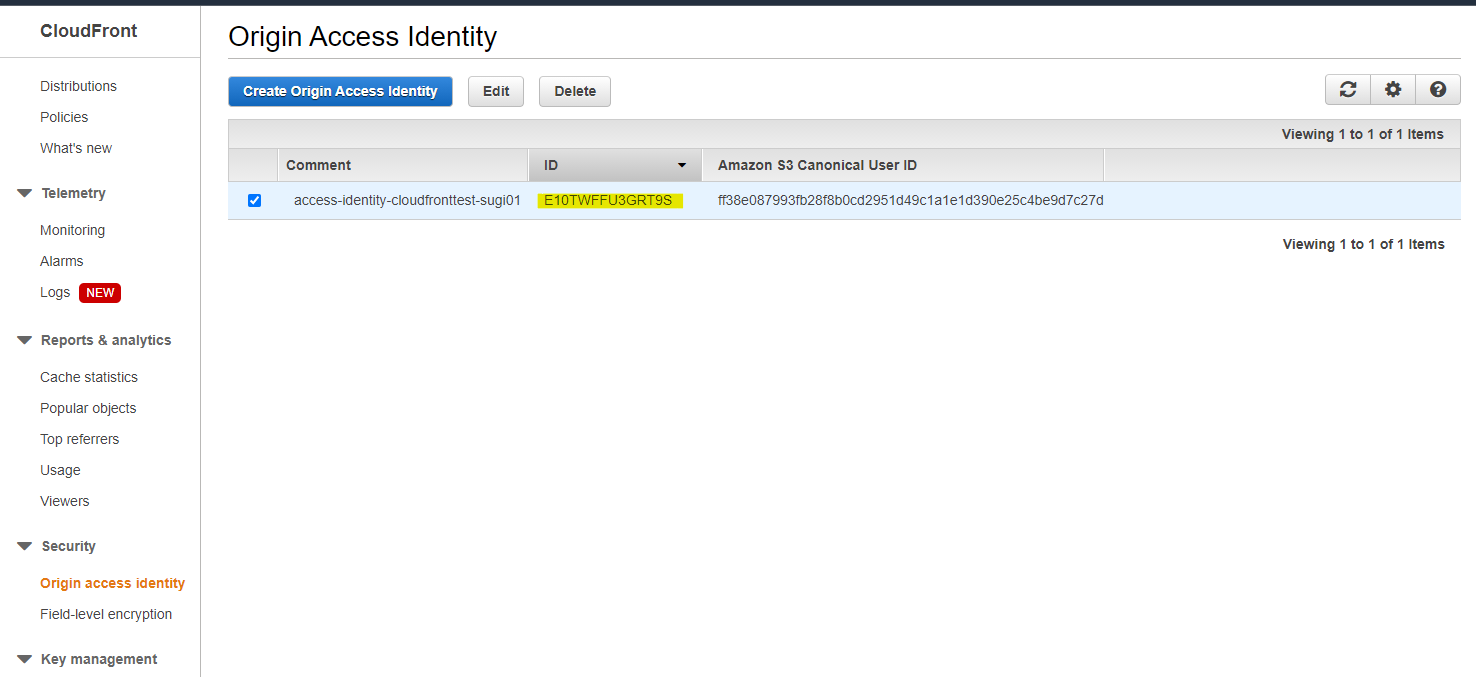
OAI(Origin Access Identity) の ID は E10TWFFU3GRT9S で生成されている
S3 の Bucket Policy には自動的に設定されている
Bucket Policy を文字列でもメモ
{
    "Version": "2008-10-17",
    "Id": "PolicyForCloudFrontPrivateContent",
    "Statement": [
        {
            "Sid": "1",
            "Effect": "Allow",
            "Principal": {
                "AWS": "arn:aws:iam::cloudfront:user/CloudFront Origin Access Identity E10TWFFU3GRT9S"
            },
            "Action": "s3:GetObject",
            "Resource": "arn:aws:s3:::cloudfronttest-sugi01/*"
        }
    ]
}
WAF ACL 作成
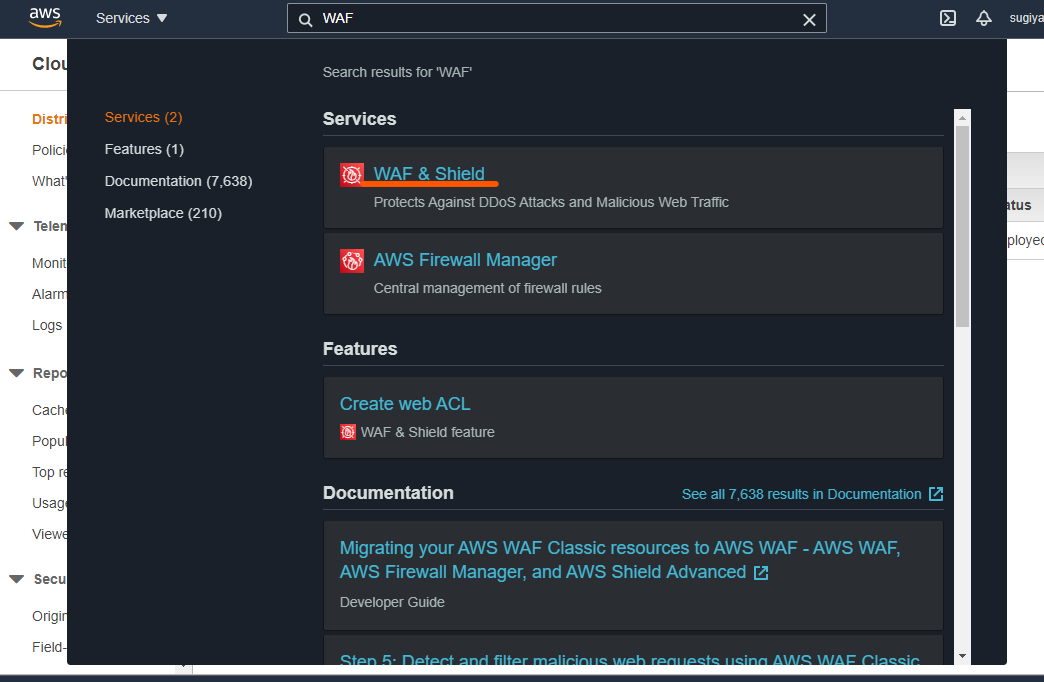
CloudFront に IP アドレスのアクセス制限を付与するために、WAF ACL を設定します
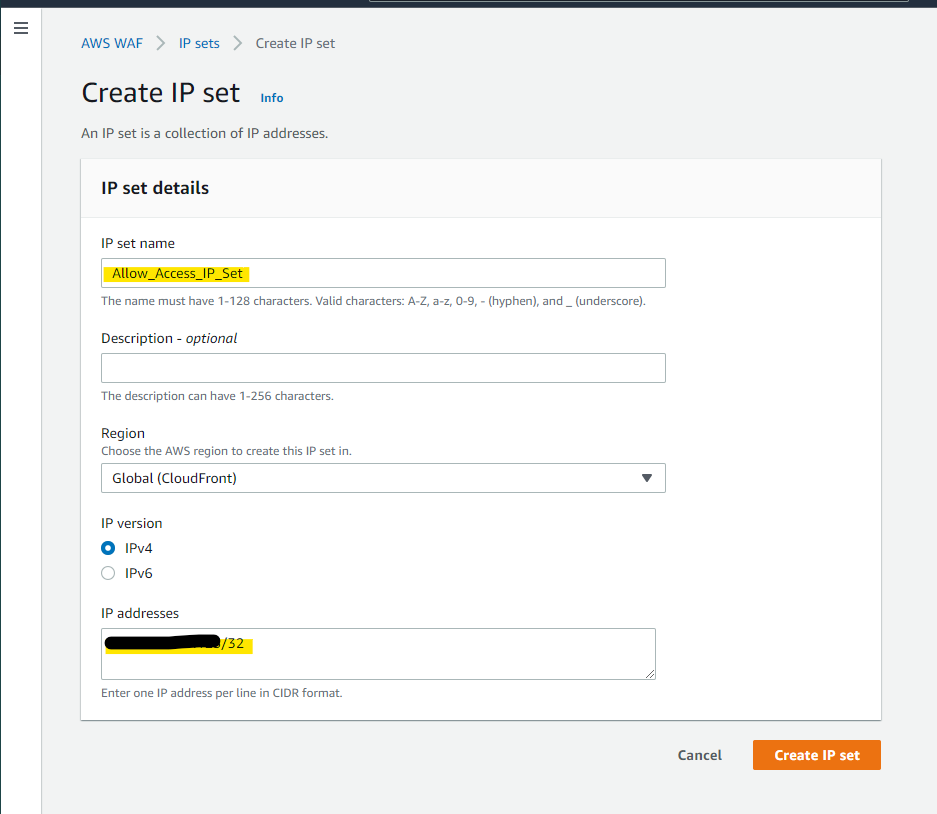
まず、アクセスを許可する IP アドレスを、IP set として定義します
Create IP set
自分が持っている環境の IP アドレスを指定
作成完了
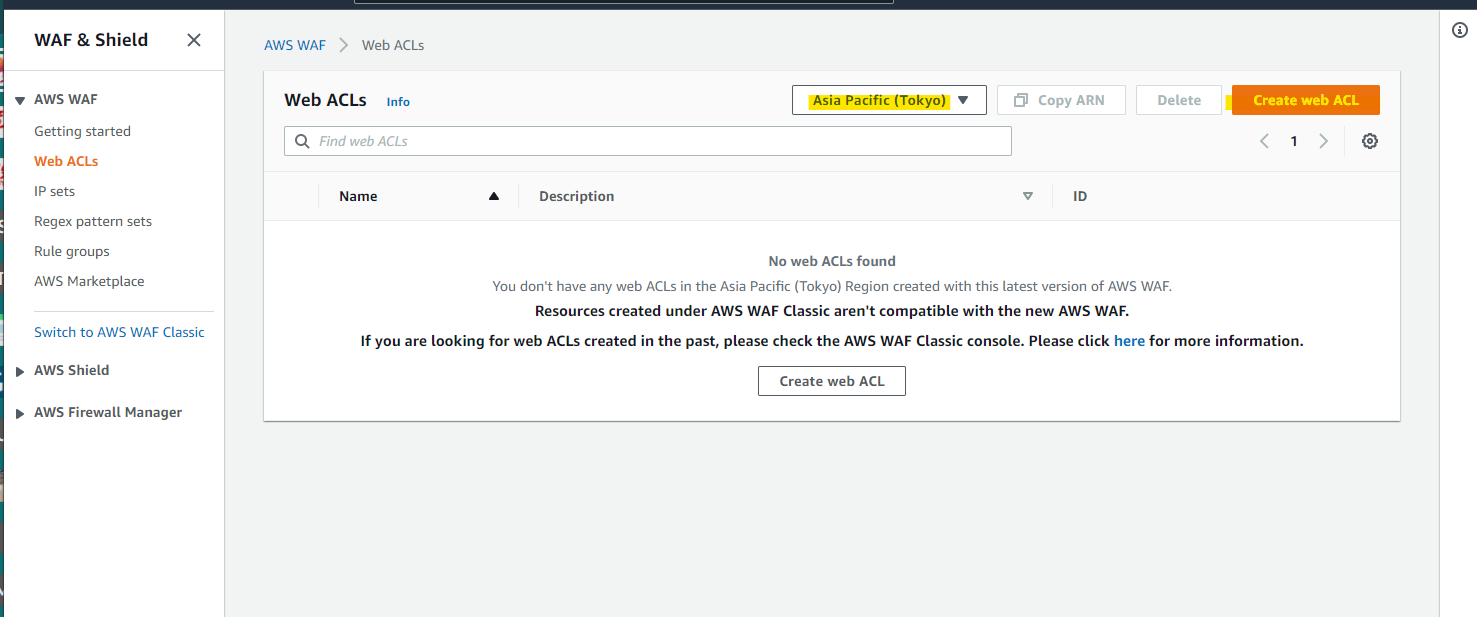
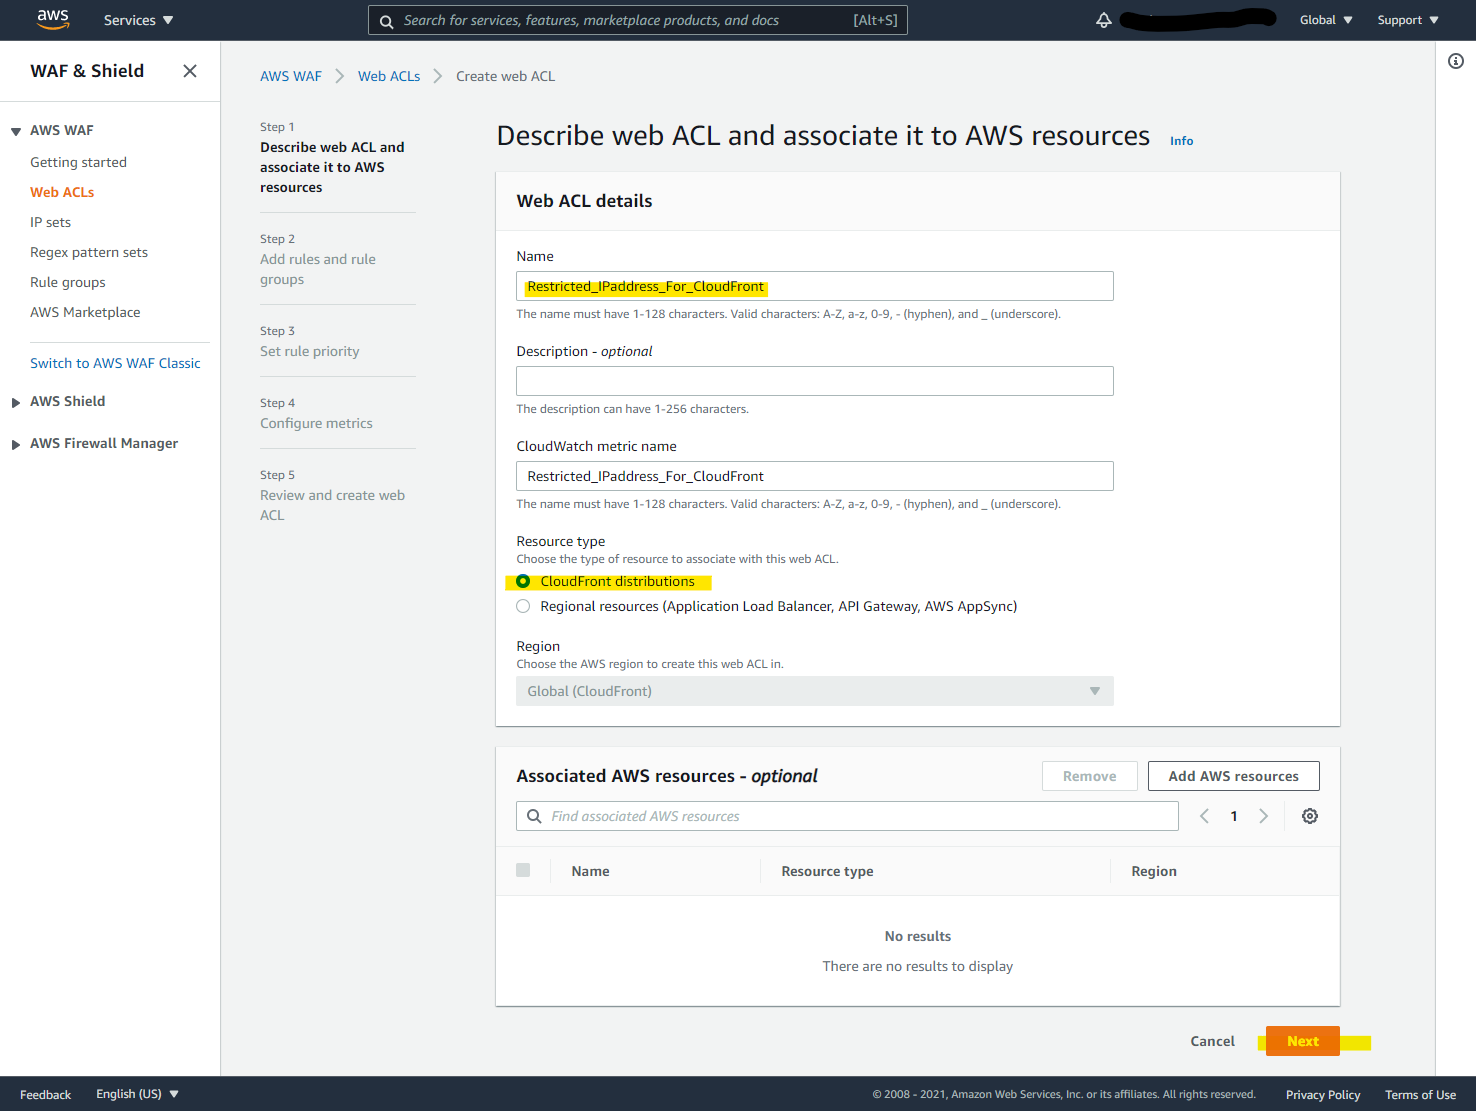
Web ACL を作成します
パラメータ指定して Next
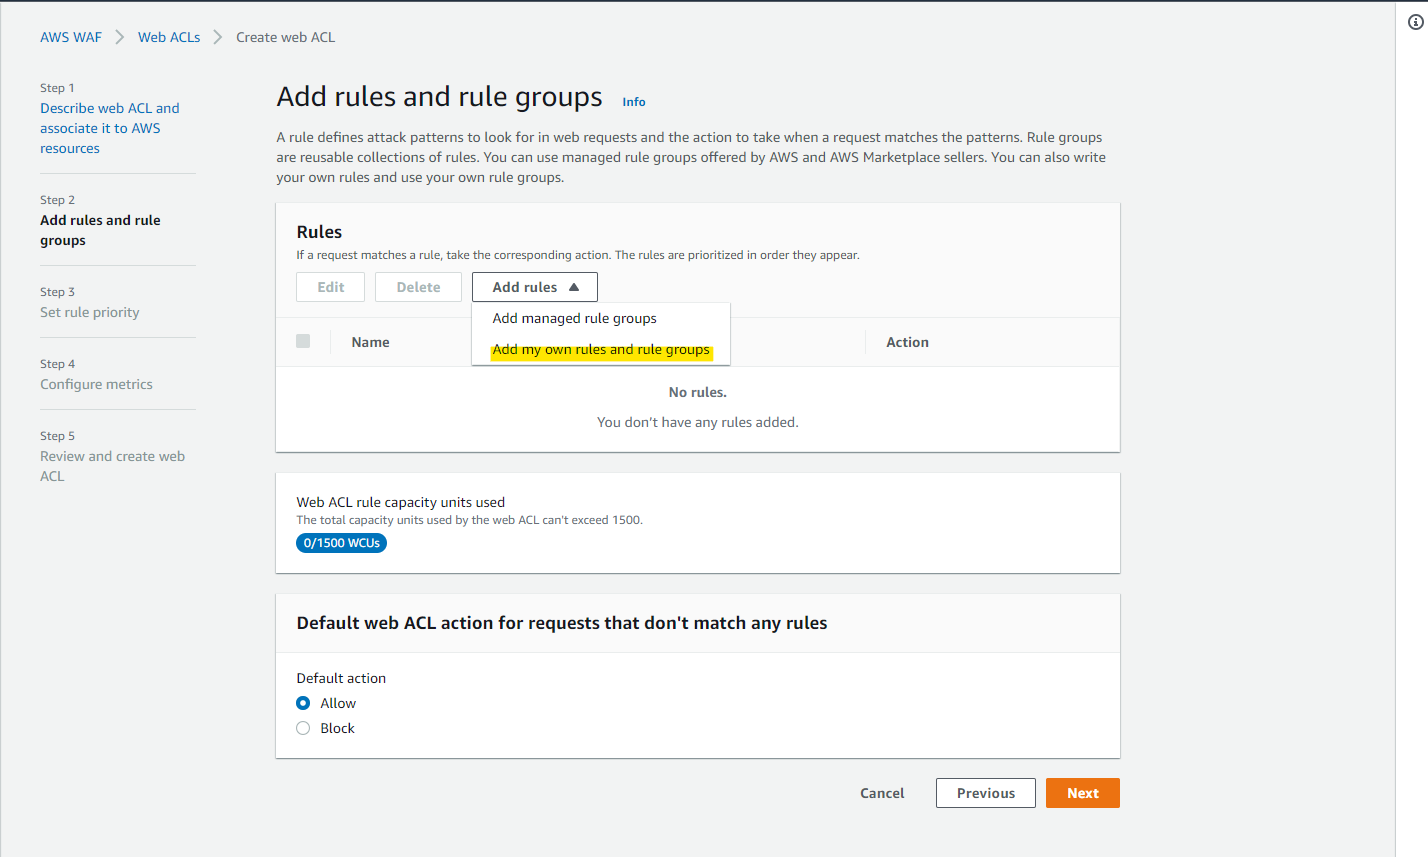
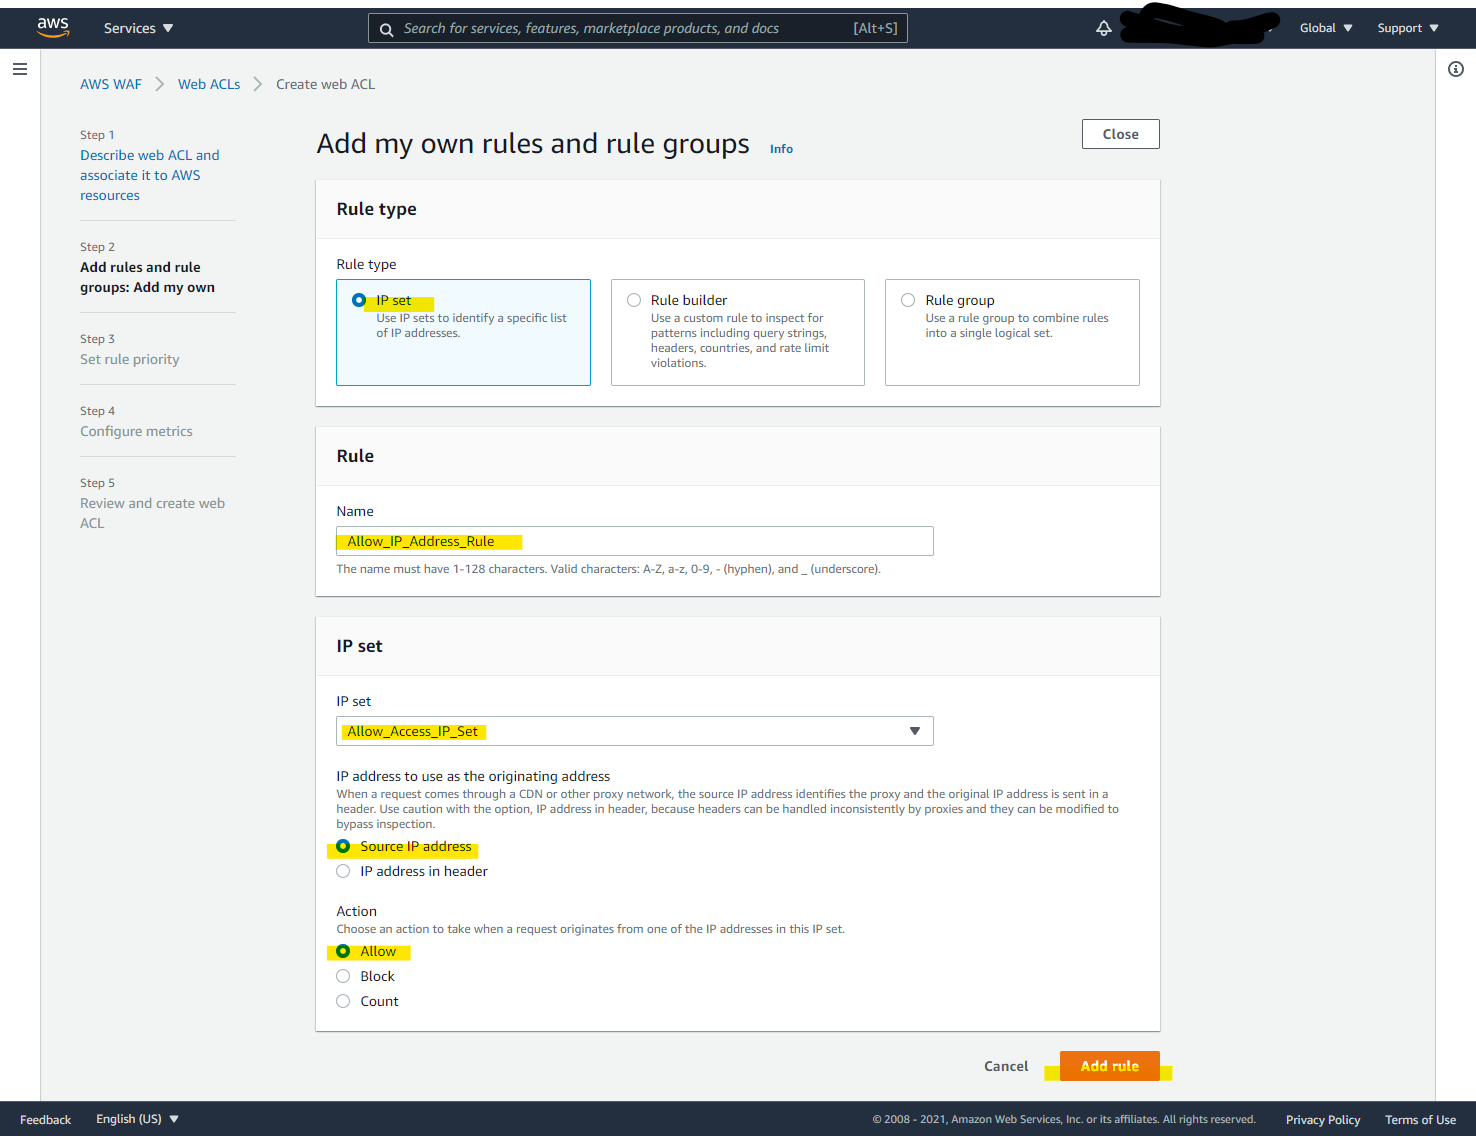
Add my own rules and rule groups
IP set を選択して、定義された IP アドレスのみアクセスを許可します。
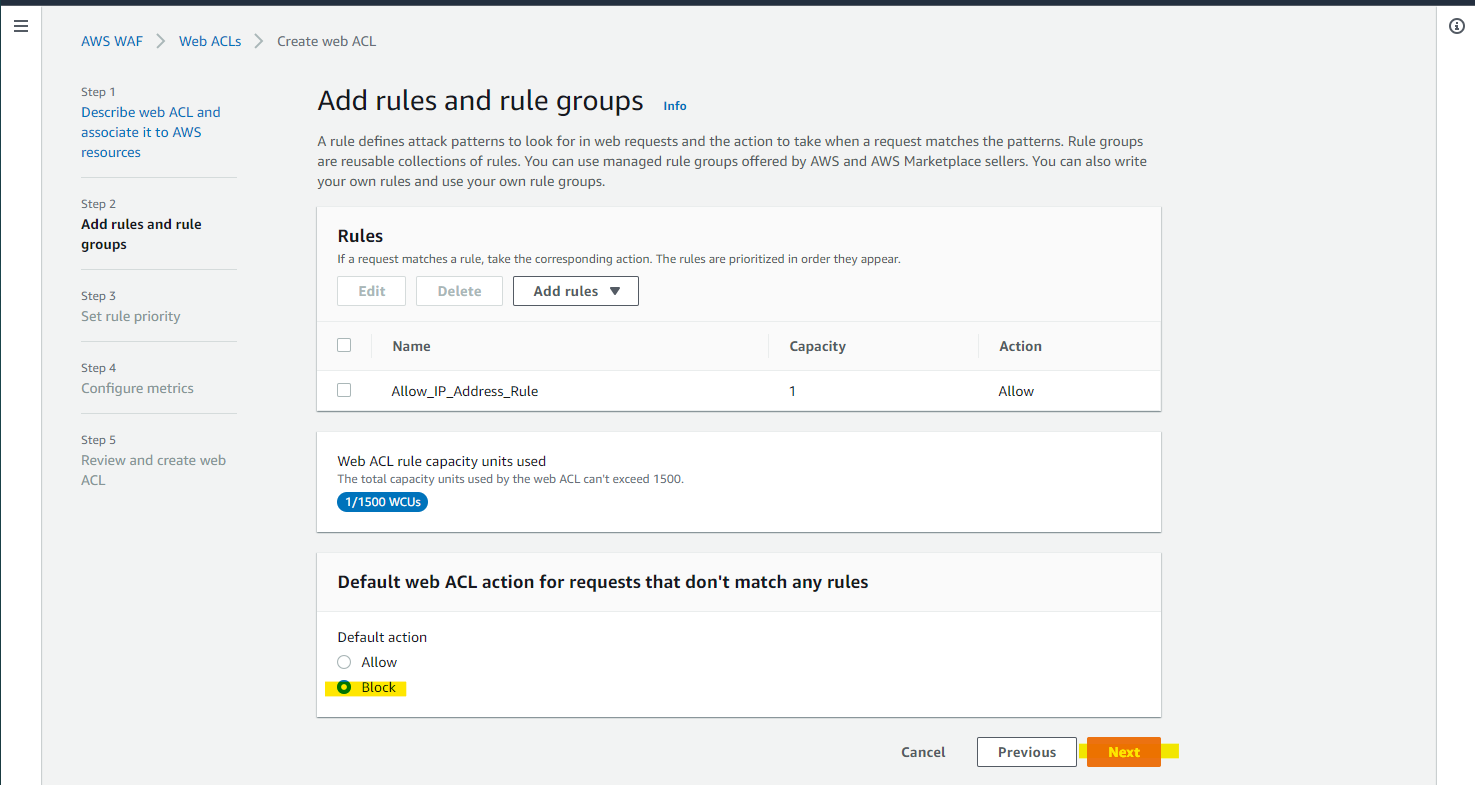
Default Block にすることで、IP set の IP アドレスのみアクセス可能です
Next
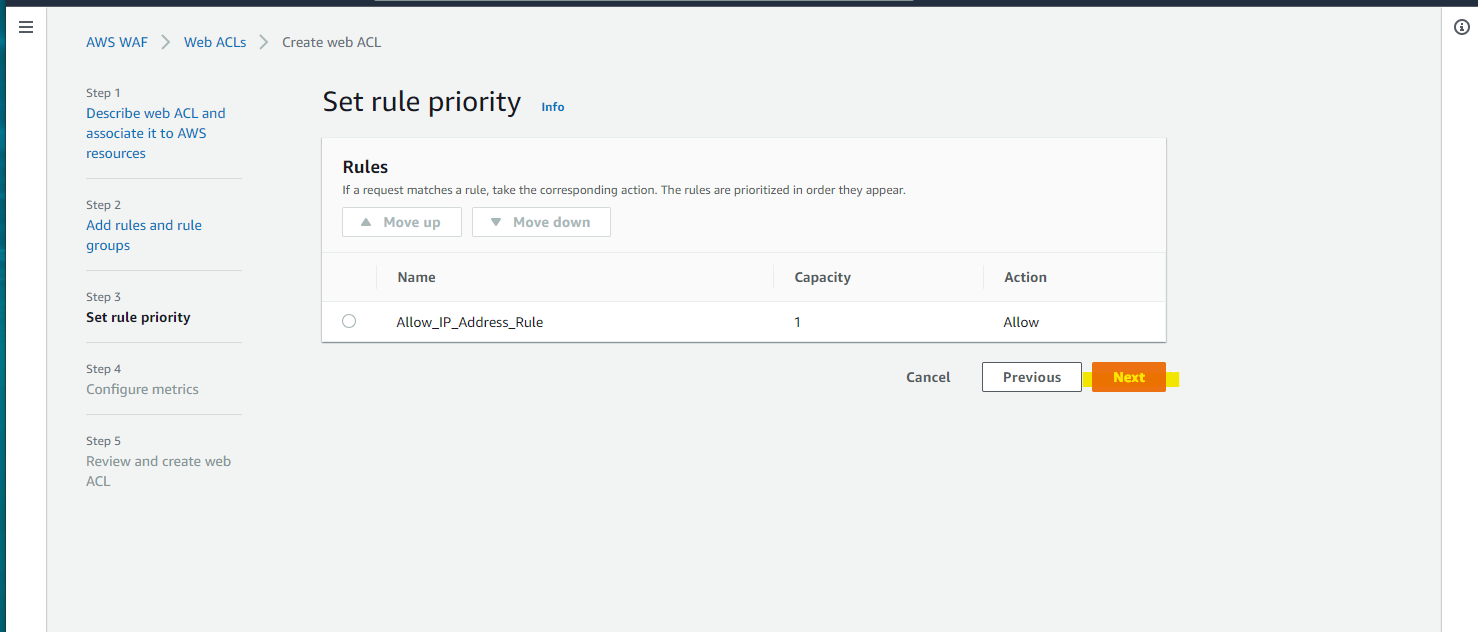
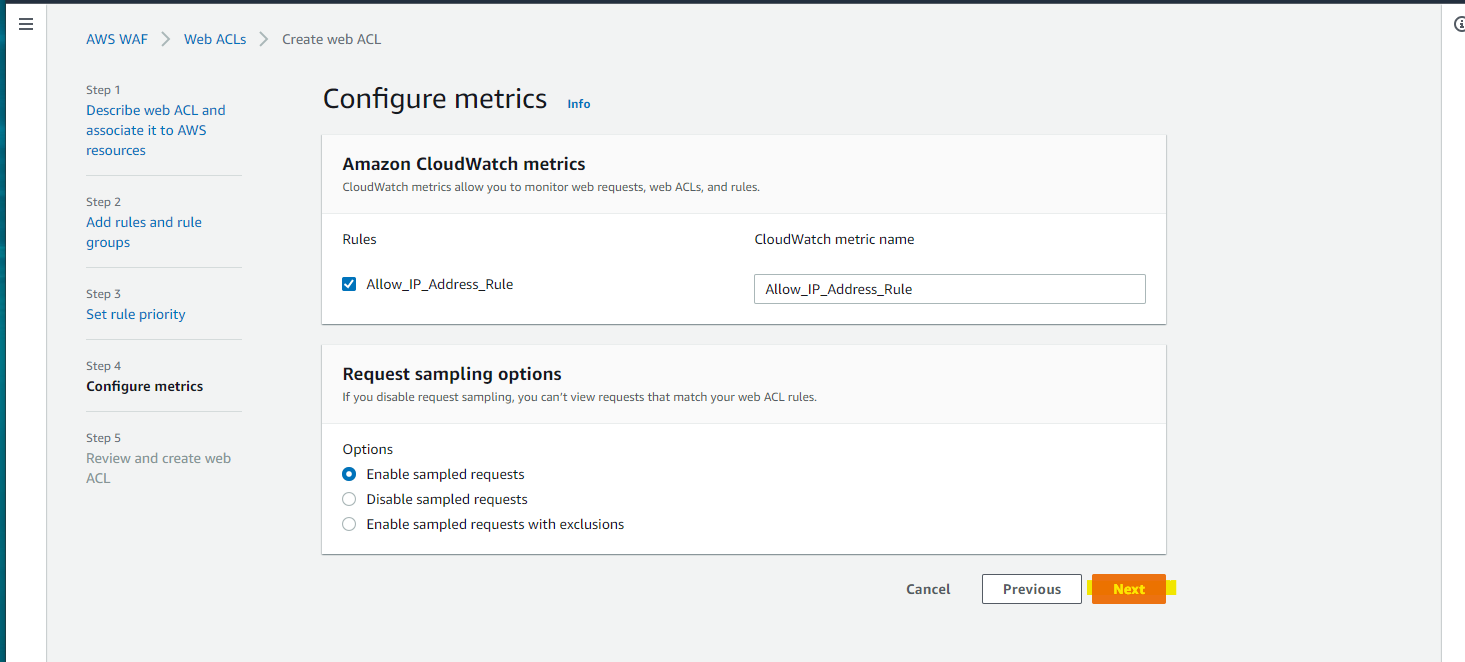
Next
Create ACL
Distribution に WAF ACL をアタッチ
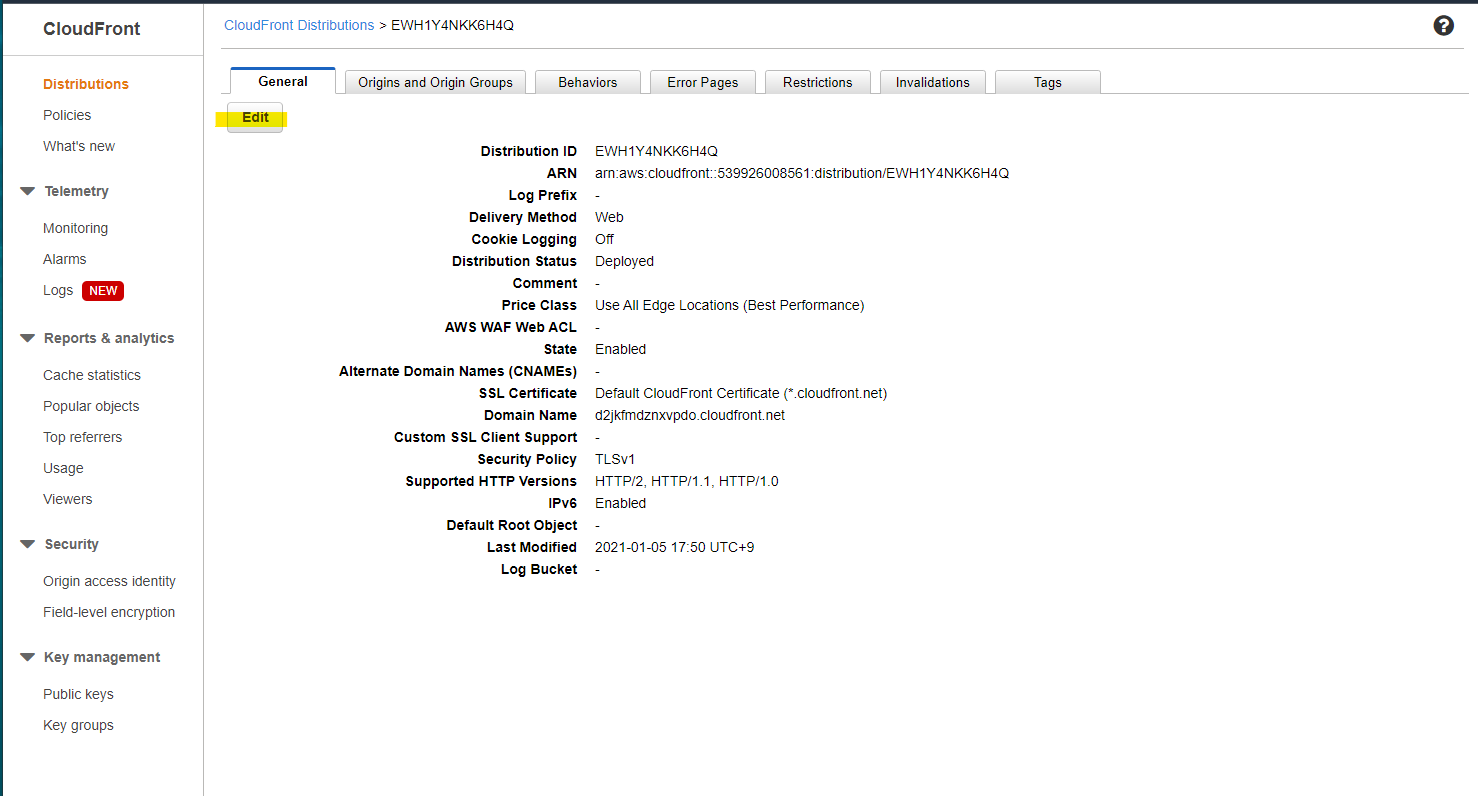
Distribution の詳細画面に移動
Edit
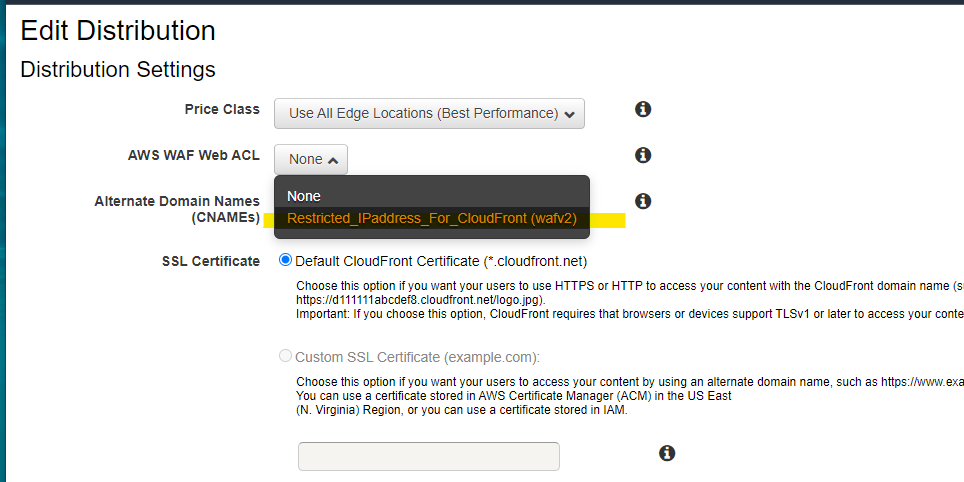
新たに作成した、WAF Web ACL を紐づけます
Progress となり、一定時間後に Deployed になります。
動作確認
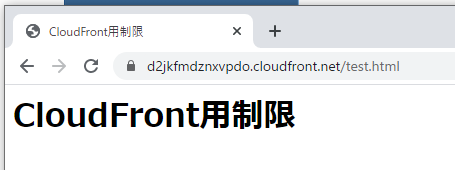
CloudFront の Domain Name は d2jkfmdznxvpdo.cloudfront.net なので、次のようにアクセス可能です
https://d2jkfmdznxvpdo.cloudfront.net/test.html
許可した IP アドレスから、CloudFront 経由で S3 へアクセス
正常に表示されています
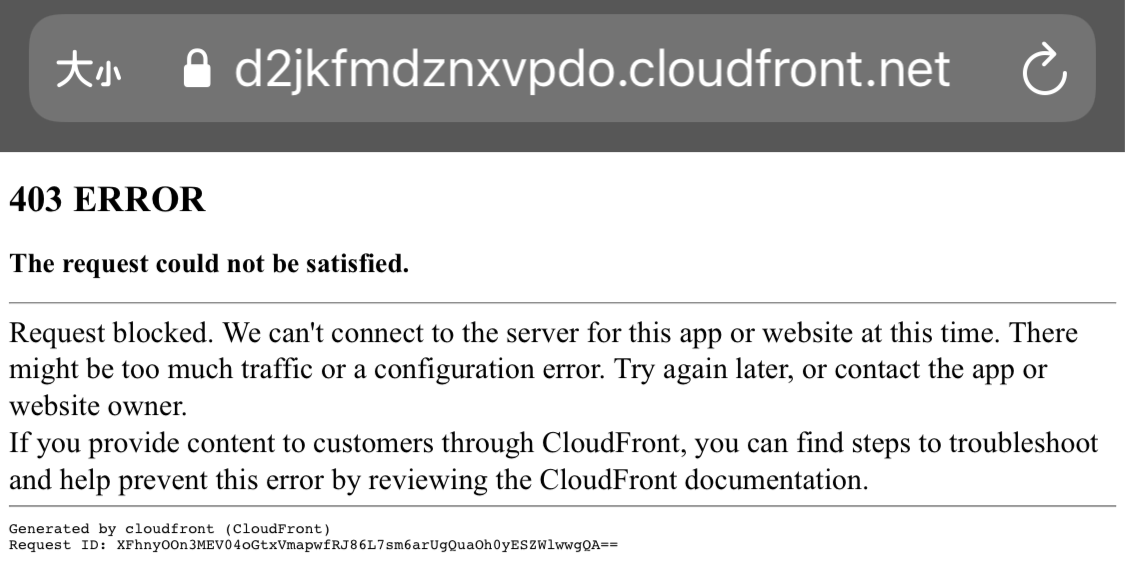
許可していない IP アドレスから、CloudFront 経由で S3 へアクセス
403 ERROR となっており、正常な動作です
S3 直接アクセスはもちろん禁止されているので、エラーになります
https://cloudfronttest-sugi01.s3-ap-northeast-1.amazonaws.com/test.html
参考URL

