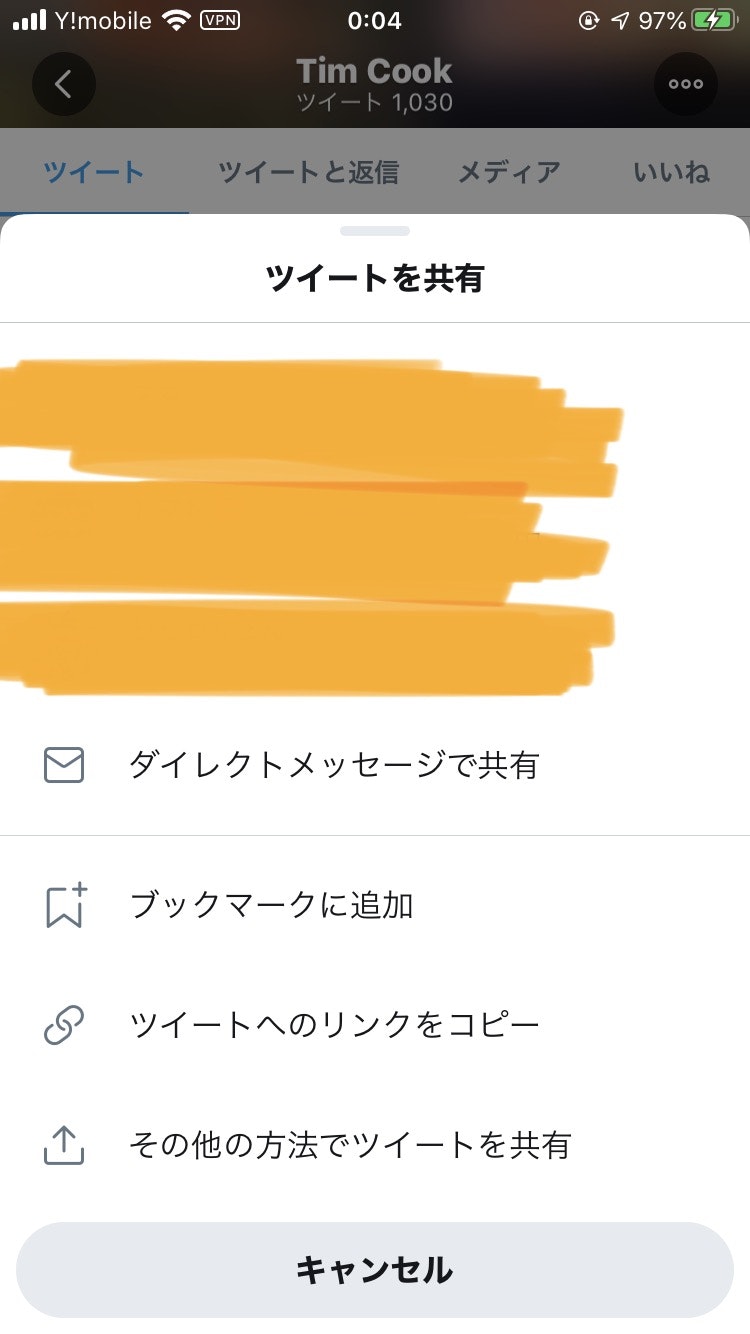
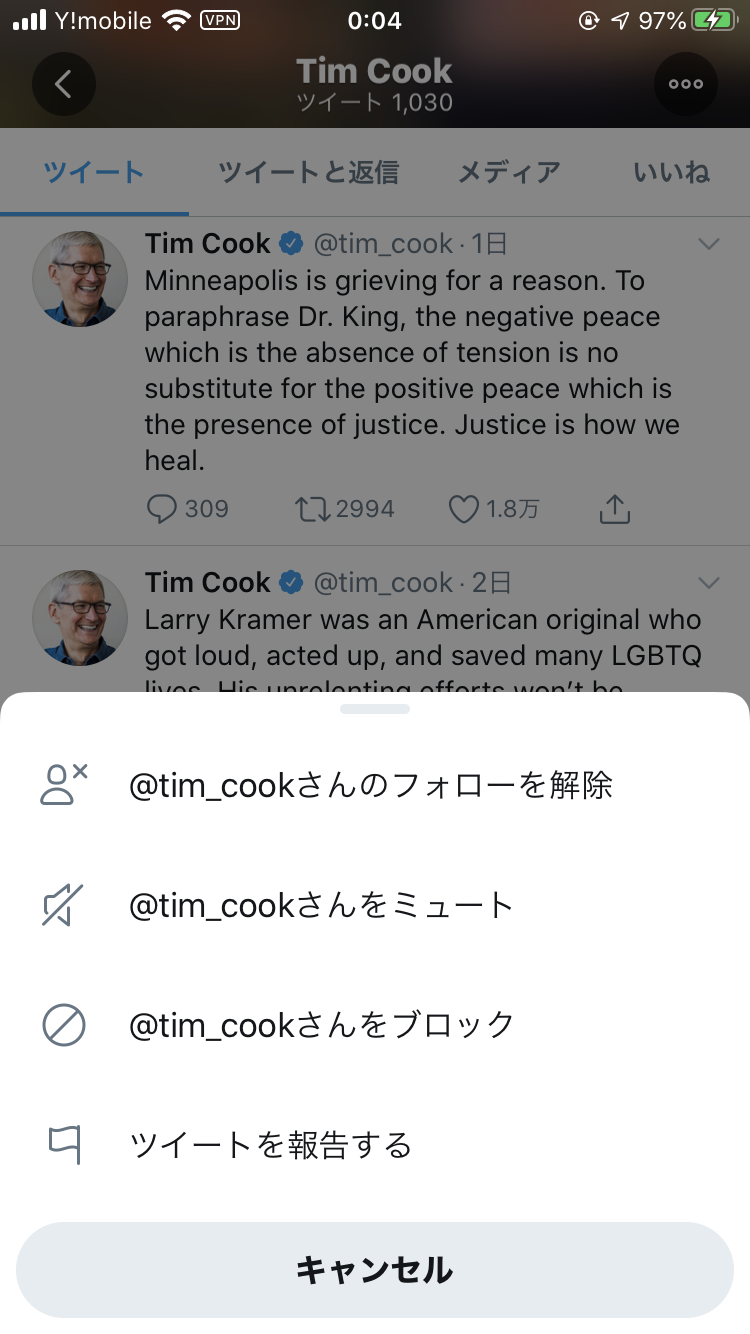
Twitterの下から出てくるメニュー!使いやすいよね


 ↑こんな感じでしたからニョキって出るやつ
**実装してえ!!!😳😳😳**
# ライブラリを使って実装しよう
普通にライブラリなしでも作れるとは思うけど、やっぱりめんどくさいなーーーということで
それっぽいことができそうなライブラリを探してきたよ!🙋♂️
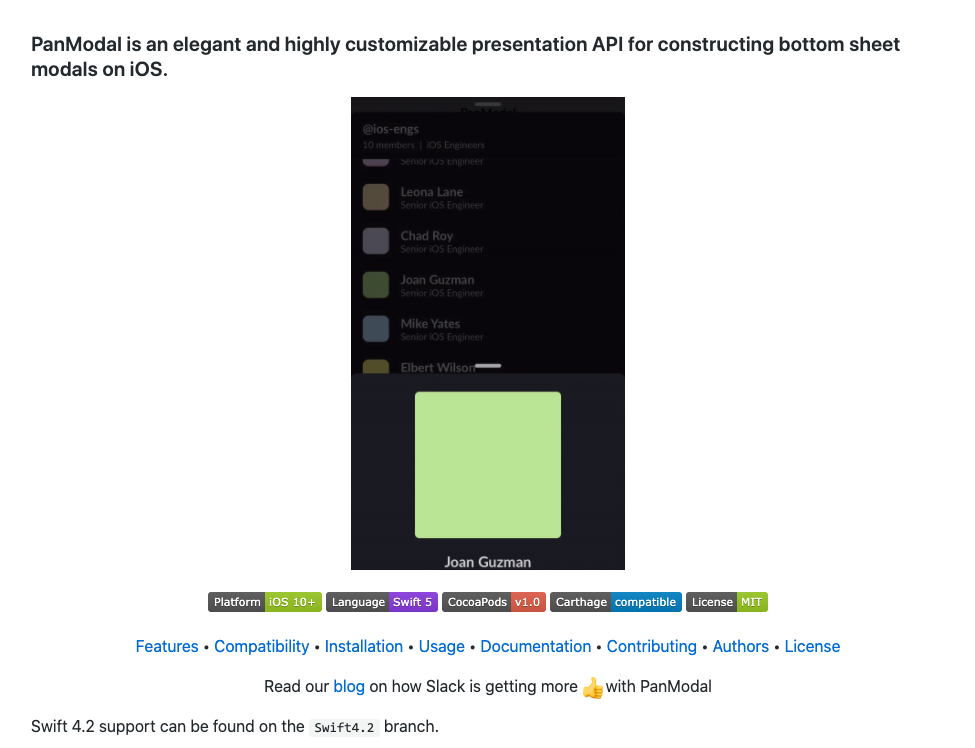
https://github.com/slackhq/PanModal

どっかでみたことあるなーって人いるでしょ?
「スッカカカ」でおなじみのSlackのライブラリなんですねー
↑こんな感じでしたからニョキって出るやつ
**実装してえ!!!😳😳😳**
# ライブラリを使って実装しよう
普通にライブラリなしでも作れるとは思うけど、やっぱりめんどくさいなーーーということで
それっぽいことができそうなライブラリを探してきたよ!🙋♂️
https://github.com/slackhq/PanModal

どっかでみたことあるなーって人いるでしょ?
「スッカカカ」でおなじみのSlackのライブラリなんですねー
というわけでこいつを使ってTwitterみたいなニョキッとメニューを作ってくぞ!!!
作ろう!
1. ライブラリを入れよう
cocoapodsを使いますよー!
Podfileにこれを追記して pod installしてください!
pod 'PanModal'
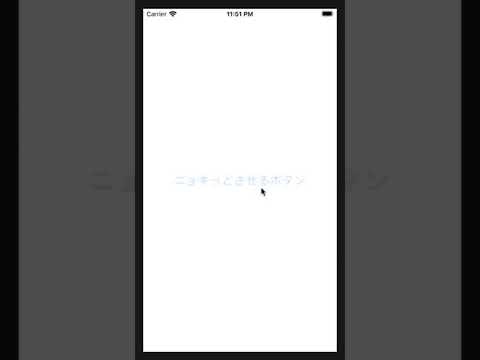
2. ニョキっとさせるボタンを追加
お好みでButtonとかTableViewとかを置いてあげよう
これを押したときにニョキっとメニューが出るようなイメージ!

3. ニョキっとメニュー本体を作る
そんでとりまUITableViewDelegateとUITableViewDataSource、あとそれに関連したなんやかんやを書く!
(UITableViewでいいじゃんと思ったんですけど、なんかうまく動かなかったのでこうしてます 謎です)

次にニョキっとのキモを作ってくぞ!

PanModalをimportして、

もろもろ書こう!
これでニョキっとメニュー自体は完成!
4. ニョキっとメニューを呼び出そう!
ニョキッとメニューを出したいタイミングで、
presentPanModal(NyokittoViewController())
5. 完成!
これでtwitterのメニューっぽいニョキっとメニューが完成!お疲れさまです〜〜〜〜〜〜


6. いろいろ改良してえ!
↑のやつだと問題点がいろいろあるから改良しようぜ!っていうやつです
なんかメニューがスクロールするんだけど
そういう時はこれを追記だ!
tableView.isScrollEnabled = false
これを設定するとtableViewがスクロールしなくなるよ!便利だね!
ヘッダー欲しいんだけど
そういう時はヘッダーを作ろう!
let headerView:UIView = UIView()
let label: UILabel = UILabel()
ヘッダービューとそこに載せたいものを定義
これを追記
    func tableView(_ tableView: UITableView, viewForHeaderInSection section: Int) -> UIView? {
        return headerView
    }
    override func viewDidLayoutSubviews() {
        label.text = "共有"
        label.textAlignment = .center
        label.textColor = .black
        label.font = UIFont.systemFont(ofSize: 14)
        label.frame = CGRect(x: 0, y: 0, width: headerView.frame.width, height: headerView.frame.height)
        headerView.addSubview(label)
    }
あとheaderの高さを変えたい時は
tableView.sectionHeaderHeight = 40
区切り線邪魔なんだけど
そういう時はこれを追記
tableView.separatorStyle = .none
メニュー押された時の動き書きたいんだけど
こう書く!
    func tableView(_ tableView: UITableView, didSelectRowAt indexPath: IndexPath) {
        tableView.deselectRow(at: indexPath, animated: true)    //選択解除
        /*

            ここになんやかんや書く

         */
    }
みんなもニョキっとメニュー作ろうぜ!
みんなもニョキっとメニュー作ろうぜ!
なんか結構付け焼刃なやり方だけど、ちょちょっと実装したい時とかに参考にしてみてください(絶対こんなのよりいいやり方ある、、、、、、)
GitHubもあげといたから参考にしてみて!
https://github.com/sugijotaro/NyokittoMenu
参考
環境
Xcodeのバージョン:11.5
ライブラリ:PanModal


