プロジェクト作成
Spring Initializrでプロジェクトを作成
https://start.spring.io/
以下の図のように選択します。
・Gradle
・Kotlin
・Spring Boot 2.1.6
・Spring Web Starter

最後に、「Generate The Project」を押下するとZipファイルがダウンロード開始します。
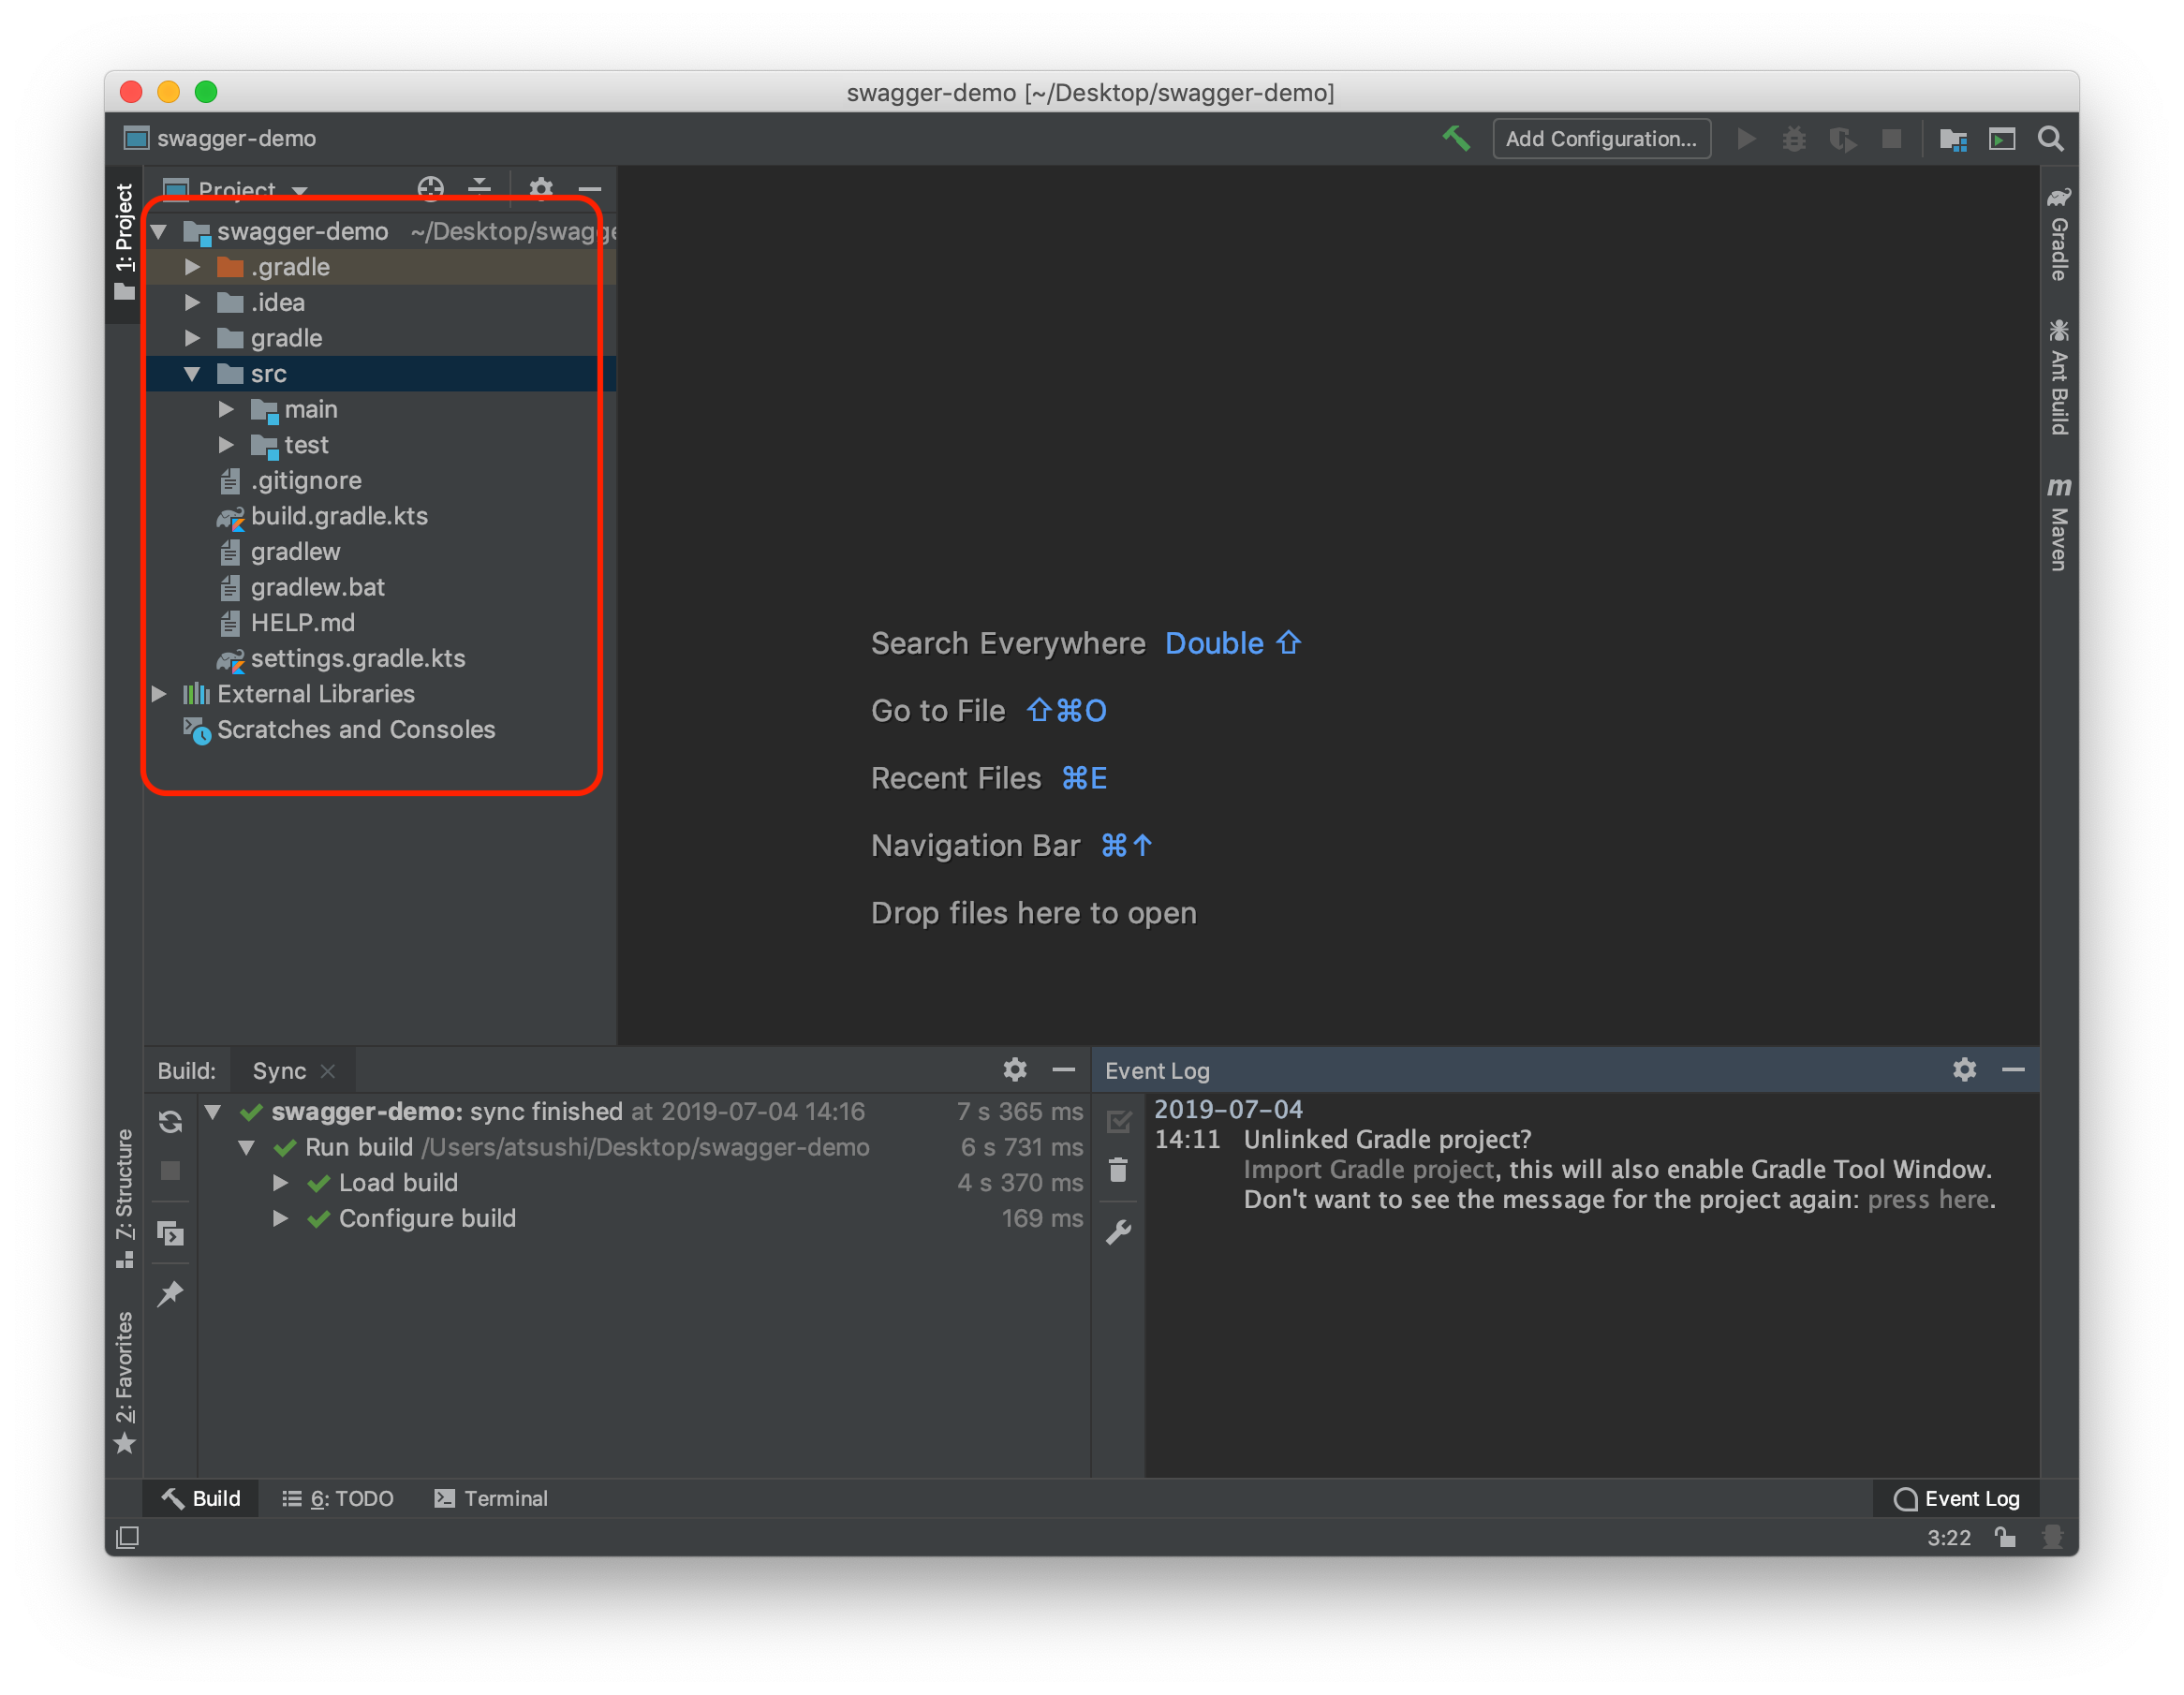
解凍すると、上記の指定にしたがって作成されたプロジェクトフォルダが現れます。
解凍したフォルダごと、IntellJ IDEAへドロップすると

IDEが開き、プロジェクト読み込みが開始されます。
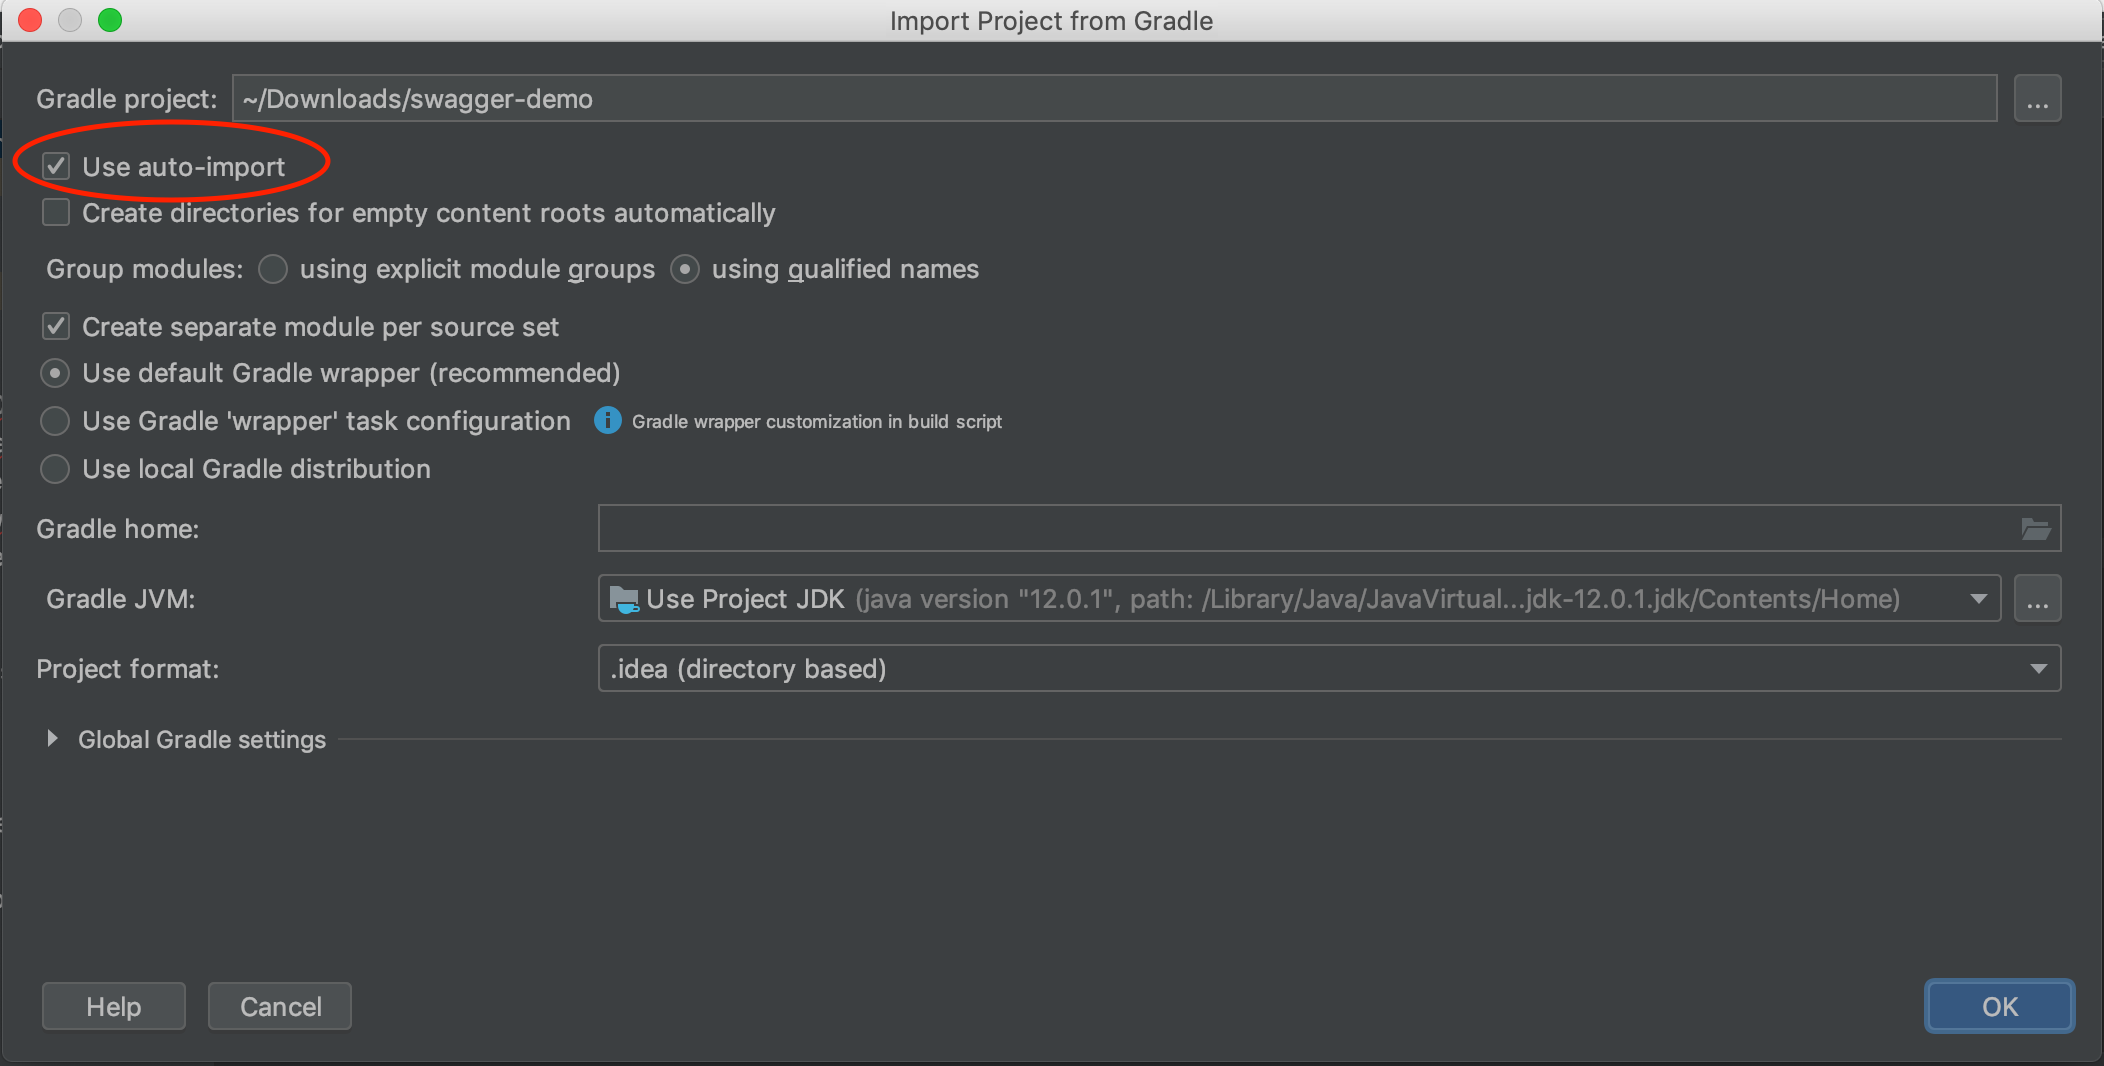
Import Gradle projiectと表示されたらクリックします。

ポップアップが開くのでOKを押します。
Use auto-import を選択しといた方がいいです。

テスト実行
SwaggerDemoApplication.ktを開き、▶︎ボタンを押して表示される「Run」を選択します。

この状態で特に何も変化はおきませんが、8080ポートでWebサーバーが起動しています。
http://localhost:8080/
アクセスするとエラーページが表示されてます。
REST APIの追加
Controllerの作成
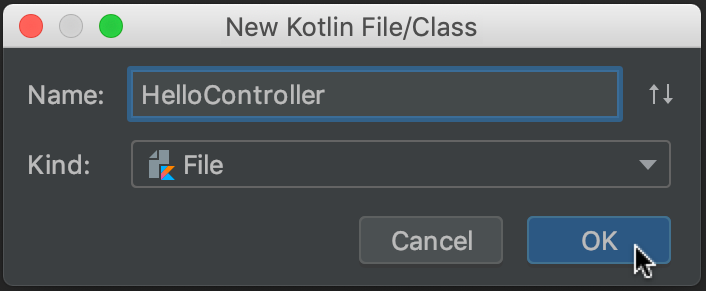
com.example.swagger.demoの下にHelloController.ktを作成します。


以下のようにimportと@GetMappingアノテーションを追加します。
単に文字列を返すだけのgetメソッドです。
package com.example.swagger.demo

import org.springframework.web.bind.annotation.GetMapping
import org.springframework.web.bind.annotation.RestController

@RestController
class HelloController {
    @GetMapping("/hello")
    fun hello(): String {
        return "Hello! World!"
    }
}
再度実行して以下のアドレスにアクセスします。
http://localhost:8080/hello
RequestParamの追加
このままでは寂しいのでコントローラーにパラメータを渡せるようにしてみます。
RequestMappingとRequestParamを追加します。
import org.springframework.web.bind.annotation.RequestMapping
import org.springframework.web.bind.annotation.RequestParam
HelloControllerに@RequestMappingアノテーションを追加し以下のようにします。
package com.example.swagger.demo

import org.springframework.web.bind.annotation.GetMapping
import org.springframework.web.bind.annotation.RestController
import org.springframework.web.bind.annotation.RequestMapping
import org.springframework.web.bind.annotation.RequestParam

@RestController
@RequestMapping
class HelloController {
    @GetMapping("/hello")
    fun hello(@RequestParam(value = "name", required = false, defaultValue = "world") name: String): String {
        return "Hello, $name!"
    }
}
再度実行して以下のアドレスにアクセスします。
http://localhost:8080/hello?name=taro
リクエストパラメータ ”name" にtaro が渡されて、Hello! taro! と表示されました。

パラメータを省略可(required = false,)にしているので、
http://localhost:8080
にアクセスした際にはデフォルト値のWorld(defaultValue = "World")が使用されて、Hello! World!と表示されます。


