今回は、SpringfoxでSwaggerを自動生成する方法を紹介します。まず、SpringBootでAPIを作り、そのコードからドキュメントを自動生成します。APIを作成からドキュメント化まで10分ほどでできると思います。
Spring Initializrでプロジェクトを作成
https://start.spring.io/
でSpringのプロジェクトを作成します。
今回は
- Gradle Project
- Kotlin
- Spring Boot 2.1.4
- Web
を選択しました。

Spring BootでRest APIを実装
HelloController classを作成します。
今回は、 /hello へGETリクエストがあった際に、レスポンスを返す処理を実装しています。
package com.example.demo.controller

import org.springframework.web.bind.annotation.GetMapping
import org.springframework.web.bind.annotation.RequestMapping
import org.springframework.web.bind.annotation.RequestParam
import org.springframework.web.bind.annotation.RestController

@RestController
@RequestMapping
class HelloController {

    @GetMapping("/hello")
    fun hello(@RequestParam(value = "name", required = false, defaultValue = "everyone") name: String): String {
        return "Hello, $name!"
    }
}
./gradlew bootRun もしくはIntelliJ内でRunして動かします。
実行例
$ curl http://localhost:8080/hello?name=Bob
Hello, Bob!
Springfoxでドキュメントを作成する
build.gradleにswagger用の設定を追加していきます。
// 追加の二行以外は全てIniitalizrで生成したままです。
// 省略

dependencies {
	compile 'io.springfox:springfox-swagger2:2.9.2' // 追加
	compile 'io.springfox:springfox-swagger-ui:2.9.2' // 追加
	implementation 'org.springframework.boot:spring-boot-starter-web'
	implementation 'com.fasterxml.jackson.module:jackson-module-kotlin'
	implementation 'org.jetbrains.kotlin:kotlin-reflect'
	implementation 'org.jetbrains.kotlin:kotlin-stdlib-jdk8'
	testImplementation 'org.springframework.boot:spring-boot-starter-test'
}

// 省略
DemoApplicaion.ktには@EnableSwagger2を追加します。
package com.example.demo

import org.springframework.boot.autoconfigure.SpringBootApplication
import org.springframework.boot.runApplication
import springfox.documentation.swagger2.annotations.EnableSwagger2

@SpringBootApplication
@EnableSwagger2 // swaggerを有効化するannotaion
class DemoApplication

fun main(args: Array<String>) {
	runApplication<DemoApplication>(*args)
}
ブラウザで以下のURLへ移動してください。
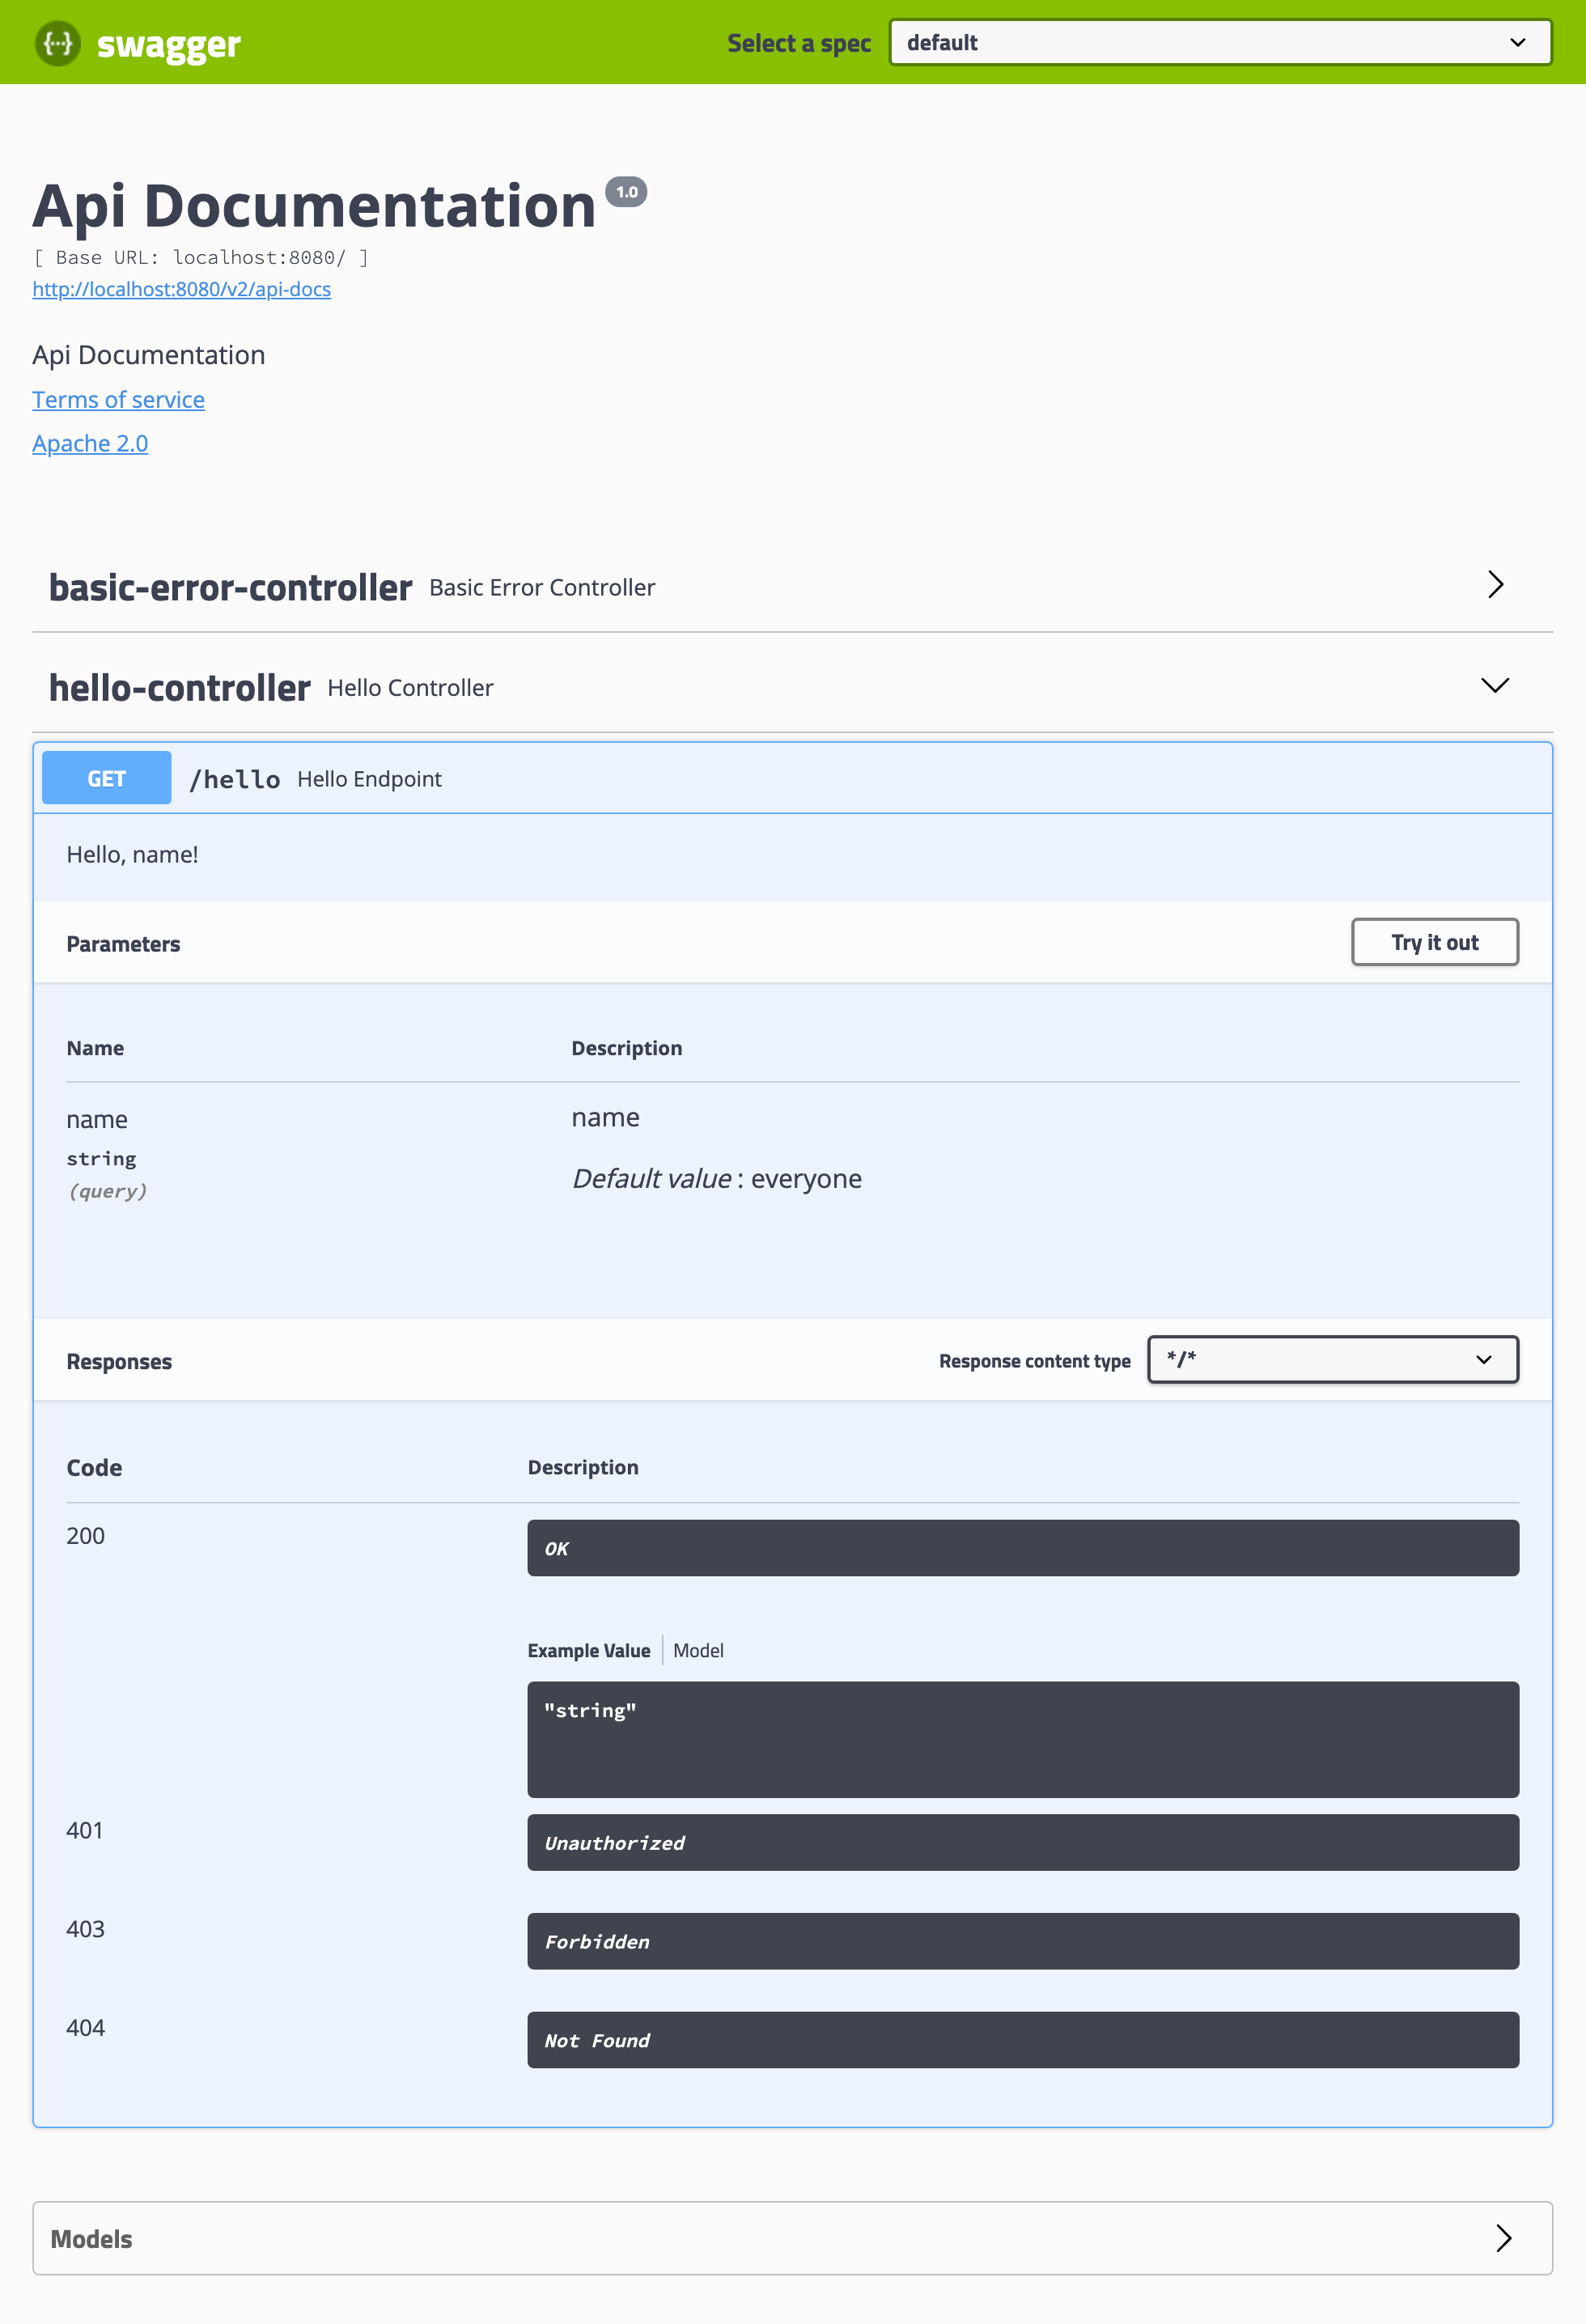
次のような画面が表示されれば成功です。Try it outで正常レスポンスが返ってくることも確認してみてください。
ただ、basic-error-controllerが表示されていたり、表記がデフォルトの設定になっているので、次章で修正していきます。
デフォルトからの変更
- 指定のエンドポイント(今回は
/hello)のみ表示する - defaultのResponse code/message(401,403,404など)は表示しない
- APIの詳細情報(説明文やバージョンなど)を記載する
package com.example.demo

import org.springframework.boot.autoconfigure.SpringBootApplication
import org.springframework.boot.runApplication
import org.springframework.context.annotation.Bean
import springfox.documentation.builders.ApiInfoBuilder
import springfox.documentation.builders.PathSelectors
import springfox.documentation.service.ApiInfo
import springfox.documentation.spi.DocumentationType
import springfox.documentation.spring.web.plugins.Docket
import springfox.documentation.swagger2.annotations.EnableSwagger2

@SpringBootApplication
@EnableSwagger2
class DemoApplication {

	@Bean
	fun demoApi(): Docket {
		return Docket(DocumentationType.SWAGGER_2)
				.useDefaultResponseMessages(false) // defaultのResponse Code/Messageを表示しない
				.select()
				.paths(PathSelectors.regex("/hello*")) // /hello配下を明示的に選択する
				.build()
				.apiInfo(apiInfo())
	}

	fun apiInfo(): ApiInfo {
		return ApiInfoBuilder()
				.title("API Document Demo")
				.description("This is an API document powered by swagger.")
				.version("0.0.0")
				.build()
	}
}

fun main(args: Array<String>) {
	runApplication<DemoApplication>(*args)
}
package com.example.demo.controller

import io.swagger.annotations.ApiOperation
import org.springframework.web.bind.annotation.GetMapping
import org.springframework.web.bind.annotation.RequestMapping
import org.springframework.web.bind.annotation.RequestParam
import org.springframework.web.bind.annotation.RestController

@RestController
@RequestMapping
class HelloController {

    @GetMapping("/hello")
    @ApiOperation(value = "Hello Endpoint", notes = "Hello, name!") // ドキュメントに説明文を追加する
    fun hello(@RequestParam(value = "name", required = false, defaultValue = "everyone") name: String): String {
        return "Hello, $name!"
    }
}
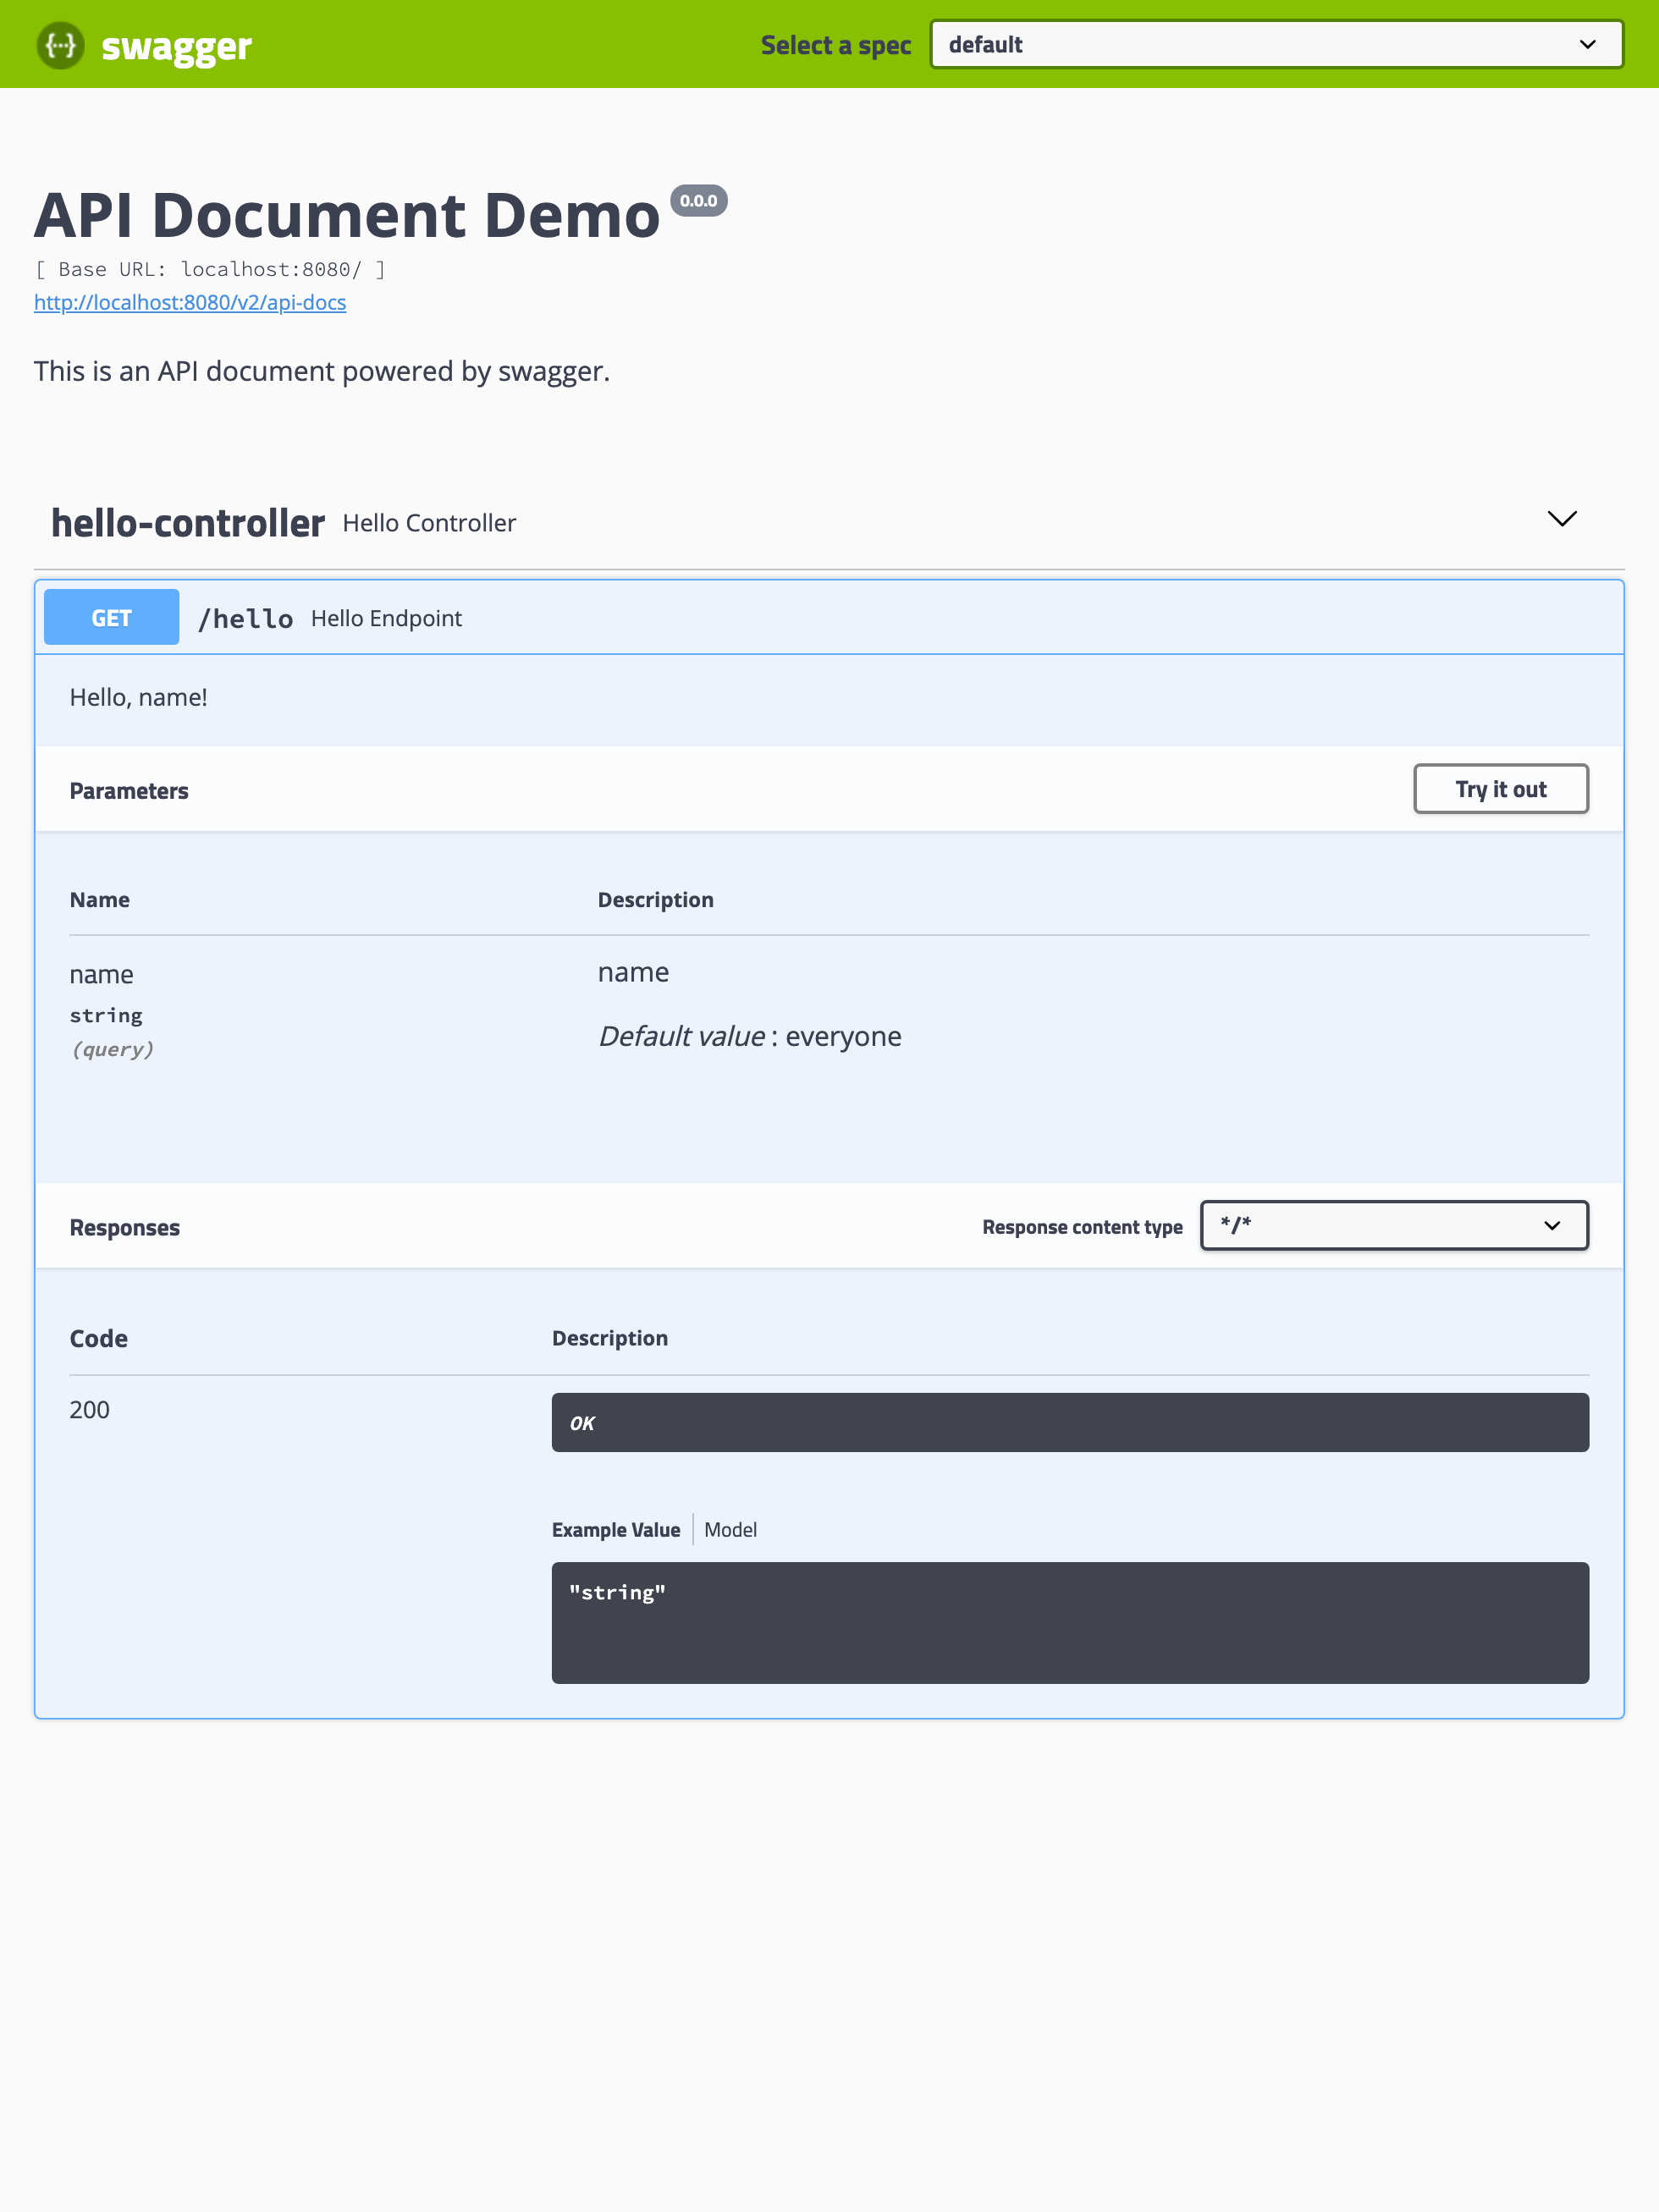
実装した/helloエンドポイントのドキュメントのみが表示されているかと思います。また、説明文も追加されました。説明文があると読みやすく、理解しやすいAPIドキュメントになりますね。
まとめ
想像以上に簡単にAPIドキュメントの生成ができました。
OpenAPI GeneratorによるAPIクライアントライブラリ生成まで実装することを目標としていましたが、執筆時点(2019/05/07)時点ではOAS3.0未対応なので、対応され次第、実装してみようと思います。
SpringfoxのOpen API 3.0に関するIssue
https://github.com/springfox/springfox/issues/2022
OpenAPI Generator
https://github.com/OpenAPITools/openapi-generator

