wifiの設定
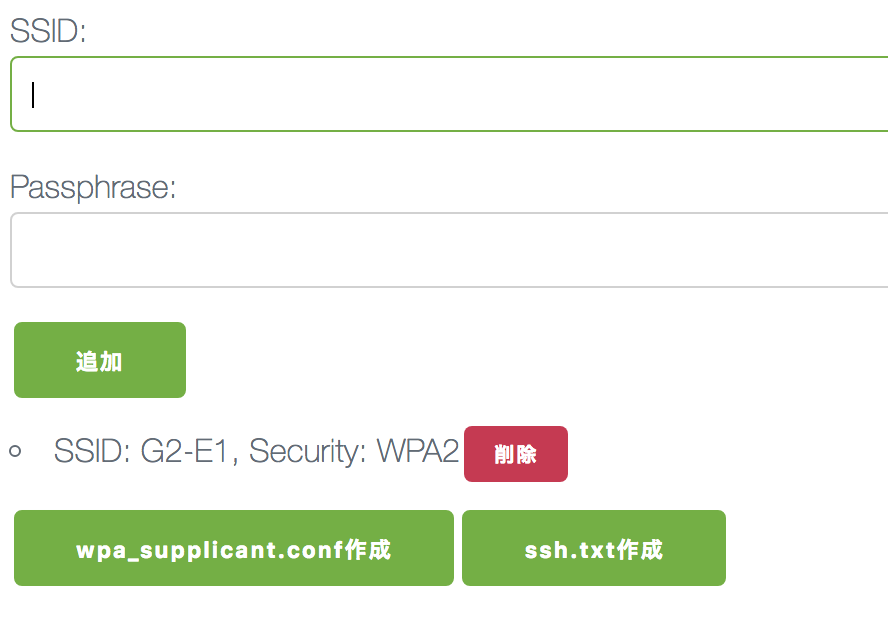
@masciiさんがRaspberry Piの無線LANをmicroSDで簡単に設定するためのツールを作ってくれているので利用させてもらいました。

ツールで作成されるファイルをmicroSDのルートディレクトリに作成すると、Raspberry Pi起動時に自動でwifi設定がされるとのこと。
SDカード直下におきます。

一度起動したらwpa_supplicant.confはSDカードから削除されるようなので、
初回起動時にVNCの有効化まで一気にやった方がいいです。
SSH
Raspberry Piの無線LANをmicroSDで設定する - Qiita
Mac側でターミナルを立ち上げて以下を入力
$ ssh pi@raspberrypi.local
パスワードを聞かれるので、 raspberryと入力。
これで繋がりました。
※うまく繋がらなかったら、ssh pi@192.168.1.100 などIPアドレスで繋げて見てください。
VNCの有効化
MacのFinderからVNC接続したい場合にはRaspberryPI標準のVNCサーバーに繋がらないのでTightVNCを使います。
RaspberryPI標準のVNCサーバーの場合↓こんなバージョン互換性が無いと表示されます。

メモ:RaspberryPI標準の設定は→sudo raspi-config
TightVNC
TightVNCのインストール
それぞれけっこう時間かかるのでしばらく待ちます。
sudo apt-get update
sudo apt-get upgrade
sudo apt-get install tightvncserver
TightVNCの起動
tightvncserver
「You will require a password to access your desktops.」とパスワードを尋ねられますので入力します。これは後ほどのVNC接続で必要になります。
「Would you like to enter a view-only password (y/n)?」の質問にはNで回答します。
(操作を行いたいので)
以下メッセージが表示されて完了
Creating default startup script /home/pi/.vnc/xstartup
Starting applications specified in /home/pi/.vnc/xstartup
Log file is /home/pi/.vnc/raspberrypi:1.log
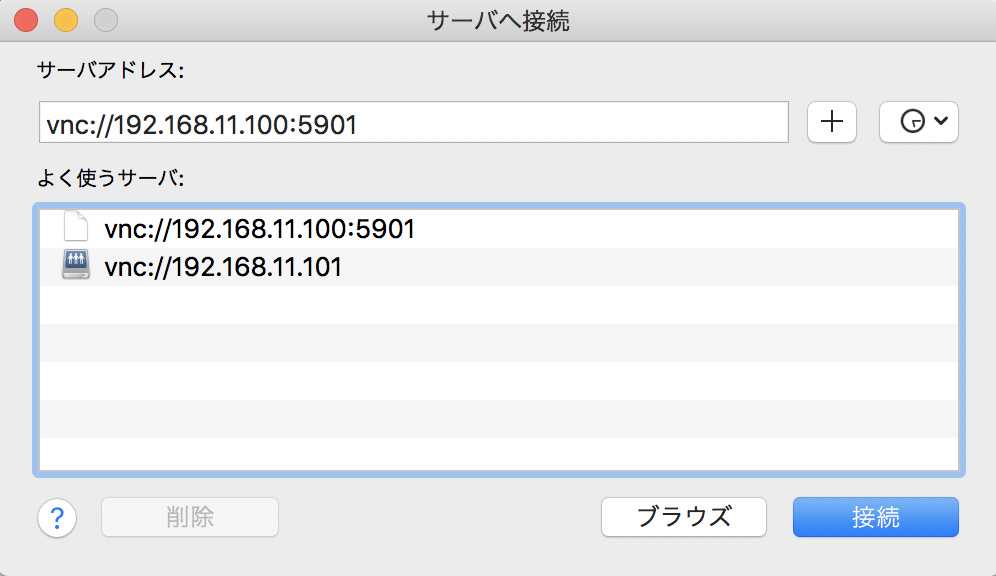
移動>サーバーへ接続で、以下のようにIPアドレスの後ろに:5901をつけて接続します。
vnc://xxx.xxx.xxx.xxx:5901
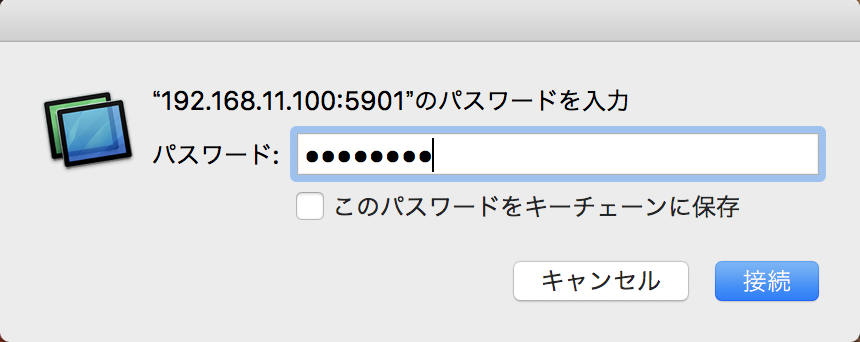
TightVNCの起動で設定したパスワードを入力します。
繋がりました!
TightVNCの自動起動
Mac側のターミナルでSSHでRaspberryPIに接続し、以下を入力
sudo vi /etc/init.d/vncboot
中身をいかにする
# ! /bin/sh

### BEGIN INIT INFO
# Provides: vncboot
# Required-Start: $remote_fs $syslog
# Required-Stop: $remote_fs $syslog
# Default-Start: 2 3 4 5
# Default-Stop: 0 1 6
# Short-Description: Start VNC Server at boot time
# Description: Start VNC Server at boot time.
### END INIT INFO

# /etc/init.d/vncboot

USER=pi
HOME=/home/pi

export USER HOME

case "$1" in
    start)
        echo "Starting VNC Server"
        #Insert your favoured settings for a VNC session
        su $USER -c '/usr/bin/vncserver :1 -geometry 1280x720 -depth 24'
        ;;

    stop)
        echo "Stopping VNC Server"
        su $USER -c '/usr/bin/vncserver -kill :1'
        ;;

    *)
        echo "Usage: /etc/init.d/vncboot {start|stop}"
        exit 1
        ;;
esac

exit 0
update
sudo update-rc.d vncboot defaults
chmod
sudo chmod 755 /etc/init.d/vncboot
確認
sudo rebootで再起動した後、以下コマンドを打つ
netstat -nlt
以下のように5901ポートで待ち受けがあれば成功
Active Internet connections (only servers)
Proto Recv-Q Send-Q Local Address           Foreign Address         State
tcp        0      0 0.0.0.0:53              0.0.0.0:*               LISTEN
tcp        0      0 0.0.0.0:22              0.0.0.0:*               LISTEN
tcp        0      0 0.0.0.0:5901            0.0.0.0:*               LISTEN
tcp        0      0 0.0.0.0:6001            0.0.0.0:*               LISTEN
tcp6       0      0 :::53                   :::*                    LISTEN
tcp6       0      0 :::22                   :::*                    LISTEN
参考
Raspberry Piの無線LANをmicroSDで設定する - Qiita
Raspberry PiのVNCサーバーの自動起動の設定と自分のローカルIPの自動メール送信設定で捗るVNCライフ - Androidのメモとか


