2018年7月8日
Mac
moaazsidat/react-native-qrcode-scanner: A QR code scanner component for React Native.
プロジェクト作成
react-native init QRCodeApp
RNは現状最新版の0.56.0がインストールされました。
  "dependencies": {
    "react": "16.4.1",
    "react-native": "0.56.0"
  },
react-native-camera インストール
react-native-qrcode-scannerに必要なreact-native-cameraをインストールします。
以下を参考に入れます。
react-native-cameraを試す - Qiita
npm install react-native-camera --save
react-native link react-native-camera
react-native-qrcode-scanner インストール
以下コマンドでインストールします。
npm install react-native-qrcode-scanner --save

react-native link react-native-qrcode-scanner
react-native link react-native-permissions
plist
QRCodeApp/ios/QRCodeApp/Info.plist を開いて編集します。
ファイル末尾、の上に以下を追加します。
NSPhotoLibraryAddUsageDescriptionはカメラからアルバムにアクセスする際に必須になったようです。
<key>NSCameraUsageDescription</key>
<string>Your message to user when the camera is accessed for the first time</string>

<!-- Include this only if you are planning to use the camera roll -->
<key>NSPhotoLibraryUsageDescription</key>
<string>Your message to user when the photo library is accessed for the first time</string>

<!-- Include this only if you are planning to use the microphone for video recording -->
<key>NSMicrophoneUsageDescription</key>
<string>Your message to user when the microphone is accessed for the first time</string>

<!-- Include this only if you are planning to use the camera roll -->
<key>NSPhotoLibraryAddUsageDescription</key>
<string>Your message to user when the photo library is accessed for the first time</string>
App.jsnの編集
サンプルを参考にApp.jsを編集
react-native-qrcode-scanner/default.js at master · moaazsidat/react-native-qrcode-scanner
import React, { Component } from 'react';

import {
  AppRegistry,
  StyleSheet,
  Text,
  TouchableOpacity,
  Linking,
} from 'react-native';

import QRCodeScanner from 'react-native-qrcode-scanner';


export default class App extends Component<Props> {
  onSuccess(e) {
    Linking
      .openURL(e.data)
      .catch(err => console.error('An error occured', err));
  }

  render() {
    return (
      <QRCodeScanner
        onRead={this.onSuccess.bind(this)}
        topContent={
          <Text style={styles.centerText}>
            Go to <Text style={styles.textBold}>wikipedia.org/wiki/QR_code</Text> on your computer and scan the QR code.
          </Text>
        }
        bottomContent={
          <TouchableOpacity style={styles.buttonTouchable}>
            <Text style={styles.buttonText}>OK. Got it!</Text>
          </TouchableOpacity>
        }
      />
    );
  }
}

const styles = StyleSheet.create({
  centerText: {
    flex: 1,
    fontSize: 18,
    padding: 32,
    color: '#777',
  },
  textBold: {
    fontWeight: '500',
    color: '#000',
  },
  buttonText: {
    fontSize: 21,
    color: 'rgb(0,122,255)',
  },
  buttonTouchable: {
    padding: 16,
  },
});
test
ここで一度実行してみる
react-native run-ios
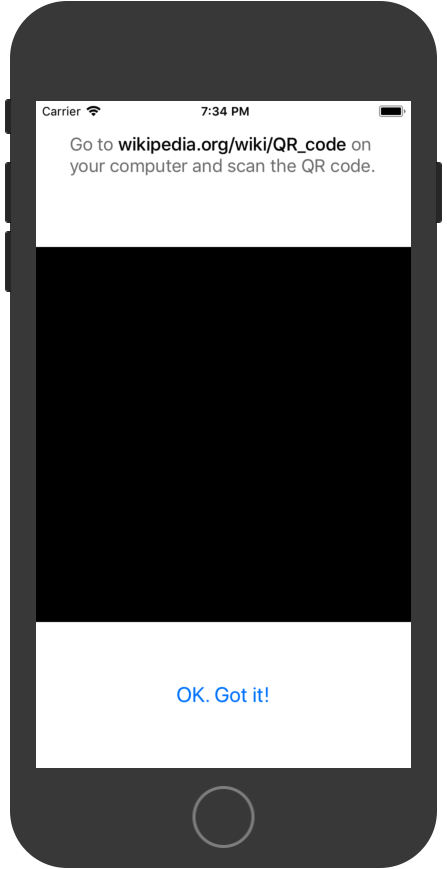
シミュレータで以下のように表示されればOK
シミュレータではカメラが使えないので真っ黒になります。

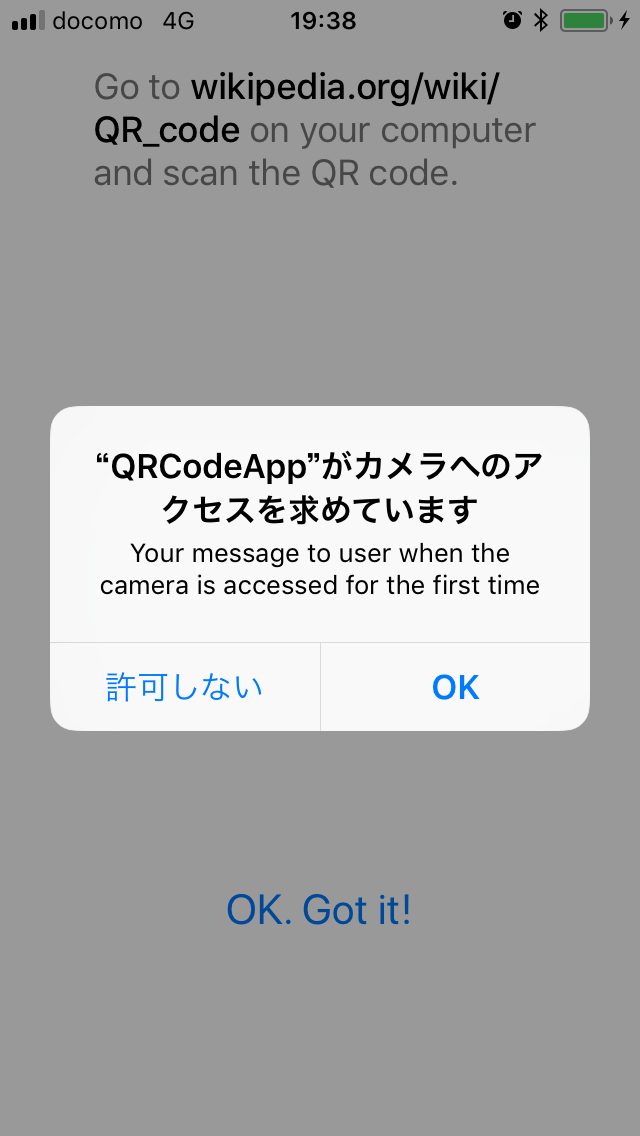
実機テスト
以下にそって実機テストを行う。
実機ではカメラが起動します。

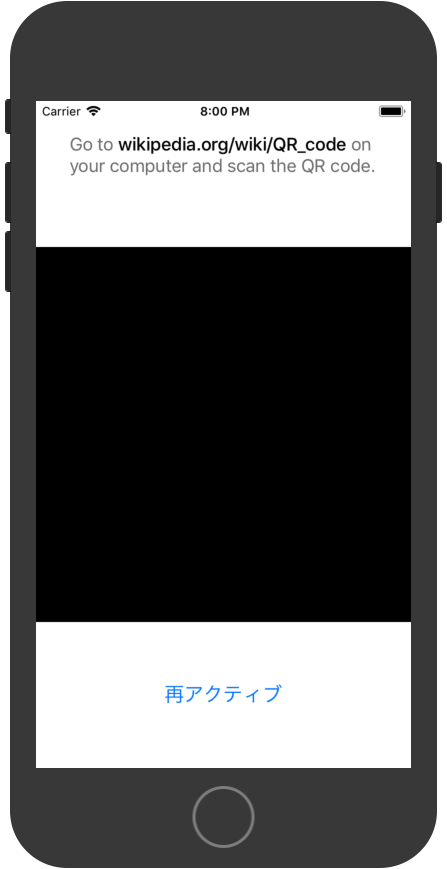
再アクティブ
サンプルコードのままでは一度QRコードを読み取るとそれ以降は読み込まないので、
再アクティブ化の処理が必要になります。
<TouchableOpacity style={styles.buttonTouchable}>
    <Text style={styles.buttonText}>OK. Got it!</Text>
</TouchableOpacity>
onPressイベントを追加します。
<TouchableOpacity style={styles.buttonTouchable} onPress={() => {this.scanner.reactivate()}} >
    <Text style={styles.buttonText}>再アクティブ</Text>
</TouchableOpacity>
再アクティブボタンを押す事で何度でもQRコードの読み込みが可能になりました。
外に持ち出して実機テスト
上記までのはデバッグ環境でiPhoneとMacとが同一ネットワークに無いと動かない。
外に持ち出してテストしたい時などはProductionとしてアプリを動作するように設定する。
リリースモードでビルドします。
メニューからProduct → Scheme → Edit Schemeでビルド切り替え画面が出てきます。
Build ConfigurationをReleaseにします。
ソース
ここまでのソースは以下に保存しました。
sugasaki/react-native-qrcode-scanner-test
react-native用の.gitignoreは以下を使った。
https://www.gitignore.io/api/reactnative