2018年7月8日
Mac
プロジェクト作成
react-native init CameraApp
RNは現状最新版の0.56.0がインストールされました。
  "dependencies": {
    "react": "16.4.1",
    "react-native": "0.56.0"
  },
react-native-camera インストール
Githubの説明(Mostly automatic install with react-native)にそって進めます。
react-native-camera
npm install react-native-camera --save
react-native link react-native-camera
plist
CameraApp/ios/CameraApp/Info.plist を開いて編集します。
ファイル末尾、の上に以下を追加します。
NSPhotoLibraryAddUsageDescriptionはカメラからアルバムにアクセスする際に必須になったようです。
<key>NSCameraUsageDescription</key>
<string>Your message to user when the camera is accessed for the first time</string>

<!-- Include this only if you are planning to use the camera roll -->
<key>NSPhotoLibraryUsageDescription</key>
<string>Your message to user when the photo library is accessed for the first time</string>

<!-- Include this only if you are planning to use the microphone for video recording -->
<key>NSMicrophoneUsageDescription</key>
<string>Your message to user when the microphone is accessed for the first time</string>

<!-- Include this only if you are planning to use the camera roll -->
<key>NSPhotoLibraryAddUsageDescription</key>
<string>Your message to user when the photo library is accessed for the first time</string>
App.jsnの編集
react-native-camera/RNCamera.md at master · react-native-community/react-native-camera
App.js
/**
 * Sample React Native App
 * https://github.com/facebook/react-native
 *
 * @format
 * @flow
 */

import React, { Component } from 'react';
import {
  AppRegistry,
  Dimensions,
  StyleSheet,
  Text,
  TouchableOpacity,
  View
} from 'react-native';
import { RNCamera, FaceDetector } from 'react-native-camera';


export default class App extends Component<Props> {
  render() {
    return (
      <View style={styles.container}>
        <RNCamera
            ref={ref => {
              this.camera = ref;
            }}
            style = {styles.preview}
            type={RNCamera.Constants.Type.back}
            flashMode={RNCamera.Constants.FlashMode.on}
            permissionDialogTitle={'Permission to use camera'}
            permissionDialogMessage={'We need your permission to use your camera phone'}
        />
        <View style={{flex: 0, flexDirection: 'row', justifyContent: 'center',}}>
        <TouchableOpacity
            onPress={this.takePicture.bind(this)}
            style = {styles.capture}
        >
            <Text style={{fontSize: 14}}> SNAP </Text>
        </TouchableOpacity>
        </View>
      </View>
    );
  }

  takePicture = async function() {
    if (this.camera) {
      const options = { quality: 0.5, base64: true };
      const data = await this.camera.takePictureAsync(options)
      console.log(data.uri);
    }
  };

}

const styles = StyleSheet.create({
  container: {
    flex: 1,
    flexDirection: 'column',
    backgroundColor: 'black'
  },
  preview: {
    flex: 1,
    justifyContent: 'flex-end',
    alignItems: 'center'
  },
  capture: {
    flex: 0,
    backgroundColor: '#fff',
    borderRadius: 5,
    padding: 15,
    paddingHorizontal: 20,
    alignSelf: 'center',
    margin: 20
  }
});
test
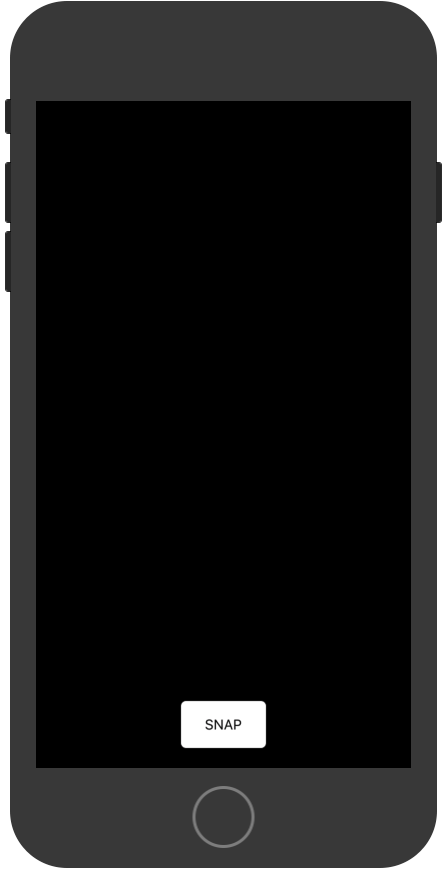
ここで一度実行してみる
react-native run-ios
シミュレータで以下のように表示されればOK
シミュレータではカメラが使えないので真っ黒になる。
実機テスト
以下にそって実機テストを行う。
実機ではカメラが起動します。

外に持ち出して実機テスト
上記までのはデバッグ環境でiPhoneとMacとが同一ネットワークに無いと動かない。
外に持ち出してテストしたい時などはProductionとしてアプリを動作するように設定する。
リリースモードでビルドします。
メニューからProduct → Scheme → Edit Schemeでビルド切り替え画面が出てきます。
Build ConfigurationをReleaseにします。
ソース
ここまでのソースは以下に保存しました。
sugasaki/react-native-camera-test
react-native用の.gitignoreは以下を使った。
https://www.gitignore.io/api/reactnative