はじめに
この記事は JavaScript Advent Calendar 2019の22日目の記事になります。
こんばんは、きゅ〜ぶです。
少し前にVue CLI4がリリースされましたね。
Vue CLI4の特徴や3からの変更点などは以下が比較的分かりやすいと思います。
Vue.js CLI 4 Released
ローカル環境でJavaScriptを触りたかったのでせっかくなので新しくなったVue-CLI4で環境構築をしようと思います。
基本的には公式リファレンスに沿ってやっていきます。
↓Vue-CLI4のソースコード
https://github.com/vuejs/vue-cli/releases
2019年12月現在最新バージョンは、v.4.1.1です。
インストール
公式ドキュメントにも書かれているのですが、
Vue CLIインストールには、前提としてNode.jsのバージョン8.9以上(8.11.0以降を推奨)
が必要となります。
Node.jsが入ってない人はNode.jsからインストールしましょう。
以下記事が分かりやすいので参考にしてみてください。
MacにNode.jsをインストール
Vue-CLIインストール
プロトタイプ版
公式リファレンスのコマンドに沿って入力していきます。
vue serveとvue buildで簡単なプロトタイプが作れます。
ちょっと処理を確認したいとかそういったときに便利です。
$ npm install -g @vue/cli
$ vue --version
@vue/cli 4.1.1
$ npm install -g @vue/cli-service-global
$ touch App.vue
<template>
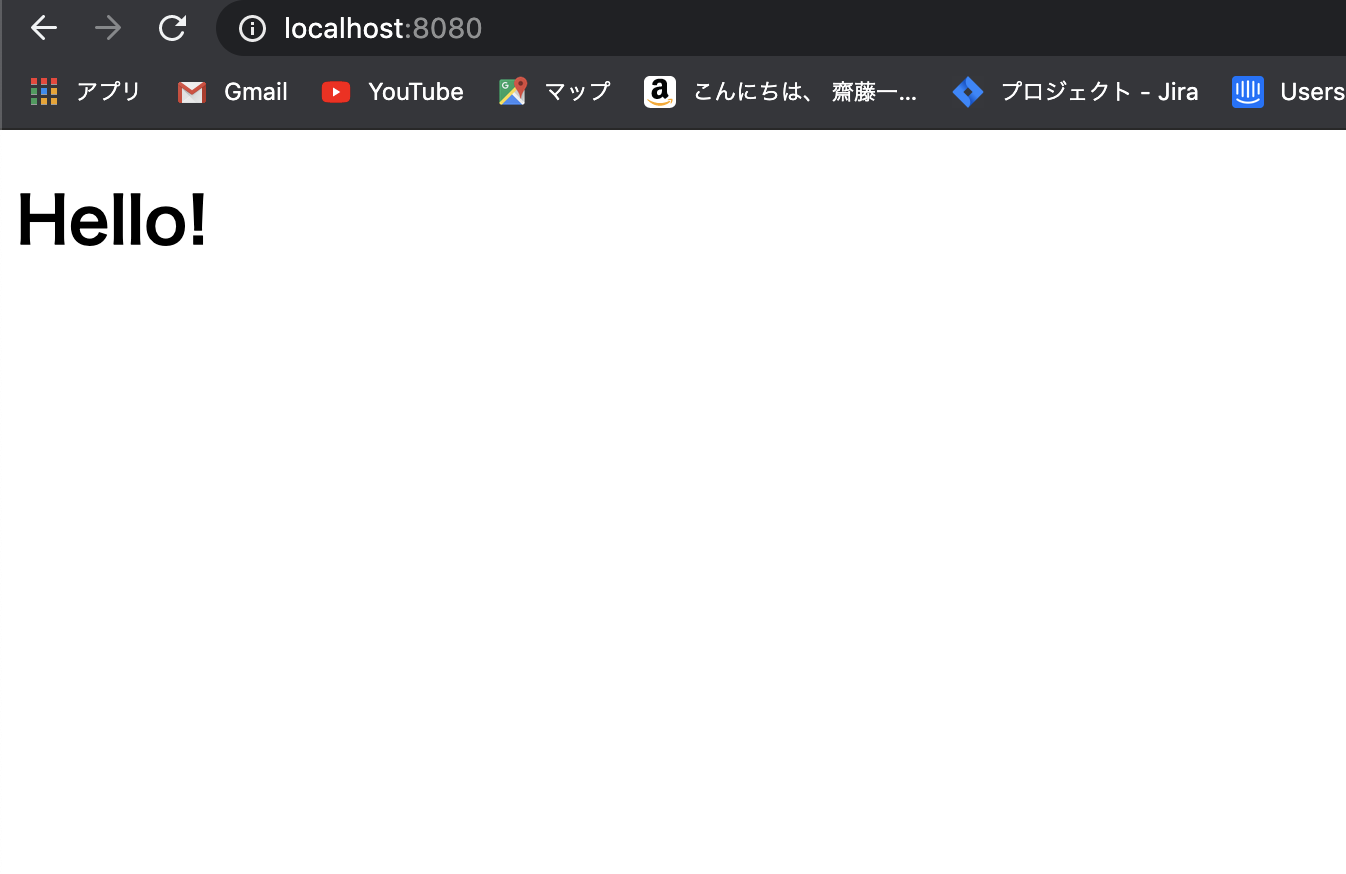
 <h1>Hello!</h1>
</template>
$ vue serve
 INFO  Starting development server...
98% after emitting

 DONE  Compiled successfully in 1653ms                                                                                                                                                              11:18:54


  App running at:
  - Local:   http://localhost:8080/
  - Network: http://**.**.***.**:8080/

  Note that the development build is not optimized.
  To create a production build, run npm run build.
$ vue build
⠧  Building for production...

 DONE  Compiled successfully in 2432ms                                                                                                                                                              11:42:08

  File                                 Size               Gzipped

  dist/js/chunk-vendors.548bada6.js    65.55 KiB          23.58 KiB
  dist/js/app.e2adb5ac.js              1.78 KiB           0.89 KiB

  Images and other types of assets omitted.

 DONE  Build complete. The dist directory is ready to be deployed.
 INFO  Check out deployment instructions at https://cli.vuejs.org/guide/deployment.html
簡単なJavaScriptを軽く動かしたいならここまでやってあれば問題ないです!
Vue.jsで本格的に開発したいなら以下のようなプロジェクトを作成することもできます。
プロジェクト版
Vue-CLI4でプロジェクト作成
$ vue create hello-world
?  Your connection to the default npm registry seems to be slow.
   Use https://registry.npm.taobao.org for faster installation? No
Vue CLI v4.1.1
? Please pick a preset: (Use arrow keys)
❯ default (babel, eslint)
  Manually select features
? Please pick a preset: Manually select features
? Check the features needed for your project: (Press <space> to select, <a> to toggle all, <i> to invert selection)
❯◉ Babel
 ◯ TypeScript
 ◯ Progressive Web App (PWA) Support
 ◯ Router
 ◯ Vuex
 ◯ CSS Pre-processors
 ◉ Linter / Formatter
 ◯ Unit Testing
 ◯ E2E Testing
? Check the features needed for your project: (Press <space> to select, <a> to toggle all, <i> to invert selection)Babel, Linter
? Pick a linter / formatter config:
❯ ESLint with error prevention only
  ESLint + Airbnb config
  ESLint + Standard config
  ESLint + Prettier
Pick additional lint features: (Press <space> to select, <a> to toggle all, <i> to invert selection)
❯◉ Lint on save
 ◯ Lint and fix on commit
? Where do you prefer placing config for Babel, ESLint, etc.? (Use arrow keys)
❯ In dedicated config files
  In package.json
? Save this as a preset for future projects?
ざっくりこんな感じで作っていきます。
①使用する機能の選択
BabelとESLintが入ってるデフォルトを選択するかマニュアルで必要な機能を選択した物を使うかの選択になります。
○デフォルト
? Please pick a preset: (Use arrow keys)
❯ default (babel, eslint)
  Manually select features
○マニュアル
? Please pick a preset: Manually select features
? Check the features needed for your project: (Press <space> to select, <a> to toggle all, <i> to invert selection)
❯◉ Babel
 ◯ TypeScript
 ◯ Progressive Web App (PWA) Support
 ◯ Router
 ◯ Vuex
 ◯ CSS Pre-processors
 ◉ Linter / Formatter
 ◯ Unit Testing
 ◯ E2E Testing
②ESLintプリセットの選択
・ESLint with error prevention only(エラー防止のみ)
・ESLint + Airbnb config(Airbnb設定)
・ESLint + Standard config(標準設定)
・ESLint + Prettier(ESLintとPrettierの併用)
? Pick a linter / formatter config: (Use arrow keys)
❯ ESLint with error prevention only
  ESLint + Airbnb config
  ESLint + Standard config
  ESLint + Prettier
③追加のLint機能の選択
・Lint on save(保存時にLint実行)
・Lint and fix on commit(コミット時にLint実行)
? Pick additional lint features: (Press <space> to select, <a> to toggle all, <i
> to invert selection)
❯◉ Lint on save
 ◯ Lint and fix on commit
④BabelやESLintなどの設定の配置箇所の選択
・In dedicated config files(専用の設定ファイル内)
・In package.json(package.json内)
? Where do you prefer placing config for Babel, ESLint, etc.? (Use arrow keys)
❯ In dedicated config files
  In package.json
⑤今までの設定をプリセットとして保存するかの選択
? Save this as a preset for future projects? (y/N)
yを選択して保存するときは、名前を入力します。
? Save preset as:
ここで設定しておくと次以降、vue createでプロジェクトを作る際、また新しく設定する必要がなくなり、設定したプリセットをそのまま使用することができます。
以下の画面がターミナルで表示されていれば、無事インストール完了となります🙌
🎉  Successfully created project test.
👉  Get started with the following commands:

 $ cd hello-world
 $ npm run serve
サーバ起動
 $ cd hello-world
 $ npm run serve
 DONE  Compiled successfully in 1222ms                                  23:48:57


  App running at:
  - Local:   http://localhost:8080/
  - Network: http://xxx.xxx.x.xxx:8080/

  Note that the development build is not optimized.
  To create a production build, run npm run build.
以下画面が表示されれば成功です🙌

では、楽しいJavaScript生活を。。。
