Spring Boot + Azure AD B2C で認証を実装する
Azure 向けに Spring Boot Starterが提供されているのは以前の記事で触れましたが、今回はこの中から、Azure Active Directory用のライブラリを用いて、Azure Active Directory B2C にて認証を行う方法を解説したいと思います。これ以外にもいくつかライブラリがありますので、別記事で解説できたらと思います。
Azure 向けの Spring Boot Starter | Microsoft Docs
Azure AD B2C
Azure AD B2C とは名前のとおり B2C向けの認証などのID管理を提供してくれるサービスで、いわゆるIDaaS と呼ばれる物です。
Azure Active Directory B2C とは | Microsoft Docs
細かい話はドキュメントをあったっていただくとして、ソーシャルなアカウントと連携したり、任意のメールアドレスで、サインアップ、サインイン、プロファイル管理などができます。B2Cは、一定のユーザーまでは無料で使用できます。本記事では、B2C自体にはフォーカスしないので以下を参考に作成してください。
チュートリアル - Azure Active Directory B2C テナントを作成する | Microsoft Docs
Spring Boot 用 Azure AD B2Cライブラリ
現時点で azure-spring-boot-starter-active-directory-b2c:3.3.0 が最新板です。バージョンが 3.0 系 になって、以前のライブラリ名 azure-active-directory-b2c-spring-boot-starter から変更されていますので注意してください。ググると古いチュートリアルに当たったりして、微妙に設定が異なります。
<dependency>
    <groupId>com.azure.spring</groupId>
    <artifactId>azure-spring-boot-starter-active-directory-b2c</artifactId>
    <version>3.3.0</version>
</dependency>
Spring Boot プロジェクト ひな形は、 https://start.spring.io/ から、Web と Azure Active Directory 、Thymeleaf、Security を依存関係に指定して生成してください。
最終的に以下の依存関係が必要です。thymeleaf-extras-springsecurity5 はView側で独自のタグを利用するために追加してますが、この記事では解説しないです。最後の紹介するGitHubサンプルのViewを確認してください。
        <dependency>
            <groupId>org.springframework.boot</groupId>
            <artifactId>spring-boot-starter-web</artifactId>
        </dependency>
        <dependency>
            <groupId>com.azure.spring</groupId>
            <artifactId>azure-spring-boot-starter-active-directory</artifactId>
        </dependency>
        <dependency>
            <groupId>org.springframework.boot</groupId>
            <artifactId>spring-boot-starter-thymeleaf</artifactId>
        </dependency>
        <dependency>
            <groupId>org.thymeleaf.extras</groupId>
            <artifactId>thymeleaf-extras-springsecurity5</artifactId>
        </dependency>
必要な設定
B2Cに以下の設定をしていきます。
アプリの登録
認証するアプリケーション情報を登録します。特にデプロイする必要がなければ、リダイレクトURLには、http://localhost:8080/login/oauth2/code/ を設定すればいいです。
以下の情報が手に入るはずです。
- テナントサーバーのURL
- クライアントID
- クライアントシークレット
ユーザーフロー
B2Cでは、あらかじめどのような サインイン・サインアップ プロセスを行うかを定義しておく必要があります。あらかじめ定義されているものを「ユーザーフロー」と呼び、一般的なシナリオに基づくものはほぼ用意されており、ある程度カスタマイズもできますので、これを利用すると便利です。別途、詳細なカスタマイズもできますがここでは触れませんので、興味があれば調べてみてください。
B2C上でユーザーフローを定義しましょう。以下の3つのフローを定義して、名前を付けて保存します。
- サインイン、サインアップ フロー名
- プロファイル編集 フロー名
- パスワードリセット フロー名(任意)
Spring Boot Starter向けの設定
Spring Boot Starter が Confiurationを用意してくれているので、前述した情報を以下のプロパティを設定します。
azure:
  activedirectory:
    b2c:
      base-uri: ${your-tenant-authorization-server-base-uri}
      client-id: ${your-client-id}
      client-secret: ${your-client-secret}
      logout-success-url: ${you-logout-success-url}
      user-flows:
        password-reset: B2C_1_reset_password
        profile-edit: B2C_1_edit_profile
        sign-up-or-sign-in: B2C_1_signin
      user-name-attribute-name: ${your-user-name-attribute-name}
アプリ側の実装
どのページに認証を設定するのかを、WebSecurityConfigurerAdapter を継承したクラスで定義します。以下では、/login 以外を認証必須に定義していますが、必要なように修正してください。
@EnableWebSecurity
public class WebSecurityConfiguration extends WebSecurityConfigurerAdapter {

    private final AADB2COidcLoginConfigurer configurer;

    public WebSecurityConfiguration(AADB2COidcLoginConfigurer configurer) {
        this.configurer = configurer;
    }

    @Override
    protected void configure(HttpSecurity http) throws Exception {
        http.authorizeRequests()
                .antMatchers("/login").permitAll()
                .anyRequest().authenticated()
                .and()
            .apply(configurer);
    }
}
別途、コントローラとページを用意しておきますがここでは割愛します。
コントローラの引数に OAuth2AuthenticationToken を指定するとDIされるので、そこから認証情報を取り出すことが出来ます。以下、ちょっとしたサンプルです。
    private void initializeModel(Model model, OAuth2AuthenticationToken token) {
        if (token != null) {
            final OAuth2User user = token.getPrincipal();

            model.addAllAttributes(user.getAttributes());
            model.addAttribute("grant_type", user.getAuthorities());
            model.addAttribute("name", user.getName());
        }
    }

    @GetMapping(value = { "/", "/home" })
    public String index(Model model, OAuth2AuthenticationToken token) {
        initializeModel(model, token);
        return "home";
    }
実行、確認
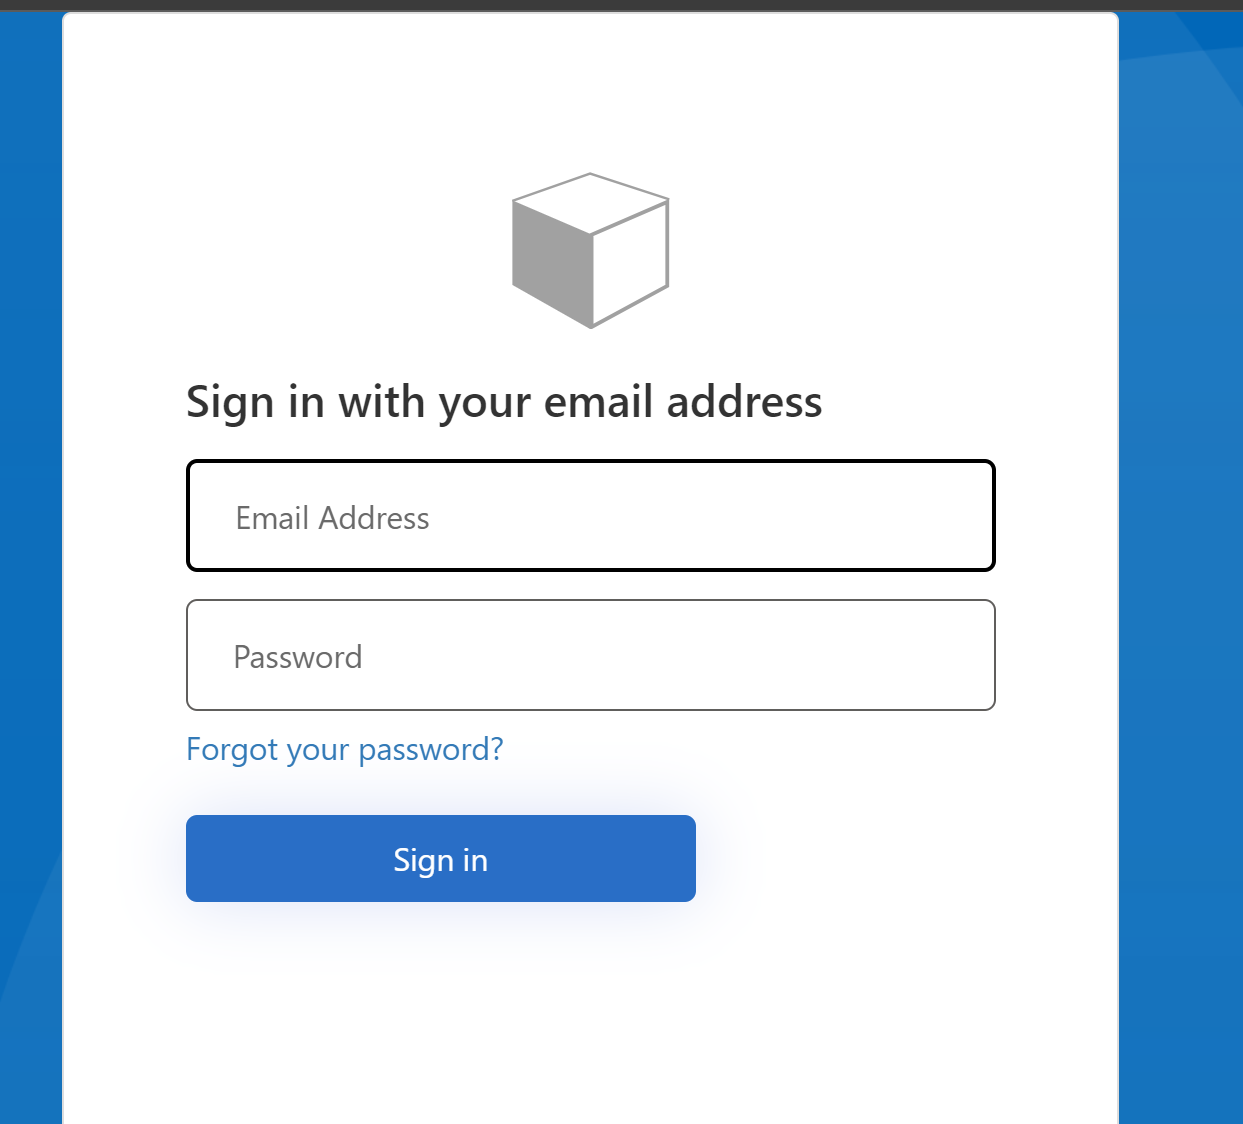
mvn clean spring-boot:run で ローカル実行し、http://locahost:8080 にアクセスすると、B2Cのログイン画面にリダイレクトされます。
WebAppsにデプロイする場合は、B2Cに正しくリダイレクトURLを設定した上でデプロイすれば動作すると思います。
まとめ
B2C使うと簡単に認証できるのですが、B2C側の設定等々も理解する必要がるので、そこさえクリアすれば簡単に認証を実装できます。以前はもっと面倒くさかったのでライブラリが提供されるのは良いと思います。カスタマイズする上でも、どうB2C向けに実装しているか確認できるので。
最後にサンプルは以下のSDKページにもありますので、参考にしてください。
