(修正:2020年7月9日)
※この記事はアップデートバージョンがあります※
Exastro IT Automationインストール(v1.5.0)
Exastro IT Automationとは
Exastro IT Automation(以下ITAと表記)は、システム設定をIaC(Infrastructure as Code)化して一元管理するためのオープンソースフレームワークです。
機器情報、設定値、作業履歴などシステム構成に関する情報を管理することが可能で、その値をExcelデータとして出力することができます。また、各機器のシステム構築や、運用設定などをワークフローとして管理、または実行する機能を備え、様々なPF構築ツールと連携が可能になっています。
今回は、このITAのインストールと動作確認をやってみます。
作業環境
- Exastro IT Automation 1.4.1
- CentOS Linux 7(サーバ用)
- Windows 10(クライアント)
- Google Chrome(Win10側)
また今回は、ITAサーバ自身をターゲットとして設定するような構成を構築する予定です。
以下は構成環境予定図です。

インストール手順
今回はCentOS7上にExastroSuiteコミュニティページにあるITAオールインワン(online)インストールマニュアルを参考にしてインストールします。
まずはじめに、Githubから必要な資材をダウンロードします。
# wget https://github.com/exastro-suite/it-automation/releases/download/v1.4.1/exastro-it-automation-1.4.1.tar.gz
次に、ダウンロードしたZipファイルを解凍し、インストールスクリプトの権限を変更します。
# tar zxf exastro-it-automation-1.4.1.tar.gz
# find ./it-automation-1.4.1/ita_install_package/ -type f -name *.sh | xargs chmod 755
セッティングファイルとインストールシェルのあるディレクトリに移動します。
# cd it-automation-1.4.1/ita_install_package/install_scripts
エディタでセッティングファイル(ita_builder_setting.txt)を開き、編集します。
# vi ita_builder_setting.txt
# Select Operation System. ("CentOS7","CentOS8","RHEL7","RHEL8","RHEL7_AWS","RHEL8_AWS")
# e.g) linux_os:CentOS7
linux_os:CentOS7                                       # インストールするサーバのOS名を記入

#####################################################
# Only when you select linux_os with RHEL7 or RHEL8   # RHEL7 REEL8の場合は以下を適宜設定

# Enter the Red Hat user name and user password
# e.g) redhat_user_name:sample_user
redhat_user_name:

# e.g) redhat_user_password:sample_password
redhat_user_password:

# e.g) pool_id:samplePoolID
pool_id:

#####################################################
今回導入するOSがCentOS7なので、linux_os:以外の設定を行う必要はないようです。
次にアンサーファイル(ita_answers.txt)の編集を行います。
# vi ita_answers.txt
# Select install mode. ("Install" or "Uninstall")  # インストールモードの設定
# e.g) install_mode:Install
install_mode:Install                              # Installと記入 アンインストールの場合(Uninstall)

# Enter install directory.                         # インストールディレクトリの設定
# e.g) ita_directory:/exastro
ita_directory:/exastro                            # 全ユーザ参照可能ディレクトリを絶対パス指定

# Select language. ("en_US" or "ja_JP")           # ITA画面表示の言語設定
# e.g) ita_language:en_US
ita_language:ja_JP                                # 日本語(ja_JP) 英語(en_US)

# Select Operation System. ("RHEL7" or "RHEL8")  # ITAをインストールするOSの設定
# e.g) ita_os:RHEL8
ita_os:RHEL7                                      # RHEL7系(RHEL7)/ RHEL8系(RHEL8)

# Enter the MariaDB root user's password          # MariaDBの設定
# e.g) db_root_password:sample_root_password
db_root_password:password                         # MariaDBのルートパスワード

# Decide the database name, username, and password for ITA.
# e.g) db_name:sample_db_name
db_name:SAMPLE                                    # ITAで使用するDB名
# e.g) db_username:sample_db_username
db_username:admin                                 # DBユーザ名
# e.g) db_password:sample_db_password
db_password:password                              # DBユーザのパスワード

# Select the target you need to install.
# yes : need
# no  : no need
ita_base:yes
material:no
createparam:yes
hostgroup:no
ansible_driver:yes
cobbler_driver:no
openstack_driver:no
dsc_driver:no
初期値はita_base 、ansible_driver、createparamのインストール設定がyesとなっています。
インストールしない場合は、設定値をnoにします。
セッティングファイル、アンサーファイルの編集が完了したら、インストールシェルを実行します。
# sh ita_builder_online.sh
INFO:Installation complete!と表示されればインストール完了です。
エラー等発生する場合は、ログファイル格納ディレクトリ(/(インストール資材展開先)/ita_install_package/install_scripts/log/)下にあるログファイル(ita_builder.log、ita_installer.log)を参照するといいようです。
動作確認
インストール終了後、自端末のWindowsPCから動作確認を行ってみます。
WindowsPCでGoogle Chromeを開き、http://(サーバのIPアドレス)にアクセスします。
正常にITAがインストールされている場合、以下のようなログイン画面がブラウザ上に表示されます。
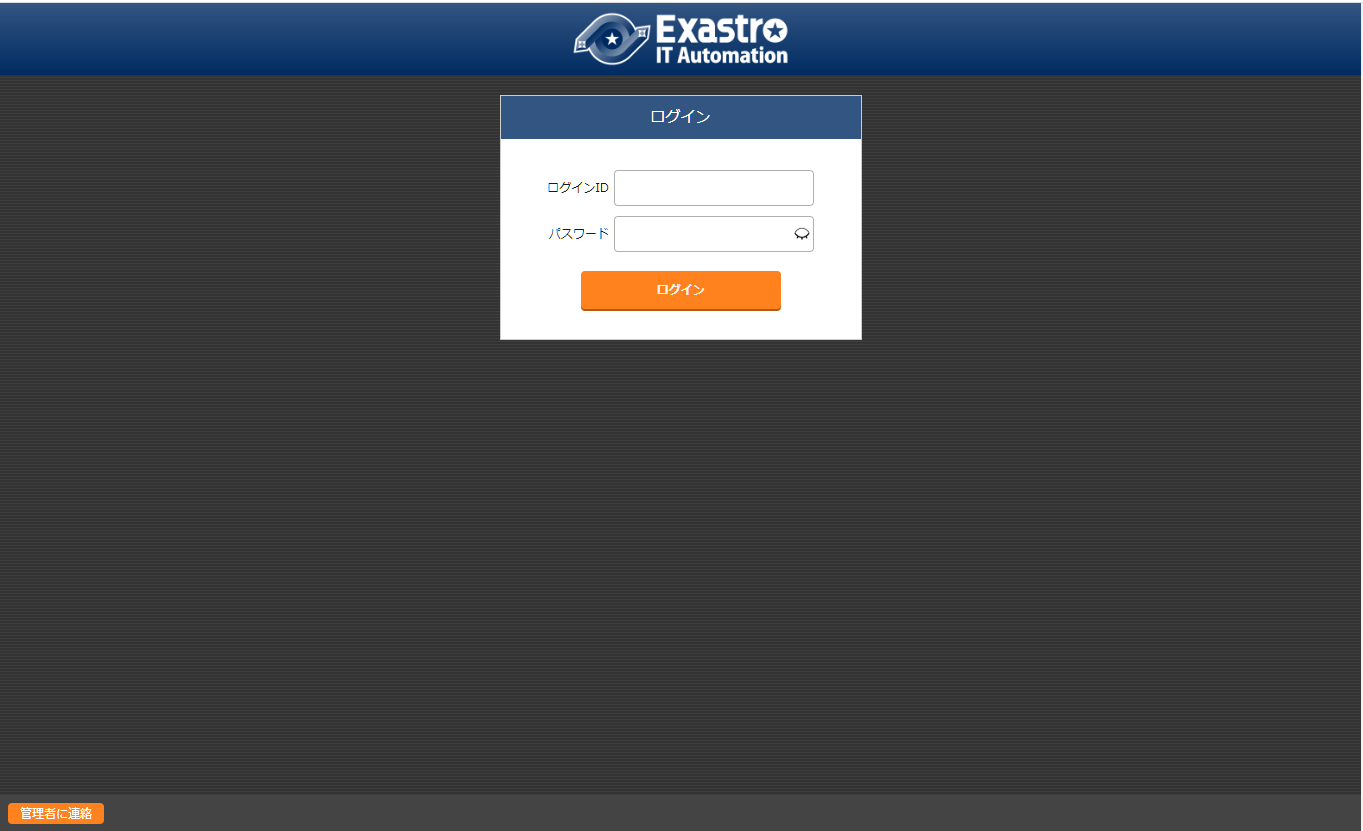
以上の画面が表示されたら、
- ログインID:administrator
- パスワード:password
を入力し、[ログイン]ボタンをクリックします。
インストール後に初めてログインした場合は、「パスワード変更画面」に遷移しますので、適宜初期パスワードを変更します。
ログイン後、以下の画面が正常に表示されることを確認します。
尚、各画面機能の詳細についてはマニュアルを読むとわかりやすいです。
まとめ
今回は、Exastro IT Automationのインストールと動作確認を行いました。
次回はIT Automationクイックスタートを参考にして、インストールしたITAを実際に使ってみたいと思います。