環境
この記事は以下の環境で動いています。
| 項目 | 値 |
|---|---|
| CPU | Core i5-8250U |
| Ubuntu | 16.04 |
| ROS | Kinetic |
| Gazebo | 7.14.0 |
インストールについてはROS講座02 インストールを参照してください。
またこの記事のプログラムはgithubにアップロードされています。ROS講座11 gitリポジトリを参照してください。
概要
シミュレーションに使うgazeboは思った以上に処理が重いです。開発は手元のノートPCで行っていて、シミュレーション時に重いgazeboの処理だけをLAN内にあるサーバーPCで実行したいということがあります。その方法を説明します。
ターミナルでgazeboと打つと実は物理演算などの処理を行うgzserverとGUI表示を担当するgzclientの2つのプロセスが立ち上がります。今回はgzserverはサーバーマシンで実行して、gzclientは手元のPCで実行します。
ネットワーク構成
| 手元PC | サーバーPC | |
|---|---|---|
| host名 | 未使用(localhostで指定) | server0 |
| user名 | 未使用 | s_user |
| パスワード | 未使用 | password |
とりあえずの確認
ROSを使わずにgazebo単体で起動します。
export ROS_IP=`hostname -I | cut -d' ' -f1`
gzserver
export GAZEBO_MASTER_URI="http://server0:11345"
export ROS_IP=`hostname -I | cut -d' ' -f1`
gzclient
GAZEBO_MASTER_URIはgzclientがgzserverに接続するアドレス・ポートの設定です。初期設定ではgzserverは11345ポートで待っています。上記のコマンドで手元PC側でサーバー側で実行しているgazeboの画面を見ることができます。
roslaunchを使う1
序機と同じ環境をroslaunchで実行します。
ソースコード
まず以下の2行をbashrcに追加しましょう。
export GAZEBO_IP=`hostname -I | cut -d' ' -f1`
export GAZEBO_MASTER_URI=http://`hostname -I | cut -d' ' -f1`:11345
以下のlaunchでだいたいgazebo_ros/empty_world.launchと同じことを分散実行できます。
<?xml version="1.0" encoding="UTF-8"?>
<launch>
  <arg name="target" default="localhost"/>

  <machine name="localhost"  address="localhost" />
  <machine name="server0" address="server0" env-loader="/home/s_user/catkin_ws/devel/env.sh"  user="s_user"  password="password"/>

  <env name="GAZEBO_MASTER_URI" value="http://$(arg target):11345" />
  <include file="$(find sim_lecture)/launch/remote_gazebo.launch">
    <arg name="target" value="$(arg target)"/>
  </include>
</launch>
実行
roslaunch net_lecture use_remote_gazebo1.launch target:=server0
roslaunchを使う2
上記の物に加えてurdfのspawnとros_controlを加えています。
ソースコード
<?xml version="1.0" encoding="UTF-8"?>
<launch>
  <arg name="target" default="localhost"/>

  <machine name="localhost"  address="localhost" />
  <machine name="server0" address="server0" env-loader="/home/s_user/catkin_ws/devel/env.sh"  user="s_user"  password="password"/>

  <env name="GAZEBO_MASTER_URI" value="http://$(arg target):11345" />
  <include file="$(find sim_lecture)/launch/remote_gazebo.launch">
    <arg name="target" value="$(arg target)"/>
  </include>

  <param name="robot_description" type="str" textfile="$(find sim_lecture)/urdf/arm_robot1.urdf"/>

  <node name="spawn_urdf" pkg="gazebo_ros" type="spawn_model" args="-param robot_description -urdf -model arm_robot" />

  <rosparam>
    arm_robot:
      joint_state_controller:
        type: joint_state_controller/JointStateController
        publish_rate: 50

      arm1_joint_position_controller:
        type: effort_controllers/JointPositionController
        joint: arm1_joint
        pid: {p: 20.0, i: 2.0, d: 10.0, i_clamp: 50}
  </rosparam>

  <node name="controller_spawner" pkg="controller_manager" type="spawner" respawn="false"
        output="screen" ns="/arm_robot"
        args="arm1_joint_position_controller joint_state_controller"/>

</launch>
spawn_urdfやcontroller_managerはserver側で起動しないといけないような感じがしますが、結局ROSを通じてgazeboにアクセスをしているので、手元のPCで起動しても大丈夫です。
実行
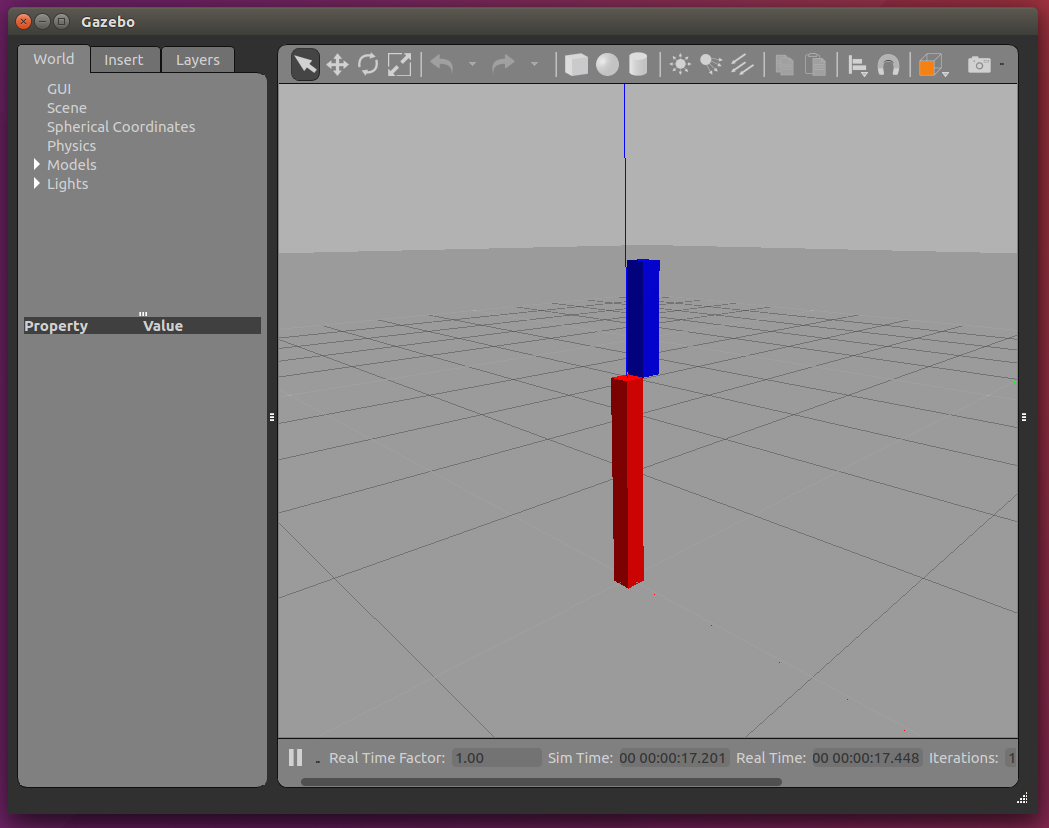
roslaunch net_lecture use_remote_gazebo2.launch target:=server0
以下の画像のような画面が出ます。
補足
以上の手順でgazeboをリモートサーバーで起動することができました。しかしカメラ系のプラグインを使うにはレンダリングの処理の関係でgzserverに画面が割り当てられていないと動かないようです。この場合はlaunchに<env name="DISPLAY" value=":0" />を加えるとカメラ系のプラグインが正常に動きます。ただサーバー側のPCで一度GUIでログインしないとDisplayが有効にならないみたいです。
ラックサーバー等で完全にディスプレイが無い場合は仮想ディスプレイを使う必要があります。
参考
gazeboをリモートで使う
cameraプラグインをremoteサーバーで使う