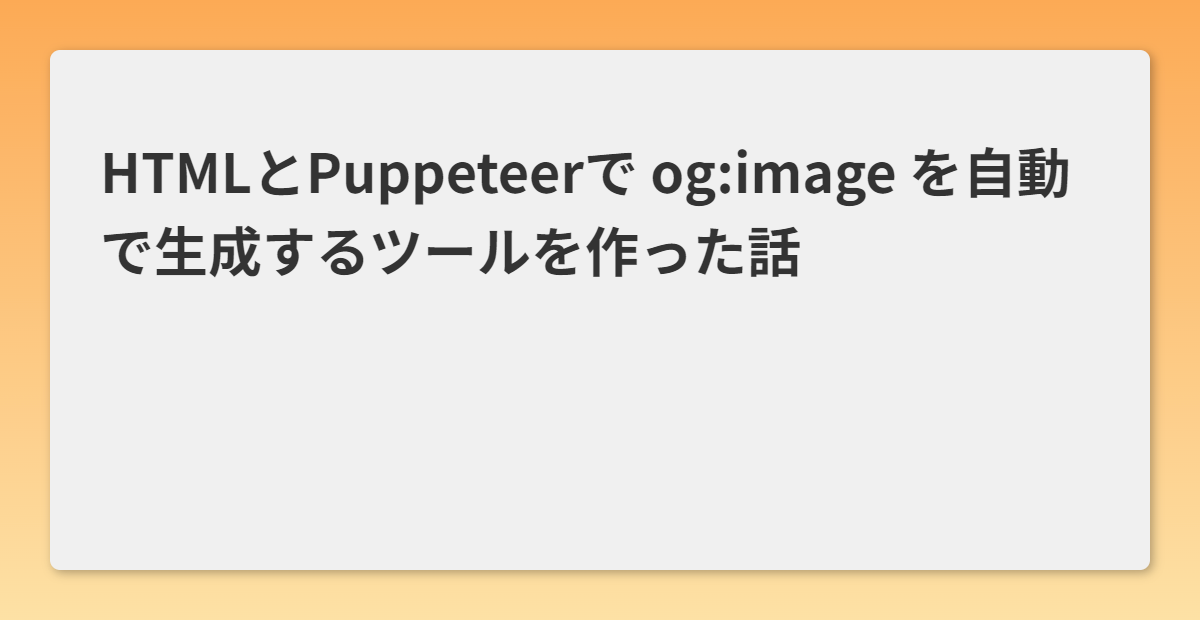
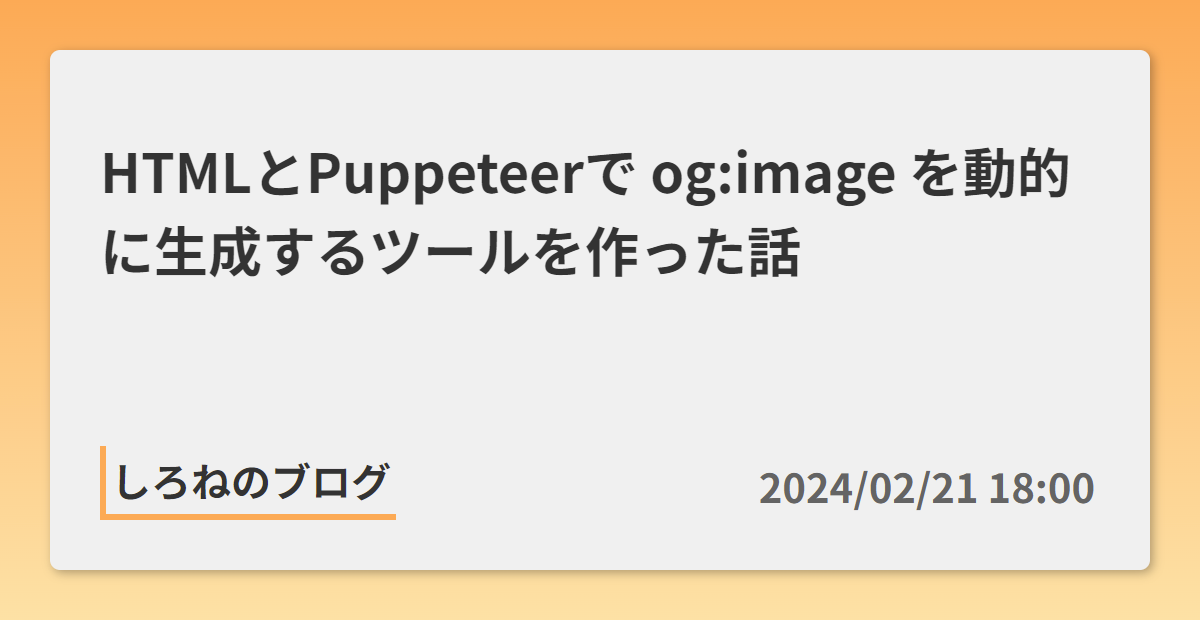
ブログサイトを運用する上でほぼ必須と言えるOGP画像を動的に生成するプログラムを作れたので解説します!
OGP画像を作る
とりあえずHTMLでそれっぽいものを作ってみましょう!
フォントは Noto Sans JP を使用しています。
※CSSは自分で書いてね★
<!DOCTYPE html>
<html lang="ja">
<head>
  <meta charset="UTF-8">
  <meta name="viewport" content="width=device-width, initial-scale=1.0">

  <link rel="preconnect" href="https://fonts.googleapis.com">
  <link rel="preconnect" href="https://fonts.gstatic.com" crossorigin>
  <link href="https://fonts.googleapis.com/css2?family=Noto+Sans+JP:wght@400;500;700&display=swap" rel="stylesheet">

  <link rel="stylesheet" href="style.css">
  <script src="./script.js"></script>
</head>
<body>
  <main>
    <p class="title">HTMLとPuppeteerで og:image を自動で生成するツールを作った話</p>
  </main>
</body>
</html>
上記のコードは title クラス に表示したいテキストを書いているだけです。
このままではHTML内に書いたテキストを表示しているだけなので、クエリパラメータからテキストを取得してそれを表示する仕組みを作ります。
document.addEventListener('DOMContentLoaded', async () => {
  const titleElem = document.querySelector('main .title');
  // クエリパラメータの `text` を指定
  titleElem.textContent = query()['text'];
});


// クエリパラメータを使いやすくするやつ
function query() {
  const queryStr = decodeURI(window.location.search.slice(1));
  const queries = {};
  if (!queryStr) return queries;
  queryStr.split('&').forEach(queryStr => {
    const queryArr = queryStr.split('=');
    queries[queryArr[0]] = queryArr[1];
  });
  return queries;
}
とても簡単な仕組みで、クエリパラメータの text (?text=文字列) を取得して、それを title クラス に指定しているだけです。
これでクエリパラメータを変えるだけで表示したい文章を変えるようにできました。
Puppeteerでスクショする
Puppeteerとは
Puppeteer is a Node.js library which provides a high-level API to control Chrome/Chromium over the DevTools Protocol. Puppeteer runs in headless mode by default, but can be configured to run in full ("headful") Chrome/Chromium.
PuppeteerはNode.jsライブラリで、DevToolsプロトコル上でChrome/Chromiumを制御するための高レベルAPIを提供する。Puppeteerはデフォルトではヘッドレスモードで動作しますが、完全な("headful")Chrome/Chromiumで動作するように設定することもできます。(DeepL翻訳)
つまり、ブラウザを立ち上げなくてもブラウザの操作ができるよーってことです!(多分)
インストール
今回はサーバーを立てるため express もインストールします。
npm i puppeteer express
ディレクトリ構成
├─ node_modules/

├─ public/
  ├─ screenshots/
  ├─ index.html
  ├─ style.css
  └─ script.js

├─ index.js
├─ package.json
コード
const puppeteer = require('puppeteer');
const express = require('express');


const app = express();

// publicフォルダ内のファイルを返せるようにする
app.use(express.static('public'));


app.get('/ogp-image', async (req, res) => {
  const text = req.query.text;
  return res.sendFile(await screenshot(text));
});


app.listen(14444, () => {
  console.log('サーバーを起動しました');
});


async function screenshot(text) {
  // スクリーンショットを撮りたいURL
  const url = `http://127.0.0.1:14444/?text=${text}`;

  // スクリーンショットを保存する場所
  const screenshotPath = __dirname + '/public/screenshots/image.png';


  const browser = await puppeteer.launch({ headless: true });

  const page = await browser.newPage();
  // OGP画像は 1200x630px が最適なサイズ
  page.setViewport({ width: 1200, height: 630 });

  // networkidle0: 500msの間、コネクション数が0だった場合、移動完了とする
  await page.goto(url, { waitUntil: 'networkidle0' });

  // スクリーンショットを撮る
  await page.screenshot({ path: screenshotPath });

  await browser.close();

  return screenshotPath;
}
実行してみよう!
node index.js
実行したら http://127.0.0.1:14444/ogp-image?text=表示したいテキスト にアクセスしてみてください。恐らく3秒程度で画像が返されると思います。
こんな感じになるよ
ちょっといじったらこんな感じに生成できます
最後に
最後まで読んでいただきありがとうございます!
後半は解説が適当になった気がしますが許してください…

