初期費用無料、月額990円から、高速・多機能・高安定レンタルサーバー『エックスサーバー』
NextCloudのインストールの前に
https://qiita.com/sqoot610/items/4e767a219325b2052715
https://qiita.com/sqoot610/items/fdd7c7659d258ec49a75
https://qiita.com/sqoot610/items/d9a9931a72fca4b959ad
https://qiita.com/sqoot610/items/3c1bbbb49fe4ef49b2b6
を設定しておいてください。
taisuke@ubuntuserver:~$ sudo apt -y install php8.3-mbstring php8.3-intl php8.3-gd php8.3-zip php8.3-bz2 php8.3-mysql php8.3-bcmath php8.3-gmp php8.3-opcache php8.3-imagick php8.3-curl php8.3-soap php8.3-redis php-pear php-json php-apcu libmagickcore-6.q16-7-extra redis-server unzip
taisuke@ubuntuserver:~$ sudo vi /etc/php/8.3/fpm/pool.d/nextcloud.conf
新規作成
[nextcloud]
user = www-data
group = www-data
listen.owner = www-data
listen.group = www-data
listen = /run/php/nextcloud.sock
listen.allowed_clients = 127.0.0.1
pm = dynamic
pm.max_children = 50
pm.start_servers = 5
pm.min_spare_servers = 5
pm.max_spare_servers = 35
env[HOSTNAME] = $HOSTNAME
env[PATH] = /usr/local/bin:/usr/bin:/bin
env[TMP] = /tmp
env[TMPDIR] = /tmp
env[TEMP] = /tmp
php_value[session.save_handler] = files
php_value[session.save_path] = /var/lib/php/sessions
以下はサーバースペックや NextCloud の使用状況に応じて要調整
php_value[max_execution_time] = 3600
php_value[memory_limit] = 2G
php_value[post_max_size] = 2G
php_value[upload_max_filesize] = 2G
php_value[max_input_time] = 3600
php_value[max_input_vars] = 2000
php_value[date.timezone] = Asia/Tokyo
php_value[opcache.memory_consumption] = 128
php_value[opcache.interned_strings_buffer] = 32
php_value[opcache.max_accelerated_files] = 10000
php_value[opcache.revalidate_freq] = 1
php_value[opcache.save_comments] = 1
php_value[opcache.jit] = 1255
php_value[opcache.jit_buffer_size] = 128M
taisuke@ubuntuserver:~$ sudo systemctl restart php8.3-fpm
taisuke@ubuntuserver:~$ sudo mysql
Welcome to the MariaDB monitor. Commands end with ; or \g.
Your MariaDB connection id is 37
Server version: 10.11.8-MariaDB-0ubuntu0.24.04.1 Ubuntu 24.04
Copyright (c) 2000, 2018, Oracle, MariaDB Corporation Ab and others.
Type 'help;' or '\h' for help. Type '\c' to clear the current input statement.
MariaDB [(none)]> create database nextcloud;
Query OK, 1 row affected (0.00 sec)
MariaDB [(none)]> grant all privileges on nextcloud.* to nextcloud@'localhost' identified by 'password';
Query OK, 0 rows affected (0.00 sec)
MariaDB [(none)]> exit
Bye
taisuke@ubuntuserver:~$ sudo wget https://download.nextcloud.com/server/releases/latest.zip -P /var/www/
taisuke@ubuntuserver:~$ sudo unzip /var/www/latest.zip -d /var/www/
taisuke@ubuntuserver:~$ sudo chown -R www-data:www-data /var/www/nextcloud
taisuke@ubuntuserver:~$ sudo vi /etc/apache2/conf-available/nextcloud.conf
#新規作成
#サーバ名や SSL/TLS 証明書のパスは自身の環境に合わせて変更
Timeout 3600
ProxyTimeout 3600
DirectoryIndex index.php index.html
Header set Strict-Transport-Security "max-age=15768000; includeSubDomains; preload"
DocumentRoot /var/www/nextcloud
ServerName ご自身のサーバーのドメイン名
DocumentRoot /var/www/nextcloud
ServerName ご自身のサーバーのドメイン名
SSLEngine on
SSLCertificateFile /etc/letsencrypt/live/ご自身のサーバーのドメイン名/cert.pem
SSLCertificateKeyFile /etc/letsencrypt/live/ご自身のサーバーのドメイン名/privkey.pem
SSLCertificateChainFile /etc/letsencrypt/live/ご自身のサーバーのドメイン名/chain.pem
Options FollowSymLinks MultiViews
AllowOverride All
Require all granted
SetHandler "proxy:unix:/run/php/nextcloud.sock|fcgi://localhost"
taisuke@ubuntuserver:~$ sudo a2enconf nextcloud
Enabling conf nextcloud.
To activate the new configuration, you need to run:
systemctl reload apache2
taisuke@ubuntuserver:~$ sudo a2enmod headers
Enabling module headers.
To activate the new configuration, you need to run:
systemctl restart apache2
taisuke@ubuntuserver:~$ sudo a2enmod rewrite
Enabling module rewrite.
To activate the new configuration, you need to run:
systemctl restart apache2
taisuke@ubuntuserver:~$ sudo systemctl restart apache2
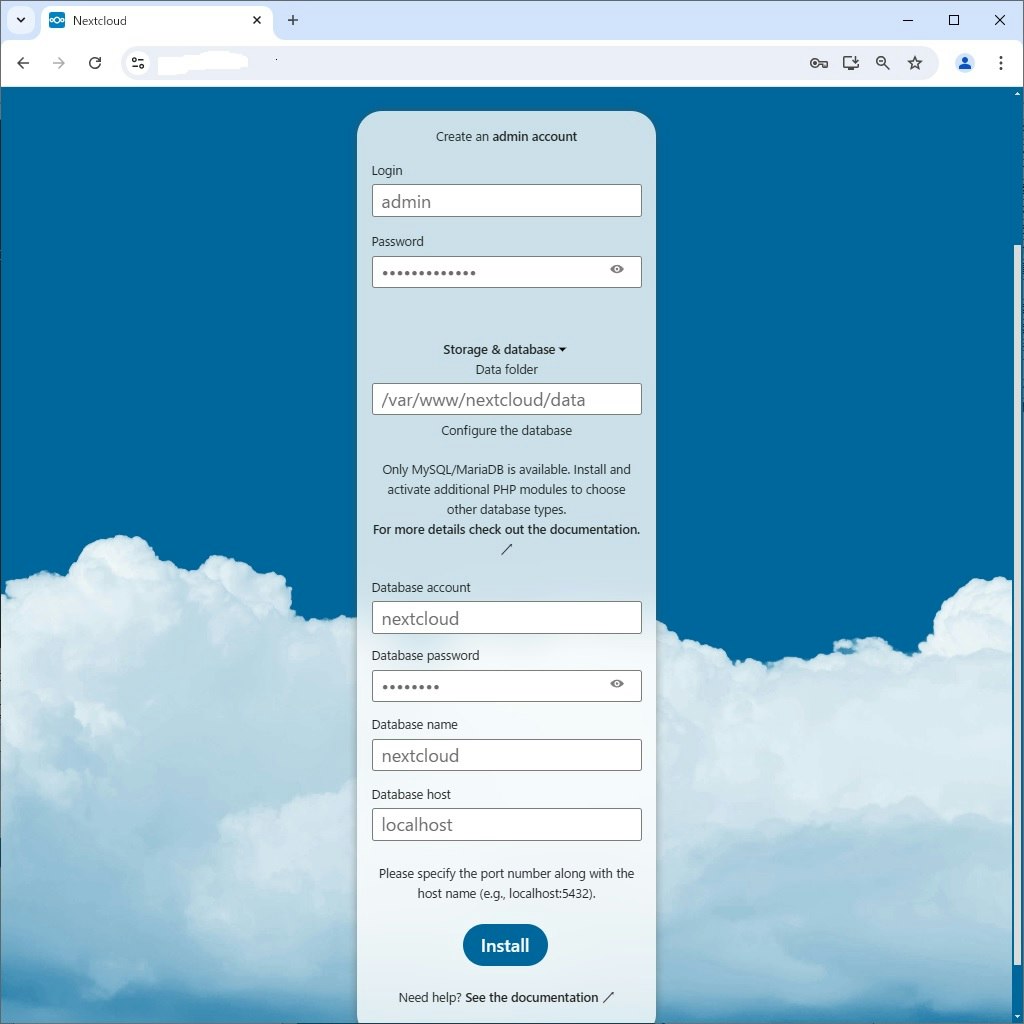
クライアントコンピューターから Webブラウザーで設定した URL [https://(サーバーのホスト名/] へアクセスすると以下のような画面が表示されます。 管理者アカウントとデータベース接続の設定をします。 任意の管理者ユーザー名とパスワードを入力します。 データベースはMariaDB データベースを指定します。 入力後、画面下部の [Install] をクリックします。 なお、以下の画面例は英語表示となっていますが、日本語 OS でアクセスすれば日本語で表示されます。
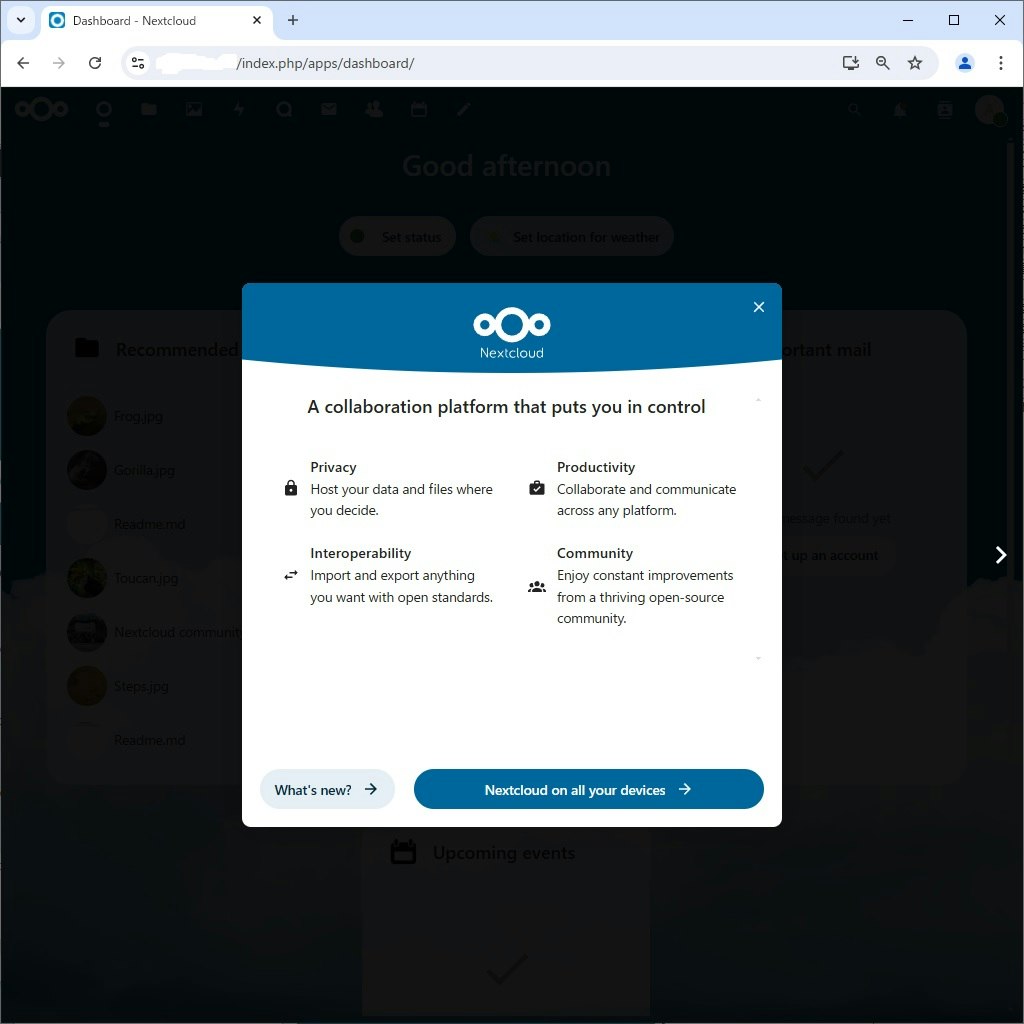
NextCloud 推奨のアプリケーションをインストールするか選択します。
当例ではインストールで進めます。

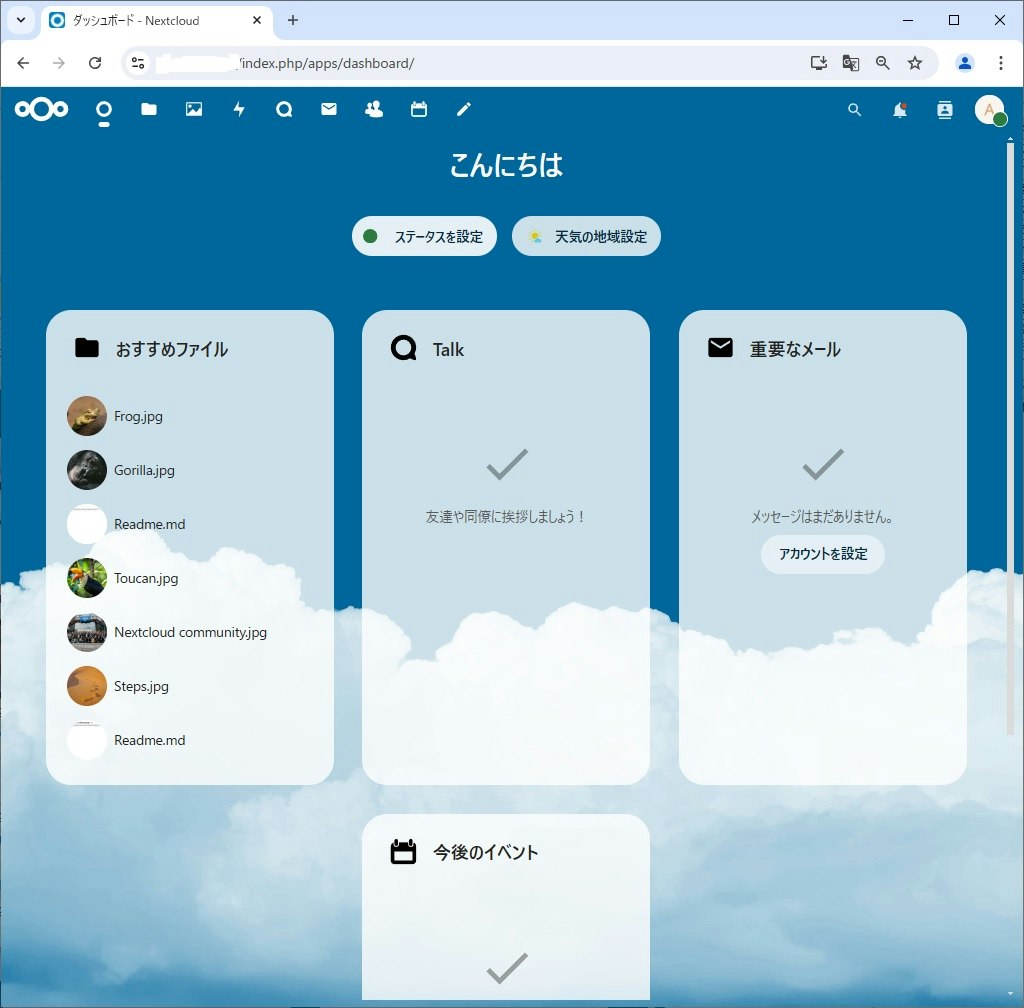
スタートページが表示されます。
セットアップ完了後は [https://(サーバーのホスト名)/] へアクセスすることで、ログイン画面から利用可能となります。

日本語 OS でアクセスすれば自動で日本語表示になります。自動で切り替わらなない場合でも、設定から日本語表示に切り替えることもできます。
taisuke@ubuntuserver:~$ sudo vi /var/www/nextcloud/config/config.php
.....
.....
// セクション内の最終行に追記
// [default_phone_region] には自身の国コードを指定 (ISO 3166-1)
'installed' => true,
'memcache.local' => '\OC\Memcache\APCu',
'default_phone_region' => 'JP',
'maintenance_window_start' => 1,
'memcache.locking' => '\OC\Memcache\Redis',
'memcache.distributed' => '\OC\Memcache\Redis',
'redis' => array(
'host' => 'localhost',
'port' => 6379,
'timeout' => 0.0,
),
);
taisuke@ubuntuserver:~$ sudo -u www-data php --define apc.enable_cli=1 /var/www/nextcloud/occ db:add-missing-indices
Adding additional mail_messages_strucanalyz_idx index to the oc_mail_messages table, this can take some time...
oc_mail_messages table updated successfully.
Adding additional mail_class_creat_idx index to the oc_mail_classifiers table, this can take some time...
oc_mail_classifiers table updated successfully.
Adding additional mail_acc_prov_idx index to the oc_mail_accounts table, this can take some time...
oc_mail_accounts table updated successfully.
Adding additional mail_alias_accid_idx index to the oc_mail_aliases table, this can take some time...
oc_mail_aliases table updated successfully.
Adding additional mail_messages_mb_id_uid_uidx index to the oc_mail_messages table, this can take some time...
Removing mail_messages_mb_id_uid index from the oc_mail_messages table
oc_mail_messages table updated successfully.
Adding additional mail_smime_certs_uid_email_idx index to the oc_mail_smime_certificates table, this can take some time...
Removing mail_smime_certs_uid_idx index from the oc_mail_smime_certificates table
oc_mail_smime_certificates table updated successfully.
Adding additional mail_trusted_senders_idx index to the oc_mail_trusted_senders table, this can take some time...
Removing mail_trusted_senders_type index from the oc_mail_trusted_senders table
oc_mail_trusted_senders table updated successfully.
Adding additional mail_coll_idx index to the oc_mail_coll_addresses table, this can take some time...
Removing mail_coll_addr_userid_index index from the oc_mail_coll_addresses table
Removing mail_coll_addr_email_index index from the oc_mail_coll_addresses table
oc_mail_coll_addresses table updated successfully.
taisuke@ubuntuserver:~$ sudo systemctl reload apache2
初期費用無料、月額990円から、高速・多機能・高安定レンタルサーバー『エックスサーバー』