0. はじめに
Watson Machine Learningには機械学習モデルやLLMモデルをスコアリングする機能がありますが、汎用的なユーザー定義のPython関数をデプロイする機能があります。
これを使うとWatson Machine Learningで直接サポートしていない機械学習モデルやLLMモデルをスコアリングしたり、まったく機械学習とは関係ないユーティリティ的な関数の実行にも利用できます。
すでにいくつか記事はありますが、この記事では最もシンプルなエコーを返すだけのPython関数を実行し、かつ、ibm-watson-machine-learningではなく、今後利用が推奨されているibm_watsonx_aiという新しいPython APIを使って実現します。
全体像は以下のようなイメージです。
Notebookで作ったpythonの関数をWatson Maichine Learningのデプロイメント・スペースに保存して、それをオンライン・デプロイメントにして、スコアリングします。

サンプルソース
- テスト環境
- python 3.10.9
- ibm_watsonx_ai 1.1.2
1. 事前準備
1-1. APIキーの作成
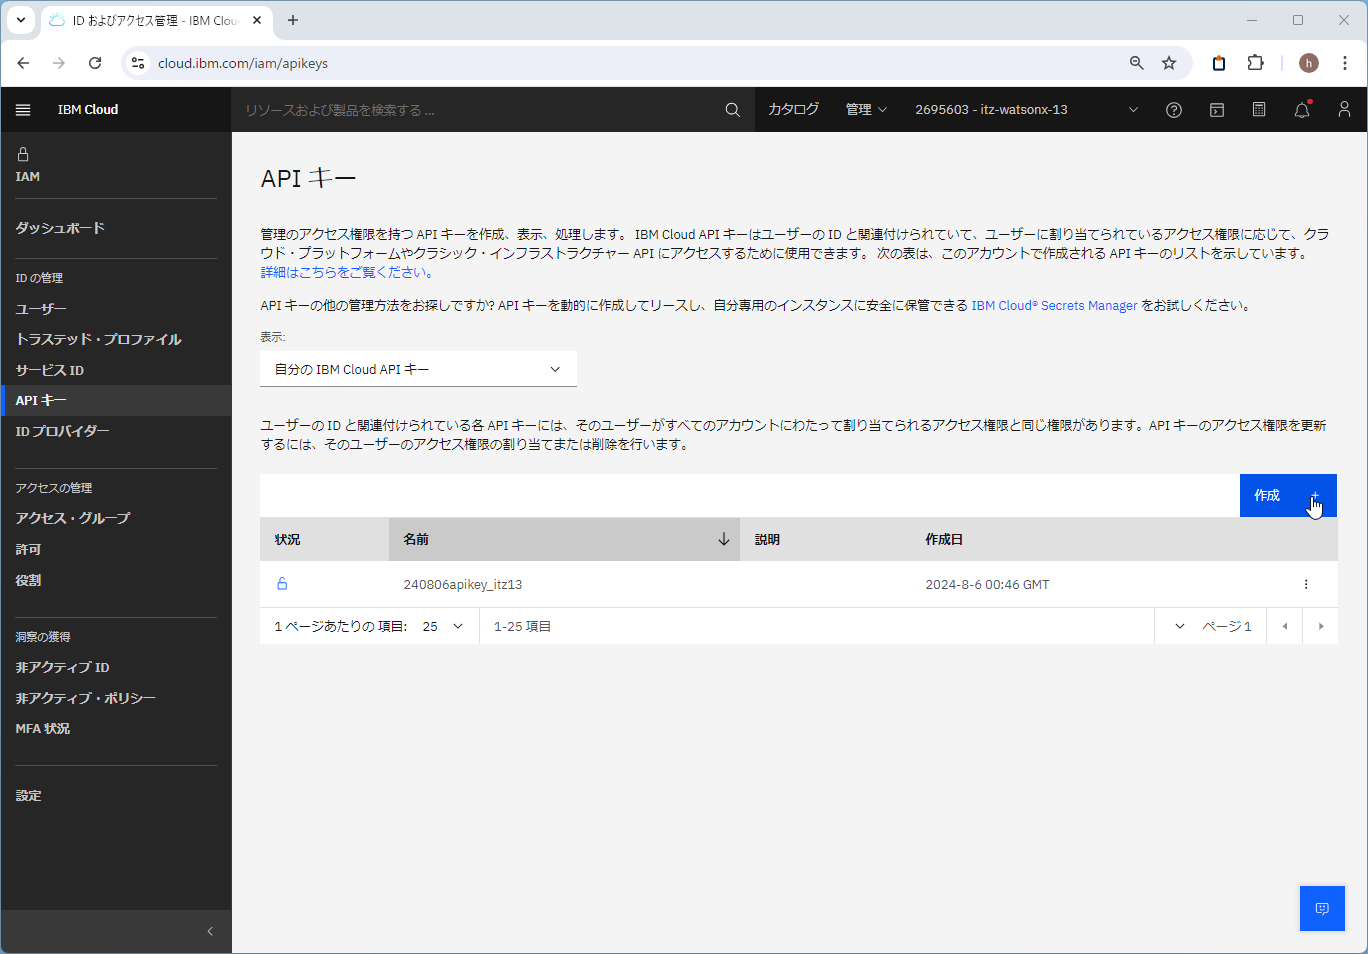
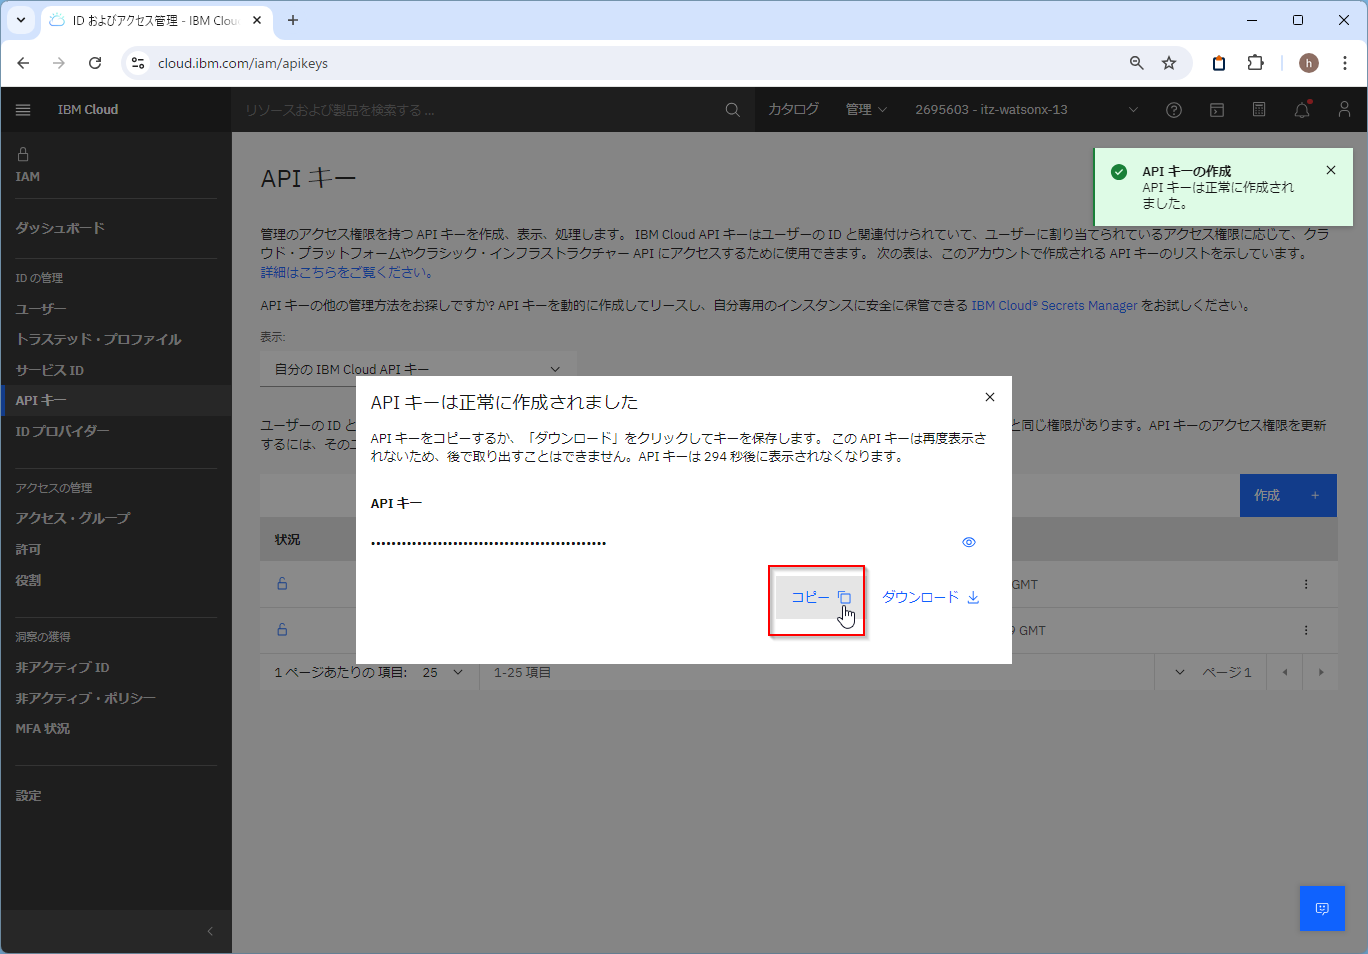
Python関数の操作をibm_watsonx_aiのAPIで行うのでAPIキーが必要です。
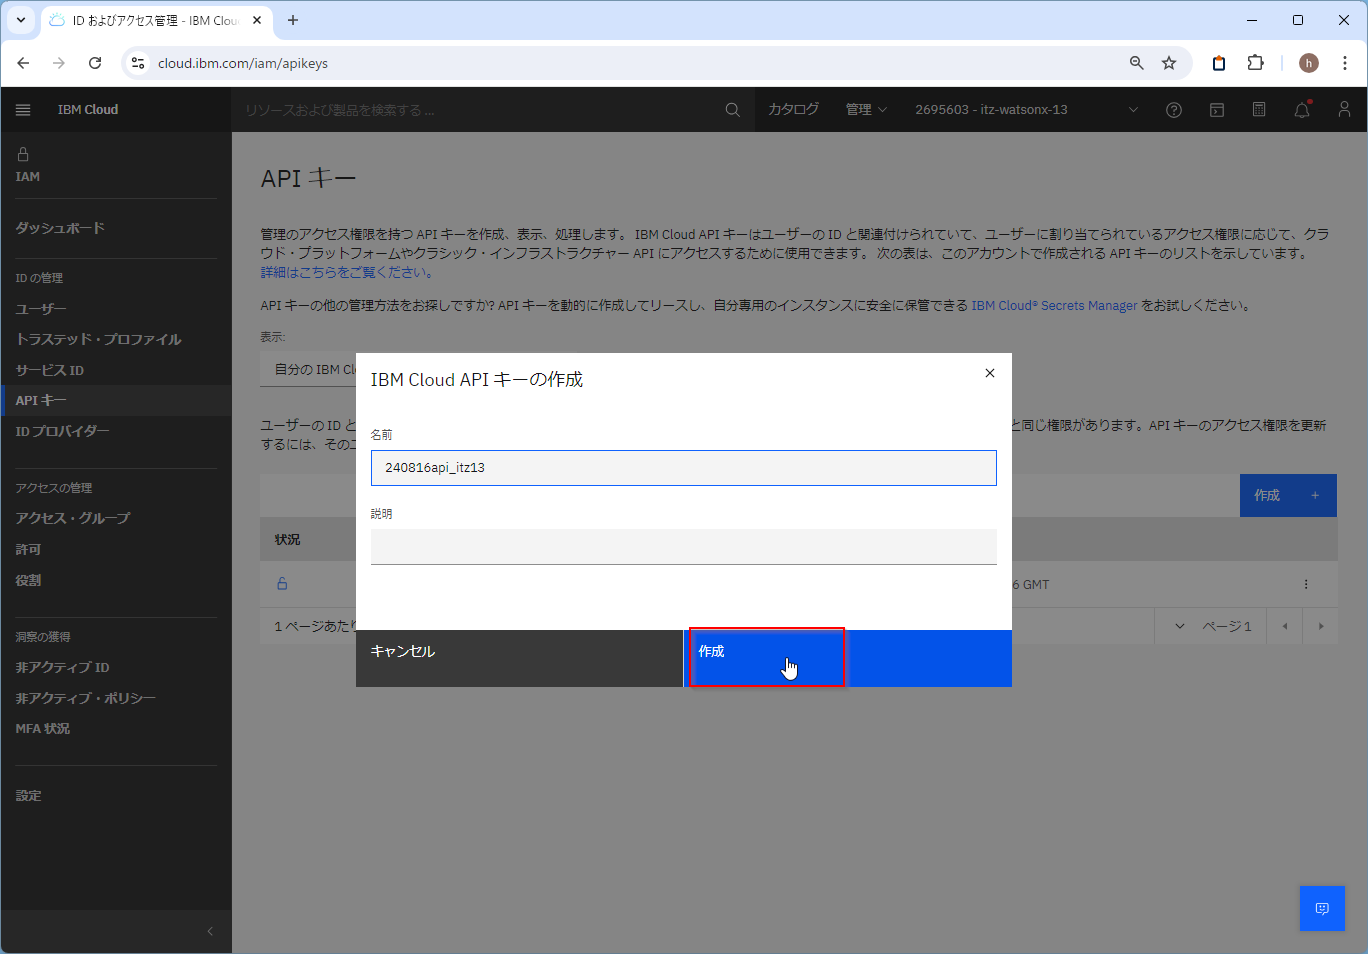
IAMのAPIキーのメニューから「作成」でAPIキーを作ります。
https://cloud.ibm.com/iam/apikeys

1-2. デプロイメント・スペースの作成
デプロイメント・スペースの管理のページから「新規デプロイメント・スペース」を作ります。
https://jp-tok.dataplatform.cloud.ibm.com/ml-runtime/spaces?context=cpdaas

任意の名前を付け、紐づけるWatson Maichine Learningのサービスを選択し、作成します。

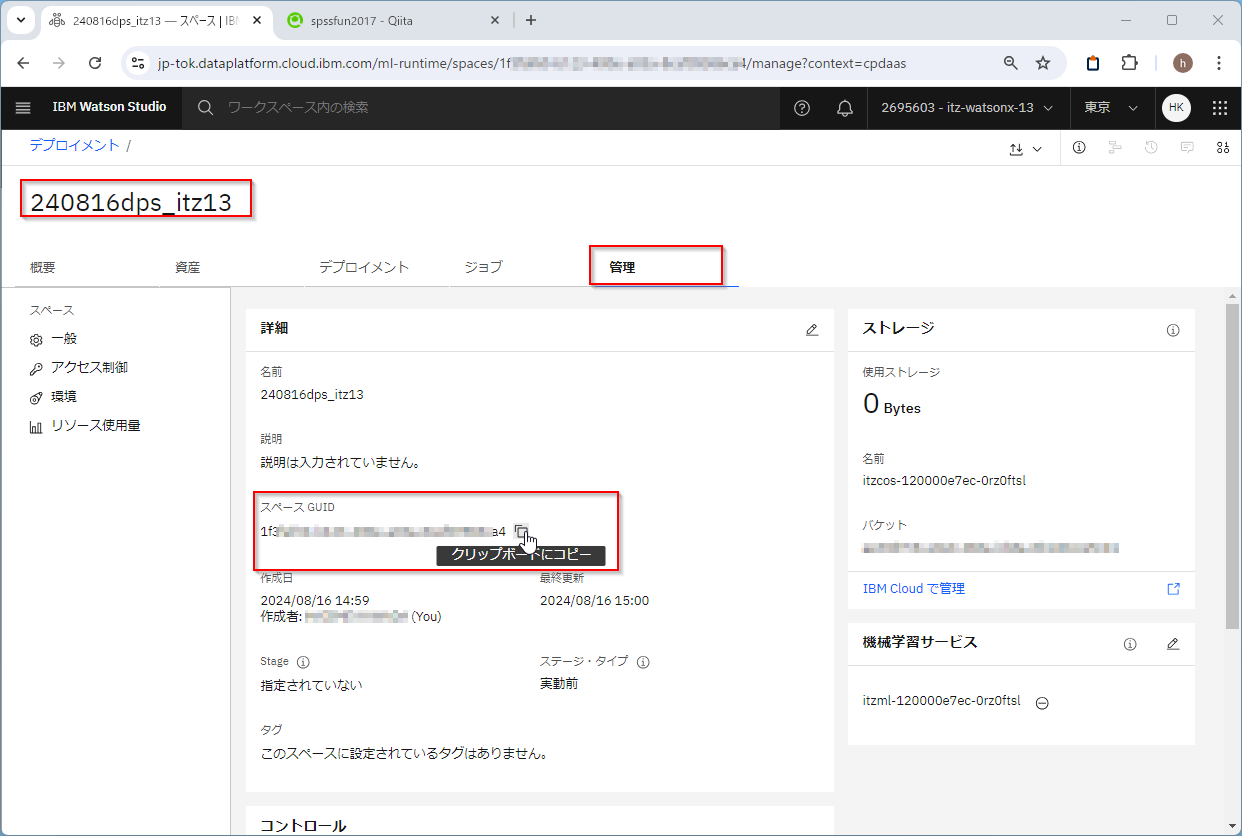
作成したデプロイメント・スペースの「管理」タブを開き、スペースGUIDをコピーしておきます。
2. 関数のデプロイ
2-1. 環境設定
ibm-watsonx-aiのパッケージを導入します。
** ibm-watsonx-ai のドキュメントは こちら にあります。
pip install -U ibm-watsonx-ai
次に先につくったAPIキーとWMLのエンドポイントを使って、APIクライアントを作ります。
エンドポイントの情報は以下にあります。今回はtokyoのWatson Machine Learningサービスのデプロイメントスペースを使うのでtokyoのエンドポイントを選びました。
api_key = 'PASTE YOUR API_KEY HERE'
# tokyo Public endpoint
url = 'https://jp-tok.ml.cloud.ibm.com'

from ibm_watsonx_ai import APIClient
from ibm_watsonx_ai import Credentials

#APIキーを使用してクライアントを作成する
credentials = Credentials(
    api_key = api_key,
    url= url
)

client = APIClient(credentials)
次にPython関数をデプロイするデプロイメント・スペースを指定します。
先ほど作ったデプロイメント・スペースのGUIDを入力します。
デプロイメントスペースのAPIクライアントを作ります。
space_id = 'PASTE YOUR SPACE ID HERE'
client_space = APIClient(credentials, space_id = space_id)
2-2. 関数の作成
「score」という名前のネストされた関数を使用して Python クロージャーを作成します。ここにユーザーの好きなロジックを書くことができます。
引数と戻り値には以下のようなルールがあります。
- score関数の引数
- 単一の JSON 入力パラメーターを受け入れる必要があります
- input_dataのキーを持つ必要があります。
- 入力パラメーターには、以下の「values」という名前の配列が含まれている必要があります。
- 入力パラメーターには、追加の名前と値のペアを含めることもできます
- score関数の戻り値
- score 関数が JSON 直列化可能オブジェクトを返す必要があります (例: ディクショナリーまたはリスト)
- predictionsのキーを持つ必要があります。
親関数名は任意です(ここではmy_deployable_function)。
引数のpayloadは'input_data'のキーを持っています。戻り値は'predictions'のキーをもっています。
単純に入ってきたvaluesをエコーする関数になっています。
def my_deployable_function():
    """
    Deployable python function with score
    function implemented.
    """

    def score(payload):
        """
        Score method.
        """
        return {'predictions': [{'values': [payload['input_data'][0]["values"]]}]}

    return score
WMLにデプロイする前にローカルでテストしてみます。
data = 'hello world'
func_result = my_deployable_function()({
    "input_data": [{
        "values" : data
    }]
})

print(func_result["predictions"][0]["values"])
「'hello world'」がエコーされています。
['hello world']
2-3. Python 関数のアップロード
作成したPython 関数my_deployable_functionをDeployment Spaeにアップロードします。
まず、Python関数my_deployable_functionを実行するソフトウェア仕様を選びます。
以下のマニュアルに一覧があります。
https://www.ibm.com/docs/ja/watsonx/saas?topic=specifications-supported-frameworks-software
以下のコードで一覧を取得することも可能です。
import pandas as pd
df_swspec=client_space.software_specifications.list(limit=300)
pd.set_option('display.max_rows', 300)
df_swspec.sort_values('NAME')
ここではシンプルなPython3.10ベースの関数なので、runtime-23.1-py3.10を使います。ソフトウェア仕様のIDを取得します。
sw_spec_uid = client.software_specifications.get_uid_by_name("runtime-23.1-py3.10")
関数my_deployable_functionをclient_space.repository.store_functionでデプロイメント・スペースに保存します。
meta_props = {
    client.repository.FunctionMetaNames.NAME: "deployable function test",
    client.repository.FunctionMetaNames.SOFTWARE_SPEC_UID: sw_spec_uid
}

function_details = client_space.repository.store_function(meta_props=meta_props, function=my_deployable_function)
function_id = client_space.repository.get_function_id(function_details)
Webのデプロイメント・スペースの管理コンソールでみると「資産」タブに関数が登録されていることがわかります。
また、以下のコマンドでも確認できます。
client_space.repository.list_functions()
2-4. オンライン デプロイメントを作成する
client_space.deployments.createでオンラインデプロイメントを作成し、登録したPython関数をWebサービスとしてスコアリング実行可能にします。
metadata = {
    client_space.deployments.ConfigurationMetaNames.NAME: "Deployment of function",
    client_space.deployments.ConfigurationMetaNames.ONLINE: {}
}

function_deployment_details  = client_space.deployments.create(function_id, meta_props=metadata)
以下のように作成されました。これでWebサービスでのスコアリング実行が可能になりました。
######################################################################################

Synchronous deployment creation for id: '69ea58ed-b76c-40ab-b098-73a19c663b29' started

######################################################################################


initializing
Note: online_url and serving_urls are deprecated and will be removed in a future release. Use inference instead.
..
ready


-----------------------------------------------------------------------------------------------
Successfully finished deployment creation, deployment_id='5db0d05f-b92f-408c-a16c-a830d7359210'
-----------------------------------------------------------------------------------------------
Webのデプロイメント・スペースの管理コンソールでみると「デプロイメント」タブに関数が登録されていることがわかります。

また、以下のコマンドでも確認できます。
client_space.deployments.list()
デプロイメントIDを取得します。
deployment_id = client.deployments.get_id(function_deployment_details)
print(deployment_id)
5db0d05f-b92f-408c-a16c-a830d7359210
2-5. スコアリング実行
client_space.deployments.score メソッドを使用して、スコアリング レコードを Web サービス デプロイメントに送信できます。
payload = {
    "input_data": [{
        'values': 'hello again'
    }]
}

predictions = client_space.deployments.score(deployment_id, payload)
print(predictions)
以下のように結果を得ることができました。
{'predictions': [{'values': ['hello again']}]}
2-6. クリーンアップ
以下のコマンドでオンラインデプロイメントと関数を削除することができます。オンラインデプロイメントは課金が発生し続けるので、不要になったら削除をしてください。
client_space.deployments.delete(deployment_id)
client_space.repository.delete(function_id)
参考
関数のデプロイ - Docs | IBM Cloud Pak for Data as a Service
Watson Machine Learning での Python 関数のデプロイ - Docs | IBM Cloud Pak for Data as a Service
Cloud Pak for Dataで関数をデプロイする #Python - Qiita
Watson Machine LeaningにPython Functionを登録する #Watson-Studio - Qiita


