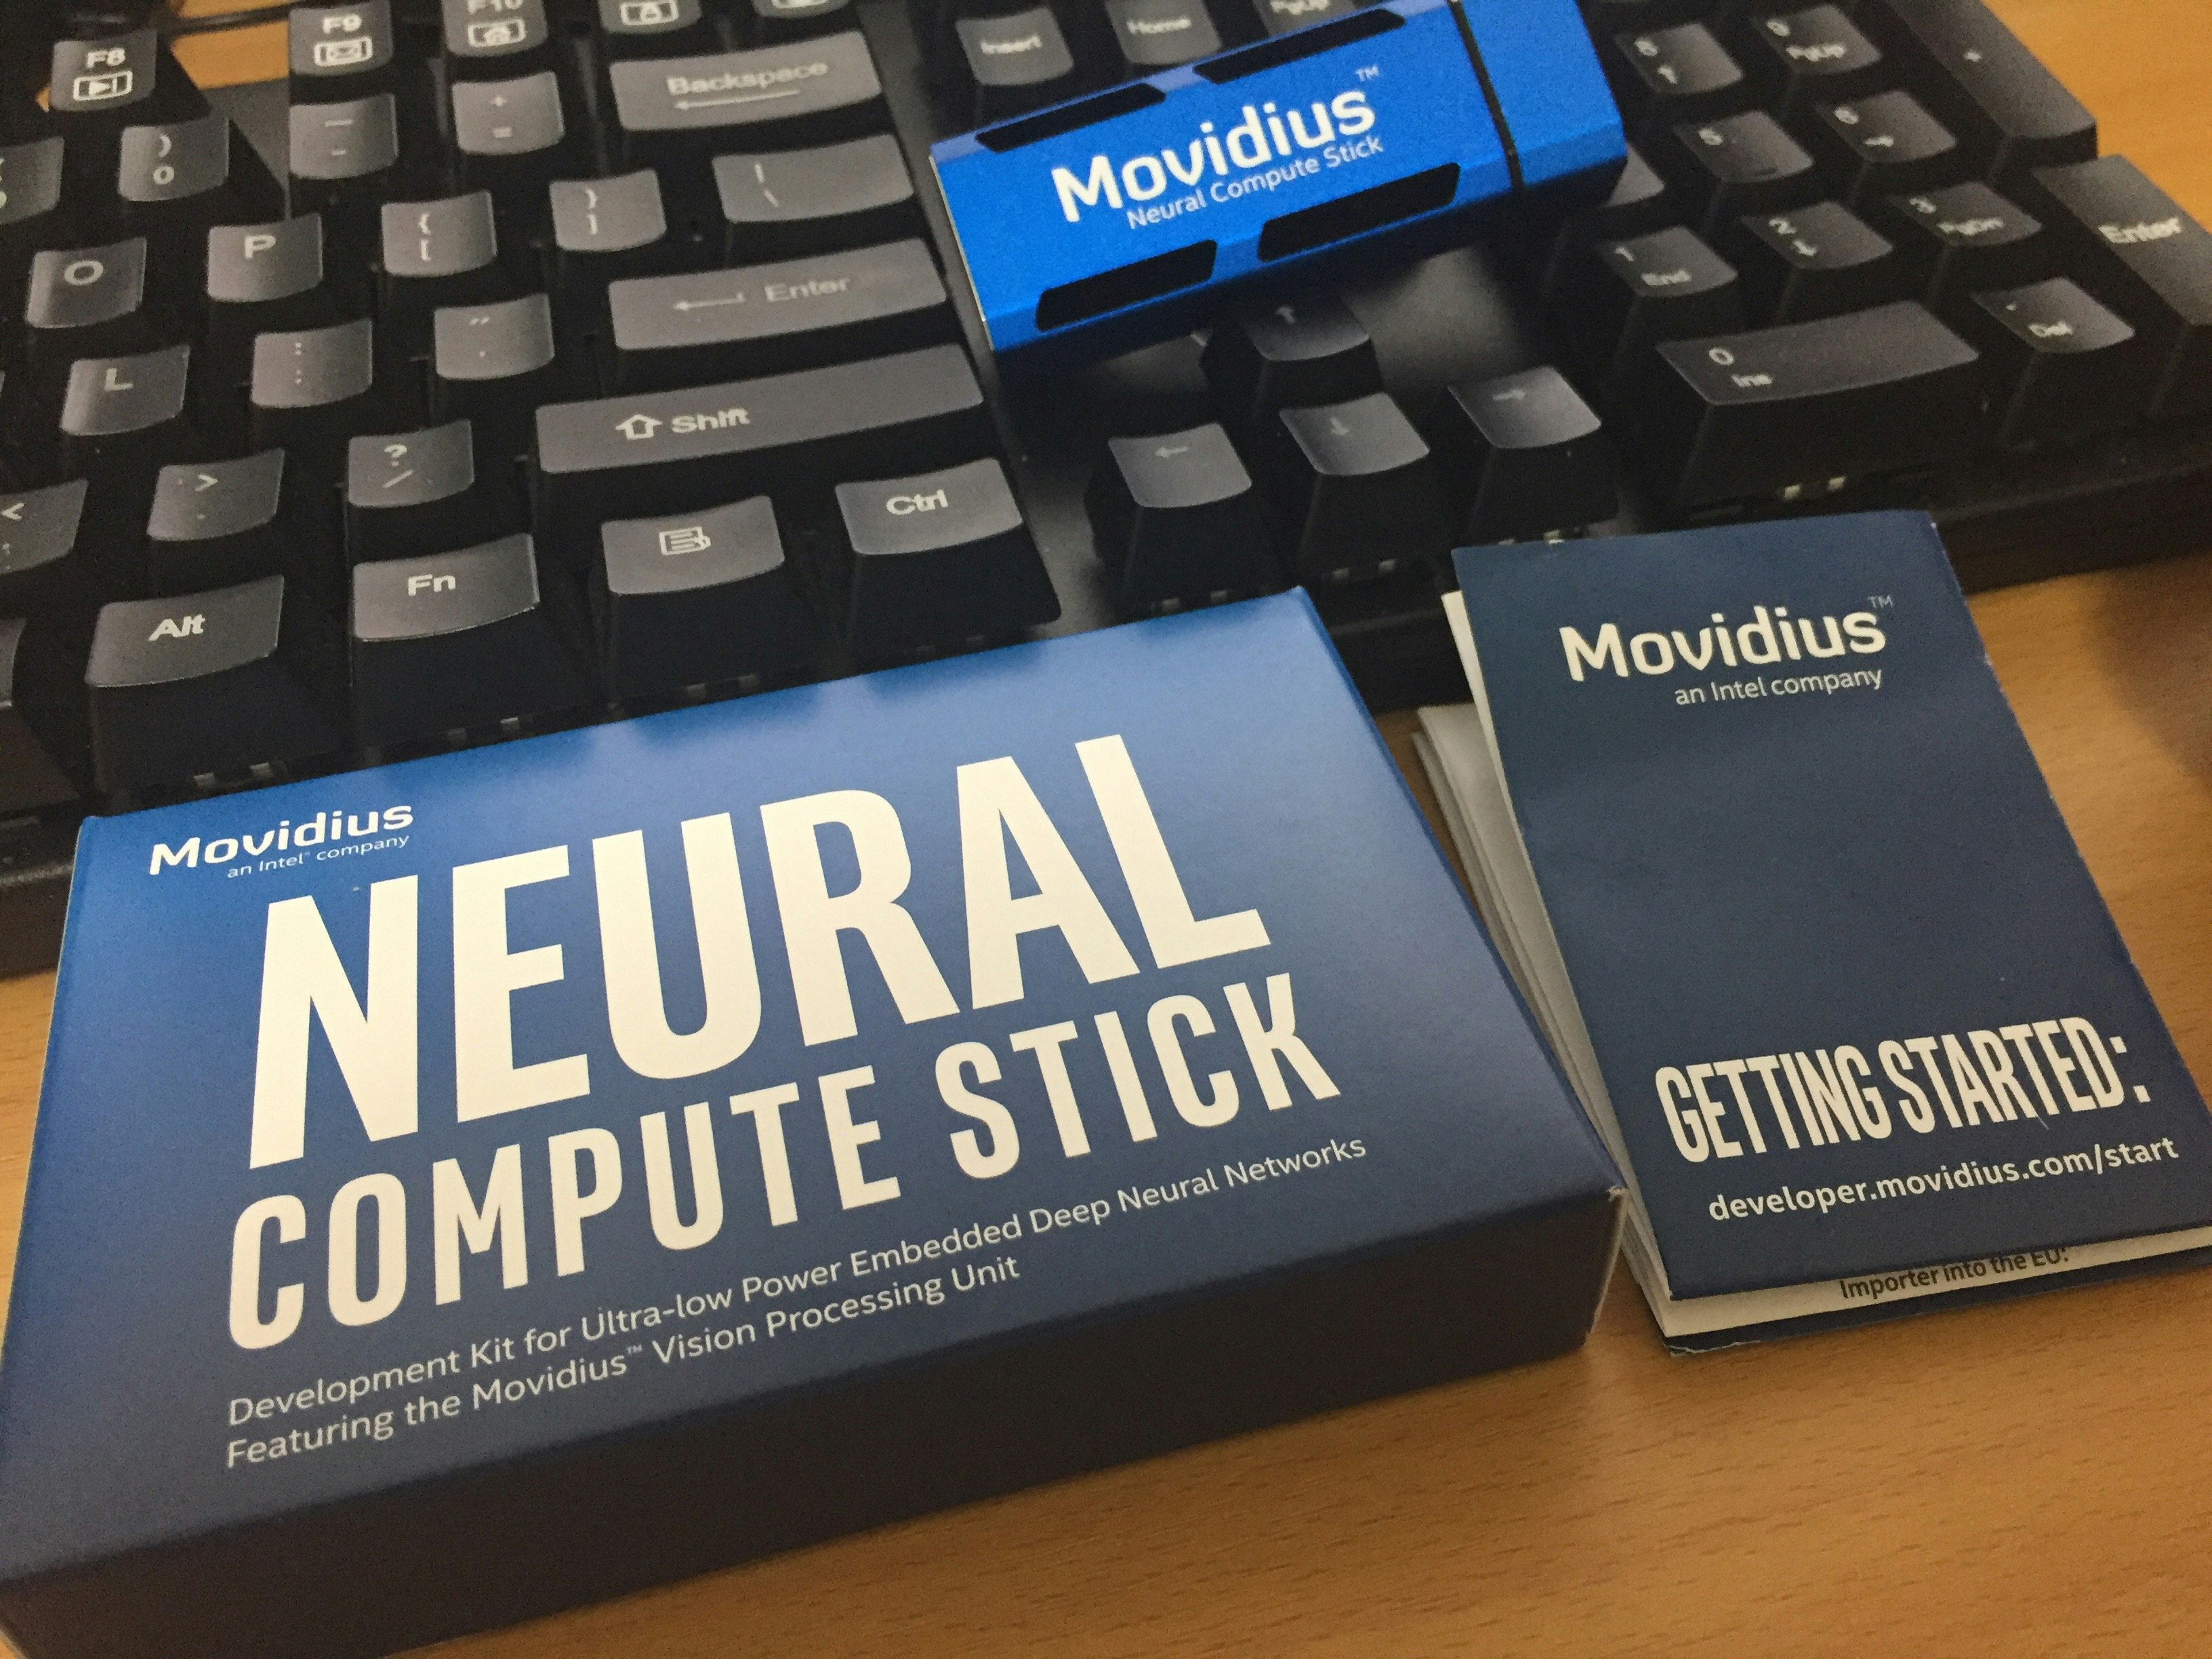
購入後、忙しくて開封すらできていなかったIntel Movidius NCSをやっと開封できました。
Raspberry-Pi3にインストールしていきます。
尚、OS:Raspbian Stretchを既にインストール済みの状態から始めます。
前提条件
- Intel® Movidius™ Neural Compute Stick(NCS)
- Raspberry Pi 3 Model B
- RASPBIAN STRETCH WITH DESKTOP(2018-03-13-raspbian-stretch.img)
- Python 3.5.3
- tensorflow (arm用 v1.4.1)
スワップサイズの変更
Movidius NCSのSDKをインストールする際、メモリを多く消費するようです。
スワップサイズを増やしておかないと、インストール中に固まります(実際、私は固まりました)。
以下の手順でスワップサイズを増やしておきましょう。
現在のスワップ割り当てを確認します。
$ free -h
              total        used        free      shared  buff/cache   available
Mem:           927M        327M         97M         88M        501M        446M
Swap:           99M          0B         99M
デフォルトでは、100MBの設定となっていました。
設定を変更するには、/etc/dphys-swapfileを編集します。
$ sudo vi /etc/dphys-swapfile
CONF_SWAPSIZEを2048(=2GB)に変更して、/etc/dphys-swapfileをセーブして下さい。
# set size to absolute value, leaving empty (default) then uses computed value
#   you most likely don't want this, unless you have an special disk situation
CONF_SWAPSIZE=100
CONF_SWAPSIZE=2048
セーブしたら、dphys-swapfileのサービスを停止してから、再起動します。
$ sudo service dphys-swapfile stop
$ sudo service dphys-swapfile start
設定が有効になっているか、freeコマンドで確認します。
スワップサイズが2.0GBになってますね!
$ free -h
              total        used        free      shared  buff/cache   available
Mem:           927M        330M         92M         88M        504M        443M
Swap:          2.0G          0B        2.0G
※スワップは読み書きが多く発生しそうなので、フラッシュメモリには悪そうな気がします。そこで、とりあえず、SDKのインストール完了後、元に戻しました。
Tensorflow-on-armのインストール
Tensorflow-on-armを参照すると、2018/03/31時点でv1.7.0が最新版でした。
但し、2018/03/30にリリースされたばかりのもののようでしたので、昨年末(2017/12/28)にリリースされたv1.4.1をインストールすることにしました。
※v1.5.0もありましたが、このバージョンにしました。
$ wget https://github.com/lhelontra/tensorflow-on-arm/releases/download/v1.4.1/tensorflow-1.4.1-cp35-none-linux_armv7l.whl
$ sudo pip3 install tensorflow-1.4.1-cp35-none-linux_armv7l.whl
インストール完了後、PythonでHello Worldできるかを確認します。
以下のように「Hello TensorFlow!」が出力されれば、Tensorflowを正しくインストールできたということになります。
$ python3
Python 3.5.3 (default, Jan 19 2017, 14:11:04)
[GCC 6.3.0 20170124] on linux
Type "help", "copyright", "credits" or "license" for more information.
>>> import tensorflow as tf
>>> hello = tf.constant('Hello, TensorFlow!')
>>> sess = tf.Session()
>>> print(sess.run(hello))
b'Hello, TensorFlow!'
>>>
Raspberry-Pi3との接続
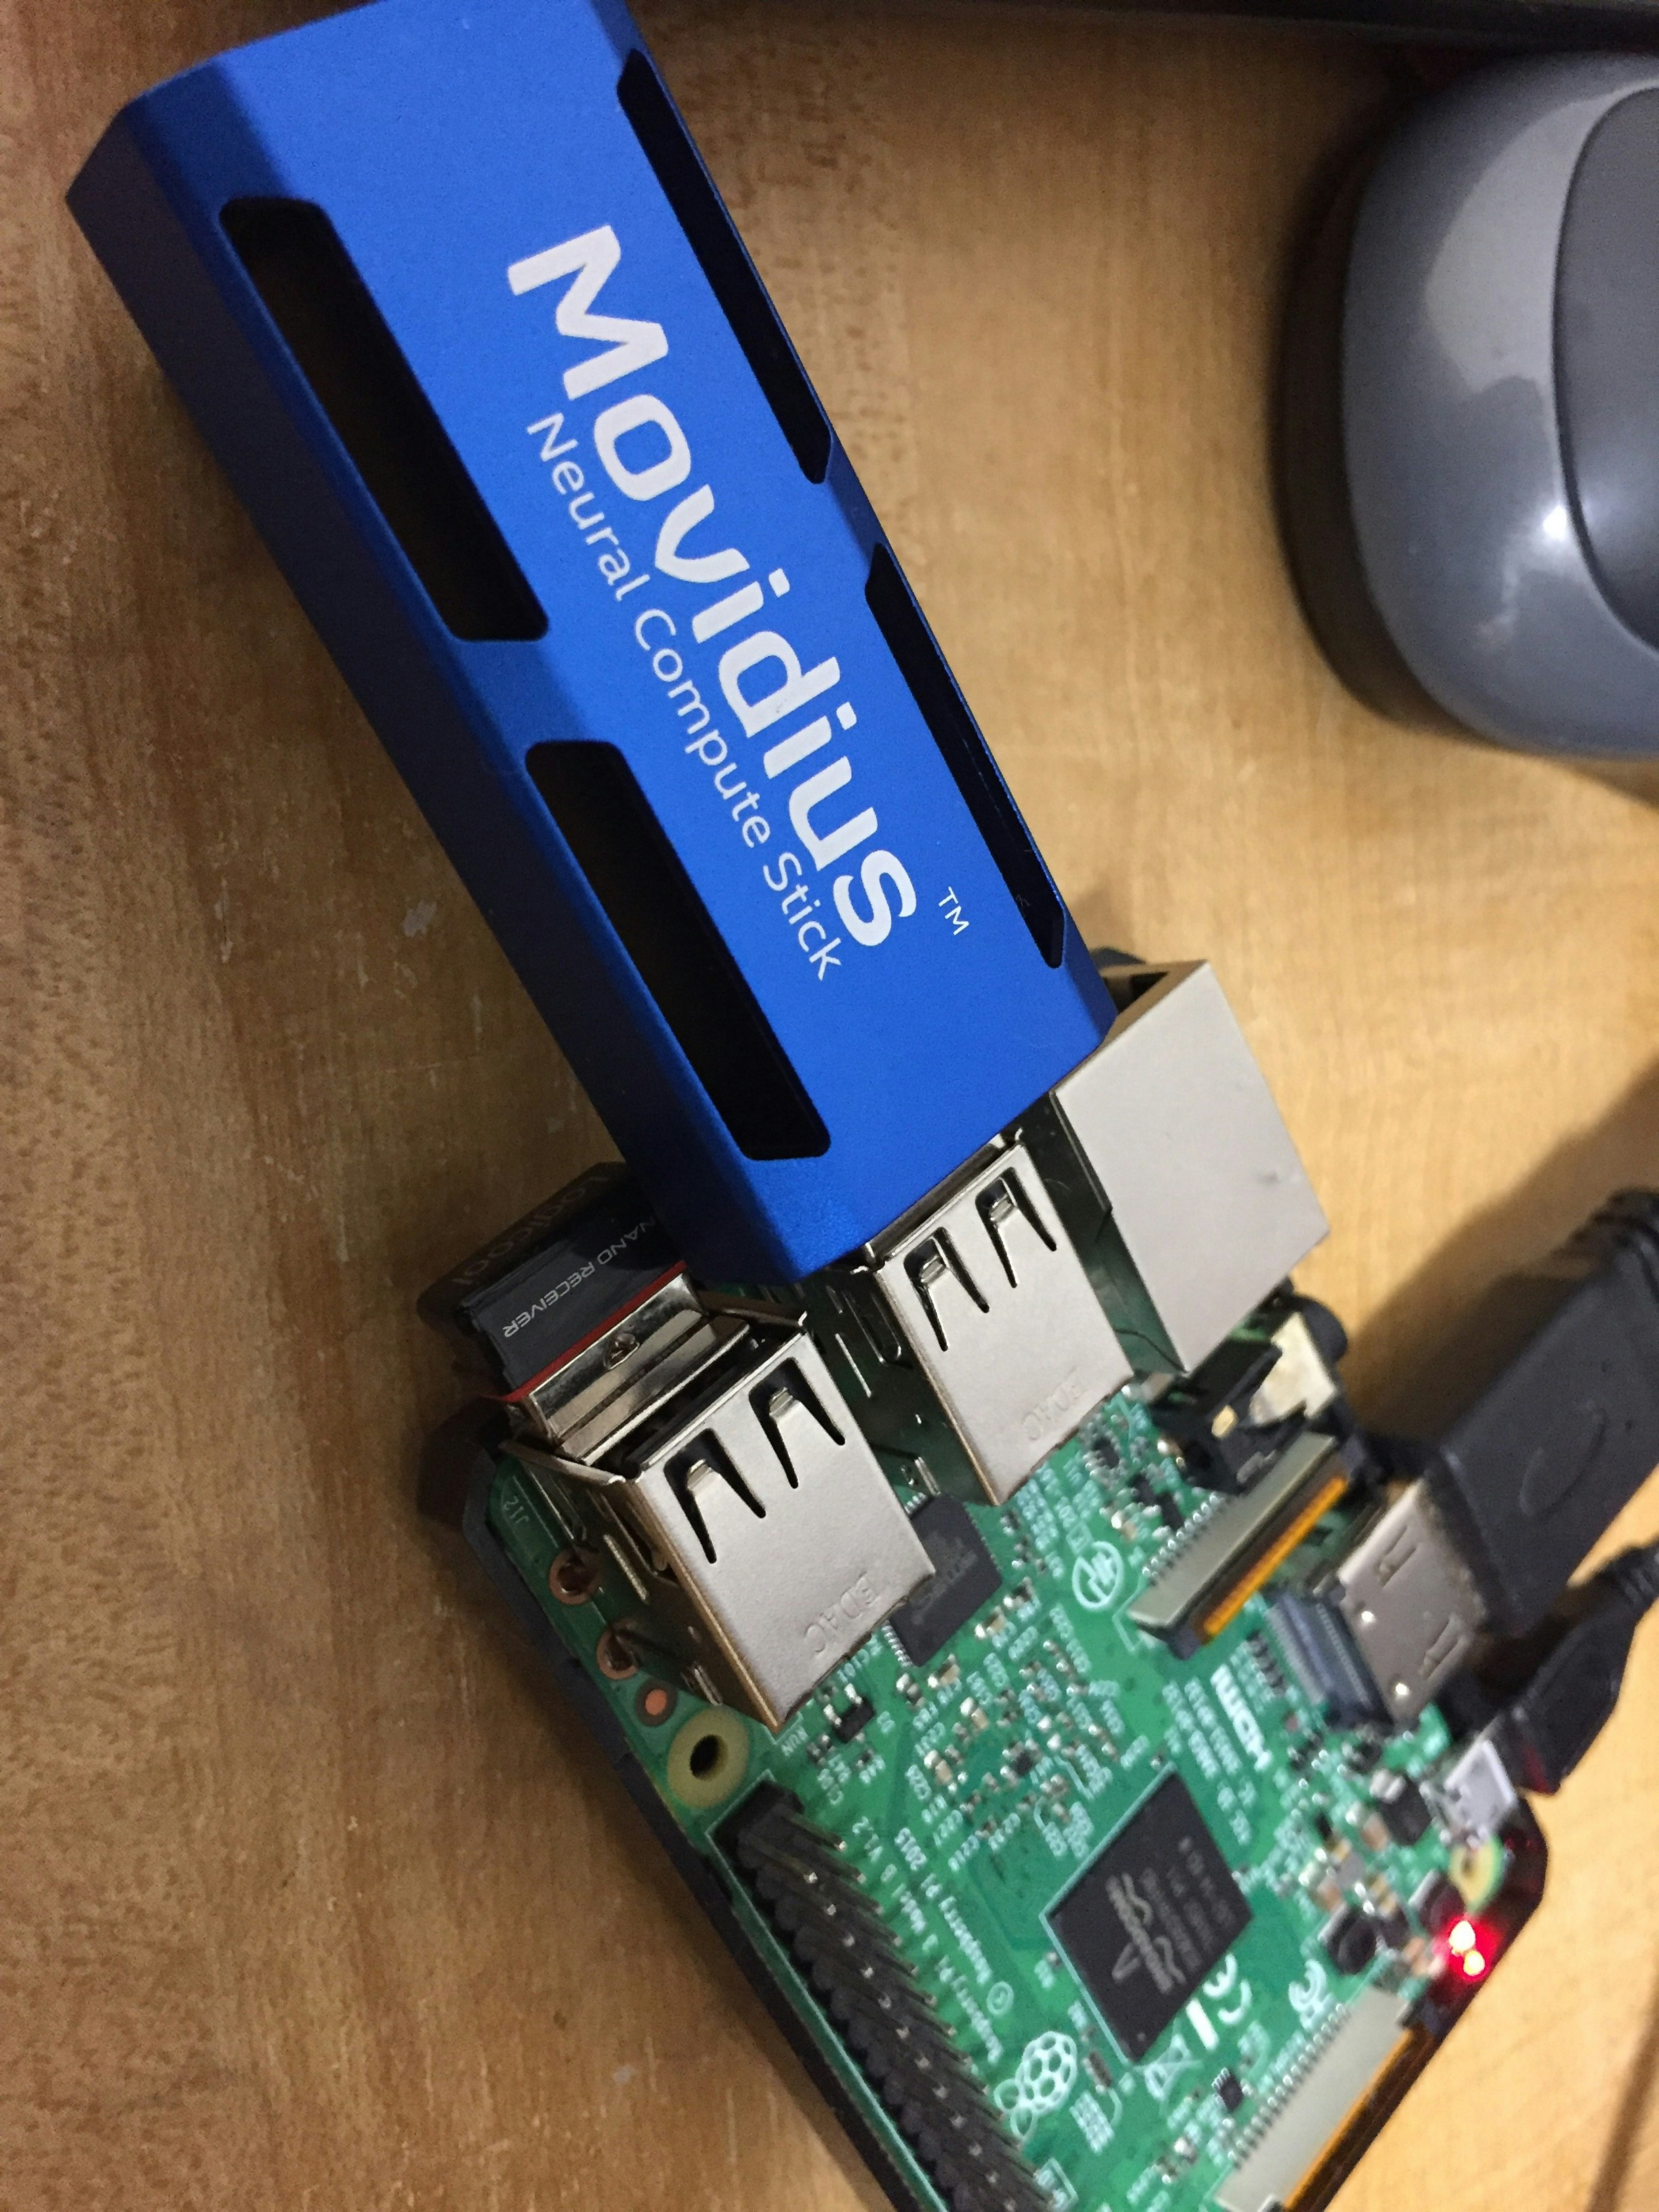
Movidius NCSとRaspberry-Pi3を接続します。
Moviduas NCS SDKのインストール
SDKをインストールしていきます。
まずは、SDKをダウンロードします。
$ git clone http://github.com/Movidius/ncsdk
Cloning into 'ncsdk'...
remote: Counting objects: 462, done.
remote: Compressing objects: 100% (8/8), done.
remote: Total 462 (delta 4), reused 5 (delta 2), pack-reused 452
Receiving objects: 100% (462/462), 128.79 MiB | 1.33 MiB/s, done.
Resolving deltas: 100% (206/206), done.
次にインストールを含むSDKのビルドとサンプルコードのビルドを行います。
かなり時間がかかります。
4~5hrは掛ったような気がします・・・(途中放置しましたが)
$ cd ncsdk
$ make install && make examples
※途中でrootパスワードの要求とopencvをインストールするか否かの要求があったと思います。
以上でSDKのインストールは完了です。
サンプルコードの実行(2018/04/01追記)
tensorflowのサンプルコードを実行してみます。
サンプルコードのあるディレクトリに移動します。
$ cd ncsdk/examples/tensorflow/inception_v3
サンプルのrun.pyを実行します。
$ python3 run.py
Number of categories: 1001
Start download to NCS...
*******************************************************************************
inception-v3 on NCS
*******************************************************************************
547 electric guitar 0.98828
403 acoustic guitar 0.0077209
715 pick, plectrum, plectron 0.0015087
421 banjo 0.00092602
820 stage 0.00065947
*******************************************************************************
Finished
サンプルでは、エレキギターの画像を入力しているようです。
image_filename = path_to_images + 'nps_electric_guitar.png'
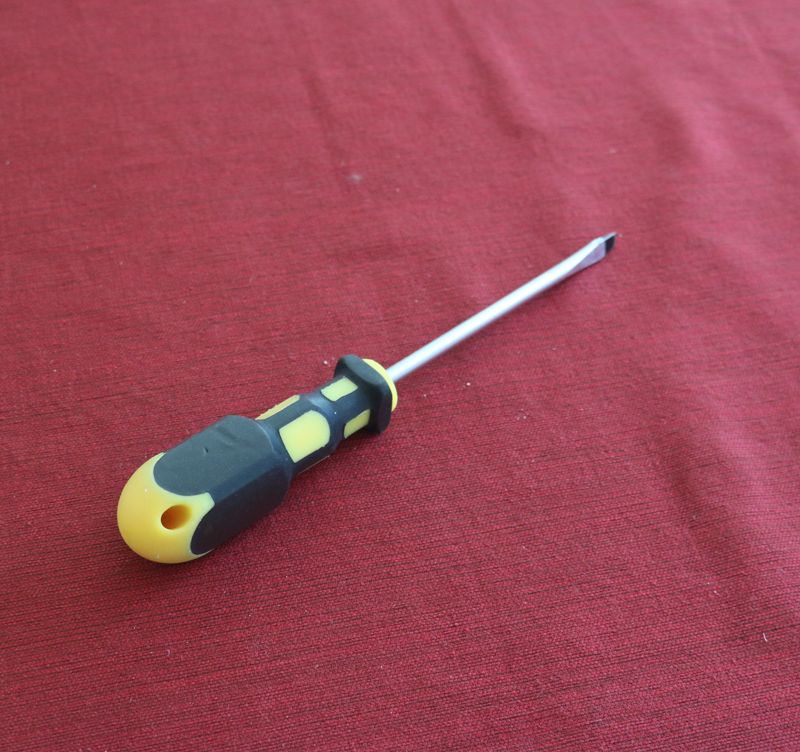
試しに上記部分を編集してスクリュードライバーにしてみました。
# image_filename = path_to_images + 'nps_electric_guitar.png'
image_filename = path_to_images + 'nps_screwdriver.png'

結果は、99.7%の確率でスクリュードライバーの結果でした。
$ python3 run.py
Number of categories: 1001
Start download to NCS...
*******************************************************************************
inception-v3 on NCS
*******************************************************************************
785 screwdriver 0.99707
903 whistle 0.00068092
478 carpenter's kit, tool kit 0.00049448
624 letter opener, paper knife, paperknife 0.00041461
627 lighter, light, igniter, ignitor 0.00040197
*******************************************************************************
Finished
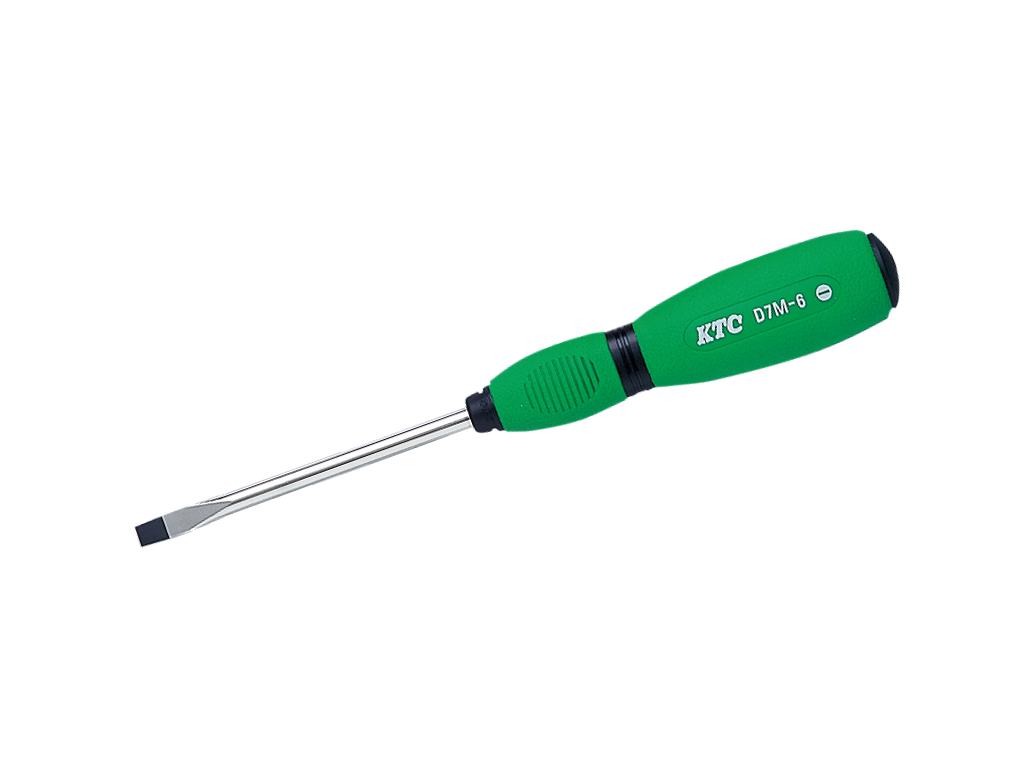
今度は、KTCのマイナスドライバーの画像を指定してみました。

スクリュードライバーと判定しているものの、64.4%に・・・
でも第2の候補となるヘラが8.5%だから認識的には問題ないですね
$ python3 run.py
Number of categories: 1001
Start download to NCS...
*******************************************************************************
inception-v3 on NCS
*******************************************************************************
785 screwdriver 0.6416
814 spatula 0.084534
624 letter opener, paper knife, paperknife 0.01799
651 microphone, mike 0.011932
846 syringe 0.011383
*******************************************************************************
Finished
処理時間は、5秒程度でした。
real    0m4.928s
user    0m1.719s
sys     0m0.540s
参考にさせて頂いたページ
以下、参考にさせて頂いたページです。どうもありがとうございます。

