こんにちは、スープです。
AngularとFirebaseを使ってソーシャルログインを簡単に作ってみます。Angular Authentication made easy with Firebase のやり方に倣って作っていきます。
ステップ
- Firebaseのプロジェクト作成
- 環境設定
- コードを書く
Firebaseのプロジェクト作成
Firebaseのコンソールでプロジェクトを作成します。
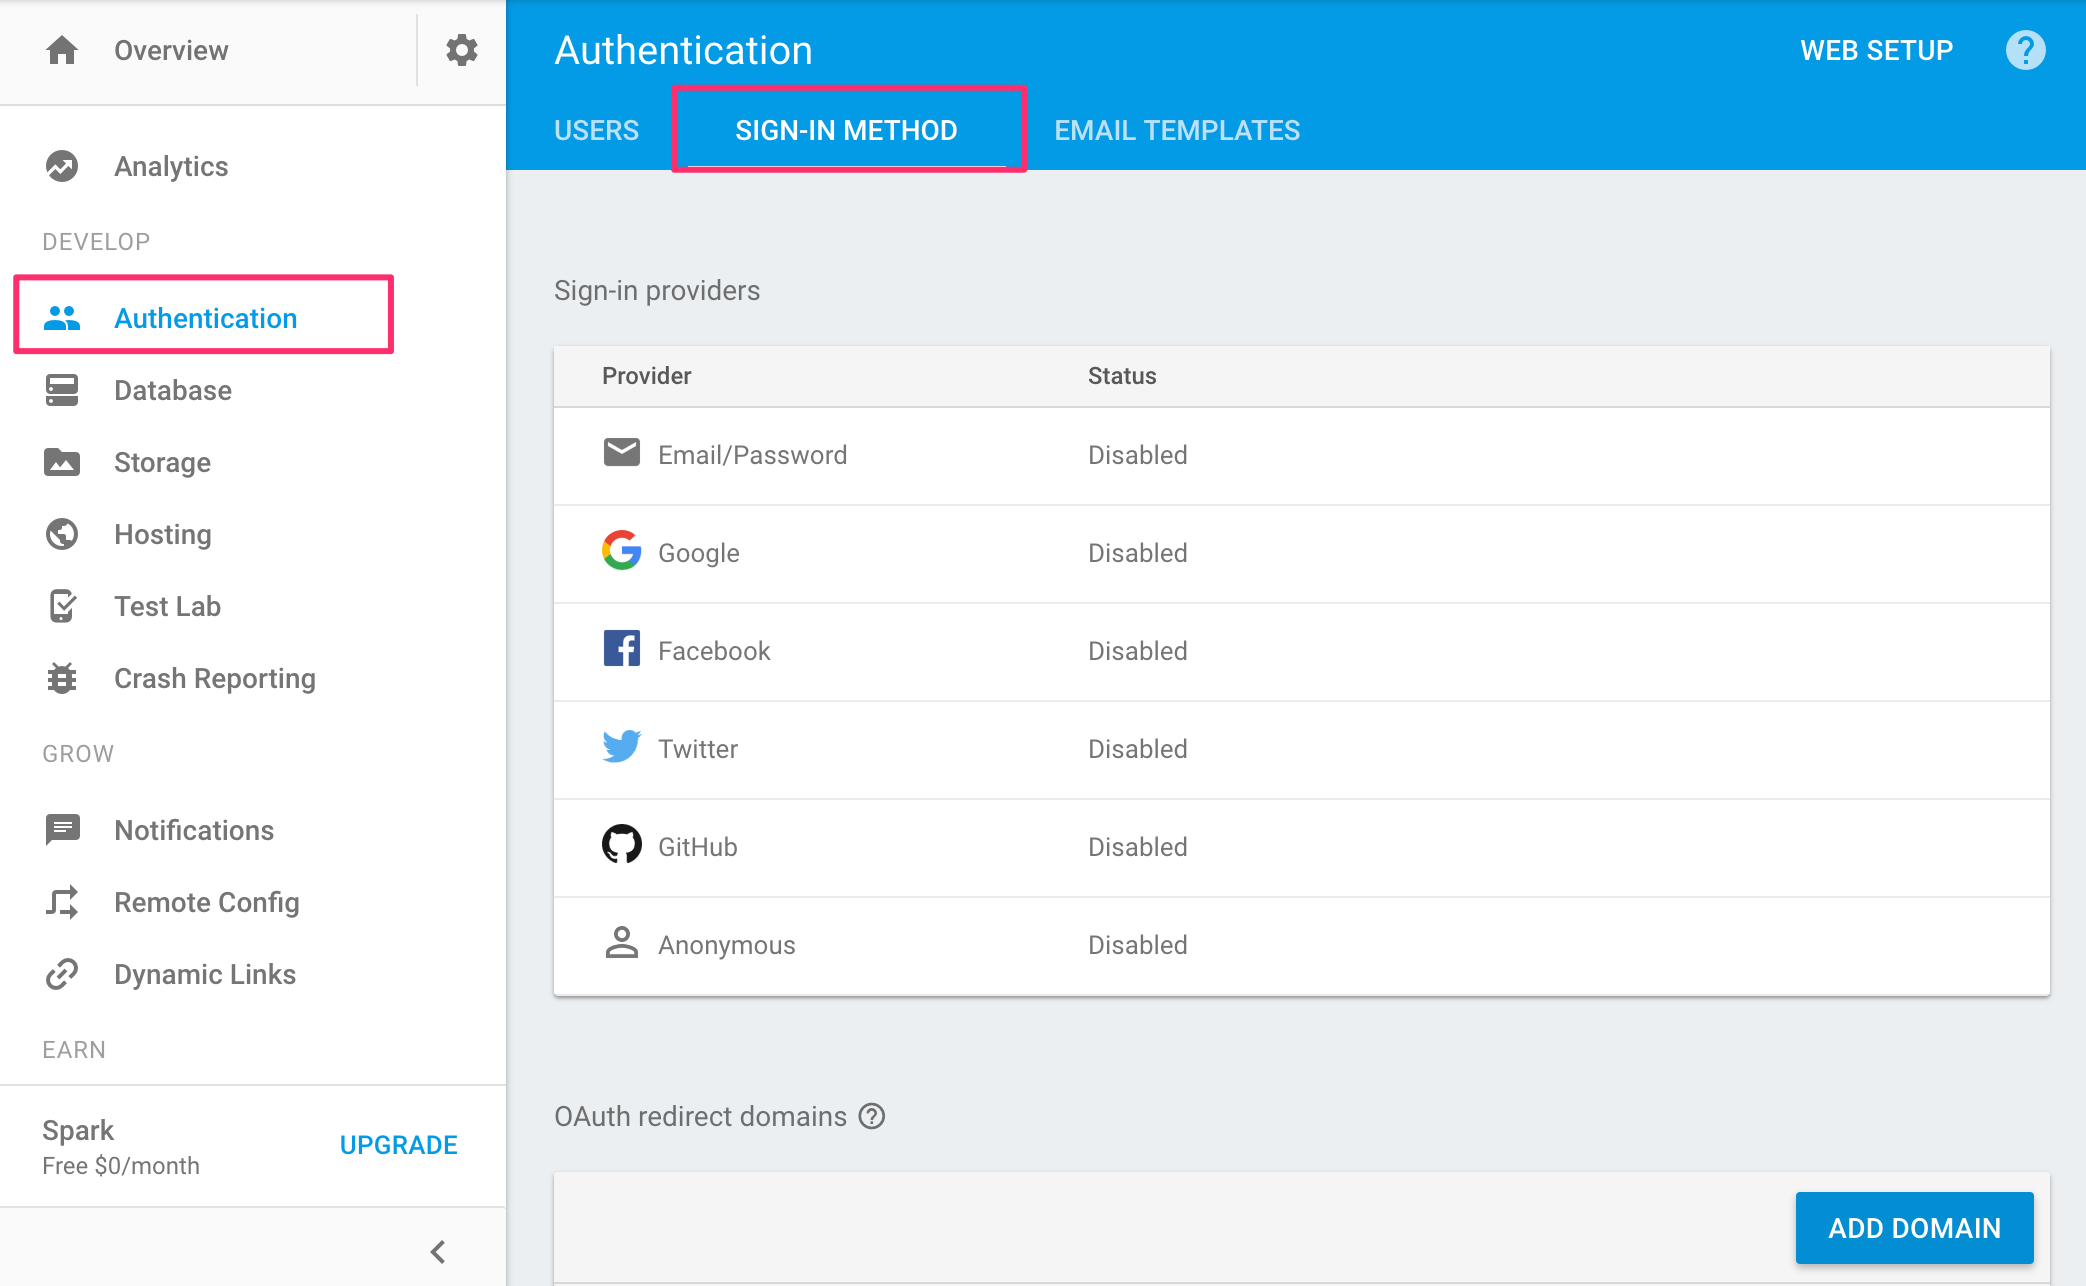
使用するSign-in providersを選択して有効にします。
コード例ではGoogleとTwitterを利用しています。
Authentication → SIGN-IN METHOD から使用するSign-in providersを有効にします。
providerによって、Key/Secret等の設定が必要です。
例えばTwitterなら、アプリの作成後、API KeyとAPI Secretを取得してきて、設定する必要があります。
→Twitter Application Management
環境設定
angular-cliをインストール
$ npm install -g angular-cli
anglar-cliでスキャフォルディング
$ ng new firebase-auth-sample
$ cd firebase-auth-sample
開発サーバー起動
$ ng serve
localhost:4200にブラウザでアクセス
angularfire2とfirebaseのモジュールを入れます。
$ npm install angularfire2 firebase --save
$ npm install @types/firebase --save-dev
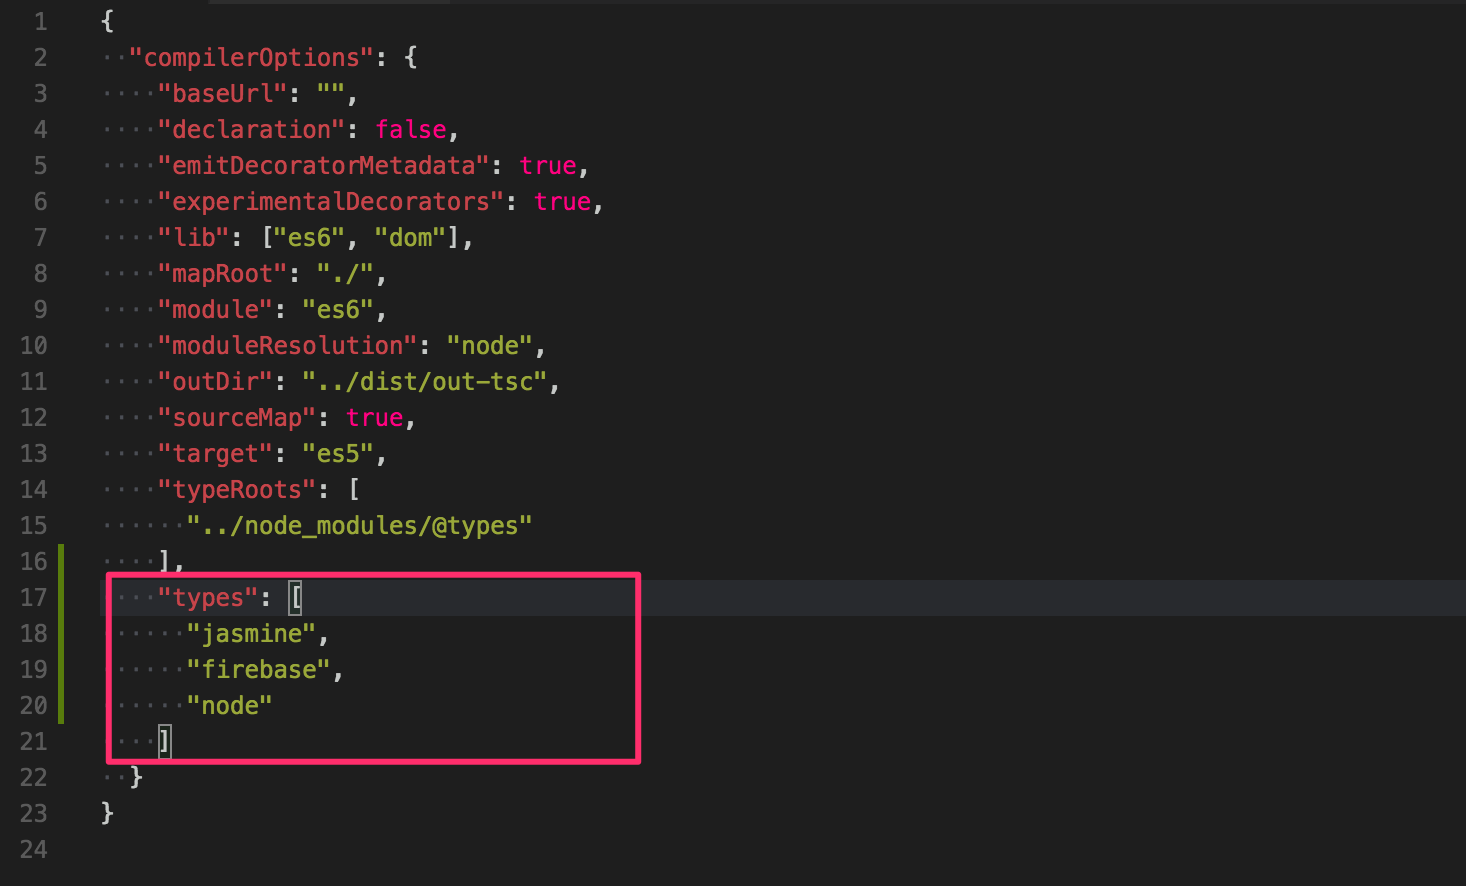
tsconfig.json にtypes追加
コードを書く
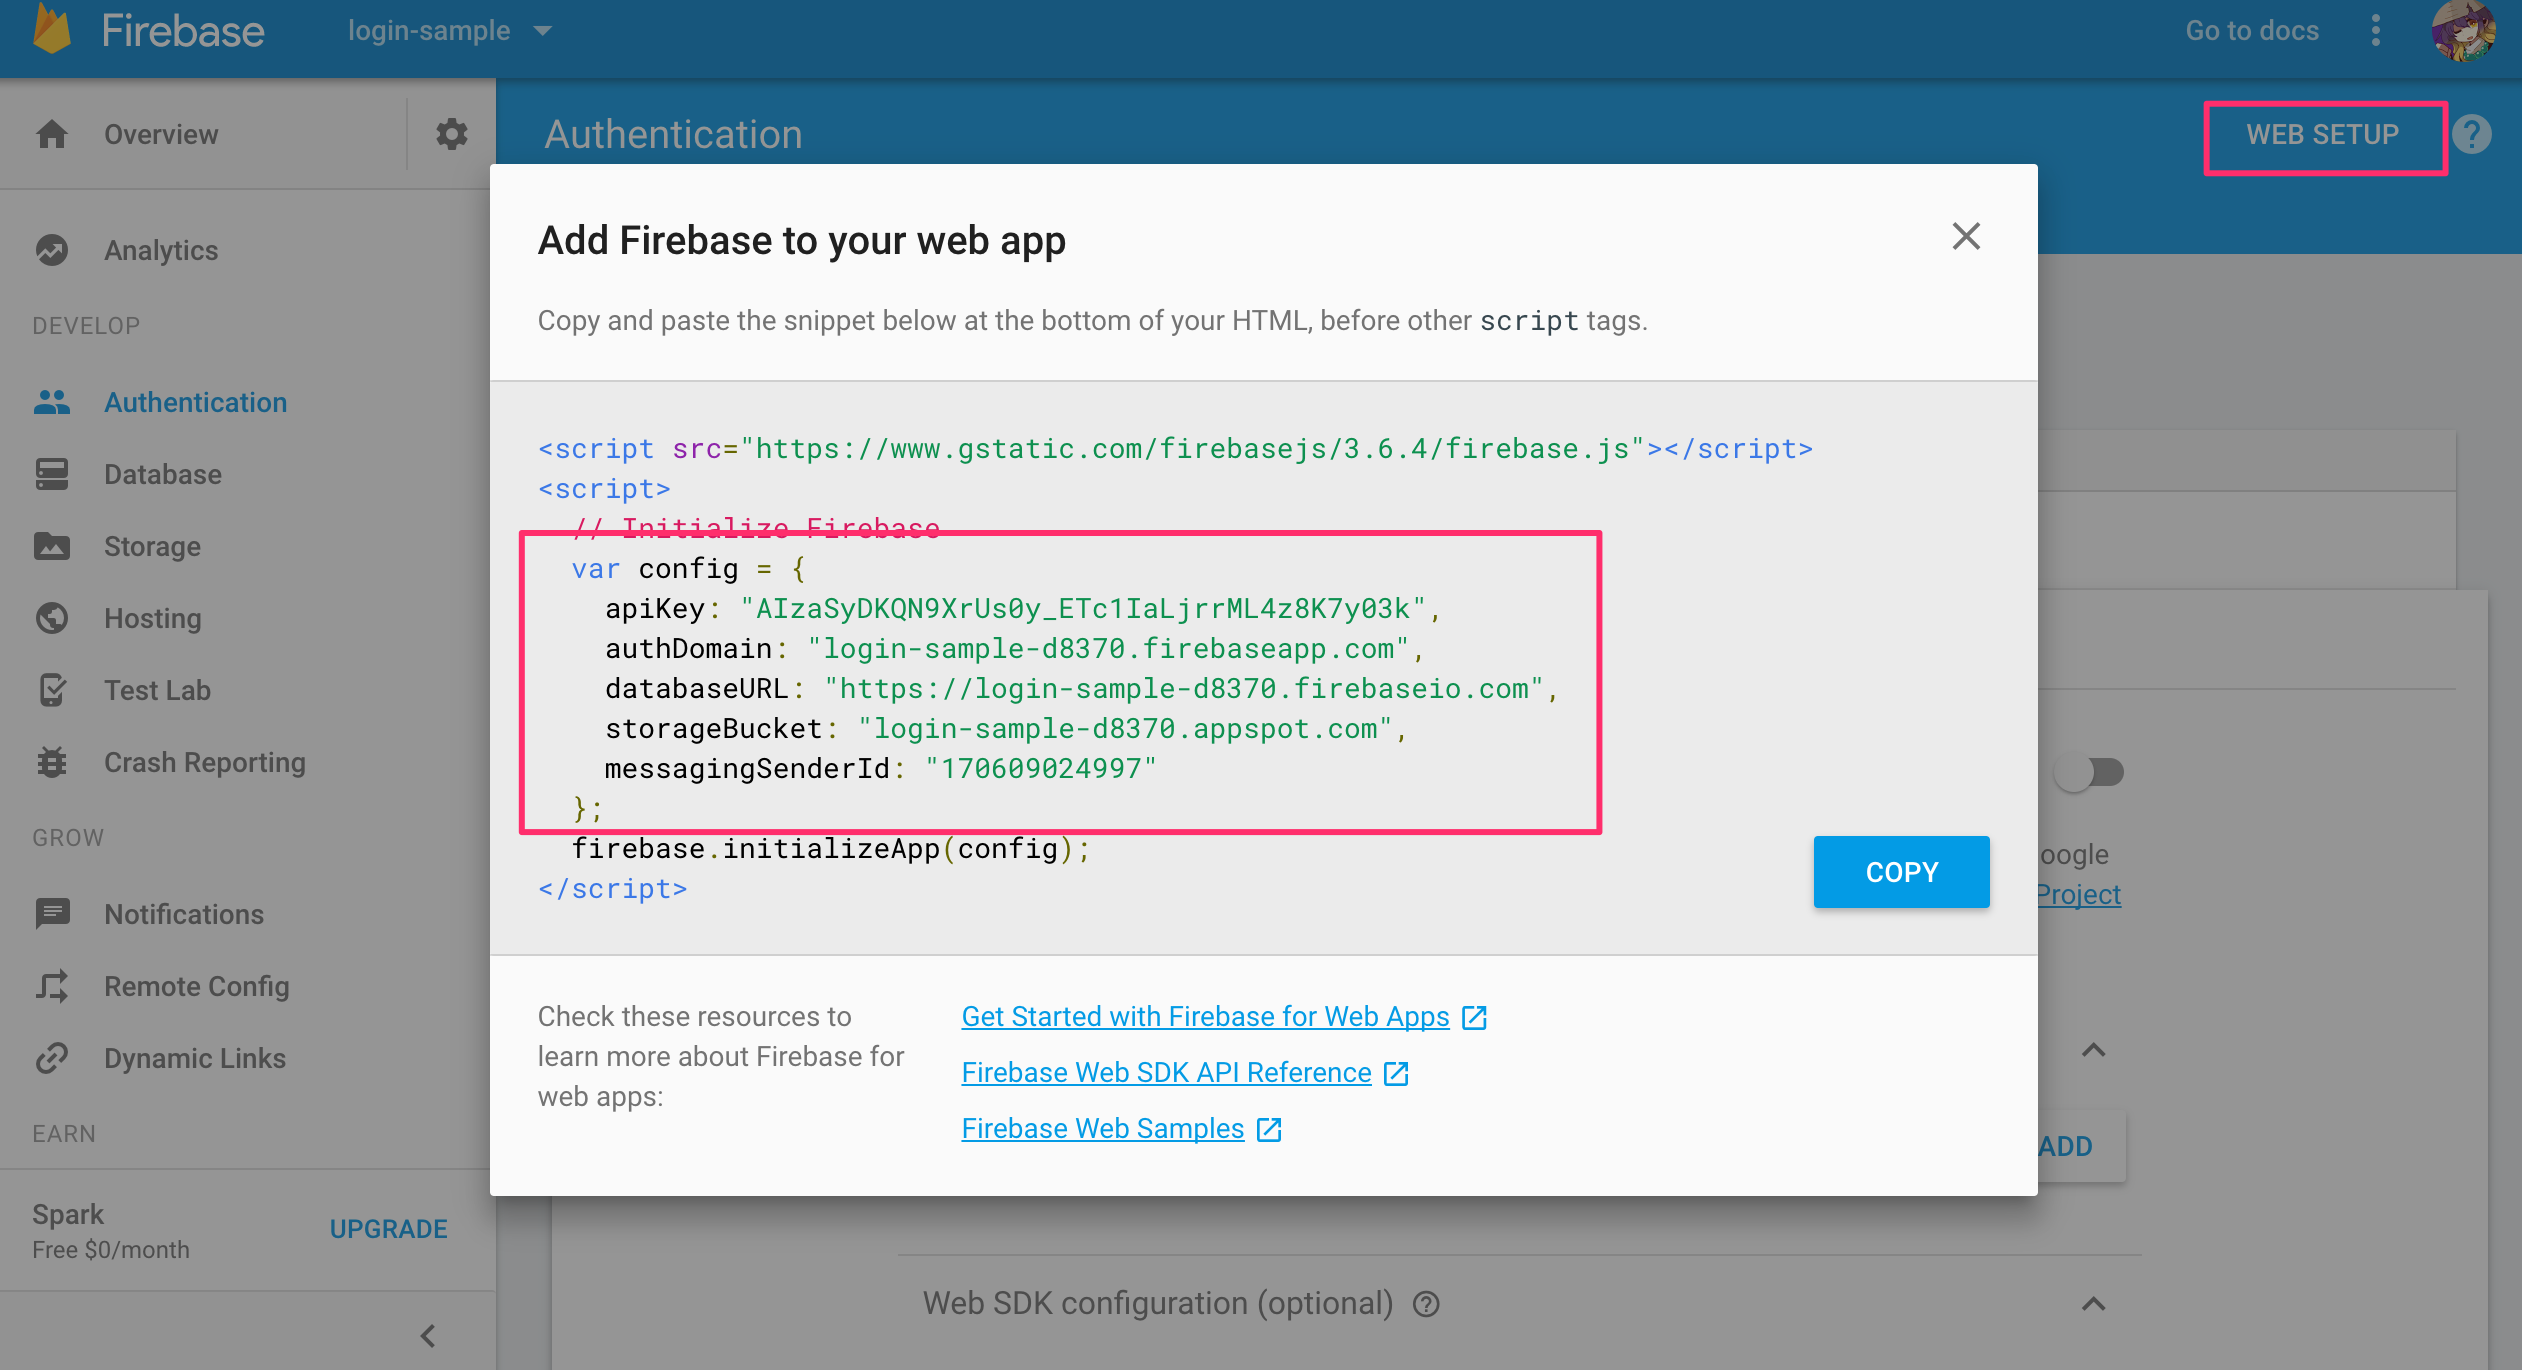
FirebaseのコンソールのWEB SETUPをクリックすると、ポップアップで設定が表示されるので、コピーしてapp.module.tsに貼り付けます。

(※apiKeyが見えていますが、プロジェクトの識別に用いられるだけなので問題ありません)
import { BrowserModule } from '@angular/platform-browser';
import { NgModule } from '@angular/core';
import { FormsModule } from '@angular/forms';
import { HttpModule } from '@angular/http';
import {
  AngularFireModule,
  AuthMethods,
  AuthProviders
} from "angularfire2";

import { AppComponent } from './app.component';

// ポップアップの設定をここに貼り付ける
const firebaseConfig = {
    apiKey: "<your-apiKey>",
    authDomain: "<your-auth-Domain>",
    databaseURL: "<your-database-URL>",
    storageBucket: "<your-storage-Bucket>"
};

@NgModule({
  declarations: [
    AppComponent
  ],
  imports: [
    BrowserModule,
    FormsModule,
    HttpModule,
    AngularFireModule.initializeApp(firebaseConfig,{
      provider: AuthProviders.Twitter,
      method: AuthMethods.Popup
      // method: AuthMethods.Redirect // Redirectが良いならこっち
    })
  ],
  providers: [],
  bootstrap: [AppComponent]
})
export class AppModule { }
AngularFireのauthはobservableなので、subscribeする
import { Component } from '@angular/core';
import { AngularFire, AuthProviders } from 'angularfire2';

@Component({
  selector: 'app-root',
  templateUrl: './app.component.html',
  styleUrls: ['./app.component.css']
})
export class AppComponent {
  user = {};
  constructor(public af: AngularFire) {
    this.af.auth.subscribe(user => {
      if(user) {
        this.user = user;
        console.log(this.user);
      }
      else {
        this.user = {};
      }
    });
  }

  login(from: string) {
    this.af.auth.login({
      provider: this._getProvider(from)
    });
  }

  logout() {
    this.af.auth.logout();
  }

  private _getProvider(from: string) {
    switch(from){
      case 'twitter': return AuthProviders.Twitter;
      case 'google': return AuthProviders.Google;
    }
  }
}
<button (click)="login('google')">
  Google Login
</button>
<button (click)="login('twitter')">
  Twitter Login
</button>
<button (click)="logout()">
  Logout
</button>
ここでログインボタンを押すと、ユーザーオブジェクトが返ってきて中身にいろいろな情報が入っているのが確認できました!(ง ˙ω˙)ว

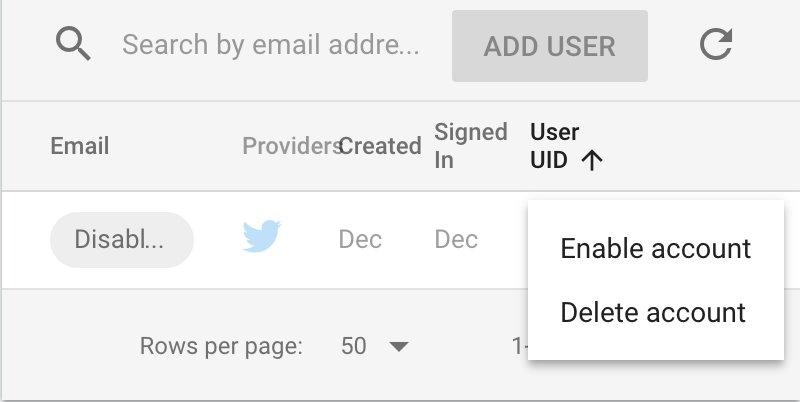
Firebaseのコンソールからはユーザーの情報が確認できます。
ユーザーの有効・無効化、停止もここから簡単にできます。
コードはこちらに置いています。


