この記事は、「オンプレミス、Kubernetesで、マイクロサービスを意識したWebアプリをデプロイするまでの軌跡」の一部です。
はじめに
Kubernetes上に、以下のような構成でWebアプリケーションを構築したいとします。
app   ---- /authentication  :  (1)認証用nodejsアプリ (ポート3000)
       |-- /serviceA
       |     |-- /          :  (2)vuejsで作成したサービスAのフロントエンド (ポート8080)
       |     |-- /api       :  (3)expressで作成したサービスAのバックエンド (ポート3001)
       |
       |-- /serviceB
             |-- /          :  (4)vuejsで作成したサービスBのフロントエンド (ポート8081)
             |-- /api       :  (5)expressで作成したサービスBのバックエンド (ポート3101)
1~5は全て別のサービスで動いていて、それぞれ重複しない個別のポートで待ち受けています。これを何もせずにこのままでデプロイすると、ドメインがwww.services.comだったとして、
www.services.com:8080
www.services.com:8081
のような形でアクセスする事になり、色々な意味でよろしくない事になります。
これを、
www.services.com/serviceA
www.services.com/serviceB
でアクセスできるように設定していきます。
Ingressを使う
例のごとく詳しく理解しているわけではないですが、以下を見る限りこれを実現するのにはIngressという機能を使うと良さそうです。
早速設定してみます。
(service-aと、service-bというサービスは既にデプロイしてあるとします。)
apiVersion: extensions/v1beta1
kind: Ingress
metadata:
  name: test-ingress
  annotations:
    nginx.ingress.kubernetes.io/rewrite-target: /
spec:
  rules:
  - http:
      paths:
      - path: /serviceA
        backend:
          serviceName: service-a
          servicePort: 8080
      - path: /serviceB
        backend:
          serviceName: service-b
          servicePort: 8081
kubectl apply -f ingress-sample.yaml
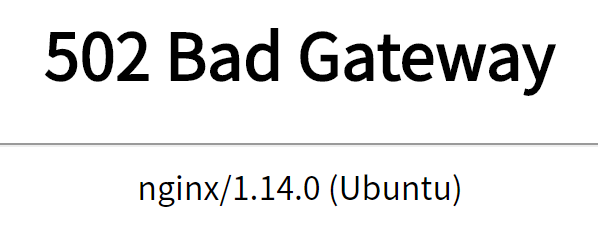
…動かない…
どうやら、このIngressはただの設定で、実際に動かすためには別途実体を用意する必要があるらしいです。
ということで、今回はNginx-Ingress-Controllerを使用する事にします。
Nginx-Ingress-Controllerを使う
調べてみると、公式に手順が書いてありました。その通りにやってみます。
オンプレミス環境での手順は以下の通りで、コマンド2つで済むものになっています。
$ kubectl apply -f https://raw.githubusercontent.com/kubernetes/ingress-nginx/master/deploy/mandatory.yaml
$ kubectl apply -f https://raw.githubusercontent.com/kubernetes/ingress-nginx/master/deploy/provider/baremetal/service-nodeport.yaml
これでどうだ!
まだ何か足らないようです…
調べてみると、こんな記事を発見しました。
kubernetesにNginx Ingress Controllerをセットアップ
この記事によると、
externalIPsにnodeのIPを指定する
とあります。
先程はネット上に公開されているyamlを直接kubectlに食わせましたが、一度ローカルに落としてきて該当箇所を編集する事にします。
$ wget https://raw.githubusercontent.com/kubernetes/ingress-nginx/master/deploy/mandatory.yaml
$ wget https://raw.githubusercontent.com/kubernetes/ingress-nginx/master/deploy/provider/baremetal/service-nodeport.yaml
$ nano service-nodeport.yaml
apiVersion: v1
kind: Service
metadata:
  name: ingress-nginx
  namespace: ingress-nginx
  labels:
    app.kubernetes.io/name: ingress-nginx
    app.kubernetes.io/part-of: ingress-nginx
spec:
  type: NodePort
  ports:
    - name: http
      port: 80
      targetPort: 80
      protocol: TCP
    - name: https
      port: 443
      targetPort: 443
      protocol: TCP
  selector:
    app.kubernetes.io/name: ingress-nginx
    app.kubernetes.io/part-of: ingress-nginx
  externalIPs:      <-- ここを追加
    - 192.168.0.xxx <-- ここを追加
この設定を元に、
$ kubectl apply -f mandatory.yaml
$ kubectl apply -f  service-nodeport.yaml
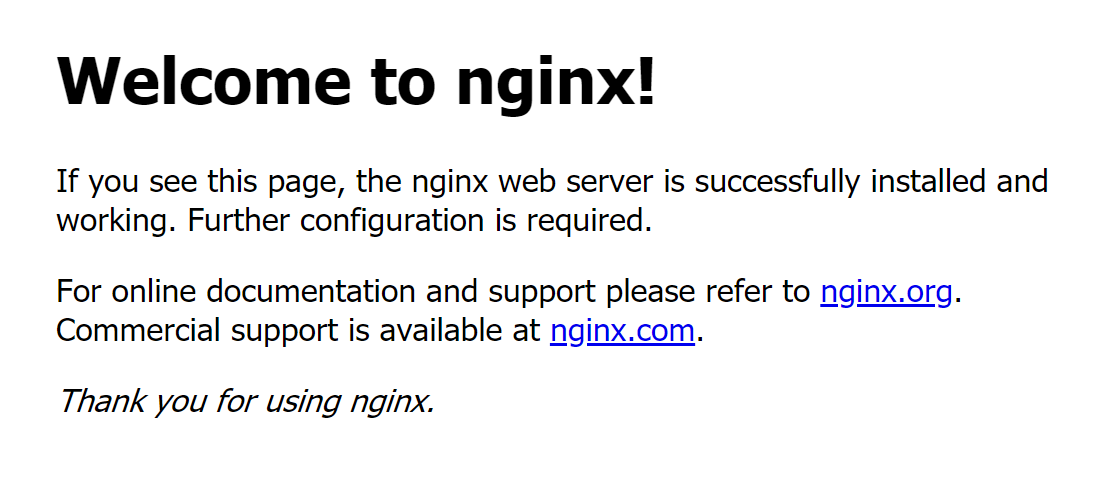
動くようになりました!
完全には理解していないまま進めていたので大分手こずってしまいましたが、一度設定動くようになると、冒頭のingress設定ファイルを変更するだけで特定のパスにサービスを割り当てる事が出来、とても便利です。
以上です。
お疲れさまでした!

