Pythonのお勉強とEC2インスタンス停止忘れ防止のため、起動しているEC2インスタンスをチェックしてSlackに投稿するようにしたメモ。
参考リンク
以下の先人の記事を参考に作成。
動作イメージ

Slackの準備
Webhook URLの取得
以下を参考にWebhook URLを取得する。
AWS CLI
Pythonの前にAWS CLIで起動しているインスタンスを確認してみる。
AWS CLIをセットアップする。
pip3 install awscli
aws configure
インスタンスを確認する。
aws ec2 describe-instances --filters "Name=instance-state-name,Values=running"
Python + AWS Lambda
AWS Lambda上のPythonからSlackに投稿する。
IAM Roleの作成
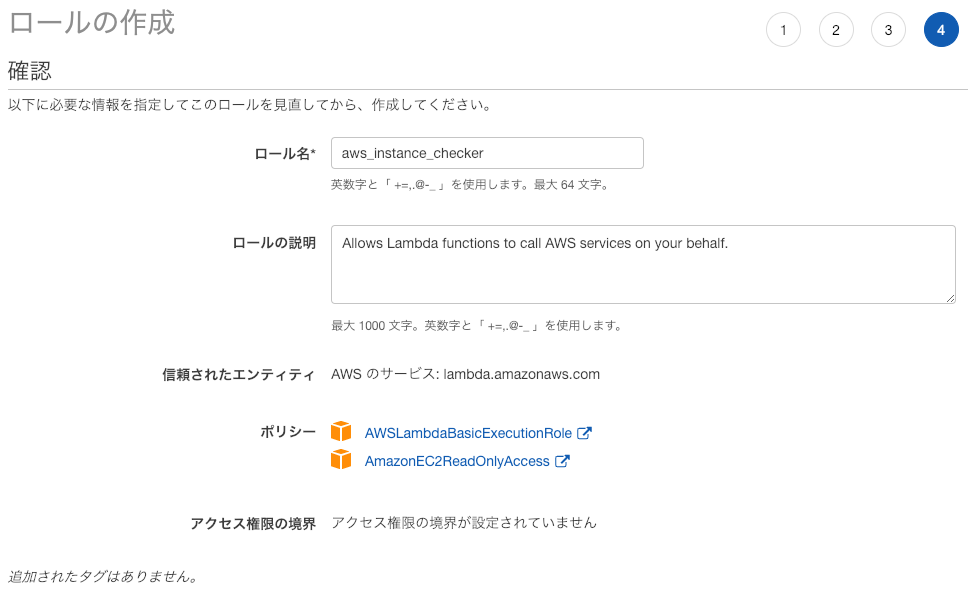
IAMコンソールでRoleを作成し、AWSLambdaBasicExecutionRoleとAmazonEC2ReadOnlyAccessのポリシーをアタッチする。
作成したRoleのARNを確認しておく。
コード作成
作成するファイルは以下の3つ。→GitHub
.
├── lambda.json
├── lambda_function.py
└── requirements.txt
lambda.jsonはlambda-uploderが使用するJSON形式のLambda関数の定義ファイル。先ほど作成したRoleのARN、Slack Webhook URL、Slackチャンネル名を指定する。lambda-uploaderの使い方と、jsonの書き方は以下を参照。
{
  "name": "aws_instance_checker",
  "description": "My AWS instance checker.",
  "region": "ap-northeast-1",
  "runtime": "python3.7",
  "handler": "lambda_function.lambda_handler",
  "role": "arn:aws:iam::hogehoge",
  "timeout": 300,
  "memory": 128,
  "variables":
    {
      "SLACK_WEBHOOK_URL": "https://hooks.slack.com/services/hogehoge",
      "SLACK_CHANNEL": "#hogehoge"
    }
}
lambda_function.pyが関数本体。以下を参考に作成。
import datetime
import os
import json

import boto3
import pytz
import requests

SLACK_WEBHOOK_URL = os.environ['SLACK_WEBHOOK_URL']
SLACK_CHANNEL = os.environ['SLACK_CHANNEL']


def get_instances():
    """boto3を使って全てのリージョンで起動しているEC2インスタンスを取得する

    :return: instances
    """

    # 全リージョンを取得
    client = boto3.client('ec2')
    regions = client.describe_regions()['Regions']

    instances = []

    # 各リージョン毎に繰り返し
    for region in regions:
        client = boto3.client('ec2', region_name=region['RegionName'])

        response = client.describe_instances(
            Filters=[
                {
                    'Name': 'instance-state-name',
                    'Values': [
                        'running',
                    ]
                },
            ]
        )

        reservations = response['Reservations']

        if not reservations:
            continue

        for reservation in reservations:
            instance = dict()
            instance['id'] = reservation['Instances'][0]['InstanceId']
            tags = reservation['Instances'][0]['Tags']
            instance['name'] = 'null'
            for tag in tags:
                if tag['Key'] == 'Name':
                    instance['name'] = tag['Value']
            instance['type'] = reservation['Instances'][0]['InstanceType']
            instance['region'] = region['RegionName']
            instances.append(instance)

    return instances


def build_message(instances):
    """SlackにPOSTするメッセージボディを作成する

    :param instances:
    :return: message
    """

    if not instances:
        return None

    now = datetime.datetime.now(pytz.timezone('Asia/Tokyo'))

    text = '{}現在稼働しているEC2インスタンス一覧'.format(now.strftime('%Y年%m月%d日%H時%M分'))
    atachement_text = ''
    for instance in instances:
        atachement_text += 'name: {}, type: {}, id: {}, region: {}\n'.format(
            instance['name'], instance['type'], instance['id'], instance['region'])

    atachements = {'text': atachement_text, 'color': 'warning'}

    message = {
        'text': text,
        'channel': SLACK_CHANNEL,
        'attachments': [atachements],
    }
    return message


def post_message(message):
    """SlackにPOSTする

    :param message:
    :return:
    """

    response = requests.post(SLACK_WEBHOOK_URL, data=json.dumps(message))
    response.raise_for_status()


def lambda_handler(event, context):

    instances = get_instances()

    message = build_message(instances)

    if message:
        post_message(message)
requirements.txtは使用するモジュールの定義。
boto3
pytz
requests
アップロード
lambda-uploaderをインストールする。
pip3 install lambda-uploader
アップロードする。
$ lambda-uploader
λ Building Package
λ Uploading Package
λ Fin
$
スケジュール実行
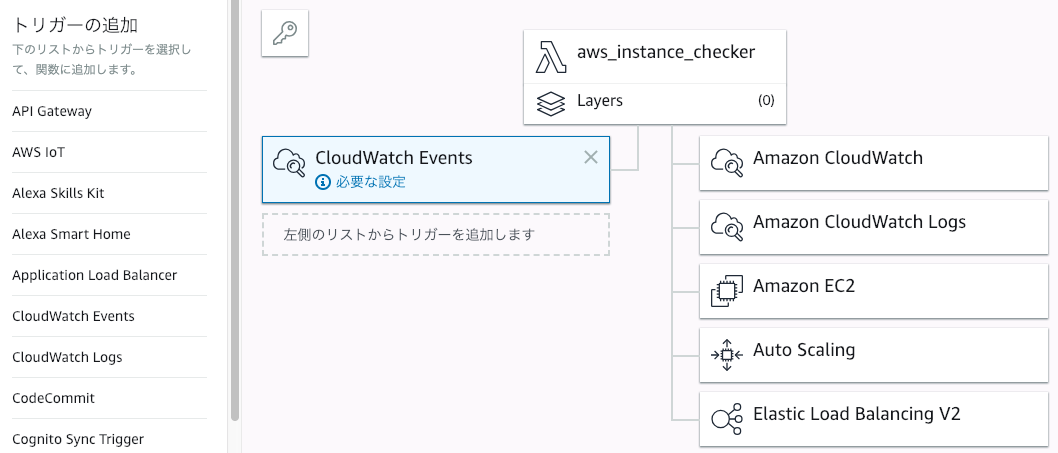
lambda-uploaderによってLambda関数が作成されるので、LambdaコンソールからトリガーとしてCloudWatch Eventsを追加する。
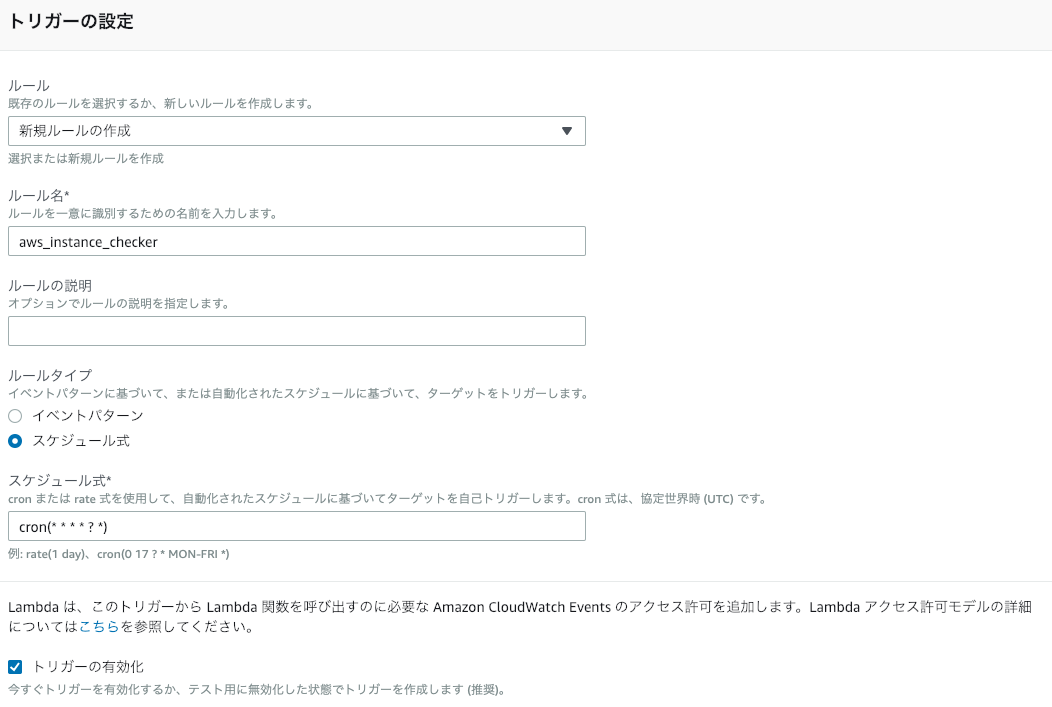
スケジュールを設定する。確認のためとりあえずcron(* * * * ? *)(毎分実行)を設定する。
Slackに投稿されることを確認する。

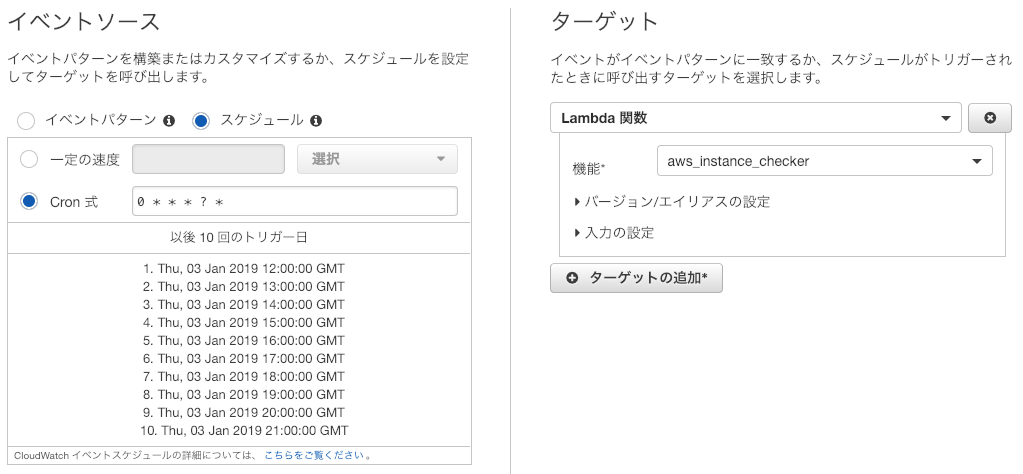
上手く投稿できなかったら、CloudWatch Logsでログを確認する。上手く投稿が確認できたら、CloudWatch Eventsでスケジュールをcron(0 * * * ? *)(毎時)に変更する。


