はじめに
-
Android Studio 3.4 の機能で
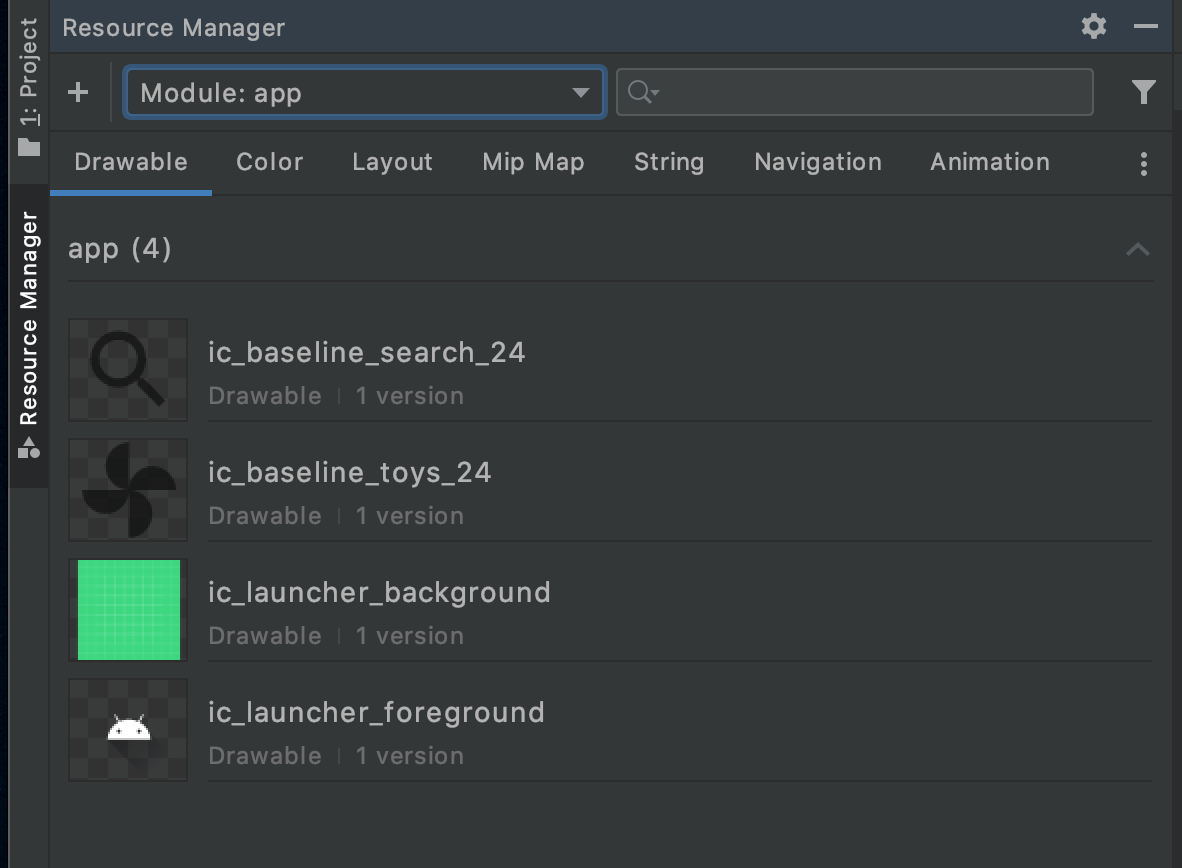
Resource Managerが追加されています。 -
この
Resource Managerを利用する事で、Material Icon をアプリにお手軽に取り込む事ができます。 -
Resource Managerに関する詳しい説明はこちら
順序
Step1:準備
- Android Studio 4.0 を利用してアプリケーションを作成
Step2:Resource Manager を開く
- Android Studio 4.0 であれば、画面左端に縦書きで
Resource Managerという選択エリアがあります。 - 無ければメニュー ->
Tools->Resource Managerを選択 - これで今のアプリ内で利用しているリソース一覧が表示されます。
Step3:+ボタンからリソースを追加
- 左上+ボタンからリソースの追加が行えます。
- 今回は画面解像度を気にしなくていい
Vector Assetsとして取り込む手順にしてみます。 -
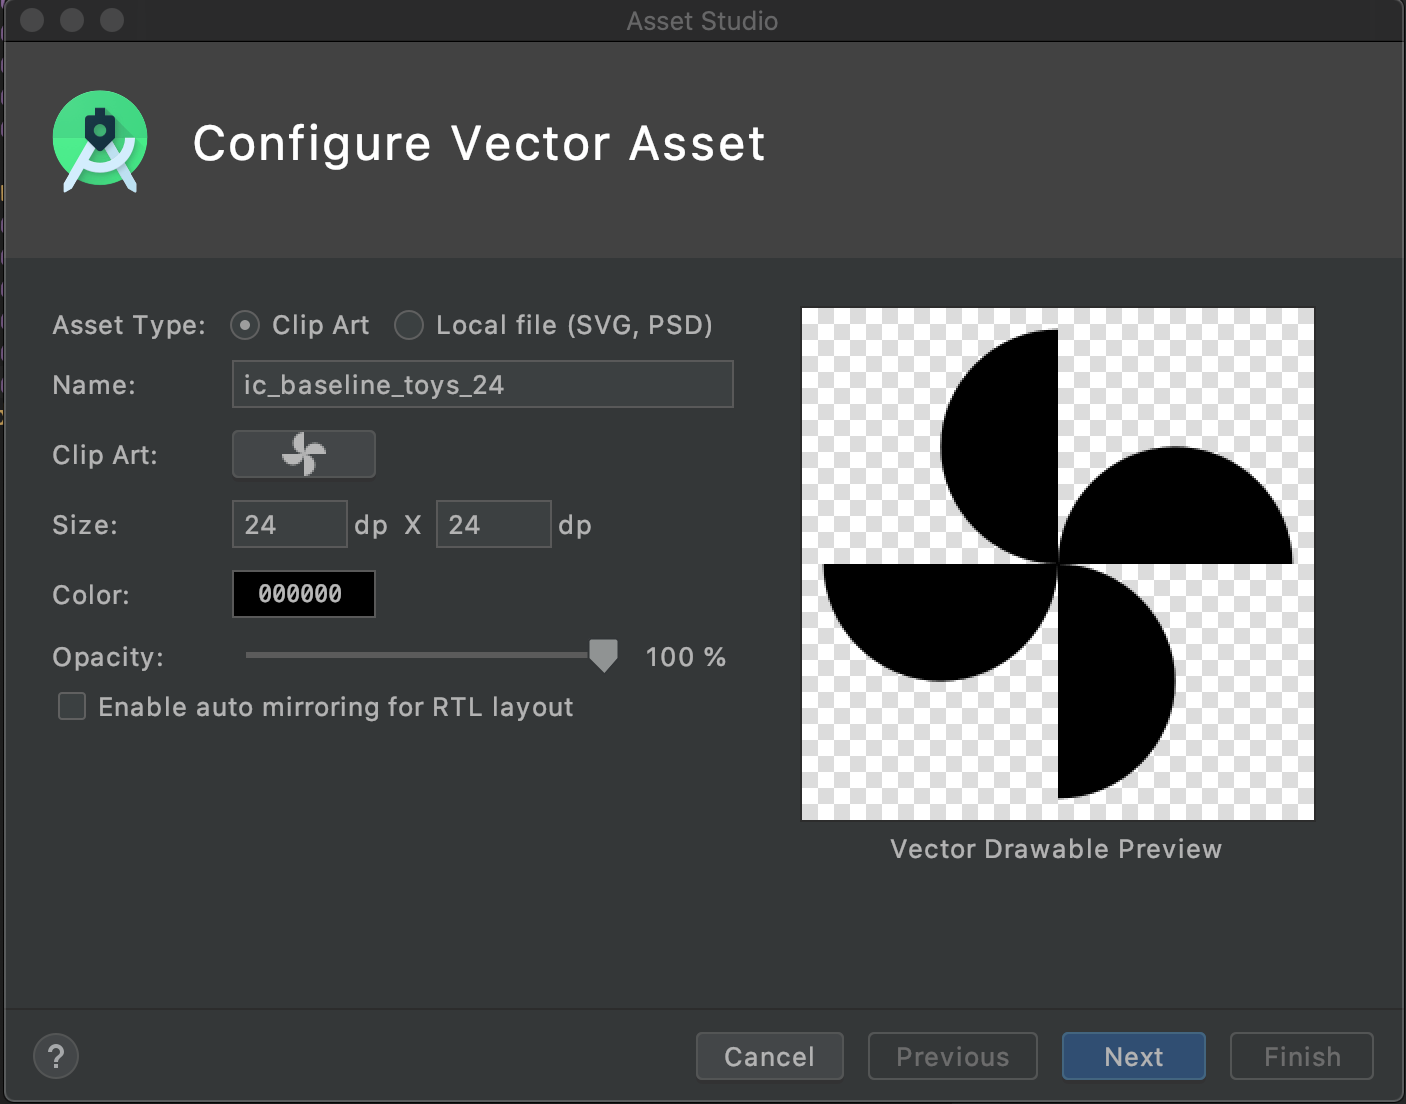
+からVector Assetsを選択するとConfigure Vector Assetが表示されます。
Step4:取り込みたいIconを選択
-
Asset TypeはClip Artを選択 -
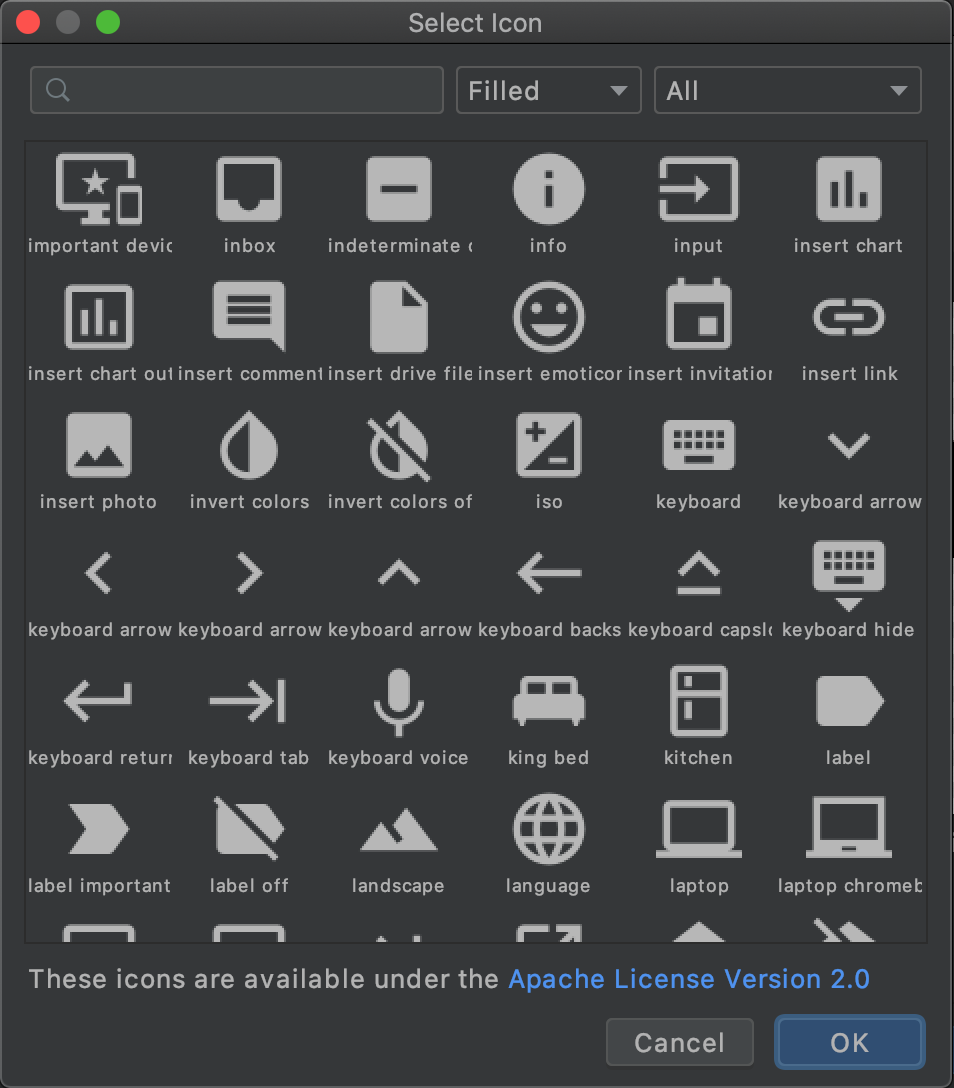
Clip Artボタンを選択する事で、Material Iconの一覧から取り込むことが可能です。 - 使用したいアイコンを選び、サイズを指定することで利用する事ができます。
あとは、利用したい箇所にImageViewに入れるとか、いろいろ利用してください。
Material Icon は Apache License 2.0.のライセンスとなっていますので、リリースの際は決め事にしたがっておきましょう。
まとめ
- 簡単にMaterial Iconを取り込むことが出来ます。
- 個人開発の場合、ちょっと画像を入れたいけど良いサイズがとか・・・、というプログラミング以外のところで悩む事が多かったりします。
- Material Icon の表現をうまくつかって良いアプリを作っていきたいですね。


