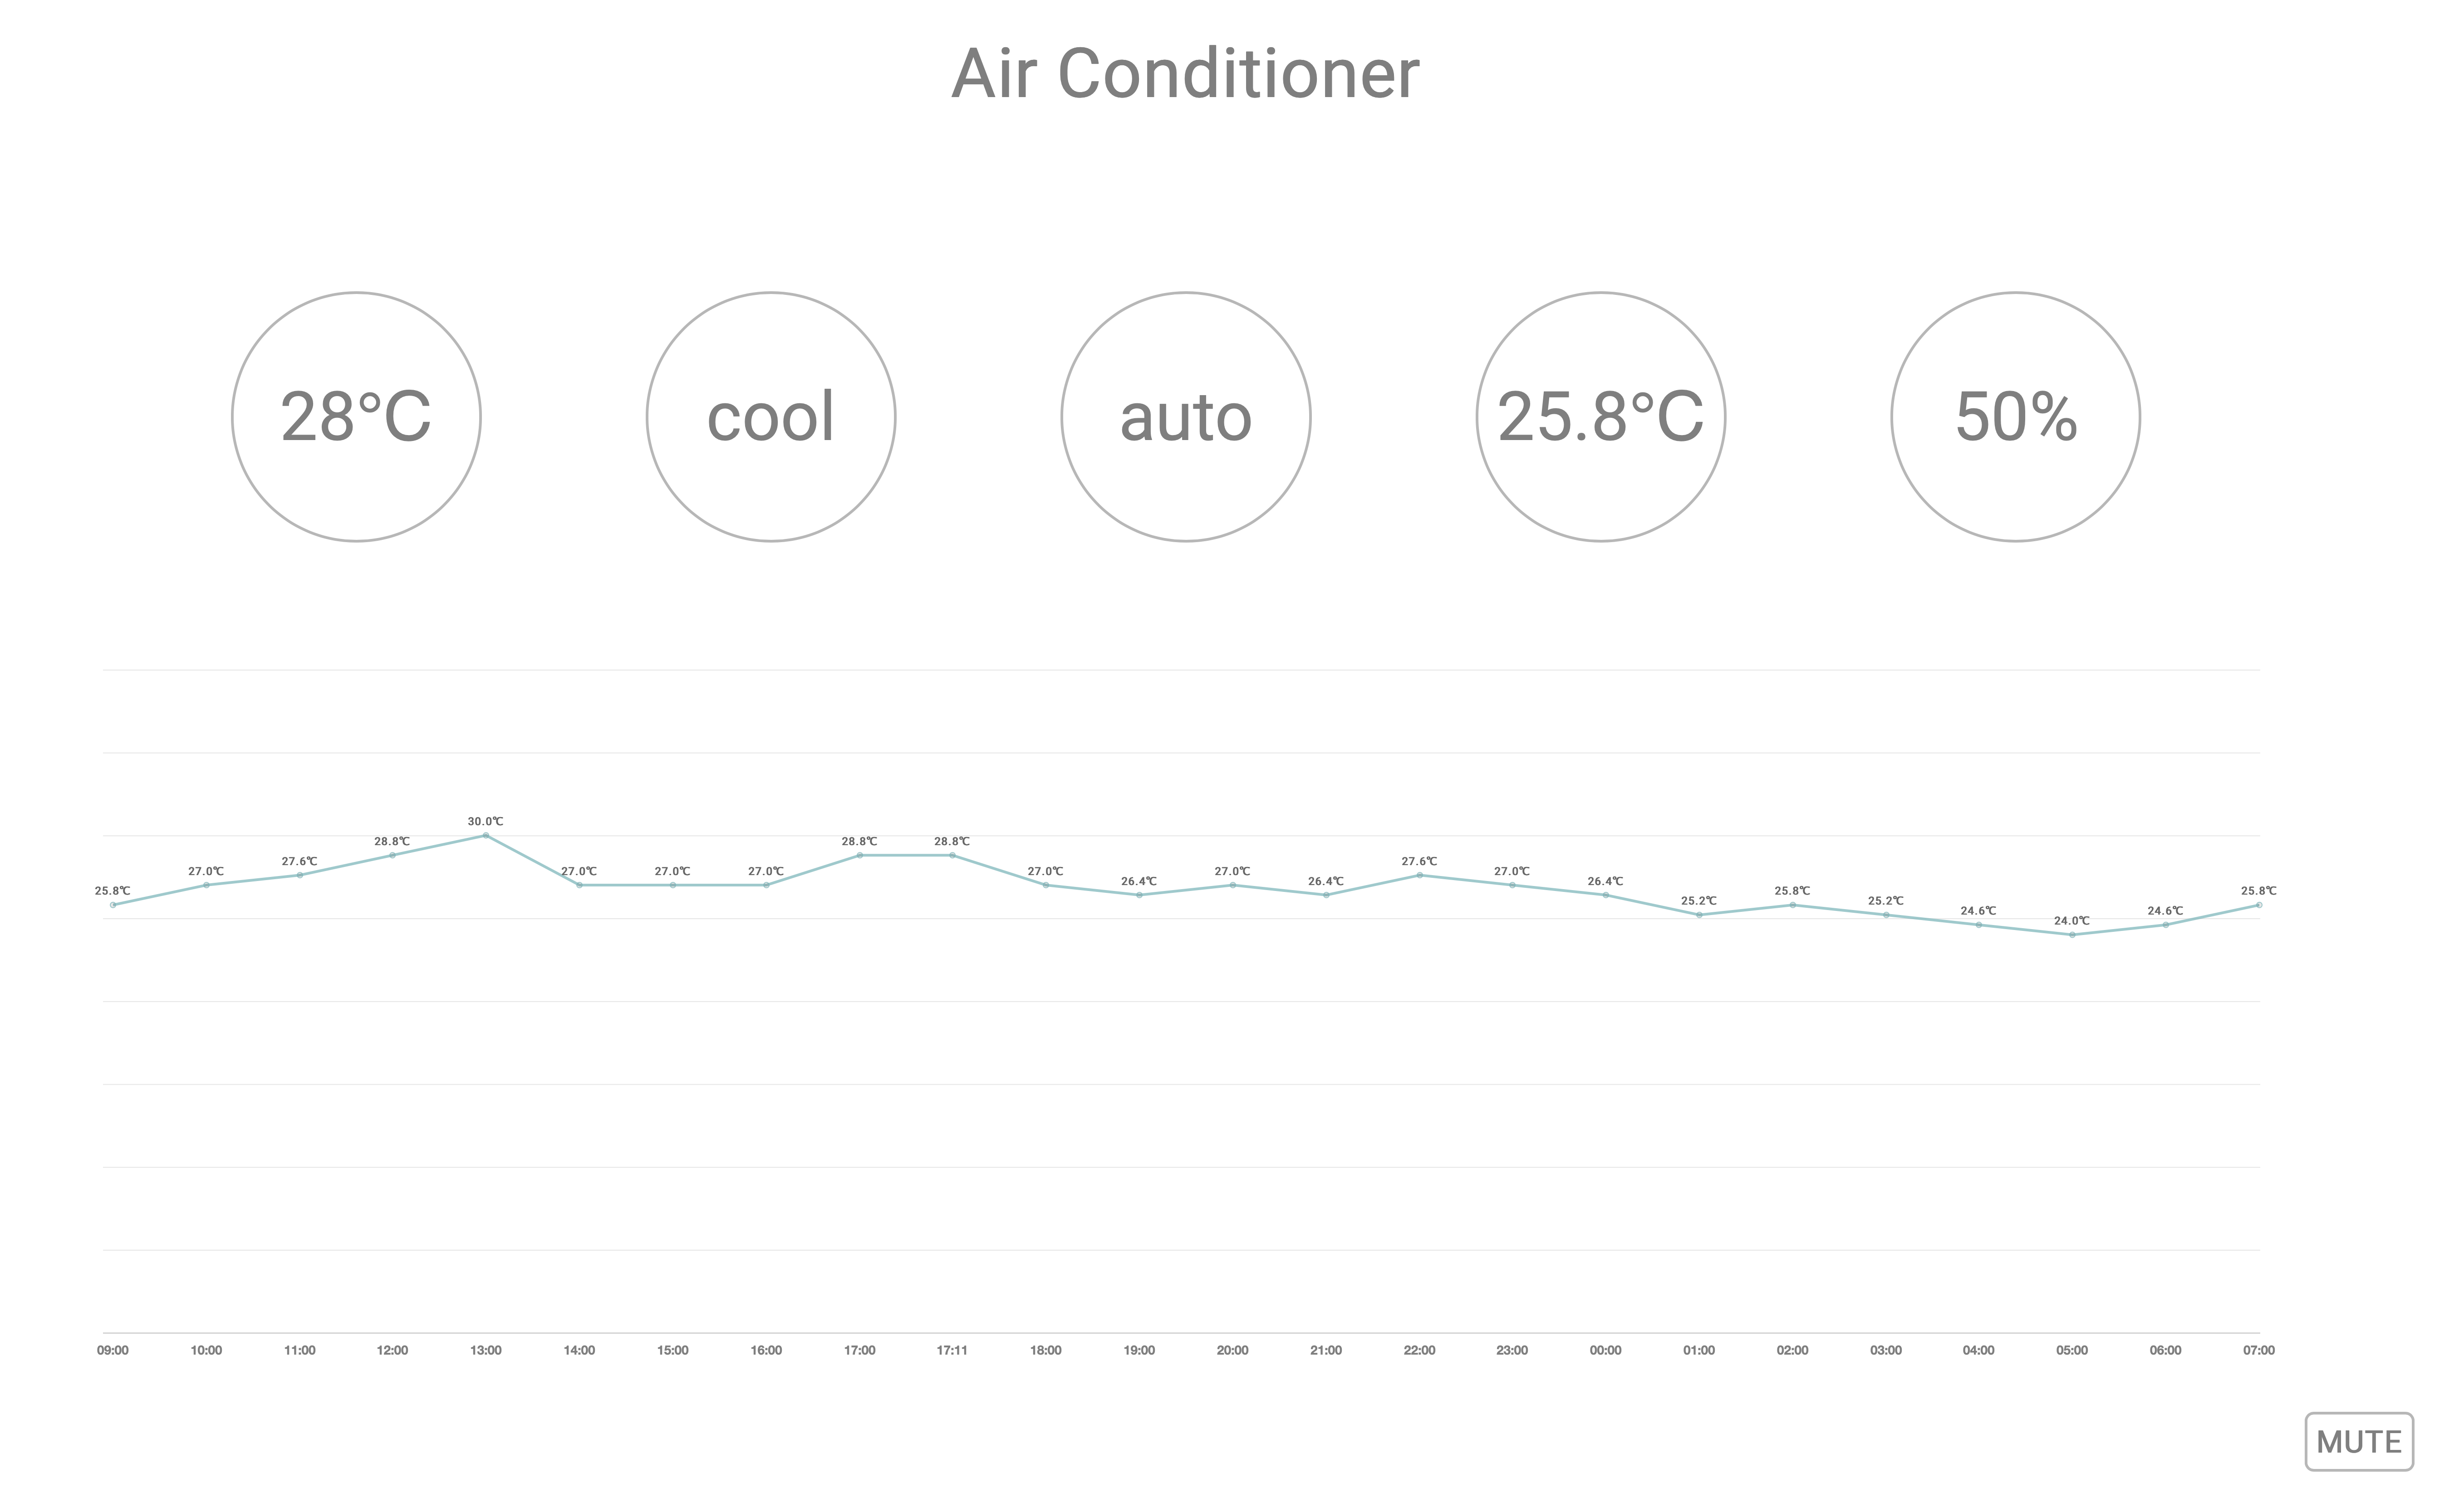
公式APIを発見した
偶然発見したのでメモ程度。一応既知なので公開も問題ないかと思って書きました。
ちなみに公式からのドキュメントはまだ出ていないので参考程度に。
追記(2/12):1/30に公開されました
【注意点】
https://developer.nature.global/ を読んだ上でご利用ください。
また、Tokenやdevice idは絶対に流出させないようにしましょう。特にtokenを流出させてしまうとあなたの家の家電にアクセスされ放題になります。
手順
Windowsの場合、
https://qiita.com/sugasaki/items/ba9737d13db33d2cd71f
で、curlをインストールしてください。
① アクセストークンの発行
https://home.nature.global/
"Generate Access Token"よりトークンを発行します。
こちらは再表示されませんのでどこかにメモしておきます。
② SwaggerのDocumentを参考にAPIを叩く
http://swagger.nature.global/
こちらにアクセスし、curlコマンドを取得してください。
例えば、デバイスの状態をGETしたい場合、
curl -X GET "https://api.nature.global/1/devices" -H "accept: application/json"
というコマンドになります。(結果はUnauthorizedになります)
このままでは認証できないので、Tokenで認証します。
このコマンドに、1で取得したTokenを以下の形で追記します。
-k --header "Authorization: Bearer 取得したToken"
ですので、最終的なコード例は以下の通りです。
curl -X GET "https://api.nature.global/1/devices" -H "accept: application/json" -k --header "Authorization: Bearer 取得したToken"
(1行で入力してください)
このコードではdevice idやtemperature(温度), humidity(湿度)などが取得できます。
device idはAPIの中で使用することがあるので保存しておくことをお勧めいたします。
Tips
Macの場合はbrew、Linuxの場合はapt-getでjqをインストールしておくことをおすすめします。
コマンドの最後に
.... | jq .
と追記してあげると、jsonデータが整形され、GETの結果が見やすくなります。
ちなみにAjaxで使う場合はこんな感じ。
apiKey = "API KEY";

function getData(often) {
    $.ajax({
        type: "GET",
        dataType: "json",
        timeout: 3000,
        headers: {
            Authorization: 'Bearer ' + apiKey
        },
        cache: false,
        url: 'https://api.nature.global/1/devices',
          success: function(data) {
            console.log(data);
            $('.current_temp').empty();
            $(".current_temp").text(data[0].newest_events.te.val.toFixed(1) + "℃");
            $('.humidity').empty();
            $(".humidity").text(data[0].newest_events.hu.val.toFixed() + "%");
        },
        error: function(XMLHttpRequest, textStatus, errorThrown) {
            //エラー対応
        }
    });
}
Pythonはこんな感じ。
import json
import requests

apikey = "API KEY"

# Get JSON
headers = {
  'accept': 'application/json',
  'Authorization': 'Bearer ' + apikey ,
}

response = requests.get('https://api.nature.global/1/devices', headers=headers, verify=False)
rjson = response.json()
print(rjson)
最後に
IFTTTではWebhookにHeaderを設定できないので、Zapierを使用しましょう。
5こ以上は有料ですので、大人しくRaspberry Piなど常時電源が入っている機器を利用した方が便利そうです。
関係ないですが、私の場合、PHP+MySQL+Javascriptでこんな家電コントロールページを作って遊んでいます。

追記:Zapierより、HerokuとIFTTTを連携させたほうが便利かもしれません。あとはGASとか。