はじめに
この記事は2020年のRevCommアドベントカレンダー6日目の記事です。5日目はmojajaさんの「ApolloServerでGraphQLを体験する」でした。
こんにちは。RevCommでスマフォアプリを担当している@sohichiroです。
Twitterを眺めていると、ふと目にしたつぶやきがありました。
R.I.P. UITableView 💀 https://t.co/opDveGsSHO#WWDC #WWDC2020 pic.twitter.com/o3r3zmAgEL
— Antoine v.d. SwiftLee 🚀 (@twannl) June 22, 2020
どういうことか、ずっと気になっていたで今回調べてみました。
どうやら、UICollectionViewで、従来のUITableViewと同等の機能が実装できるようになっている様子(ただしiOS14+)。
利用できるようになるのは先になるかとは思いますが、UITableViewがUICollectionViewに置き換わる時が来る時に備えて、調べてみました。
UITableViewのおさらい
まずUITableViewを使うために、どのような実装が必要であるのか振り返っておきましょう。
UITableViewを使用する際、以下の2つのメソッドを実装する必要があります。
この二つのメソッドは、UITableViewDataSourceプロトコルで定義されているメソッドです。
- tableView(_:numberOfRowsInSection:)
- tableView(_:cellForRowAt:)
それぞれ詳しく見ていきます。
tableView(_:numberOfRowsInSection:)
特定sectionに所属するセルの数を指定します。
セクションというのは、表示するデータをグループ分けするために使用するものです。
セクション数を指定するメソッドであるnumberOfSections(in:_)
を実装しなければ、セクション数は1となり、tableView(_:numberOfRowsInSection:)で指定する数がセルの数になります。
公式ドキュメントはこちら
tableView(_:cellForRowAt:)
表示されるセルは、UITableViewCellオブジェクトとして生成され、セルの表示に利用されます。
このメソッドにおいて、indexPathで指定されたセルにおけるcellインスタンスを生成し、cellインスタンスの設定を行います。
公式ドキュメントはこちら
上記の2つのメソッドを実装したUITableViewDataSourceをUITableViewに設定すれば、TableViewにデータを表示することができます。

例に使ったコードの全体例は以下の通りです。
class LegacyTableViewViewController: UIViewController {

    @IBOutlet weak var tableView: UITableView!

    let data = ["🍇", "🍈", "🍉", "🍊", "🍋"]

    override func viewDidLoad() {
        super.viewDidLoad()

        tableView.dataSource = self
        tableView.register(UITableViewCell.self, forCellReuseIdentifier: "cellIdentifier")
    }

    override func viewWillAppear(_ animated: Bool) {
        super.viewWillAppear(animated)

        tableView.reloadData()
    }
}

extension LegacyTableViewViewController: UITableViewDataSource {
    func tableView(_ tableView: UITableView, numberOfRowsInSection section: Int) -> Int {
        return data.count
    }

    func tableView(_ tableView: UITableView, cellForRowAt indexPath: IndexPath) -> UITableViewCell {
        let cell = tableView.dequeueReusableCell(withIdentifier: "cellIdentifier") ?? UITableViewCell()
        cell.textLabel?.text = data[indexPath.row]
        return cell
    }
}
上記のコードでTableViewを表示させることができます。
またUITableViewコンポーネントを利用する際は、効率的にリソースを利用するために、dequeueReusableCell(withIdentifier:for:)
をtableView(_:cellForRowAt:) 内で利用していたり、dequeueReusableCell(withIdentifier:for:)が実行される前に、register(_:forCellReuseIdentifier:) を実行し、UITableViewにcellを登録しておいたりします。
UICollectionViewでUITableViewを再現する
では同様の機能をUICollectionViewで実現してみましょう。
UICollectionViewで、UITableViewのようなUIにするには、以下のオブジェクトを使用します。
- UICollectionViewCompositionalLayout
- UICollectionView.CellRegistration
- NSDiffableDataSourceSnapshot
順番に見ていきましょう。
UICollectionViewCompositionalLayout
UICollectionViewのレイアウトを司るオブジェクトとして、UICollectionViewLayoutがあります。
これはUITableViewにはなかった概念で、このオブジェクトを設定することで、柔軟なセルのレイアウトが実現できます。
UICollectionViewCompositionalLayoutは、UICollectionViewLayoutのサブクラスとして定義されています。
UICollectionViewをUITableViewのように設定するには、UICollectionViewCompositionalLayoutを以下のように設定します。
let configuration = UICollectionLayoutListConfiguration(appearance: .plain)
let layout = UICollectionViewCompositionalLayout.list(using: configuration)
公式ドキュメントはこちら
UICollectionView.CellRegistration
UICollectionViewにUICollectionViewListCellを登録するオブジェクトです。
UITableViewにおいて、tableView(_:cellForRowAt:)で行っていたcellへのconfigurationを行う動作のみを定義します。
let cellRegistration = UICollectionView.CellRegistration<UICollectionViewListCell, String> { cell, indexPath, item in

    var contentConfiguration = cell.defaultContentConfiguration()
    contentConfiguration.text = item
    cell.contentConfiguration = contentConfiguration
}
CellRegistrationが定義できれば、CellRegistrationを、 dequeueConfiguredReusableCell(using:for:item:)に設定します。
dataSource = UICollectionViewDiffableDataSource<Int, String>(collectionView: collectionView) {
    (collectionView: UICollectionView, indexPath: IndexPath, item: String) -> UICollectionViewCell? in

    return collectionView.dequeueConfiguredReusableCell(using: cellRegistration,
                                                        for: indexPath,
                                                        item: itemIdentifier)
}
これで、再利用されたセルが、定義した通りに装飾されて、表示されるようになります。
公式ドキュメントはこちら
最後に、UICollectionViewに表示されるデータを供給するオブジェクトを設定します。
NSDiffableDataSourceSnapshot
このオブジェクトは、UICollectionViewに表示するデータを提供します。
この構造体の定義は以下のようになっています
struct NSDiffableDataSourceSnapshot<SectionIdentifierType, ItemIdentifierType> where SectionIdentifierType : Hashable, ItemIdentifierType : Hashable
このオブジェクトは、構造体であるため、初期化時は、値型で定義する、すなわち"var"で定義する必要があります。
また、定義にある通り、SectionIdentifierTypeとItemIdentifierTypeは、Hashableである必要があります。
これは、セクションであったり、アイテムであったりを順番に並べるために必要な情報が含まれるようにするためです。
実装例は以下の通りです。
var snapshot = NSDiffableDataSourceSnapshot<Int, String>()
snapshot.appendSections([0])
snapshot.appendItems(["🍇", "🍈", "🍉", "🍊", "🍋"])
dataSource.apply(snapshot, animatingDifferences: true)
NSDiffableDataSourceSnapshotにおいては、全てのデータがいずれかのセクションに含まれていることが前提となっています。
そのため、まずappendSections()で、セクションを作成し、appendItems()で、データを追加しています。
appendItems()においては、セクション指定を行わなければ最後のセクションが指定されます。
今回のケースではセクションが一つのみであるためセクション指定を行っていません。
公式ドキュメントはこちら
これで、UICollectionViewでUITableViewを再現する最低限のパーツは揃ったことになります。
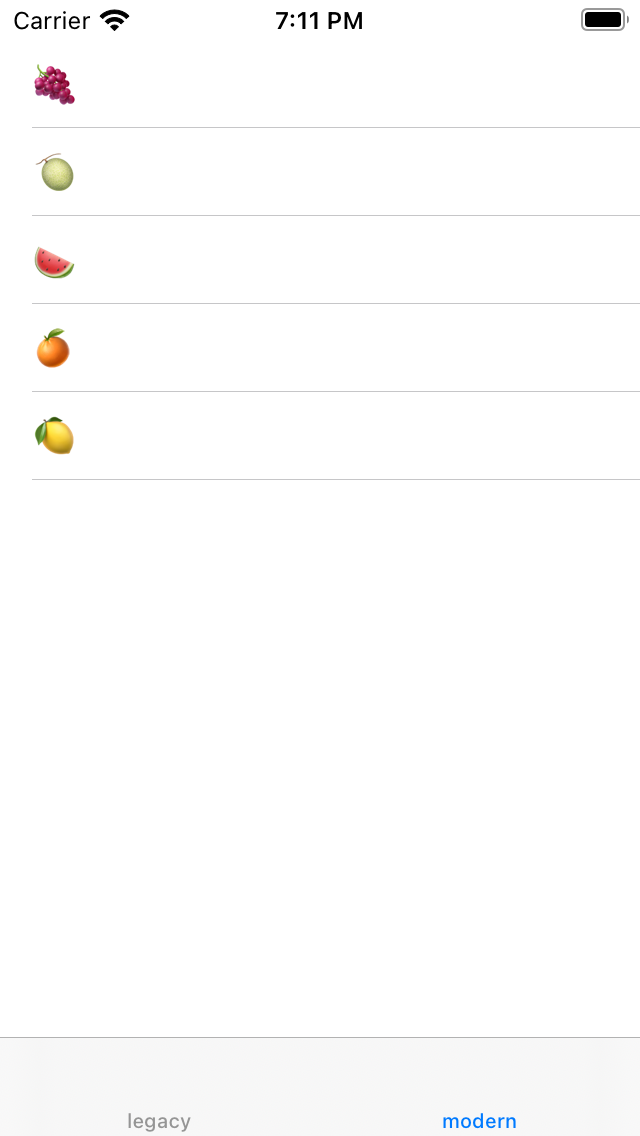
これらを実装していくとUICollectionViewでUITableViewのような画面を表示することができます。

例に使ったコードの全体例は以下の通りです。
class ModernCollectionViewViewController: UIViewController {
    typealias DataSourceType = UICollectionViewDiffableDataSource<Int, String>

    @IBOutlet weak var collectionView: UICollectionView!
    private var dataSource: DataSourceType!

    override func viewDidLoad() {
        super.viewDidLoad()

        configureLayout(to: collectionView)
        dataSource = configureCellRegistration(to: collectionView)
    }

    override func viewDidAppear(_ animated: Bool) {
        super.viewDidAppear(animated)
        initData()
    }

    private func configureLayout(to collectionView: UICollectionView){
        let configuration = UICollectionLayoutListConfiguration(appearance: .plain)
        let layout = UICollectionViewCompositionalLayout.list(using: configuration)
        collectionView.collectionViewLayout = layout
    }

    private func configureCellRegistration(to collectionView: UICollectionView) -> DataSourceType {
        let cellRegistration = UICollectionView.CellRegistration<UICollectionViewListCell, String> { (cell, indexPath, item) in
            var content = cell.defaultContentConfiguration()
            content.text = item
            cell.contentConfiguration = content
        }

        return DataSourceType(collectionView: collectionView) {
            (collectionView: UICollectionView, indexPath: IndexPath, item: String) -> UICollectionViewCell? in
                return collectionView.dequeueConfiguredReusableCell(using: cellRegistration,
                                                                    for: indexPath,
                                                                    item: item)
        }
    }

    func initData() {
        var snapshot = NSDiffableDataSourceSnapshot<Int, String>()
        snapshot.appendSections([0])
        snapshot.appendItems(["🍇", "🍈", "🍉", "🍊", "🍋"])
        dataSource.apply(snapshot, animatingDifferences: true)
    }
}
UICollectionViewで作るUITableViewの違い
UICollectionViewを用いて、UITableViewライクなUIを作ってきました。
従来の実装方法と比較してどのような違いがあるのかを見ていきましょう。
ランタイムエラーが発生しにくくなった
TableViewでは、UITableViewCellのサブクラスを使ったカスタムクラスを利用したりすると、tableView(_:cellForRowAt:)内で、dequeueReusableCell(withIdentifier:for:)をコールする際に、キャストを行う必要があったり、identifierを文字列で指定したりする必要がありましたが、identifierのタイポなどで発生するランタイムエラーを実行前に回避することができませんでした。
CellRegistrationオブジェクトや、UICollectionViewDiffableDataSourceにおいては、使用するカスタムセルのクラス型を定義に利用しているため、コンパイラによる型チェックが行われるため、以前のようなランタイムエラーを実行前に回避することができるようになりました。
セルの生成と、セルの装飾が明確に分離される
UITableViewにおいては、セルの生成とセルの装飾がtableView(_:cellForRowAt:)で行われていました。
またメソッド内において、dequeueReusableCell(withIdentifier:for:)を実行したりするのですが、これは、以前使っていたセルを再利用するためのメソッドのため、初見で、このメソッド内で何が行われているのか?というのはわかりにくかったと思います。
ですが、UICollectionViewにおいては、UICollectionViewDiffableDataSource.CellProviderにおいて、セルの生成が行われ、UICollectionView.CellRegistrationにおいて、セルの装飾が実行されるようになり、役割が明確に分離されるようになりました。
TableViewにおいては、tableView(:cellForRowAt:)が肥大しがちで、コードの見通しがすぐに悪くなってしまうので注意が必要でしたが、これはtableView(:cellForRowAt:)が多くの責務を持っていたため、構造的に肥大しがちなメソッドであったことが原因です。
UICollectionViewにおいては、責務を分割して実装することを要求されるようになるため、今までよりかはコードの見通しが悪くなってしまうケースが減るのではないかと思います。
表示されるデータの数を気にしなくても良くなった
UITableViewにおいては、tableView(_:numberOfRowsInSection:)において表示するデータ数を指定する必要がありました。
表示するデータ数は、変動するため、このメソッドに渡すデータ数もデータに基づいて変更していかなければならないのですが、これが大変になることがしばしばあります(例えば複数要素からデータを作成している場合など)。
ですが、UICollectionViewにおいては、データ数を指定する必要はなく、表示するデータをNSDiffableDataSourceSnapshotに加え(あるいは減らして)、applyをして完了、となります。
データのみが真で、データを指定すれば、それが表示される、という単純な構造になっています。
最後に
いかがだったでしょうか。
これだけUICollectionViewでTableViewライクなUIが作成できるようになるのであれば、将来的にUITableViewは、depricatedになっていく運命なのかな、、と一抹の寂しさを感じつつ、この記事をまとめました。
将来的にはswiftUIが普及し、UIKitで実装することはないのかもしれませんが、今しばらくUIKitで実装していくプロジェクトの参考になれば幸いです。
明日は、@seckieさんの「Adobe XDを用いたワークフローについて」の記事になります。