はじめに:🔰 非エンジニアでも大丈夫!AI専用の「合鍵」を作ろう
「API」や「トークン」と聞くと難しそうに感じるかもしれませんが、心配はいりません。
これは、あなたのAIエージェントがXのドアを開けるための「合鍵」を作る作業です。
XのAPIを利用して自動投稿(bot)やデータ分析を行うために必須となるので、発行フローを丁寧に解説します。
⚠️ 事前準備
APIを取得したいXアカウントにログインした状態で作業を開始してください。
ステップ1:Developer Portalへのアクセスと登録
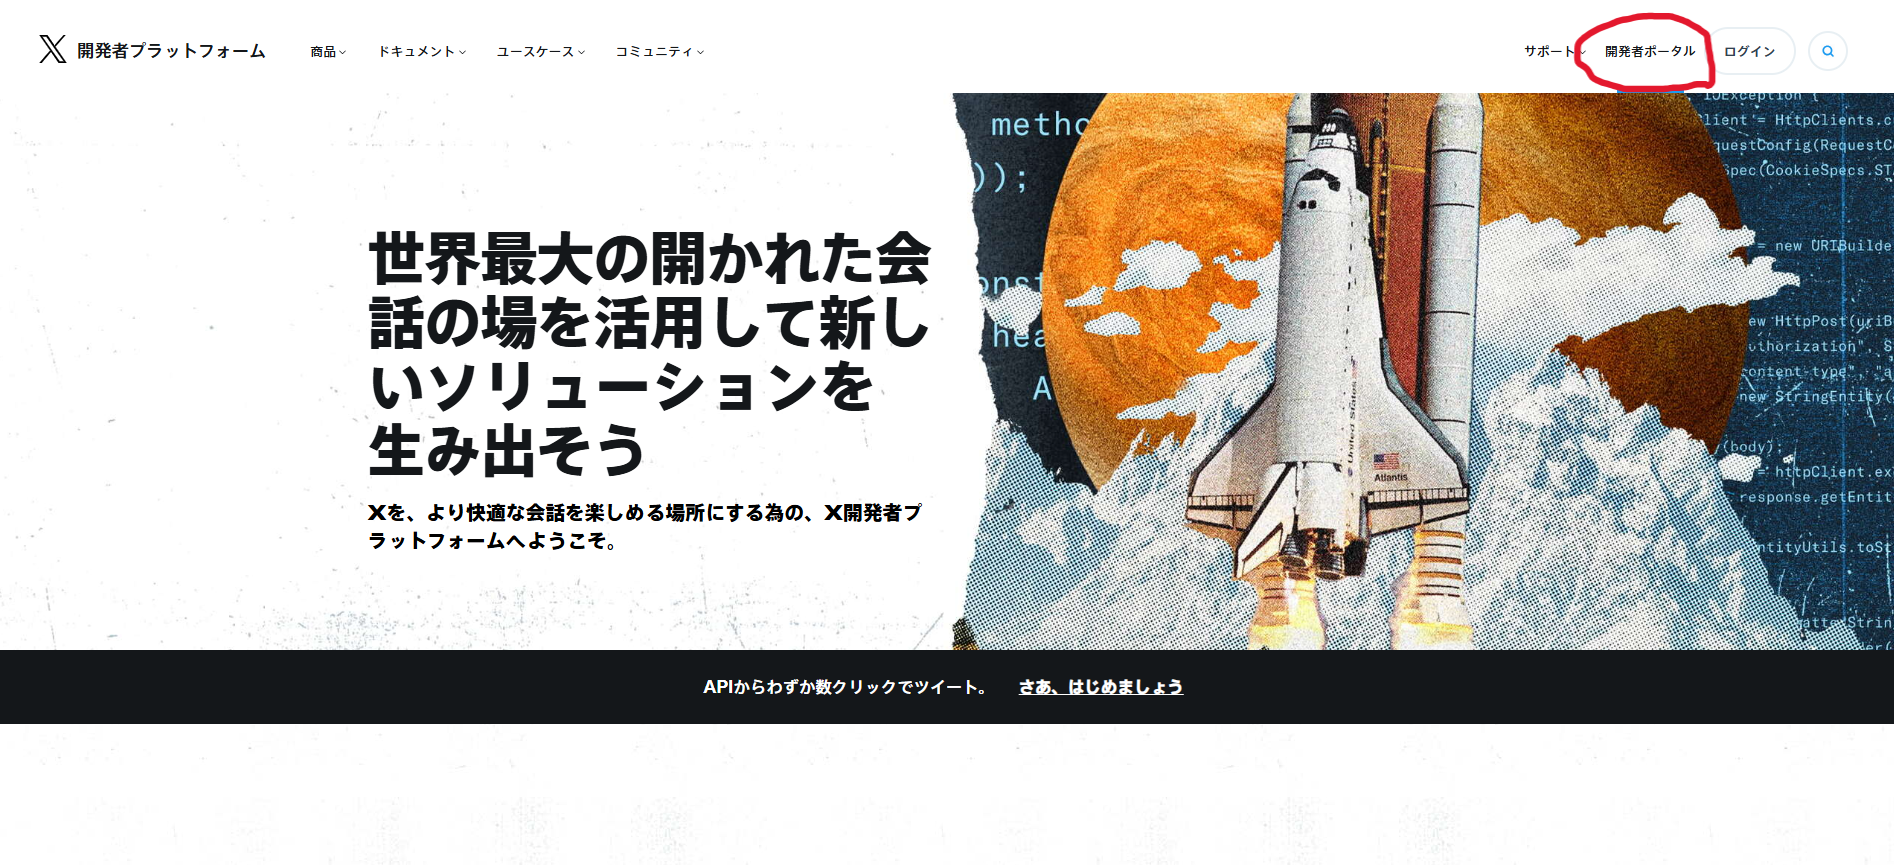
開発者向けポータルサイトへアクセスし、API利用の申請を行います。
-
X Developer Portal にアクセスし開発者向けポータルサイトをクリックします。
-
利用したいAPIサービスレベルに応じたプランを選択しましょう。
無料お試しで活用したい場合は、画面下段にあるSign up for Free Accountを選択します。

-
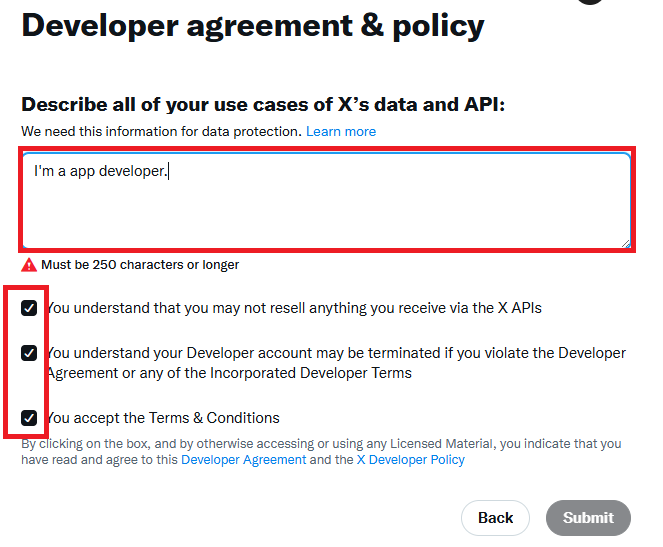
Developer Agreement & Policy(利用規約)が表示されます。内容を確認の上、同意のチェックボックスを入れ、[Submit] ボタンを押して次へ進みます。
💡 申請理由の書き方アドバイス
申請理由は英語で記述する必要があります(250文字以上)。
以下の4点を明確に伝えるとスムーズに承認されやすいです。
- 何を作るのか(記事の自動投稿Botなど)
- なぜXのデータが必要か(自分の記事をフォロワーに共有するため)
- コンテンツを分析・販売しないことの明記
- ツイート、リツイート、いいね等の具体的な使用機能
私の場合はGoogleantigravityに相談しながら作成しました。
作成過程は動画で見れます
▼ 記述例
※以下の英文は「技術記事を投稿した際に、その要約とリンクを自動投稿するBot」を作成する場合の例です。I am developing a personal automation tool to share my technical articles and insights about AI agents and software development with the developer community. The primary use case for the X API is to automatically post tweets that summarize my latest blog posts and technical findings. The application will function as a bot that I personally control. It will use the 'Post Tweet' endpoint to publish content that I have authored. Specifically, when I publish a new article on platforms like Note or Qiita, this application will generate a short summary and a link, then post it to my X timeline to notify my followers. I will also use the API to read my own timeline to verify that posts have been successfully published. I do not intend to analyze, aggregate, or resell any user data. The usage is strictly for personal content distribution and engaging with the tech community by sharing educational resources. This automation streamlines my workflow, allowing me to focus more on writing quality content.
ダッシュボード画面が表示されれば開発者アカウントの作成は完了です。

ステップ2:ユーザー認証設定
XのAPIを使った投稿するためにはユーザー認証設定が必要になります。
-
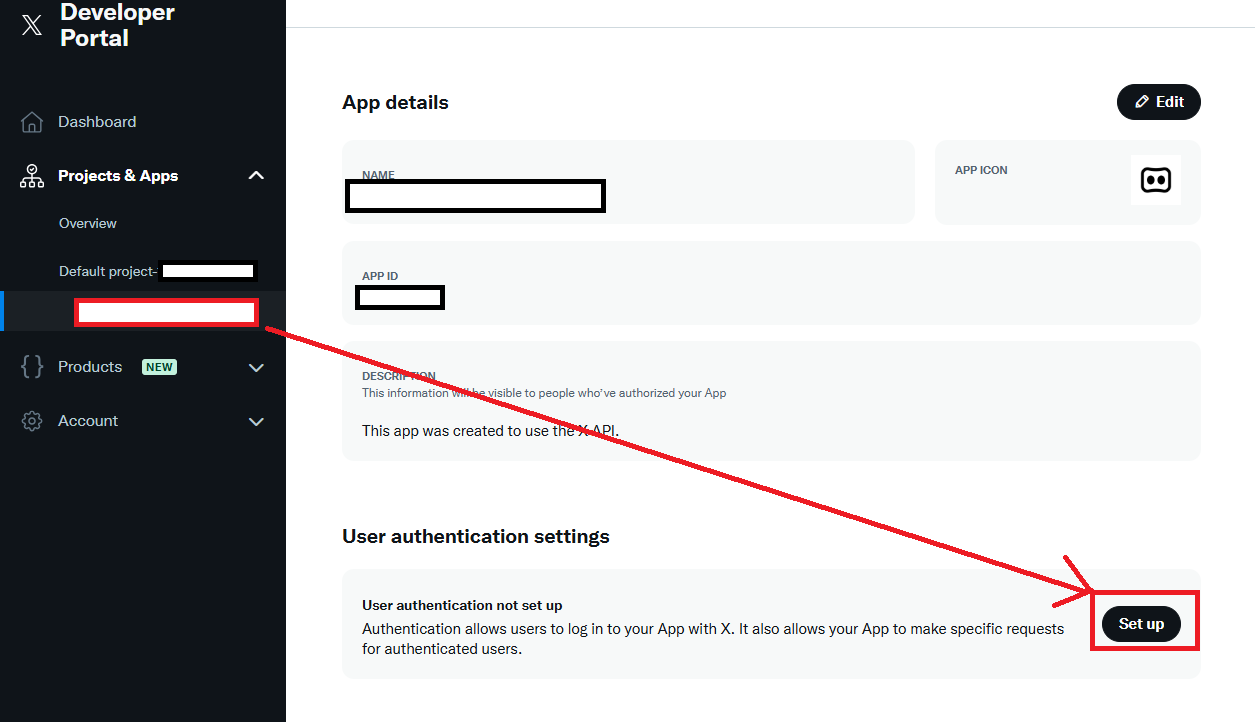
左メニューの「Projects & Apps」のタブの
下に出てくる数字(デフォルトで作成されるアプリ名)をクリック -
画面を下にスクロールし、「User authentication settings」 という項目の [Set up](既に設定済みの場合は [Edit])ボタンをクリック。
-
App permissions の選択肢で、[Read and write] or [Read and write and Direct message] を選択します。これを選ばないと、プログラムからツイートを投稿できません。
-
Type of App は [Web App, Automated App or Bot] を選択します。

-
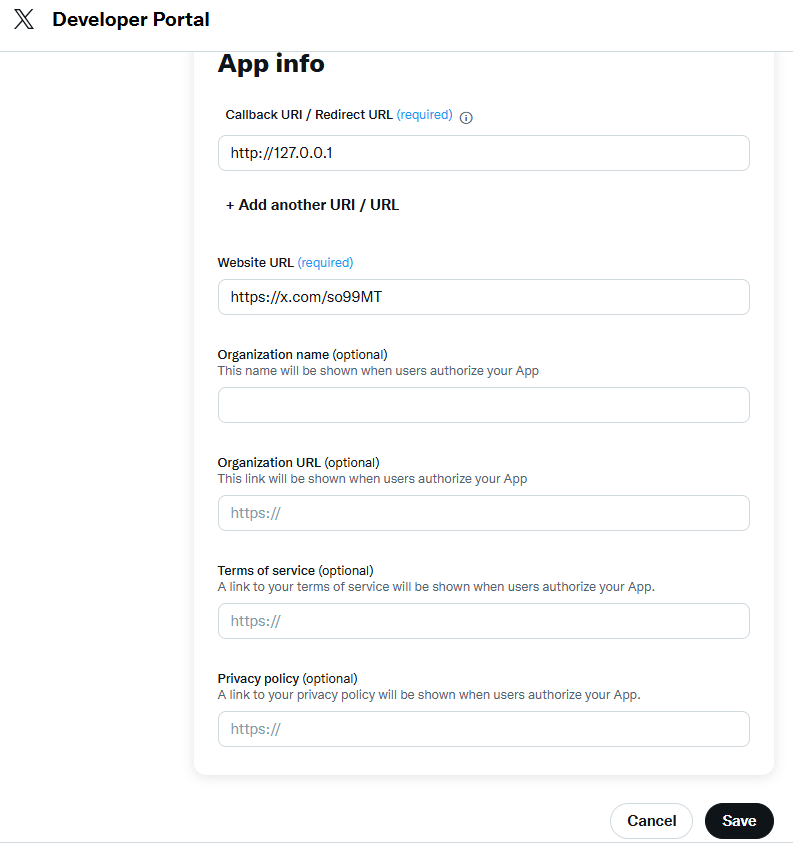
App info のURL設定欄には、Bot利用であれば以下のような値を入力すればOKです。
-
Callback URI / Redirect URL:
http://127.0.0.1
ユーザー認証が許可された時にリダイレクトするURLを指定します。ローカル環境(127.0.0.1)やホスティングサービスのアドレスを記入します -
Website URL:
https://x.com/
アプリケーションの詳細を表示するページ。外部からアクセス可能なURLである必要があるため、ご自身のXアカウントURLなどを設定します
-
Callback URI / Redirect URL:
-
画面最下部の [Save] を押し、確認ポップアップで [Yes] を選択して設定を保存します。

-
Client IDとClient Secretが表示されます。これらをメモしてください。※この画面は再表示できないので、必ずこの画面が出ているときに確実に控え、他の人に見られないように厳重に保管してください!

ステップ3:API keyとAccess Tokenの発行
-
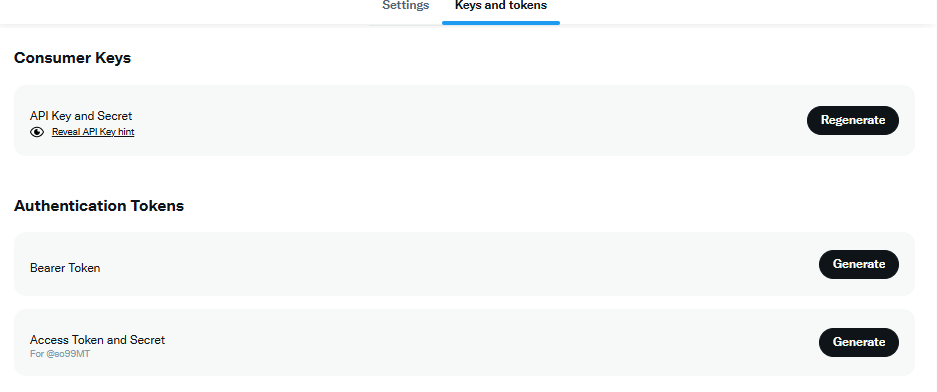
画面上部のタブメニューから [Keys and Tokens] をクリックします。
-
Consumer Keys エリアにある API Key and Secret の [Regenerate] ボタンをクリックします。
ポップアップ画面に以下の2つが表示されるのでコピーします。- API Key
- API Key Secret
-
Authentication Tokens エリアにある Bearer Token の [Generate] ボタンをクリックします。ポップアップ画面に Bearer Tokenが表示されるのでコピーします。
-
Authentication Tokens エリアにある Access Token and Secret の [Generate] ボタンをクリックします。
ポップアップ画面に以下の2つが表示されるのでコピーします。- Access Token
- Access Token Secret
-
これらを厳重に保管してください。これらをプログラム(PythonやGoogle Apps Scriptなど)に設定することで、APIが利用可能になります。
- API Key and Secret:アプリケーションからAPIを実行するために必要
- Bearer Token:アプリケーション用の認証に必要
- Access Token and Secret:認証済みのユーザーとしてAPIにアクセスするために必要