S3のバケット作成
1. サービス画面からS3をクリックする。
2. バケット作成をクリックし、以下のように情報を入れ、作成をクリックする。
※ほかの情報はディフォルトのまま
バケット名:自分の名前-serverlesswebsite
リージョン:アジアパシフィック(東京)
3. index.htmlの中身の"YOUR-API-GATEWAY-LINK-HERE"を先ほど作成したAPIGatewayのURLに変更する。
index.html
<html>
<script>
function myFunction() {
var xhttp = new XMLHttpRequest();
xhttp.onreadystatechange = function() {
if (this.readyState == 4 && this.status == 200) {
document.getElementById("my-demo").innerHTML = this.responseText;
}
};
xhttp.open("GET", "APIGateway URL ", true);
xhttp.send();
}
</script>
<body><div align="center"><br><br><br><br>
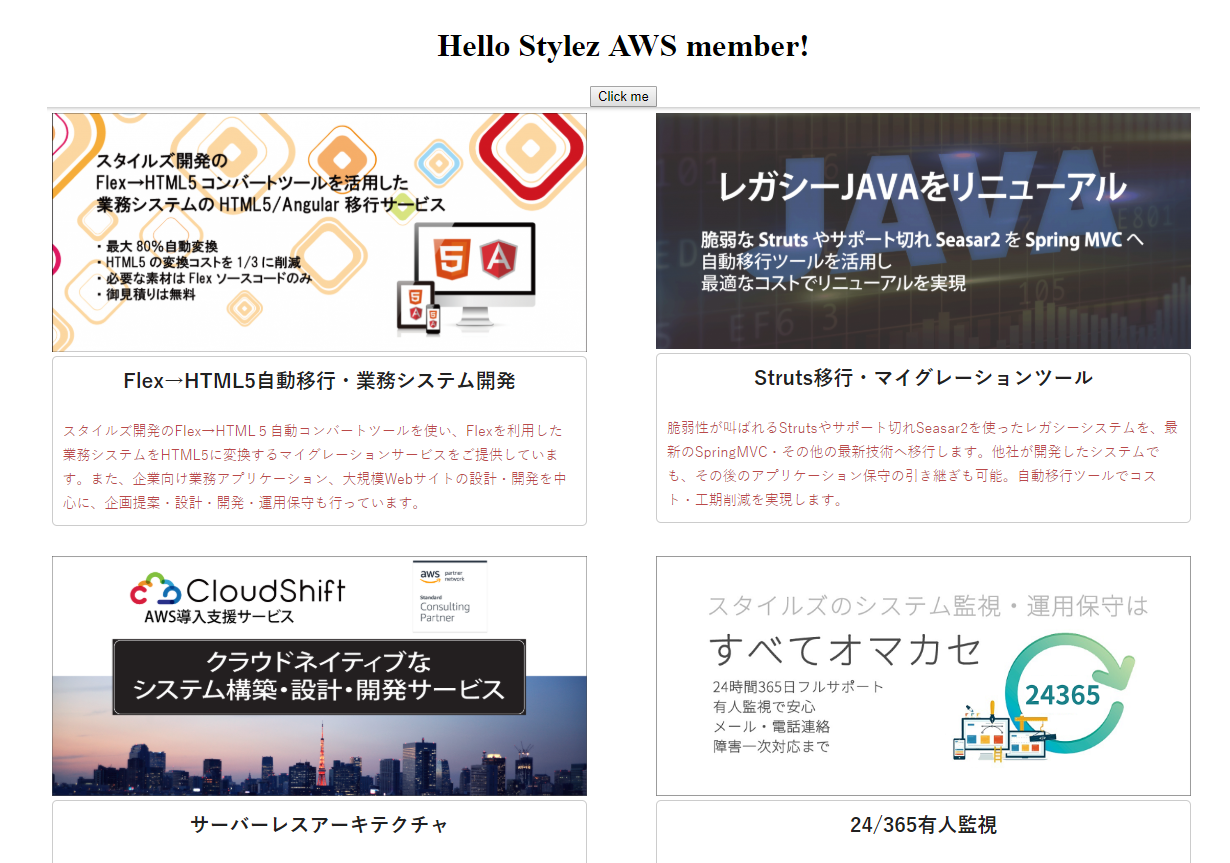
<h1>Hello <span id="my-demo">Stylez AWS member!</span></h1>
<button onclick="myFunction()">Click me</button><br>
<img src="S3バケットURL"></div>
</body>
</html>
4. S3バケット画面から自分が作成したS3バケットにチェックを入れ、「パブリックアクセス設定を編集する」をクリックし、以下のように進める。
①「選択されたバケットのパブリックアクセス設定」は何も選択せずに保存をクリックする。
②「確認」と入力する。
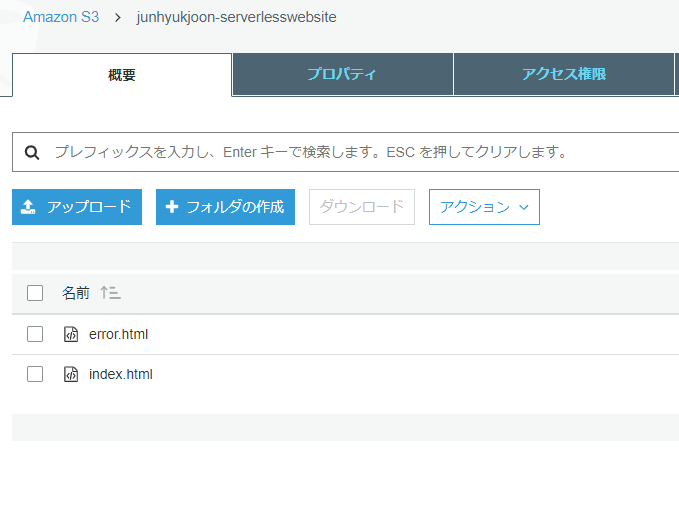
5. 作成したバケットをクリックし、「アップロード」→「index.html、error.html」のファイルを追加する。
error.html
<html><body><h1>There has been an error!</h1></body></html>
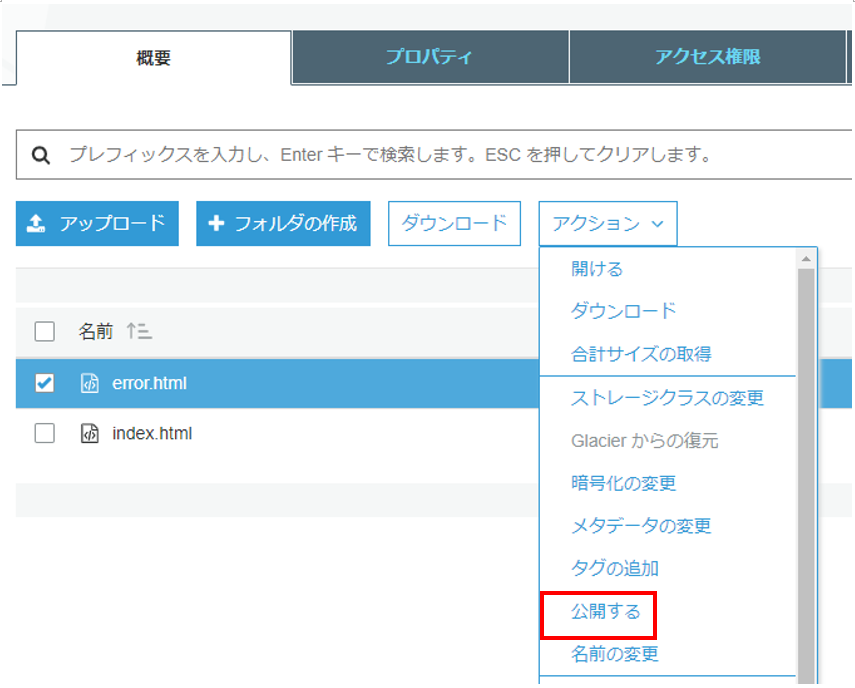
6.「index.html、error.html」をそれぞれクリックし、「アクション」→「公開する」を選択する。
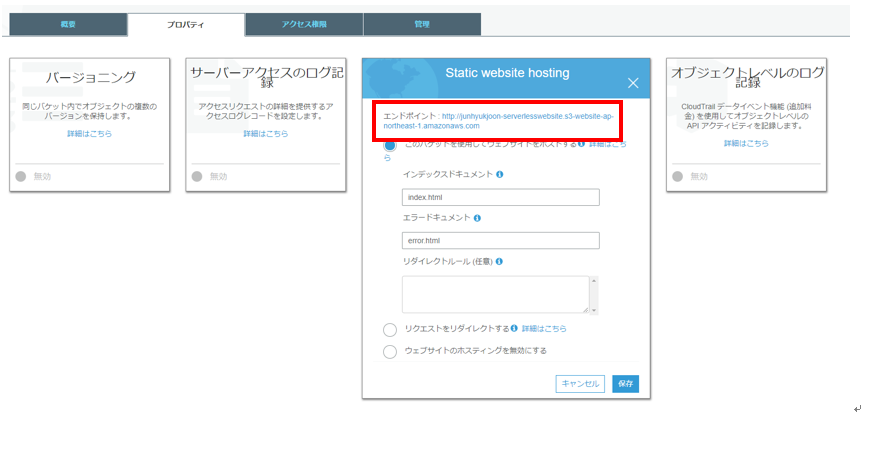
7.「プロパティ」→「Static website hosting」をクリックし、以下の情報を入力、保存する。
インデックスドキュメント :index.html
エラードキュメント:error.html

8.「Static website hosting」の保存できていることを確認した上で、S3エンドポイントをクリックする。
9.表示された画面からClick meを押してみる。