はじめに
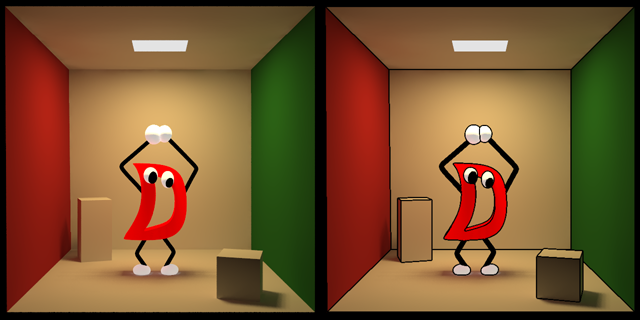
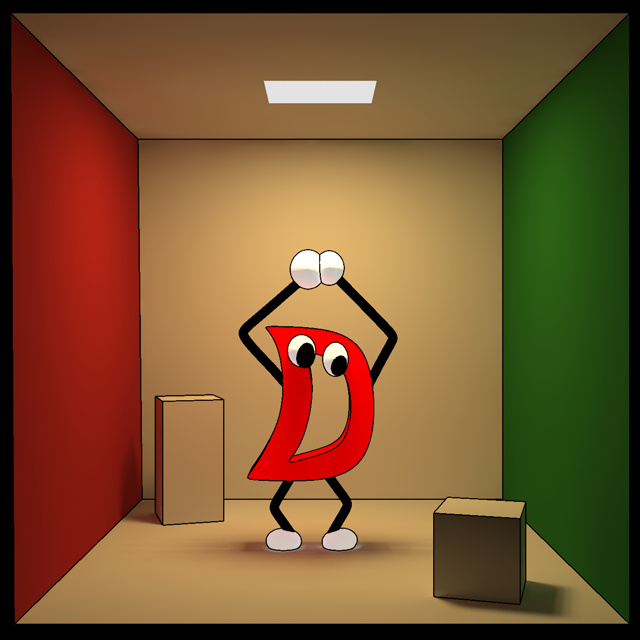
プログラミング言語のマスコットの秀逸なデザインを表現するためにはセルシェーディング技法が必須です。
そこで今回はMegaPOVによるセルシェーディング技法についておさらいします。
ダウンロード
POV-RayとMegaPOVを公式サイトからダウンロードします。
MegaPOVがPOV-Ray 3.7に対応していないので、3.6を使います。
インストール
Linux
--no-arch-checkを加えてインストールします。
tar zxvf povlinux-3.6.tgz
cd pov-ray3.6
sudo ./install --no-arch-check
tar megapov-1.2.1-linux.tgz
cd megapov-1.2.1
sudo ./install --no-arch-check
Windows
POV-RayのインストールディレクトリにMegaPOVのファイルをコピーします。
iniファイルを編集して諸々のパスを通さないとレンダリングできないので注意。
セルシェーディング
MegaPOVでセルシェーディングを実現するために必要な設定を行います。
テクスチャの設定
セルシェーディングっぽい見た目にするためにfinishを調整します。
phong, phong_size, specularでハイライトを調節します。指定しないとマットな仕上がりになります。
# declare Finish = finish {
  diffuse 1
  ambient 0.5
  brilliance 0.2
  phong 1
  phong_size 40
  specular 1.0
}
ポストプロセスによるエッジ抽出
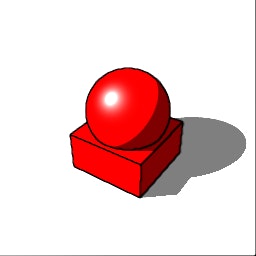
マニュアルのFinding edgesを参考に、値を調整します。
PP_Find_Edges( 1.0, 0.3, 0.15, 2, 1.0, rgb 0 )
Finds edges wherever there is a depth difference greater than 1.0, a normal difference greater than 0.3 (about 60 degrees), or a color difference of 0.15. It uses a line radius of 2.0, with black (rgb 0) antialiased (sharpness 1.0) lines.
(深度が1.0、もしくは面の角度が0.3(約60度)、もしくは色の差が0.15より大きいとき、太さ2.0、シャープネス1.0、黒色の線を描画する)
線の太さとシャープネスはレンダリングする画像サイズに合わせて調整する必要があります。
基本的に色の差は使わないので、大き目な値にしておきます。
レンダリング
megapov cell-shading.pov -w256 -h256 +a0.3
# version unofficial megapov 1.21;
# include "pprocess.inc"

global_settings {
  post_process{
    PP_Find_Edges( 1.0, 0.3, 4.0, 2, 1.0, rgb 0 )
    save_file "cell-shading_pp.png"
  }
}

camera {
  location <-8, 10, -12>
  look_at  <0, 0, 0>
  up       <0, 1, 0>
  right    <-1, 0, 0>
  angle    39.5
}

light_source {
  <6, 12, -9>
  color <1,1,1>
}

# declare Finish = finish {
  diffuse 1
  ambient 0.5
  brilliance 0.2
  phong 1
  phong_size 40
  specular 1.0
}

# declare White=
texture{
  pigment{rgb<1, 1, 1>}
  finish{Finish}
}

# declare Red=
texture{
  pigment{rgb<1, 0, 0>}
  finish{Finish}
}

plane{
  y, -2
  texture {White}
}

sphere {
  <0,1,0> 2
  texture {Red}
}

box{
  <-2,-2,-2><2,0,2>
  texture {Red}
}
右と下に黒線が出るのは仕様です。後で消しておきましょう。
おわりに
MegaPOVのポストプロセスを使ったセルシェーディング技法についておさらいしました。
これでD言語くんのキュートなエッジも表現できますね。


