前回記事の続いて、今回はEclipseのTomcatとの連携に関する内容を紹介します。
Eclipseのチュートリアル 1/3:https://qiita.com/siheng-zhou/items/cbb03d361e9d68aba623
Tomcat サーバ用プロジェクトの作成
Eclipseを起動し、メニューバーの[file]⇒[new]⇒[other]とクリックします。
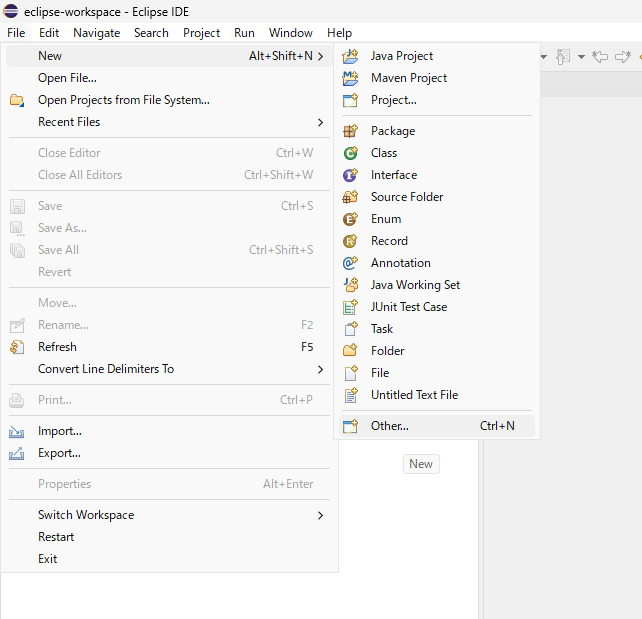
[server]⇒[server]と選択し、[next]をクリックします。

[Tomcat v9.0サーバー]を選択し、[next]をクリックします。
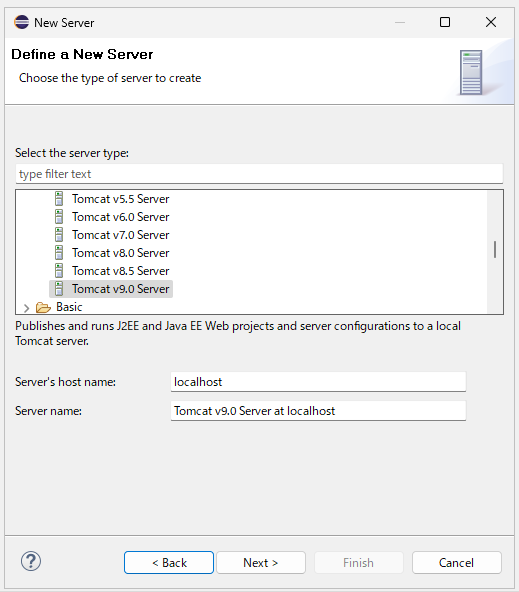
[name]と[Tomcat installation directory]を、以下の値を設定し、[finish]をクリックします。
name : 任意のランタイム名 (後手順で使用します)
Tomcat installation directory : tomcatのディレクトリー

動的 Web プロジェクトの作成
Eclipseのメニューバーの[file]⇒[new]⇒[other]とクリックします。

[web]⇒[Dynamic Web Project]を選択し、[next]をクリックします。

[Project name]に、任意のプロジェクト名を設定します。
また、[Target runtime]は、前手順で作成したTomcatの設定のランタイム名を指定します。
※特に変更せず進めている場合は、[Apache Tomcat Localhost]となるはずです。
その後、[next]をクリックします。

[next]をクリックします。

⑤ [Generate web.xml deployment descriptor]のチェックがONになっていることを確認し、[finish]をクリックします。

プロジェクトが作成されます。

プログラムの作成
作成されたプロジェクトの中に、「index.jsp」jspファイルを作成します。
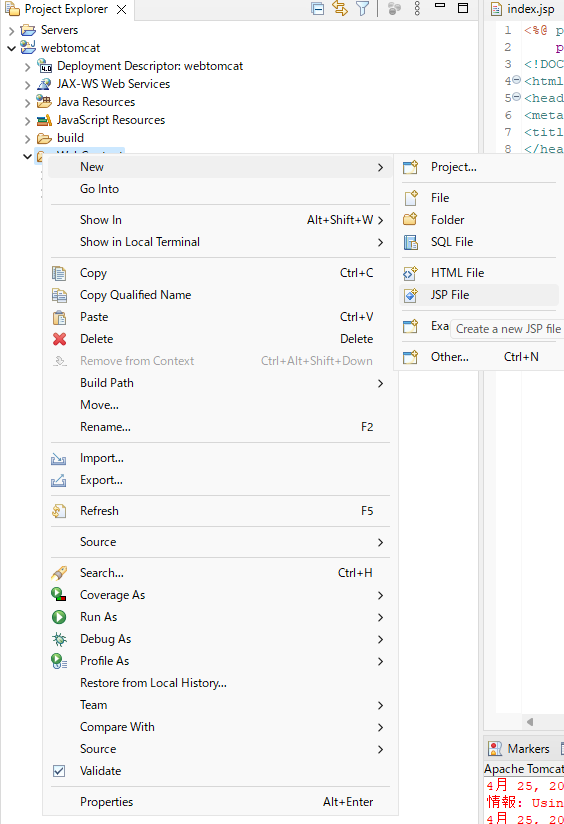
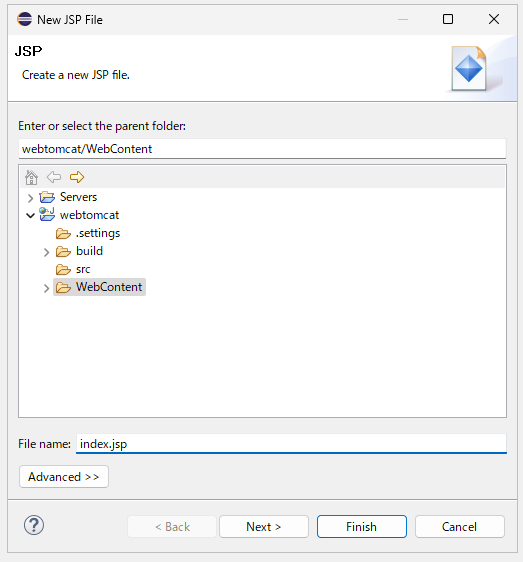
作成した後、jspファイルにHelloWorldを入力します。

保存します。
プログラムの実行
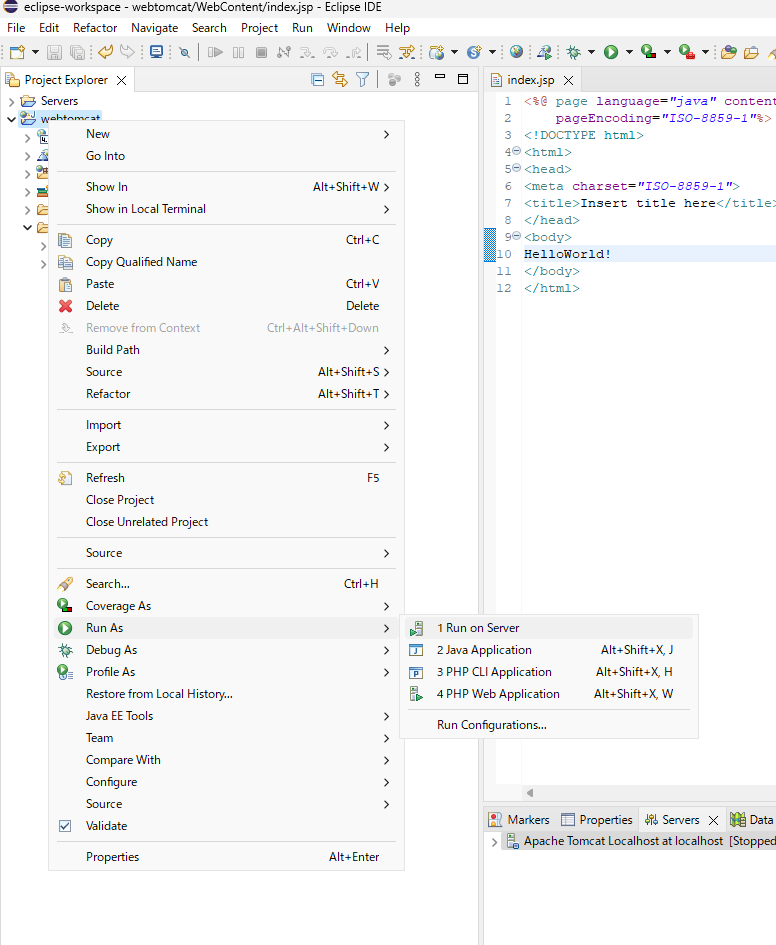
プロジェクトを右クリックして、[Run As]⇒[Run on Server]とクリックします。
前手順で作成したサーバーを選択し、[finish]をクリックします。

サーバーが起動しましたと確認します。

ブラウザから「http://localhost:8080」 と入力し、Webページが表示されます。
