Laravel の総合開発支援ツールといっても過言ではない Telescope
名前の通り、まさに望遠鏡
ただ、こいつはDatabaseに書き込むことを前提としているので、あまり好きではなく、
ファイルベースである Clockwork を使っていた
ただいい加減 Telescope が無視できないくらい使いやすかったので、導入...
どうやら SQLite に書き込むことができるっぽい
環境構築
普通に入れると公開されてしまうので、ローカルのみへインストールを推奨。
# laravel 本体
$ composer create-project laravel/laravel test-telescope
$ cd test-telescope

# telescope
$ composer require laravel/telescope --dev
$ php artisan telescope:install
telescope:install だとグローバルに登録されてしまうので、開発時ローカル限定に書き換える
  return [
      App\Providers\AppServiceProvider::class,
-     App\Providers\TelescopeServiceProvider::class,
  ];
      public function register(): void
      {
+         if ($this->app->environment('local')) {
+             $this->app->register(\Laravel\Telescope\TelescopeServiceProvider::class);
+             $this->app->register(TelescopeServiceProvider::class);
+         }
      }
composer.json にも加筆するっぽい
      "extra": {
          "laravel": {
-             "dont-discover": []
+             "dont-discover": [
+                 "laravel/telescope"
+             ]
          }
      },
SQLite への設定書き換え
telescope:install を行うと、このファイルが生成される
database/migrations/2024_08_01_000000_create_telescope_entries_table.php
    public function getConnection(): ?string
    {
        return config('telescope.storage.database.connection');
    }
getConnection() で config ファイルに接続先を見に行っている
ということは変更できそう!
    'driver' => env('TELESCOPE_DRIVER', 'database'),

    'storage' => [
        'database' => [
            'connection' => env('DB_CONNECTION', 'mysql'),
            'chunk' => 1000,
        ],
    ],
ここじゃな?
デフォルトでは、.env で指定したメインのDBに対して作成するみたい
でもメインのDBは汚したくない!
ということで SQLite を使うことにする
telescope 用のDB設定を作成しておく (sqlite の丸コピ)
      'connections' => [
+         'telescope' => [
+             'driver' => 'sqlite',
+             'url' => null,
+             'database' => database_path('telescope.sqlite'),
+             'prefix' => '',
+             'foreign_key_constraints' => true,
+             'busy_timeout' => null,
+             'journal_mode' => null,
+             'synchronous' => null,
+         ],
      ]
      'storage' => [
          'database' => [
-             'connection' => env('DB_CONNECTION', 'mysql'),
+             'connection' => 'telescope',
              'chunk' => 1000,
          ],
      ],
そして telescope の migration に DBファイル の作成処理を追加する
テスト時に暴発すると面倒なので、 testing のときにこのマイグレーションを無視する
+ use Illuminate\Support\Facades\File;

      public function up(): void
      {
+         if (App::environment('testing')) {
+             return;
+         }
+         File::put(database_path('telescope.sqlite'), '');
          ...
      }

      public function down(): void
      {
+         if (App::environment('testing')) {
+             return;
+         }
+
          if (! File::exists(database_path('telescope.sqlite'))) {
              return;
          }
          ...
      }
最後に migration を実行して、 telescope.sqlite が生成されていたら完成
$ php artisan migrate

# 一応下のコマンドを連打して、壊れないかを確認する
$ php artisan migrate:refresh
試行錯誤
省略
SQLite ファイルの自動生成
SQLite ファイルを作成せずに実行
$ php artisan migrate

  Database file at path [telescope.sqlite] does not exist. Ensure this is an absolute path
  to the database. (Connection: telescope_sqlite, SQL: create table "telescope_entries"
  ("sequence" integer primary key autoincrement not null, "uuid" varchar not null, "batch_id"
  varchar not null, "family_hash" varchar, "should_display_on_index" tinyint(1) not null
  default '1', "type" varchar not null, "content" text not null, "created_at" datetime))
うーん、通常で SQLite を使用した際の、以下のような表記が出てこない...
調査!
ここのコード
migration 実行時、はじめにデフォルトコネクションで、SQLite の時のみ確認してるっぽい...
途中のものには適用不可!!!
てことで素直に SQLite ファイルを作ったほうが良さそう
sqlite ファイルの書き込み権限
$ php artisan migrate

  SQLSTATE[HY000]: General error: 8 attempt to write a readonly database (Connection:
  telescope, SQL: create table "telescope_entries" ("sequence" integer primary key
  autoincrement not null, "uuid" varchar not null, "batch_id" varchar not null,
  "family_hash" varchar, "should_display_on_index" tinyint(1) not null default '1',
  "type" varchar not null, "content" text not null, "created_at" datetime))
必ずではないが、まれに出てくる 困る...
ファイルの権限を弄ってもダメかも...
仕方がないので、空のファイルを用意してコピーで行う
$ touch ./database/templates/telescope.sqlite
        File::copy(
            database_path('templates'.DIRECTORY_SEPARATOR.'telescope.sqlite'),
            database_path('telescope.sqlite'),
        );
空のファイルを作成しておく
$ mkdir ./database/templates
$ touch ./database/templates/telescope.sqlite
.gitignore が強すぎるので、フォルダ内は無視するように書き換える
- *.sqlite*
+ /*.sqlite*
追記:
もう少し調べたら、delete() を挟むとこのエラーが出るみたい
なので、up() でファイル上書きだけで十分かもしれない
テスト時のファイル作成がうざい問題
migration に仕込むとDBリセット時に毎回実行される
up() down() に以下のコードを仕込む
        if (App::environment('testing')) {
            return;
        }
簡単な使い方
詳しい説明は他の方の記事を見てもらうとして...
使い方を示すために、breeze を導入してログイン機能を生やす
$ composer require laravel/breeze --dev
$ php artisan breeze:install
> Blade with Alpine

$ php artisan migrate
$ php artisan db:seed
$ npm install
$ npm run build

$ 起動
$ php artisan serve
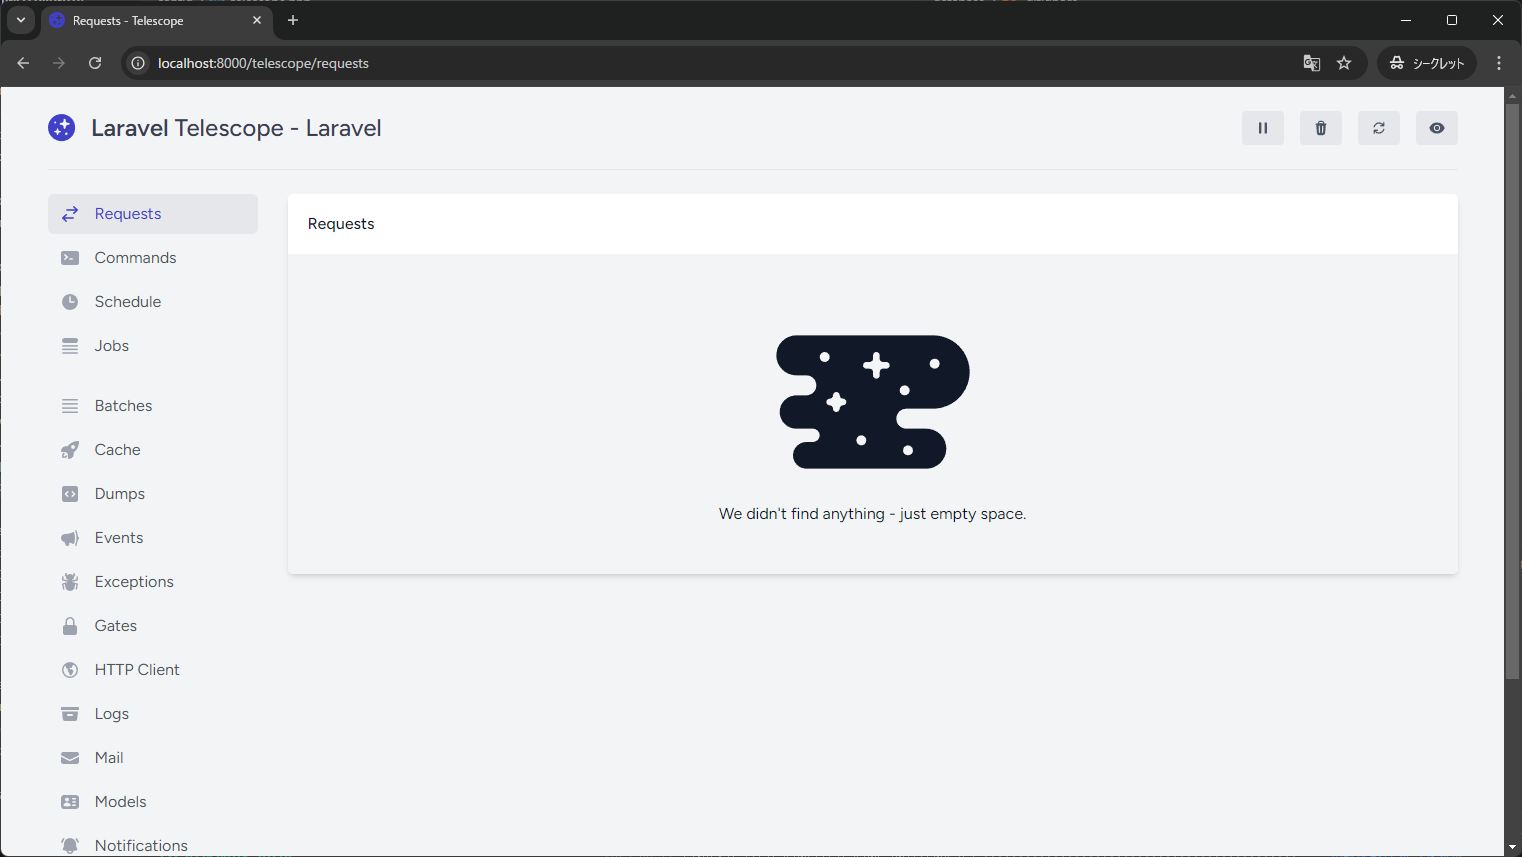
Telescope 自体は以下のURLでアクセス可能
http://localhost:8000/telescope
すごそう
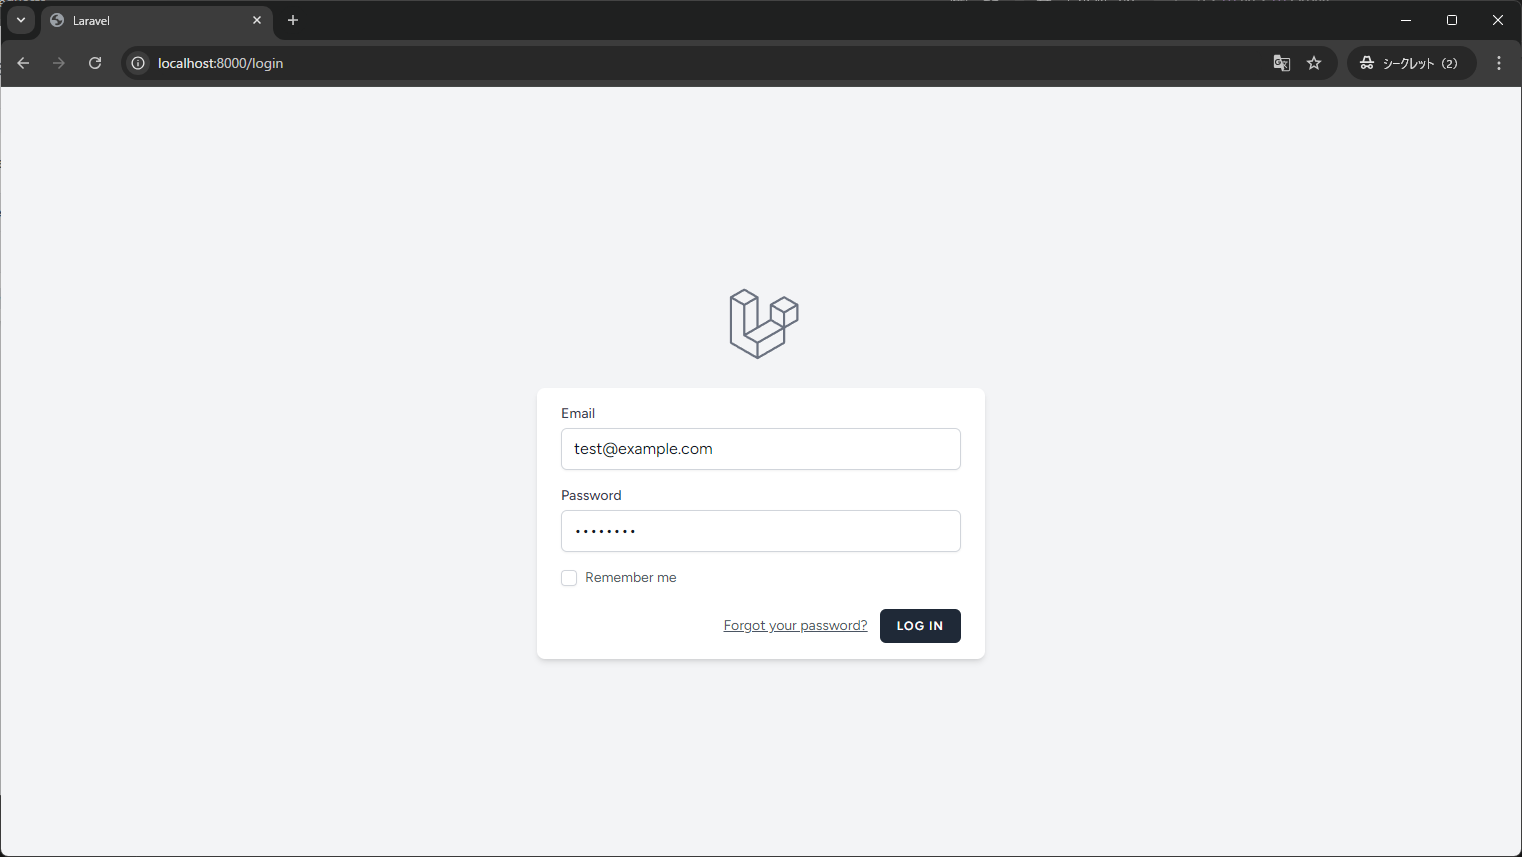
breese で入れたログイン画面からログインする
http://localhost:8000/login
test@example.com / password
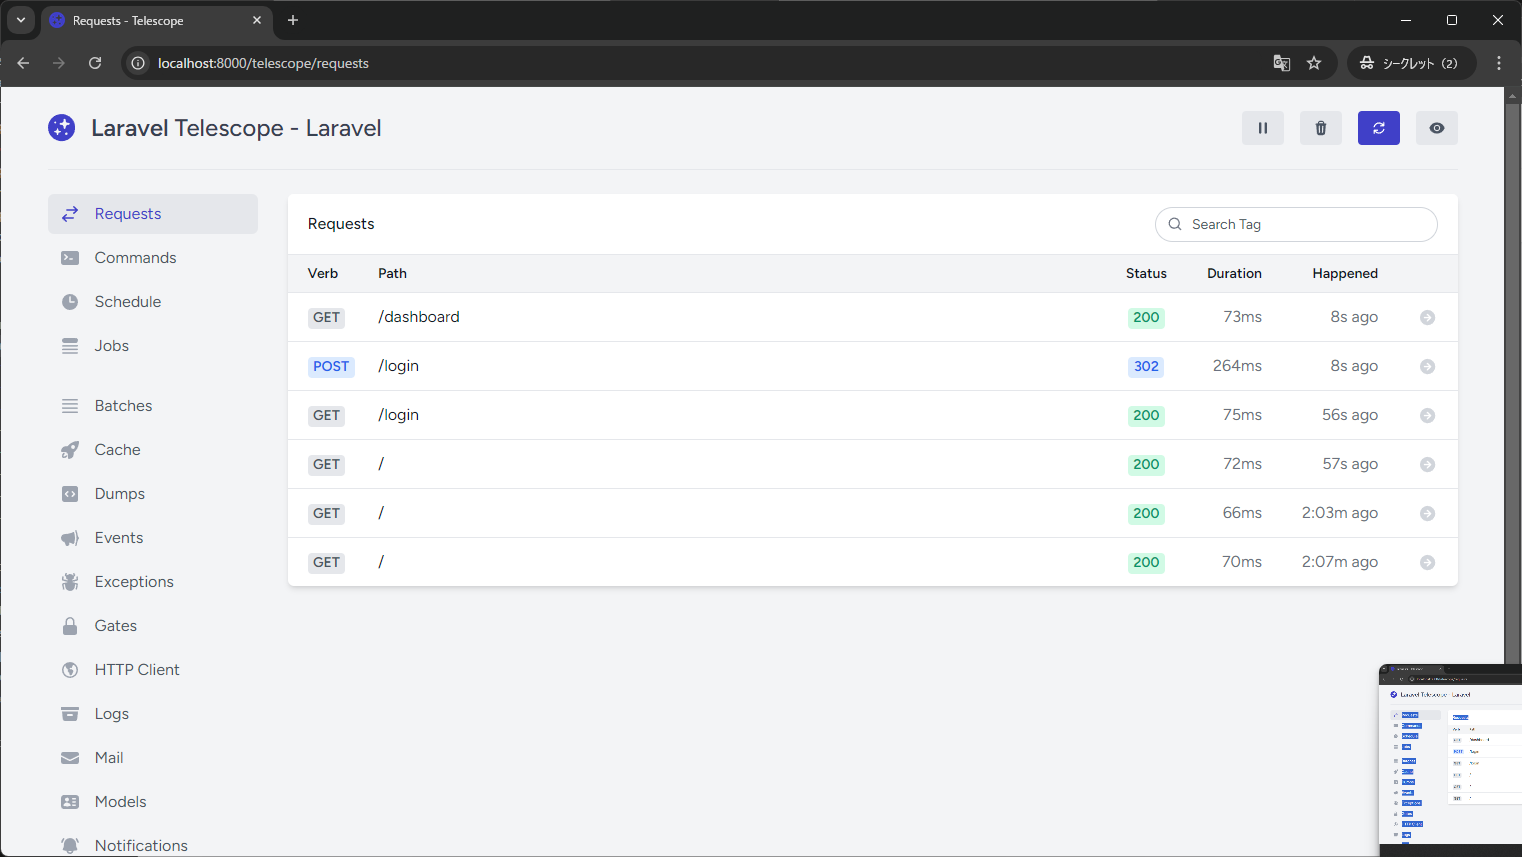
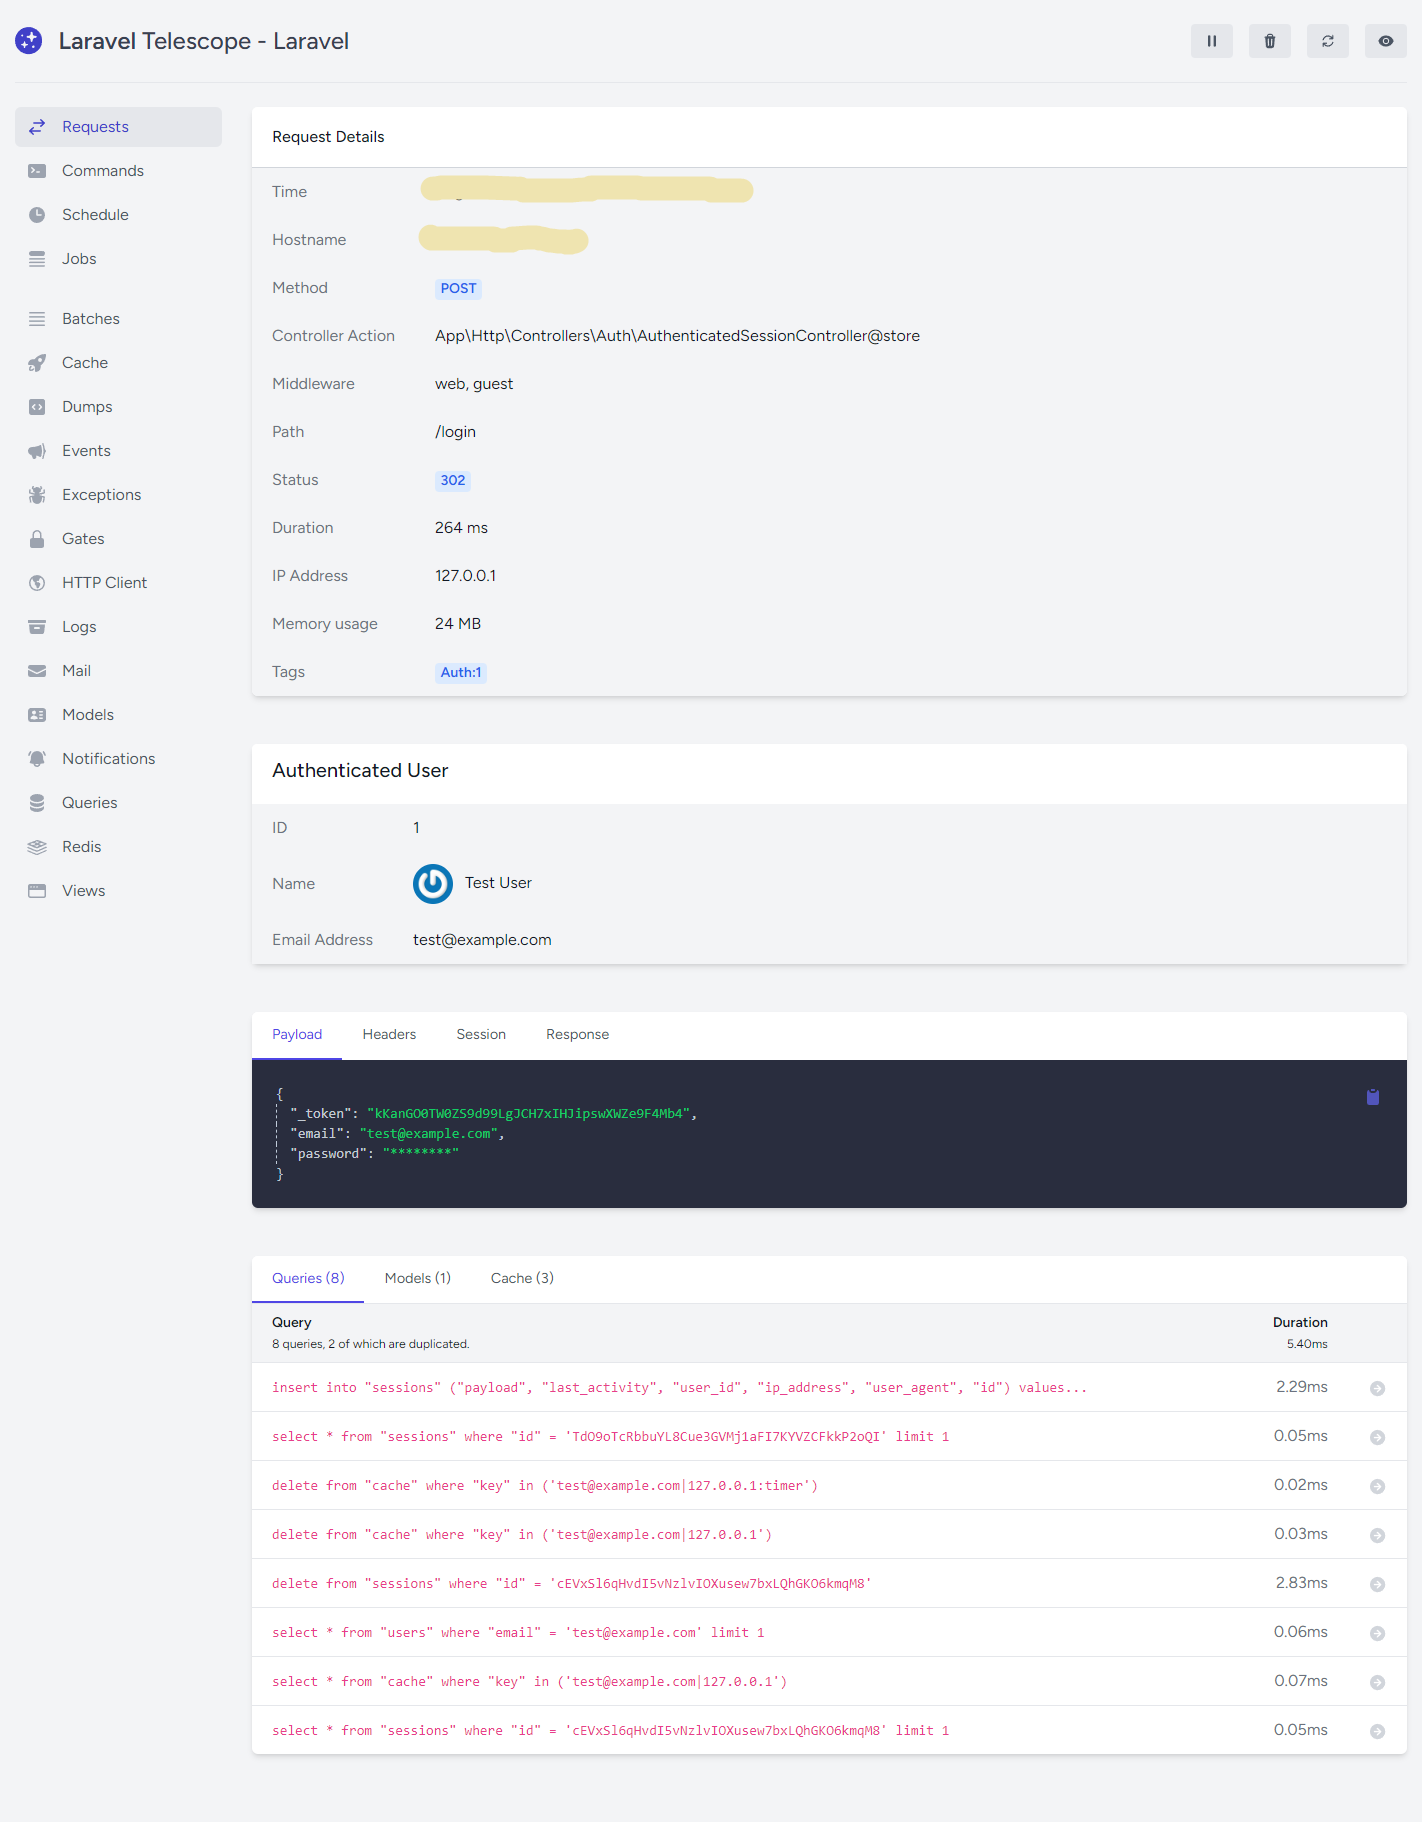
その後、先ほどの Telescope に戻ると Laravel のほぼすべての処理が記録されているんですねぇ~
(反映されていない場合は、右上の更新ボタンを押す)
メニューを見てみると分かる通り、Laravelのあらゆる場面を記録できるようになっている、すごいやつです
おわりに
みんなも Laravel 使おう!
この辺の開発支援系パッケージ、ワンライナーで追加できると障壁が大分減るのだが...


