はじめに
エンタープライズ向けに AWS Amplify を採用すると、Azure AD や Octa のような Identity Provider(IdP)とのシングルサインオン要件が必ずと言っていいほど挙がります。Azure AD と Amazon Cognito の公式ドキュメントや様々なブログに手順はまとまっていますが、いざ実装しようとすると手順が多く、結構手間が掛かります。せっかくの機会ですので、キャプチャ多めで手順を丁寧にまとめておきたいと思います。皆さんのお役に立てば幸いです。
ソーシャルサインインの場合
Amplify UI の Authenticator コンポーネントを利用することで、ソーシャルサインイン(Amazon, Apple, Facebook, Google)には socialProviders パラメータ指定だけで対応可能です。これはありがたいですね、、、。しかし、SAML の場合は、そうもいきません。
import { Authenticator } from "@aws-amplify/ui-react";
import "@aws-amplify/ui-react/styles.css";

function App() {
  return (
    <Authenticator socialProviders={["amazon", "apple", "facebook", "google"]}>
      {({ signOut, user }) => (
        <main>
          <h1>Hello {user.username}</h1>
          <button onClick={signOut}>Sign out</button>
        </main>
      )}
    </Authenticator>
  );
}

export default App;
Amplify UI の Authenticator コンポーネントは、以下のように表示されます。現在のバージョンは、ヘッダやフッタを component パラメータで指定することで拡張可能となり、だいぶ使い勝手が良くなりました。例えば、ヘッダに独自の「Sign In with Azure AD」ボタンを追加し、Auth.federatedSignIn(); を呼び出すことも可能です。しかし、Amplify サインイン、Cognito サインイン、Microsoft サインインと 3 つのサインイン UI を経由するのは、少々手間です。そもそも、Amazon/Apple/Facebook/Google or Cognito という選択肢を与えたくありません。エンタープライズアプリケーションのため Azure AD 一択で良いのです。

やりたいこと
やりたいことは至ってシンプルで、「Azure AD との SSO でのみサインイン可能な Amplify アプリ」 の実現です。また先述したように、可能な限り 「いきなり SSO」 に近づけることです。

本記事は、以下の記事の続編となります。やりたいことの骨子は同じなので、大変参考になりました。ただ、Amazon Cognito の画面レイアウトが New Interface に刷新され、ガラッと変わってしまったので、対象項目を探すのが大変でした、、、。その意味でも、丁寧にキャプチャを取得しました。少なくとも New Interface が維持されるであろう数年間は、役に立つと思います。
前提条件
環境まわりをまとめておきます。
| ソフトウェアおよびライブラリ | バージョン |
|---|---|
| node | 16.0.0 |
| yarn | 1.22.11 |
| @aws-amplify/cli | 7.6.15 |
| react | ^17.0.2 |
| typescript | ^4.4.2 |
| aws-amplify | ^4.3.14 |
| @aws-amplify/ui-react | ^2.5.0 |
SSO したい Amplify アプリを用意する
まず、最終的に Azure AD と SSO したい AWS Amplify アプリを用意します。手順は以下の通りです。
- React アプリを作成する
- Amplify ライブラリを追加する
- AWS Amplify を初期化する(適用する)
- Amplify ホスティングを追加する
- React アプリの起動確認を行う
- Amazon Cognito 認証を追加する
React アプリを作成する
アプリ名 sso-with-aad で React アプリを作成します(適宜読み替えてください)。TypeScript にしておきます。
% yarn create react-app sso-with-aad --template typescript
Amplify ライブラリを追加する
プロジェクトフォルダに移動し、aws-amplify、@aws-amplify/ui-react を追加しておきます。
% cd sso-with-aad
% yarn add aws-amplify @aws-amplify/ui-react
AWS Amplify を初期化する(適用する)
amplify init コマンドを実行します。インタラクティブなパラメータ指定は、すべてデフォルトのままです。
% amplify init
Amplify ホスティングを追加する
amplify add hosting コマンドで Amplify ホスティングを追加します。単なる検証ですので、Manual deployment を選択します(CI/CD を設定すると、git push トリガーで自動パブリッシュされるようになります)。次に amplify publish コマンドでクラウド環境に手動デプロイします。CloudFormation が実行され、3分ほど待つと Cognito ユーザプールが作成されます。CloudFormation が実行され、1分もかからずに Web アプリがデプロイされます。
| 項目 | 入力値 |
|---|---|
| Select the plugin module to execute Hosting with Amplify Console (Managed hosting with custom domains, Continuous deployment) | Manual deployment |
% amplify add hosting
% amplify publish
React アプリの起動確認を行う
React テンプレートのままですが、念のため、起動確認しておきましょう。URL は amplify publish コマンドのコンソール出力の最後の行に表示されています。後続の手順で必要となるため、URL を控えておきます。アクセスすると、毎度お馴染みの React テンプレートアプリが正常に起動されました。まだ、フロントエンド側に一切の認証設定をしていないので、サインイン不要のシンプルなアプリとなっています。「とりあえずローカルで」という方は、yarn start して、http://localhost:3000 にアクセスしてください。

Amazon Cognito 認証を追加する
amplify add auth コマンドで認証を追加します。数が多いですが、以下のパラメータを指定します。最初に Manual configuration を選択することで、OAuth フローの追加設定が可能になります。次に amplify push コマンドでクラウド環境にデプロイします。CloudFormation が実行され、3分ほど待つと Cognito ユーザプールが作成されます。
| 項目 | 入力値 |
|---|---|
| Do you want to use the default authentication and security configuration? | Manual configuration |
| Select the authentication/authorization services that you want to use | User Sign-Up & Sign-In only (Best used with a cloud API only) |
| Provide a friendly name for your resource that will be used to label this category in the project | <提案値のまま> |
| Provide a name for your user pool | <提案値のまま> |
| How do you want users to be able to sign in? | |
| Do you want to add User Pool Groups? | No |
| Do you want to add an admin queries API? | No |
| Multifactor authentication (MFA) user login options | OFF |
| Email based user registration/forgot password | Enabled (Requires per-user email entry at registration) |
| Specify an email verification subject | Your verification code |
| Specify an email verification message | Your verification code is {####} |
| Do you want to override the default password policy for this User Pool? | No |
| What attributes are required for signing up? | |
| Specify the app's refresh token expiration period (in days) | 30 |
| Do you want to specify the user attributes this app can read and write? | No |
| Do you want to enable any of the following capabilities? | (指定しない) |
| Do you want to use an OAuth flow? | Yes |
| What domain name prefix do you want to use? | <提案値のまま> |
| Enter your redirect signin URI | <Amplify アプリのURL(最後は"/")> |
| Enter your redirect signout URI | <Amplify アプリ のURL(最後は"/")> |
| Select the OAuth flows enabled for this project | Authorization code grant |
| Select the OAuth scopes enabled for this project | Phone, Email, OpenID, Profile, aws.cognito.signin.user.admin |
| Select the social providers you want to configure for your user pool | (何も選択しない) |
| Do you want to configure Lambda Triggers for Cognito? | No |
% amplify add auth
% amplify push
Azure AD に独自ドメインを追加する
元々、検証用に Route 53 でドメインを取得済みでしたので、今回はそちらのドメインを利用します。仮に、mydomain.com とします。
- カスタムドメインを追加する
- TXT レコードを追加する(Amazon Route 53)
- 追加したカスタムドメインを検証する
- カスタムドメインをプライマリドメインに変更する
カスタムドメインを追加する
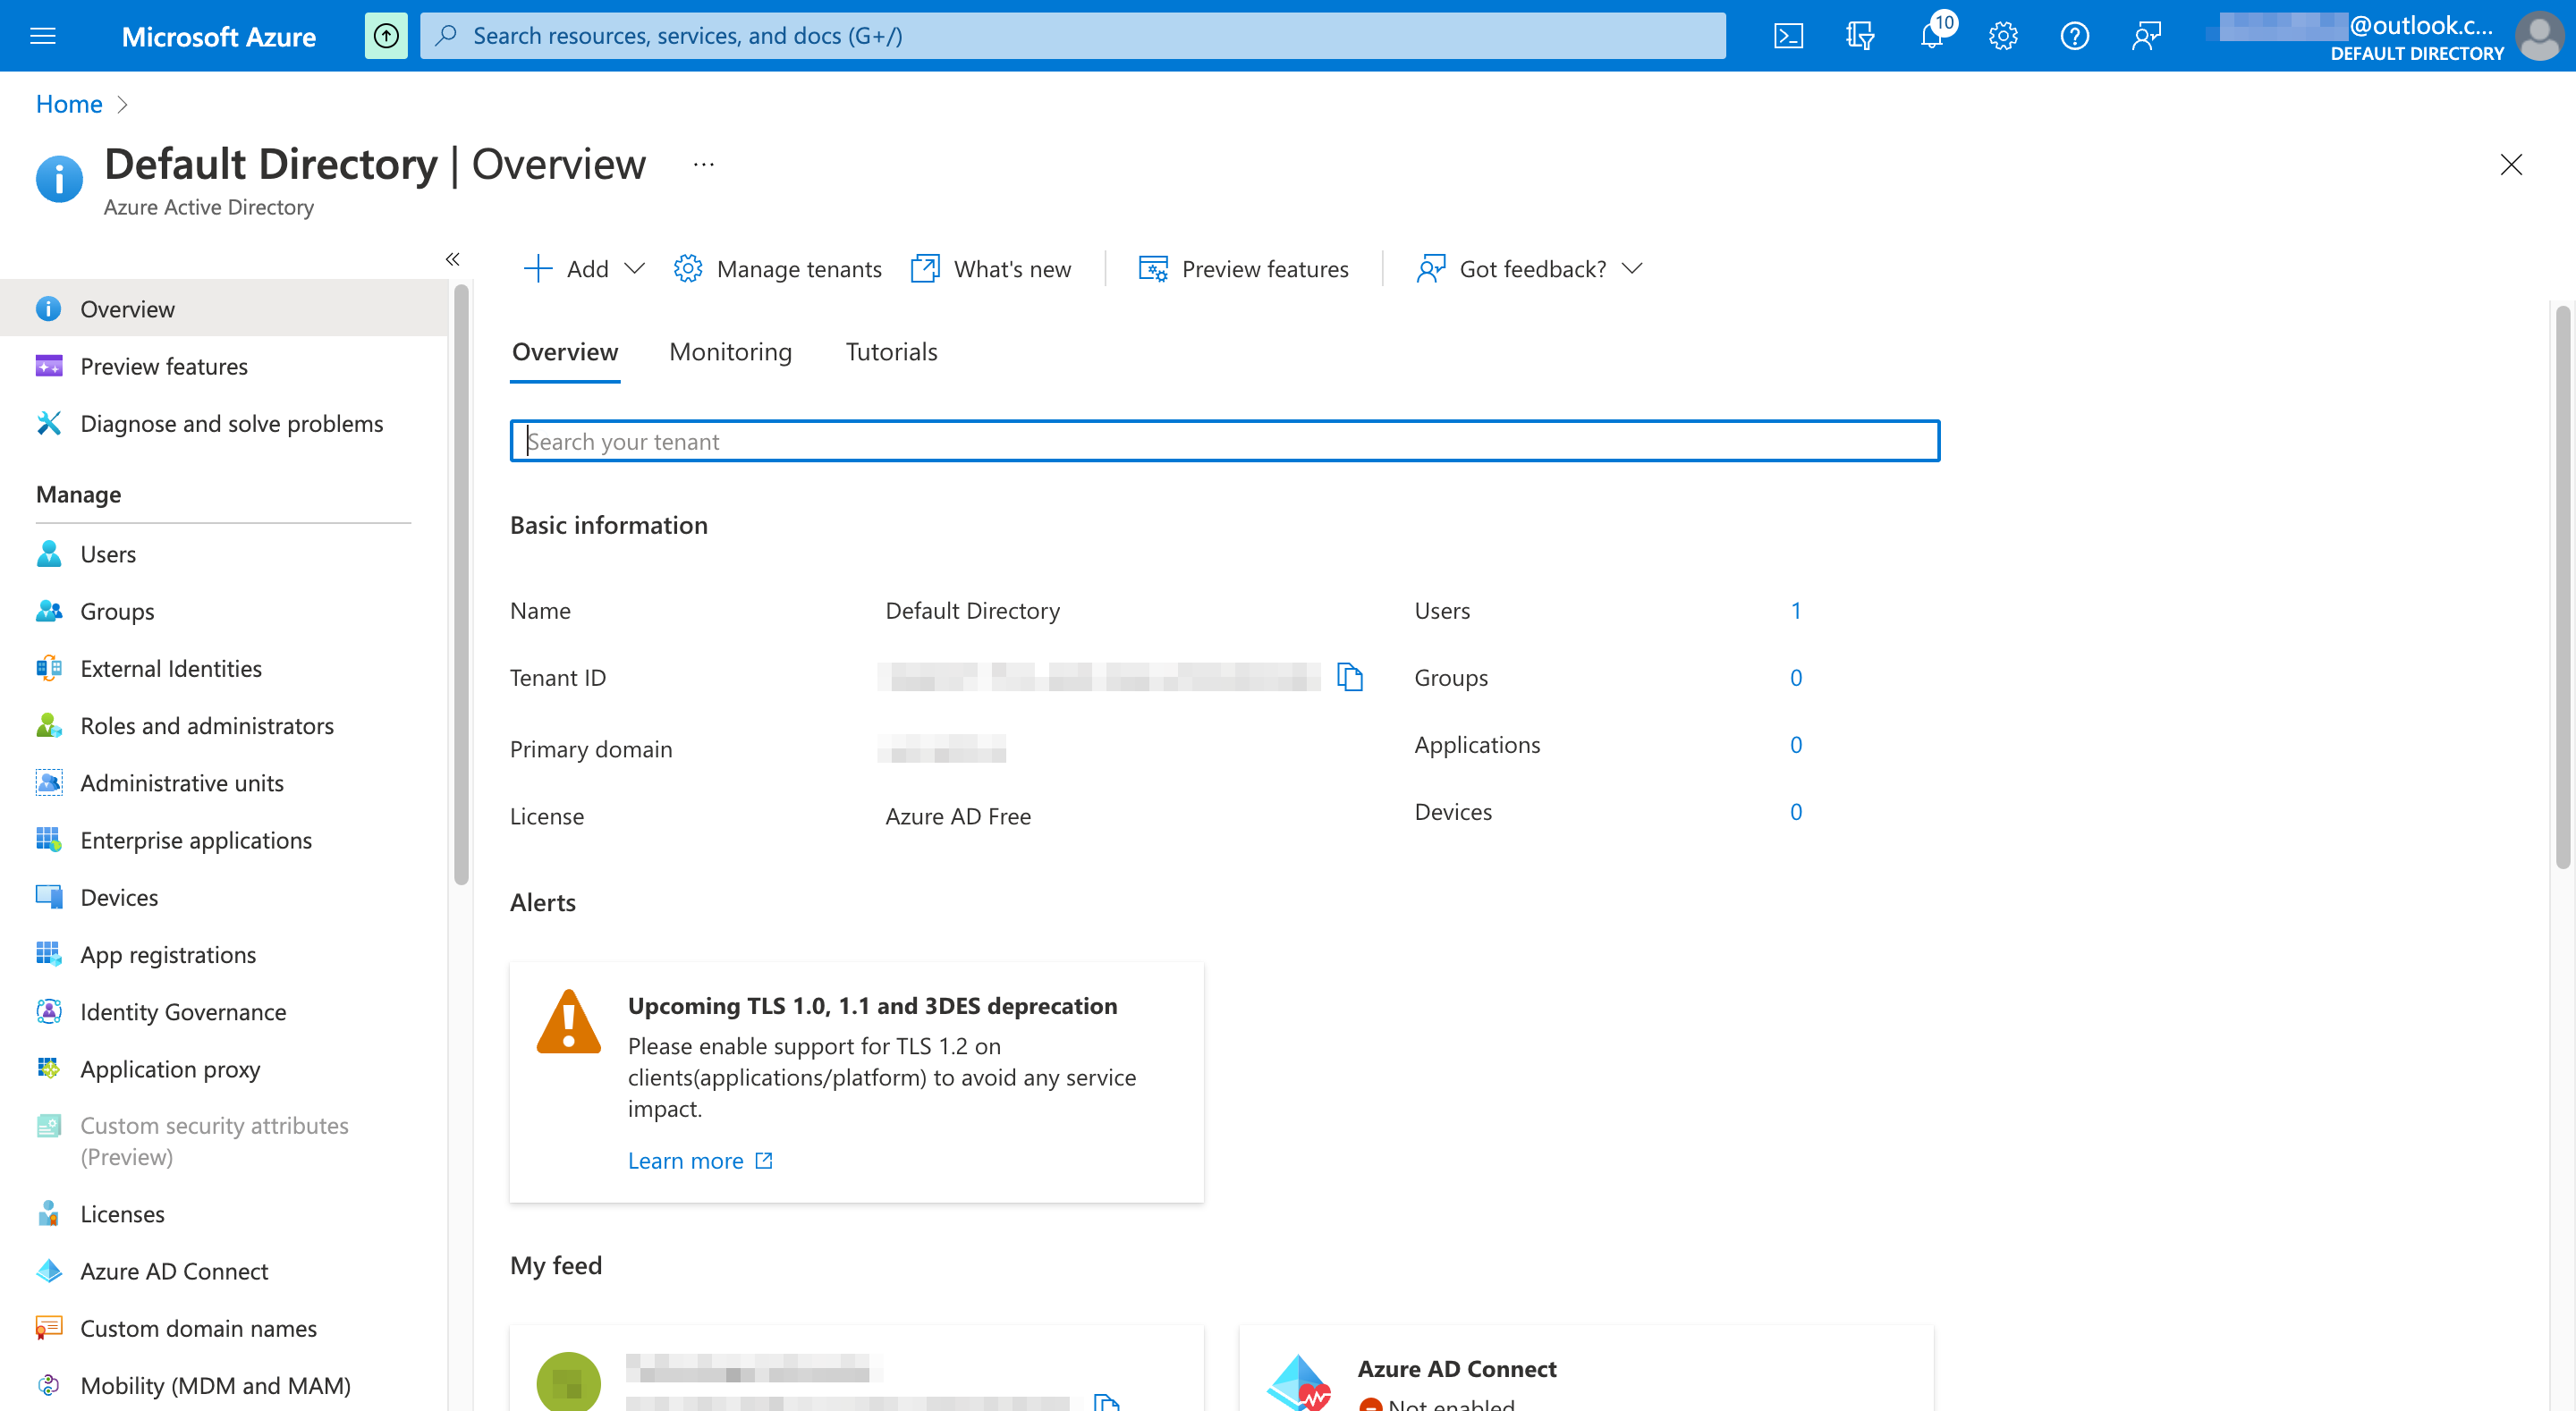
Azure Services の中から「Azure Active Directory」を選択します。

サイドメニューの「Custom domain names」を選択すると、デフォルトドメインである <Your Domain>outlook.onmicrosoft.com が表示されます。ツールバーの「Add custom domain」を選択し、画面左のポップアップの「Custom domain name」フィールドに独自ドメイン名を入力し、「Add domain」ボタンを選択します。

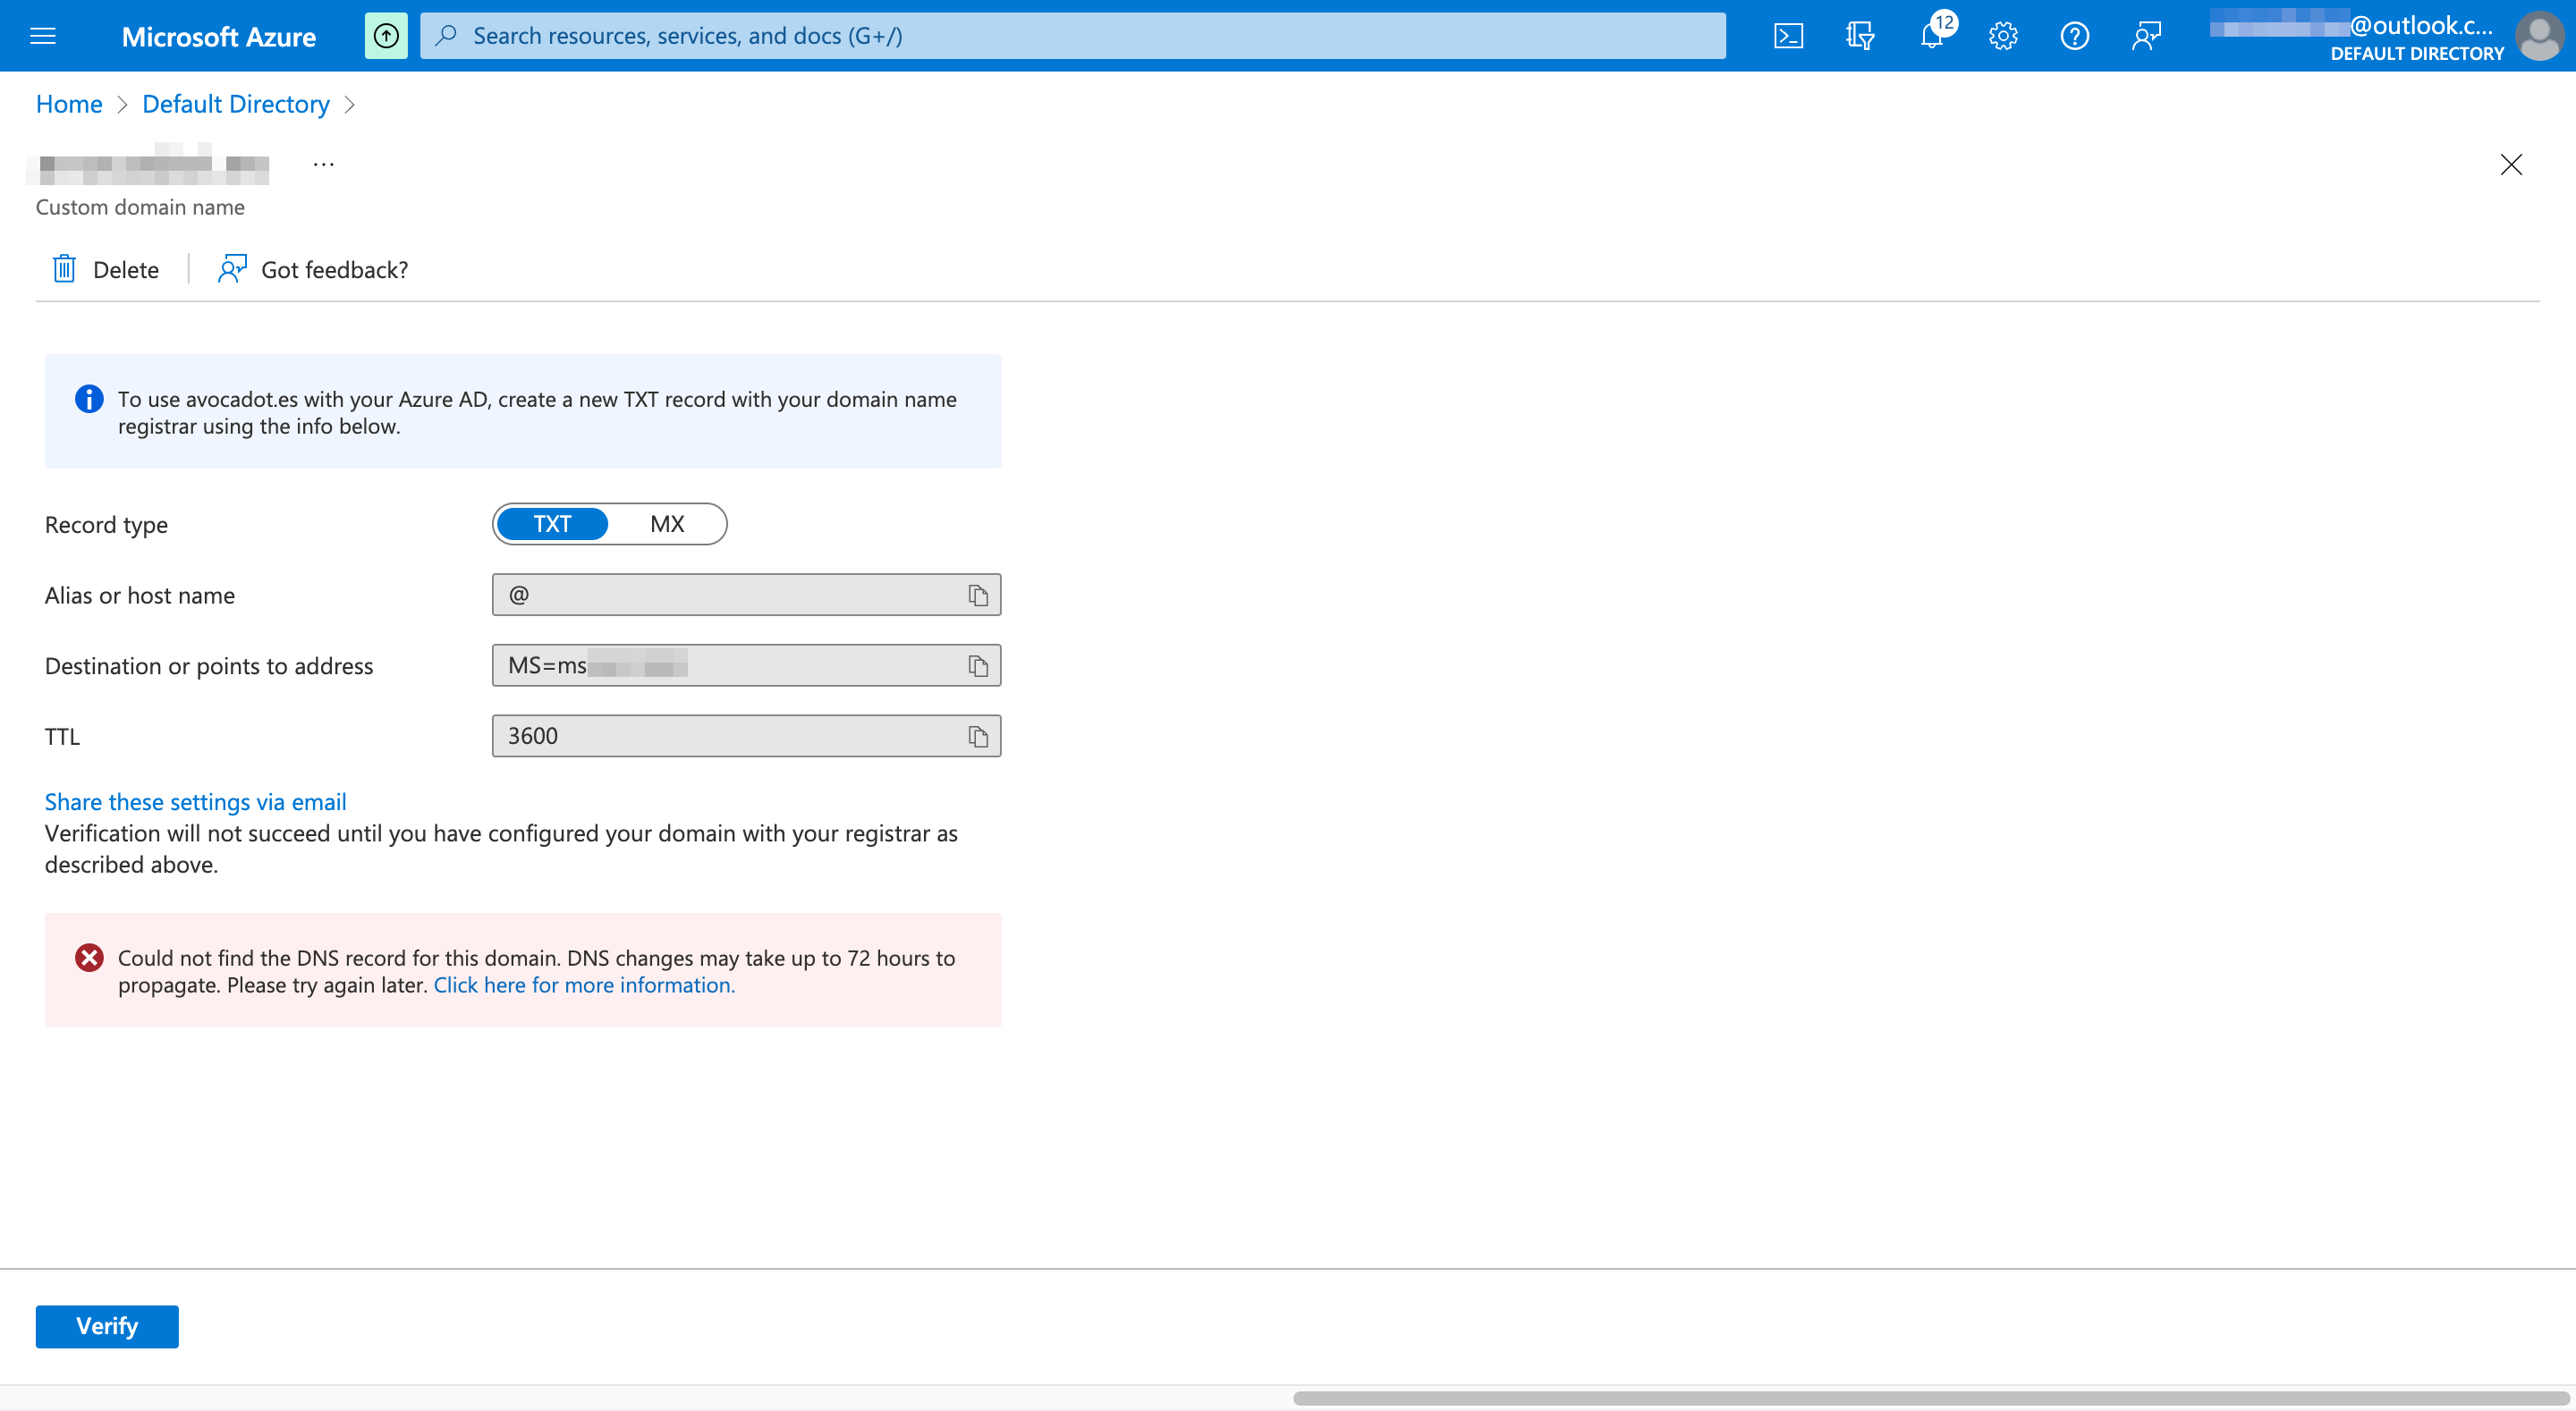
カスタムドメインが追加され、検証のための手順が指示されます。「Verify」ボタンを選択する前に、以下の TXT レコードを DNS に登録する必要があります。次の手順で、Route 53 の TXT レコードを編集します。
| キー | 値 |
|---|---|
| Record type | TXT |
| Alias or host name | @ |
| Destinationor points to address | MS=<ms から始まる一意な値> |
| TTL | 3600 |

TXT レコードを追加する(Amazon Route 53)
DNS に Route 53 を利用しているので、AWS マネジメントコンソールから Route 53 を開き、対象の Hosted Zone(仮に mydomain.com)を選択します。既に Alias or host name(Route 53 画面上は「Record name」フィールド)が空の TXT レコードがありましたので、「Value」に MS キーを追加しました。TTL は、指示された 3600 とは異なりますが、元の 300 のままとします。
| キー | 値 |
|---|---|
| Record name | (@ ではなく空で OK) |
| Record type | TXT |
| Value | (二行目にダブルクォーテーションで囲んだ)"MS=<ms から始まる一意な値>" |
| TTL | (指示された3600と違いますが既存レコードのまま)300 |
 |
追加したカスタムドメインを検証する
TXT レコードを変更(あるいは追加)して即座に「Verify」ボタンを選択すると、以下のエラーメッセージが表示されて、検証に失敗します。
Could not find the DNS record for this domain.DNS changes may take up to 72 hours to propagate. Please try again later.
5分ほど伝播するのを待ってからリトライすると、以下の通り検証に成功しました。

カスタムドメインをプライマリドメインに変更する
続けて、カスタムドメイン(仮に mydomain.com)をプライマリドメインに変更しておきます。検証成功直後の画面のツールバーから 「Make primary」を選択します。確認ダイアログに対して、Yes 応答します。
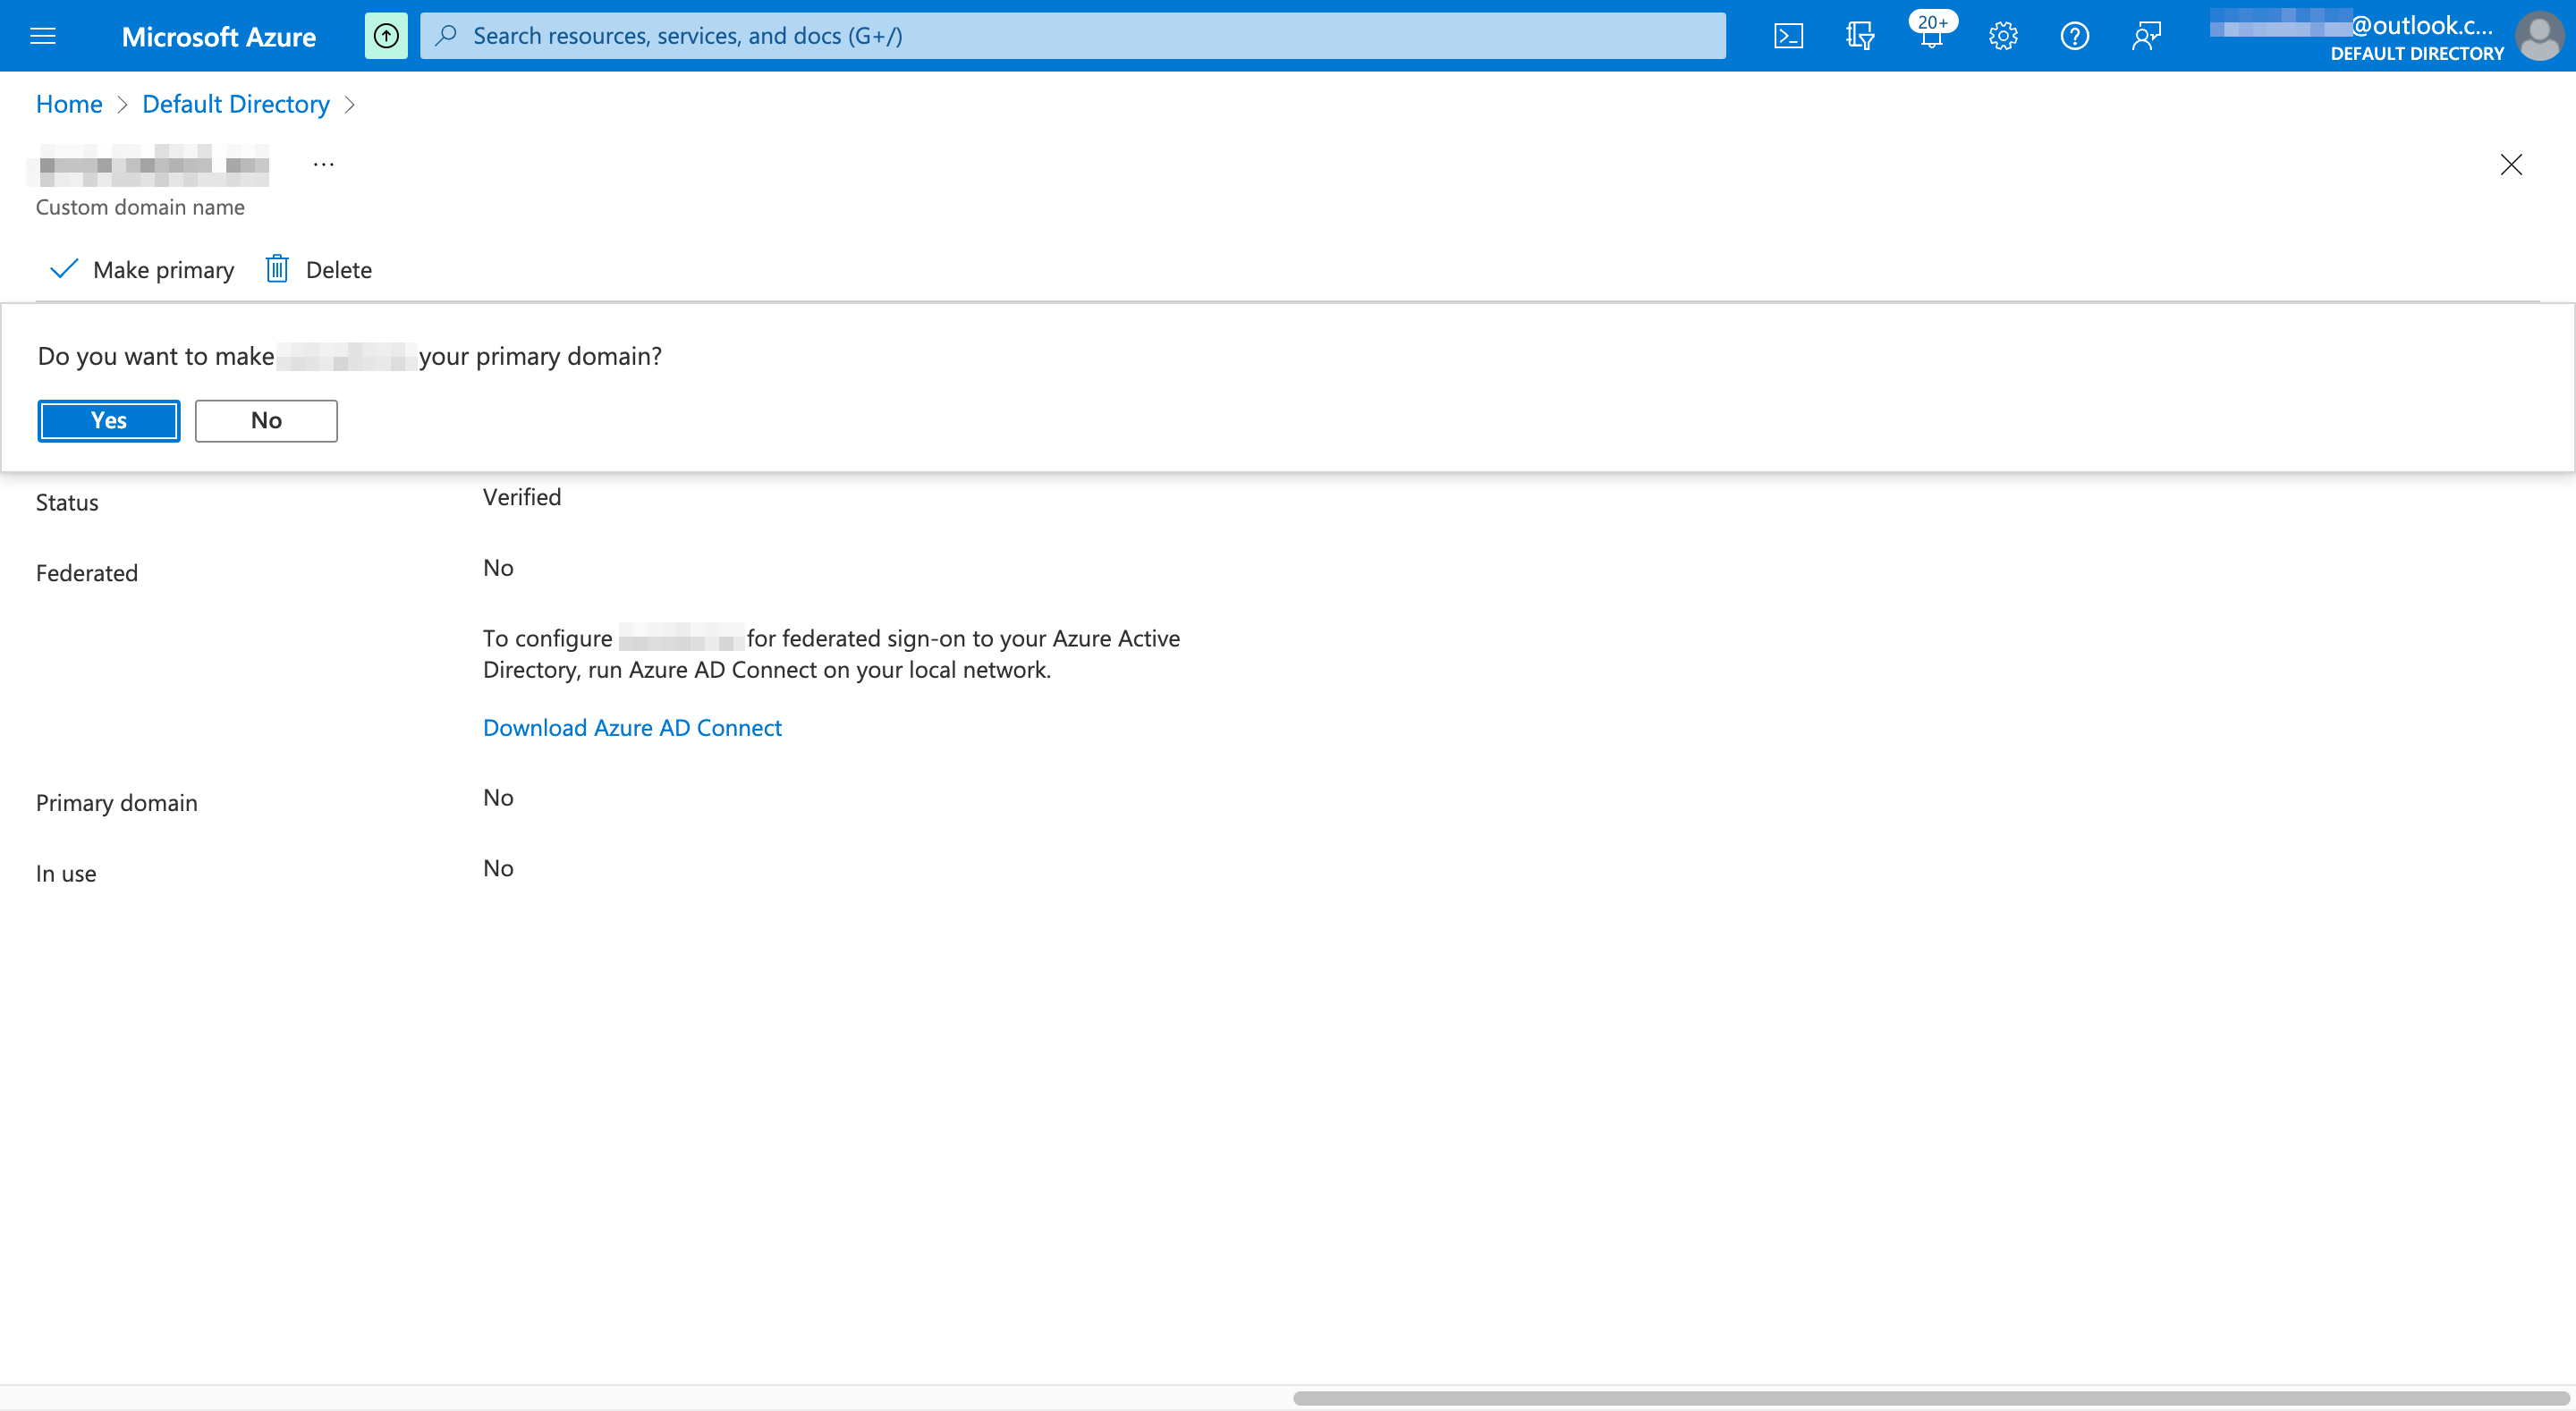
以上の手順で、独自ドメイン(仮に mydomain.com)が Azure AD に検証済みのプライマリドメインとして登録されました。

Azure AD に検証用ユーザを追加する
独自ドメイン(仮に mydomain.com)に検証用ユーザを追加します。アプリケーションのサインイン時に指定するユーザです。
- 検証用ユーザを追加する
- メールアドレスを追加する
検証用ユーザを追加する
Azure Active Directory のデフォルトディレクトリ(仮に mydomain.com)を選択し、サイドメニューの「Users」を選択します。

現在、Azure 管理者の Microsoft アカウントのみ登録されています。ツールバーの「New user」を選択し、検証用ユーザを追加していきます。

「Create user」をチェックし、以下の項目を入力して 「Create」ボタンを選択します。
| キー | 値 |
|---|---|
| User name | <myalias>@<mydomain.com> |
| Name | フルネーム |
Identity セクションの下に、Password/Groups and roles/Settings/Job info セクションが続きますが、特に変更しません。

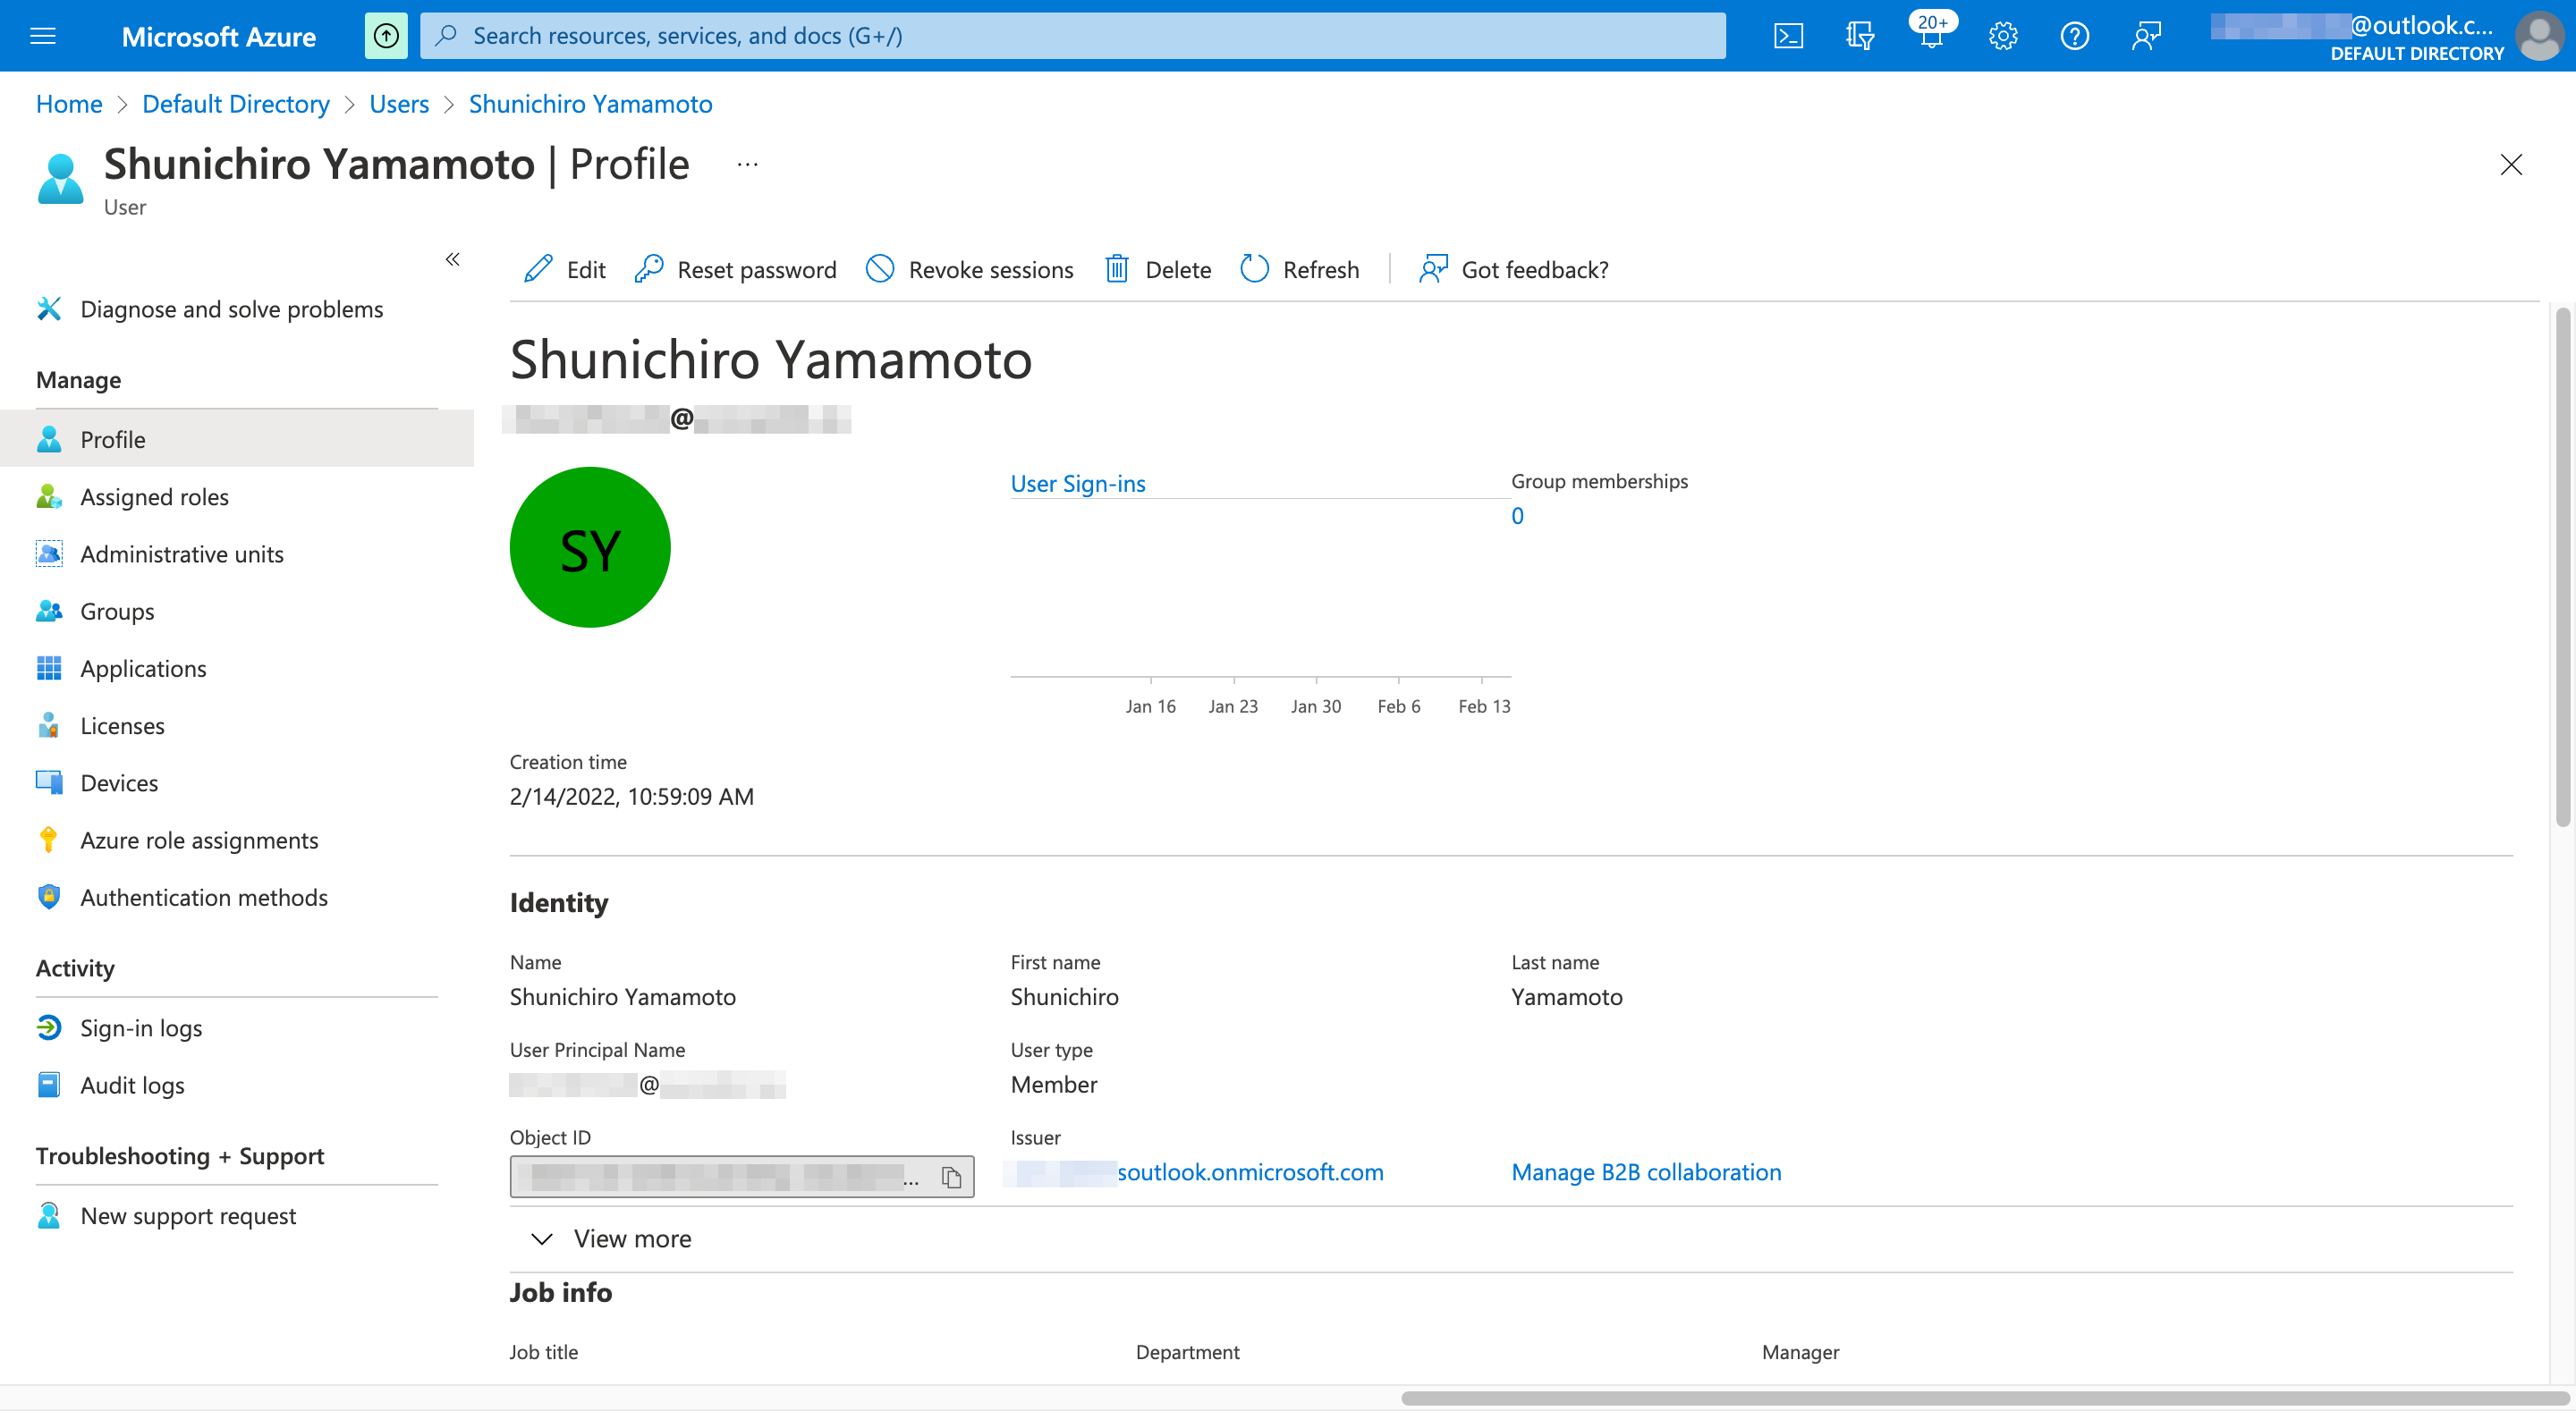
以上の手順で、検証用ユーザが作成されました。続けて、メールアドレスを追加していきます。

メールアドレスを追加する
後ほど必要になるので、検証用ユーザのメールアドレスを設定しておきます。ユーザ一覧から検証用ユーザを選択し、ツールバーの「Edit」を選択します。
Contact info セクションにある Email フィールドに連絡可能なメールアドレスを入力し、ツールバーの「Save」ボタンを選択します。
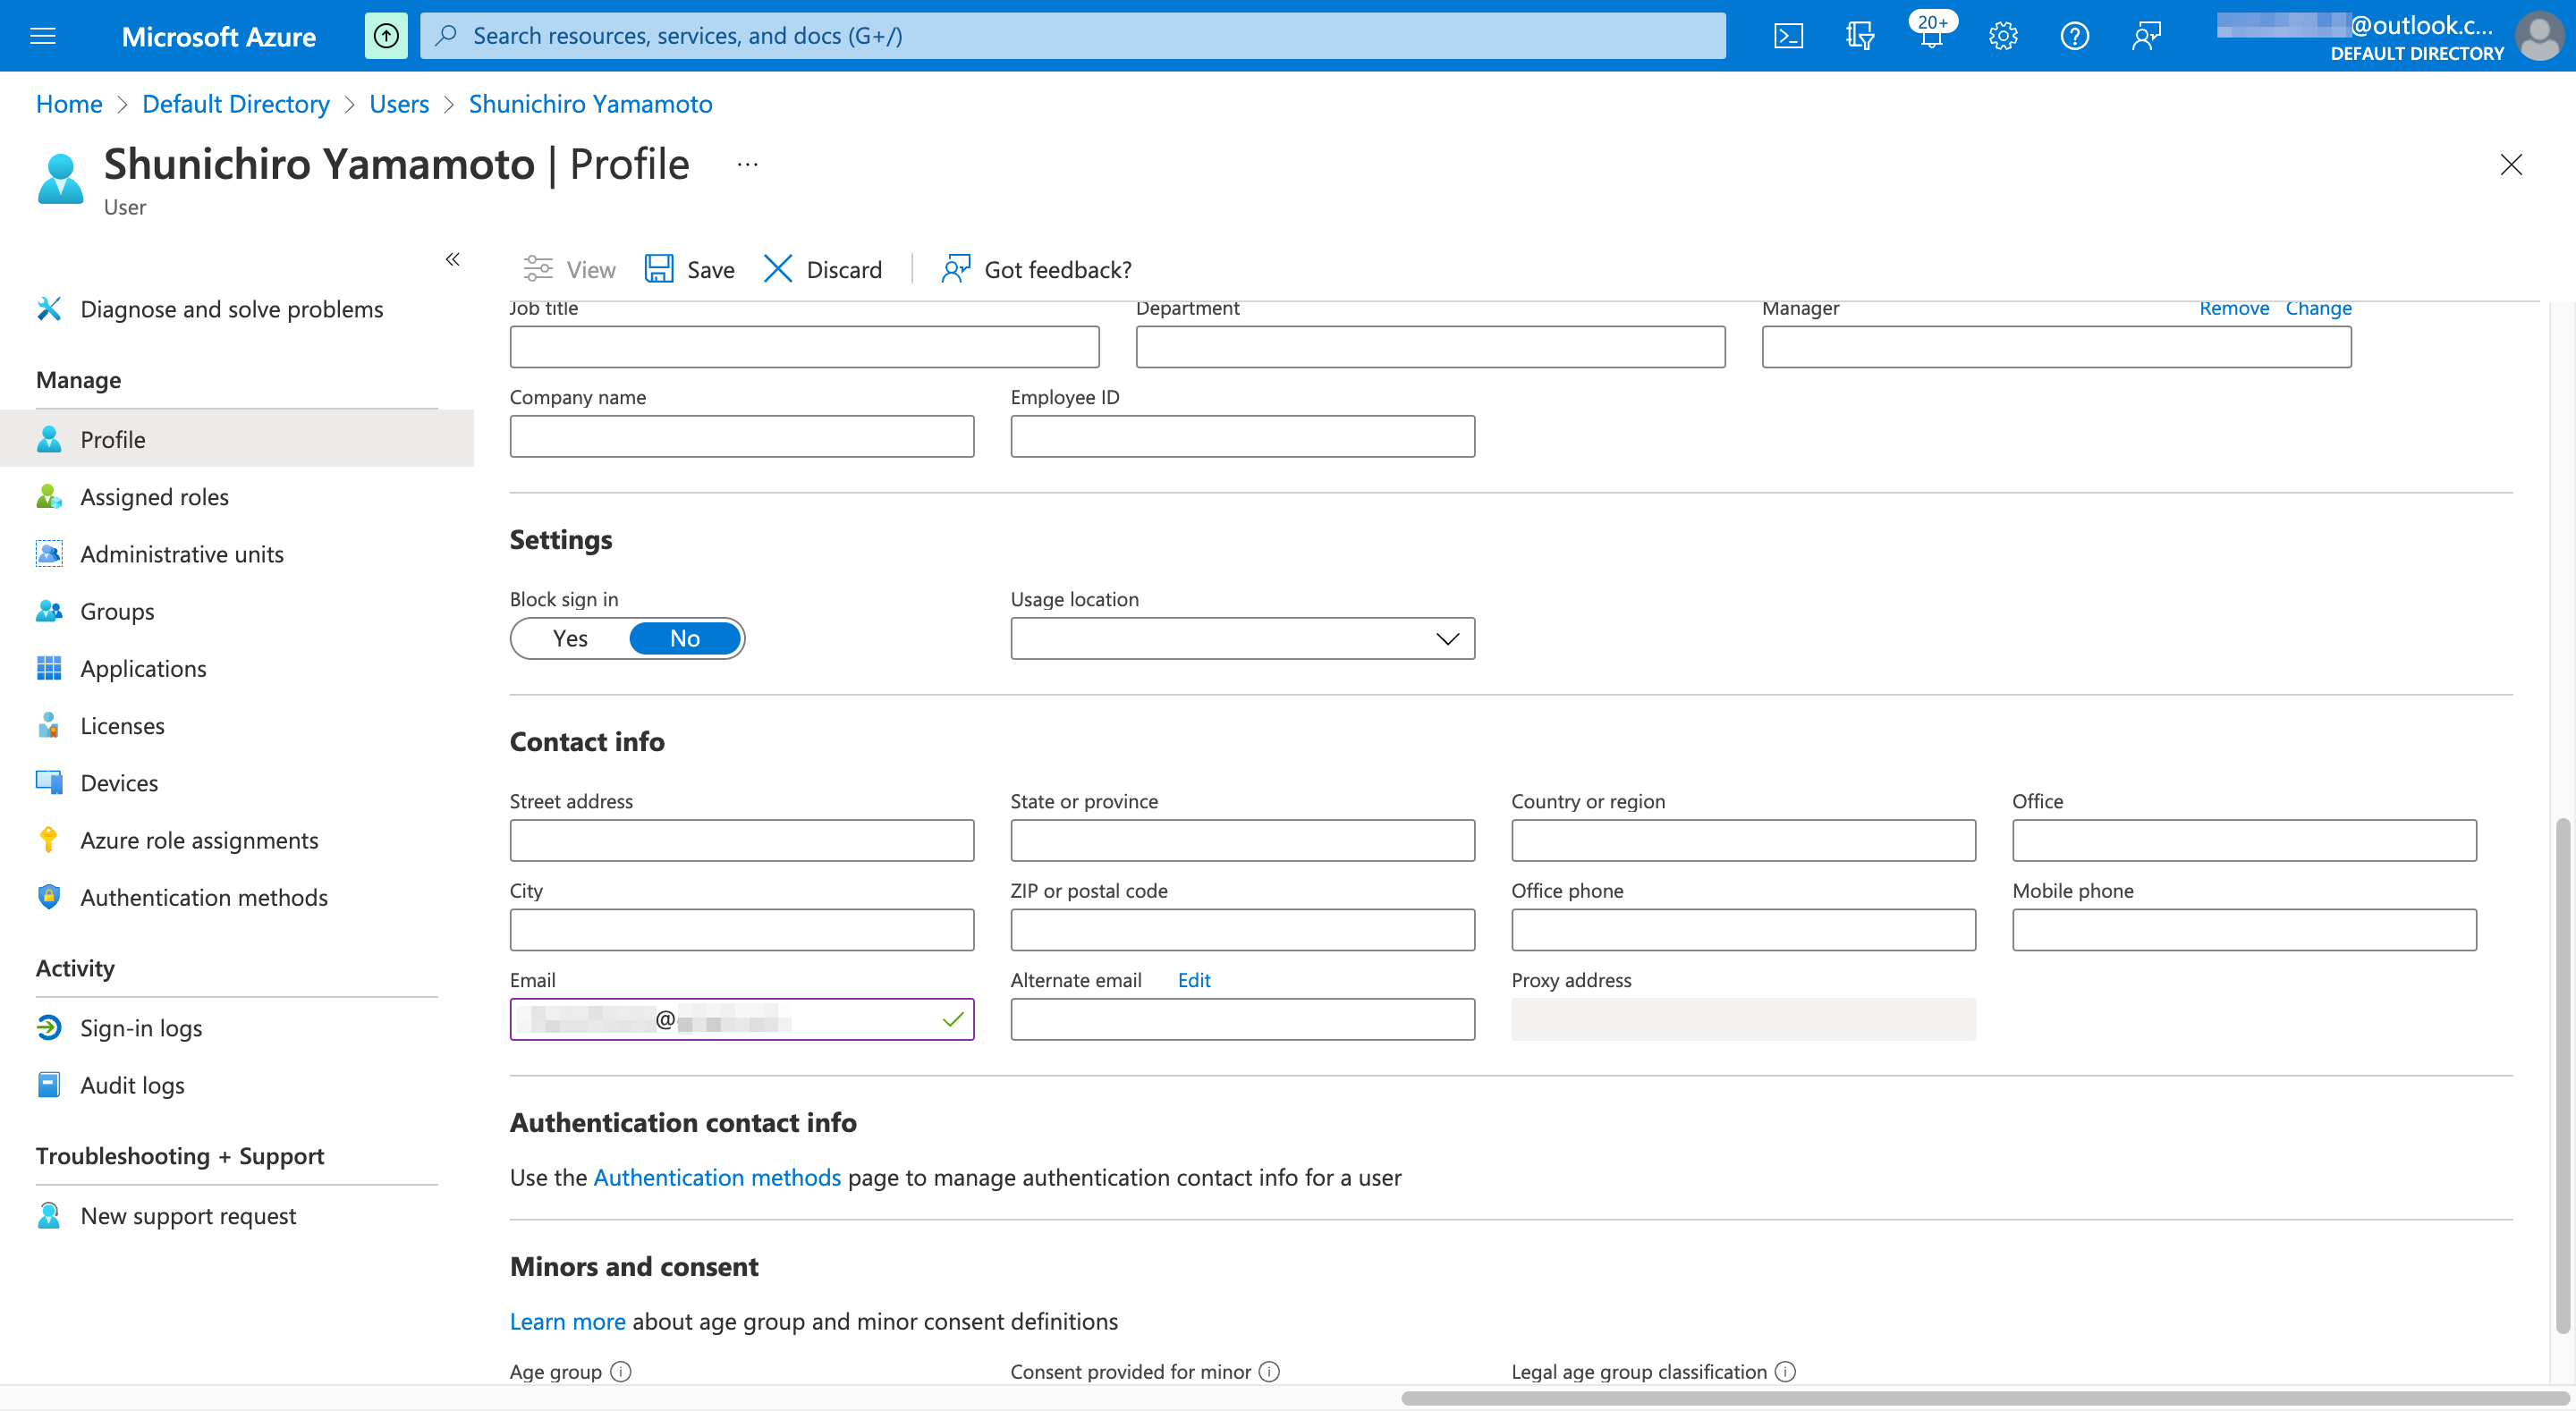
以上で、検証用ユーザに連絡可能なメールアドレスが設定されました。

Amplify アプリを Azure AD エンタープライズアプリケーションとして設定する
最初の手順で作成した検証用 Amplify アプリを、Azure AD のエンタープライズアプリケーションとして設定します。
- エンタープライズアプリケーションを追加する
- エンタープライズアプリケーションにユーザを追加する
- エンタープライズアプリケーションに Single sign-on (SSO) を設定する
- エンタープライズアプリケーションの Single sign-on (SSO) をテストする
エンタープライズアプリケーションを追加する
Azure Active Directory のデフォルトディレクトリ(仮に mydomain.com)を選択し、サイドメニューの「Enterprise applications」を選択します。
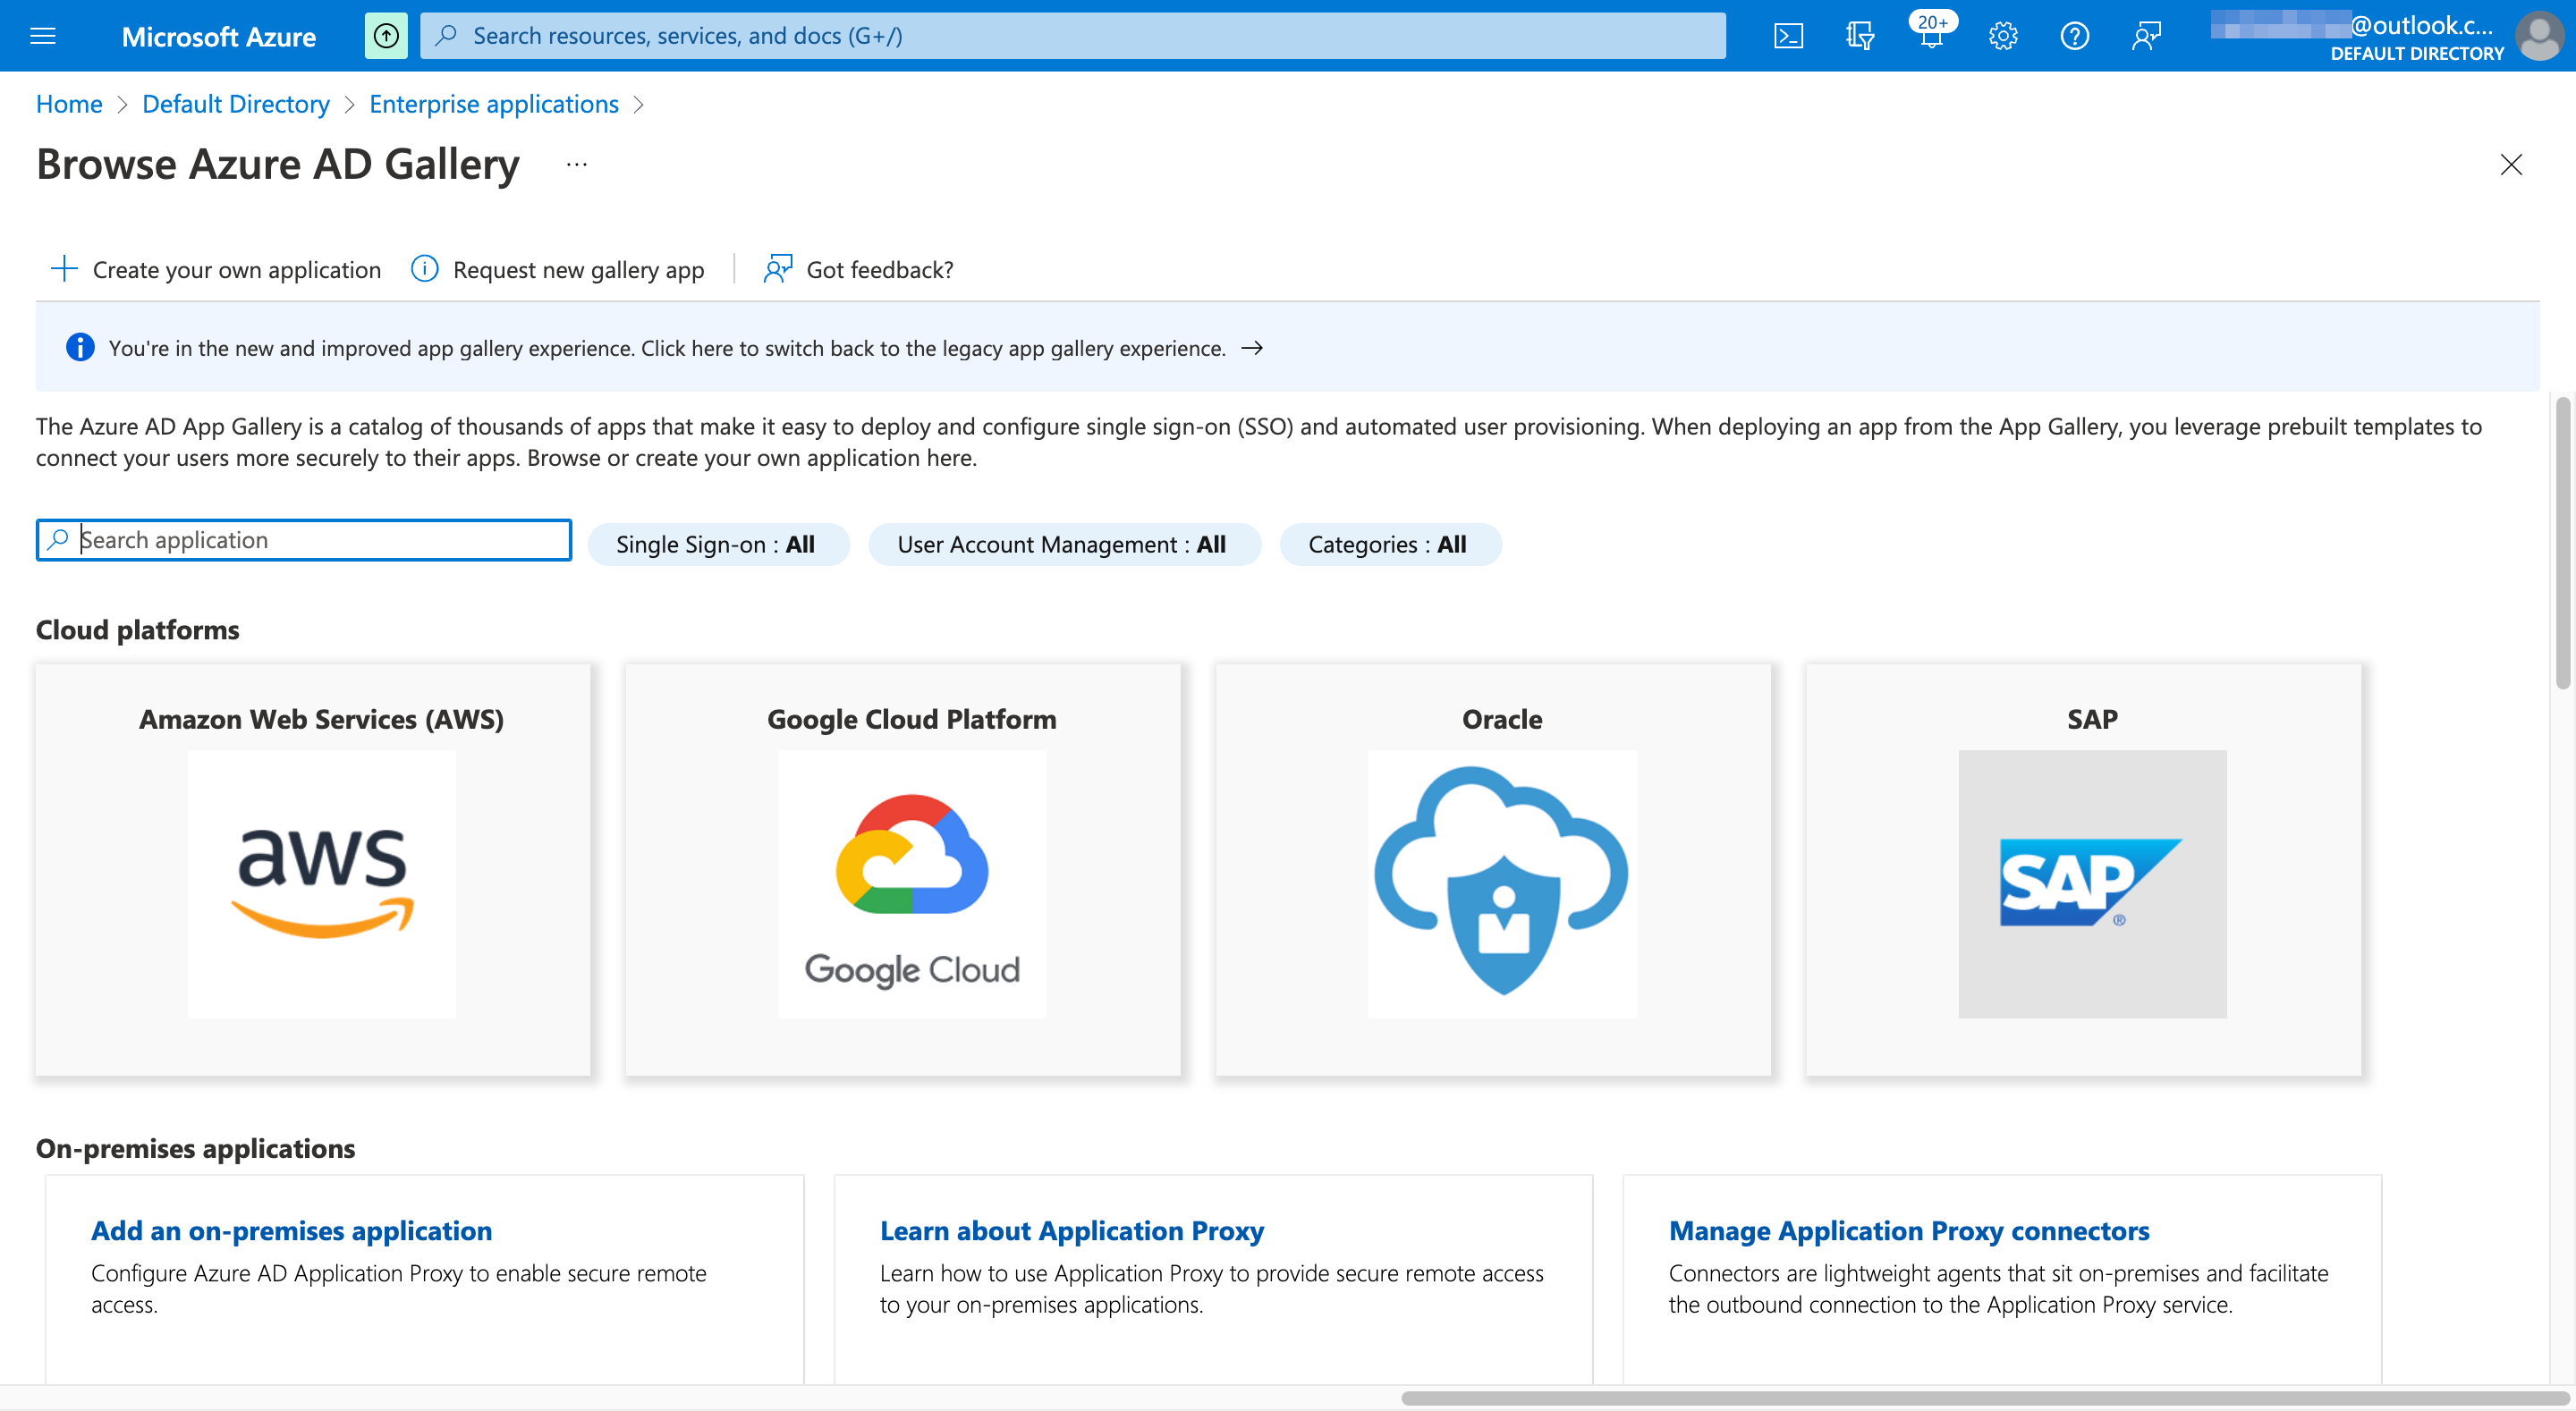
ツールバーの「New application」を選択します。

ツールバーの「Create your own application」を選択します。
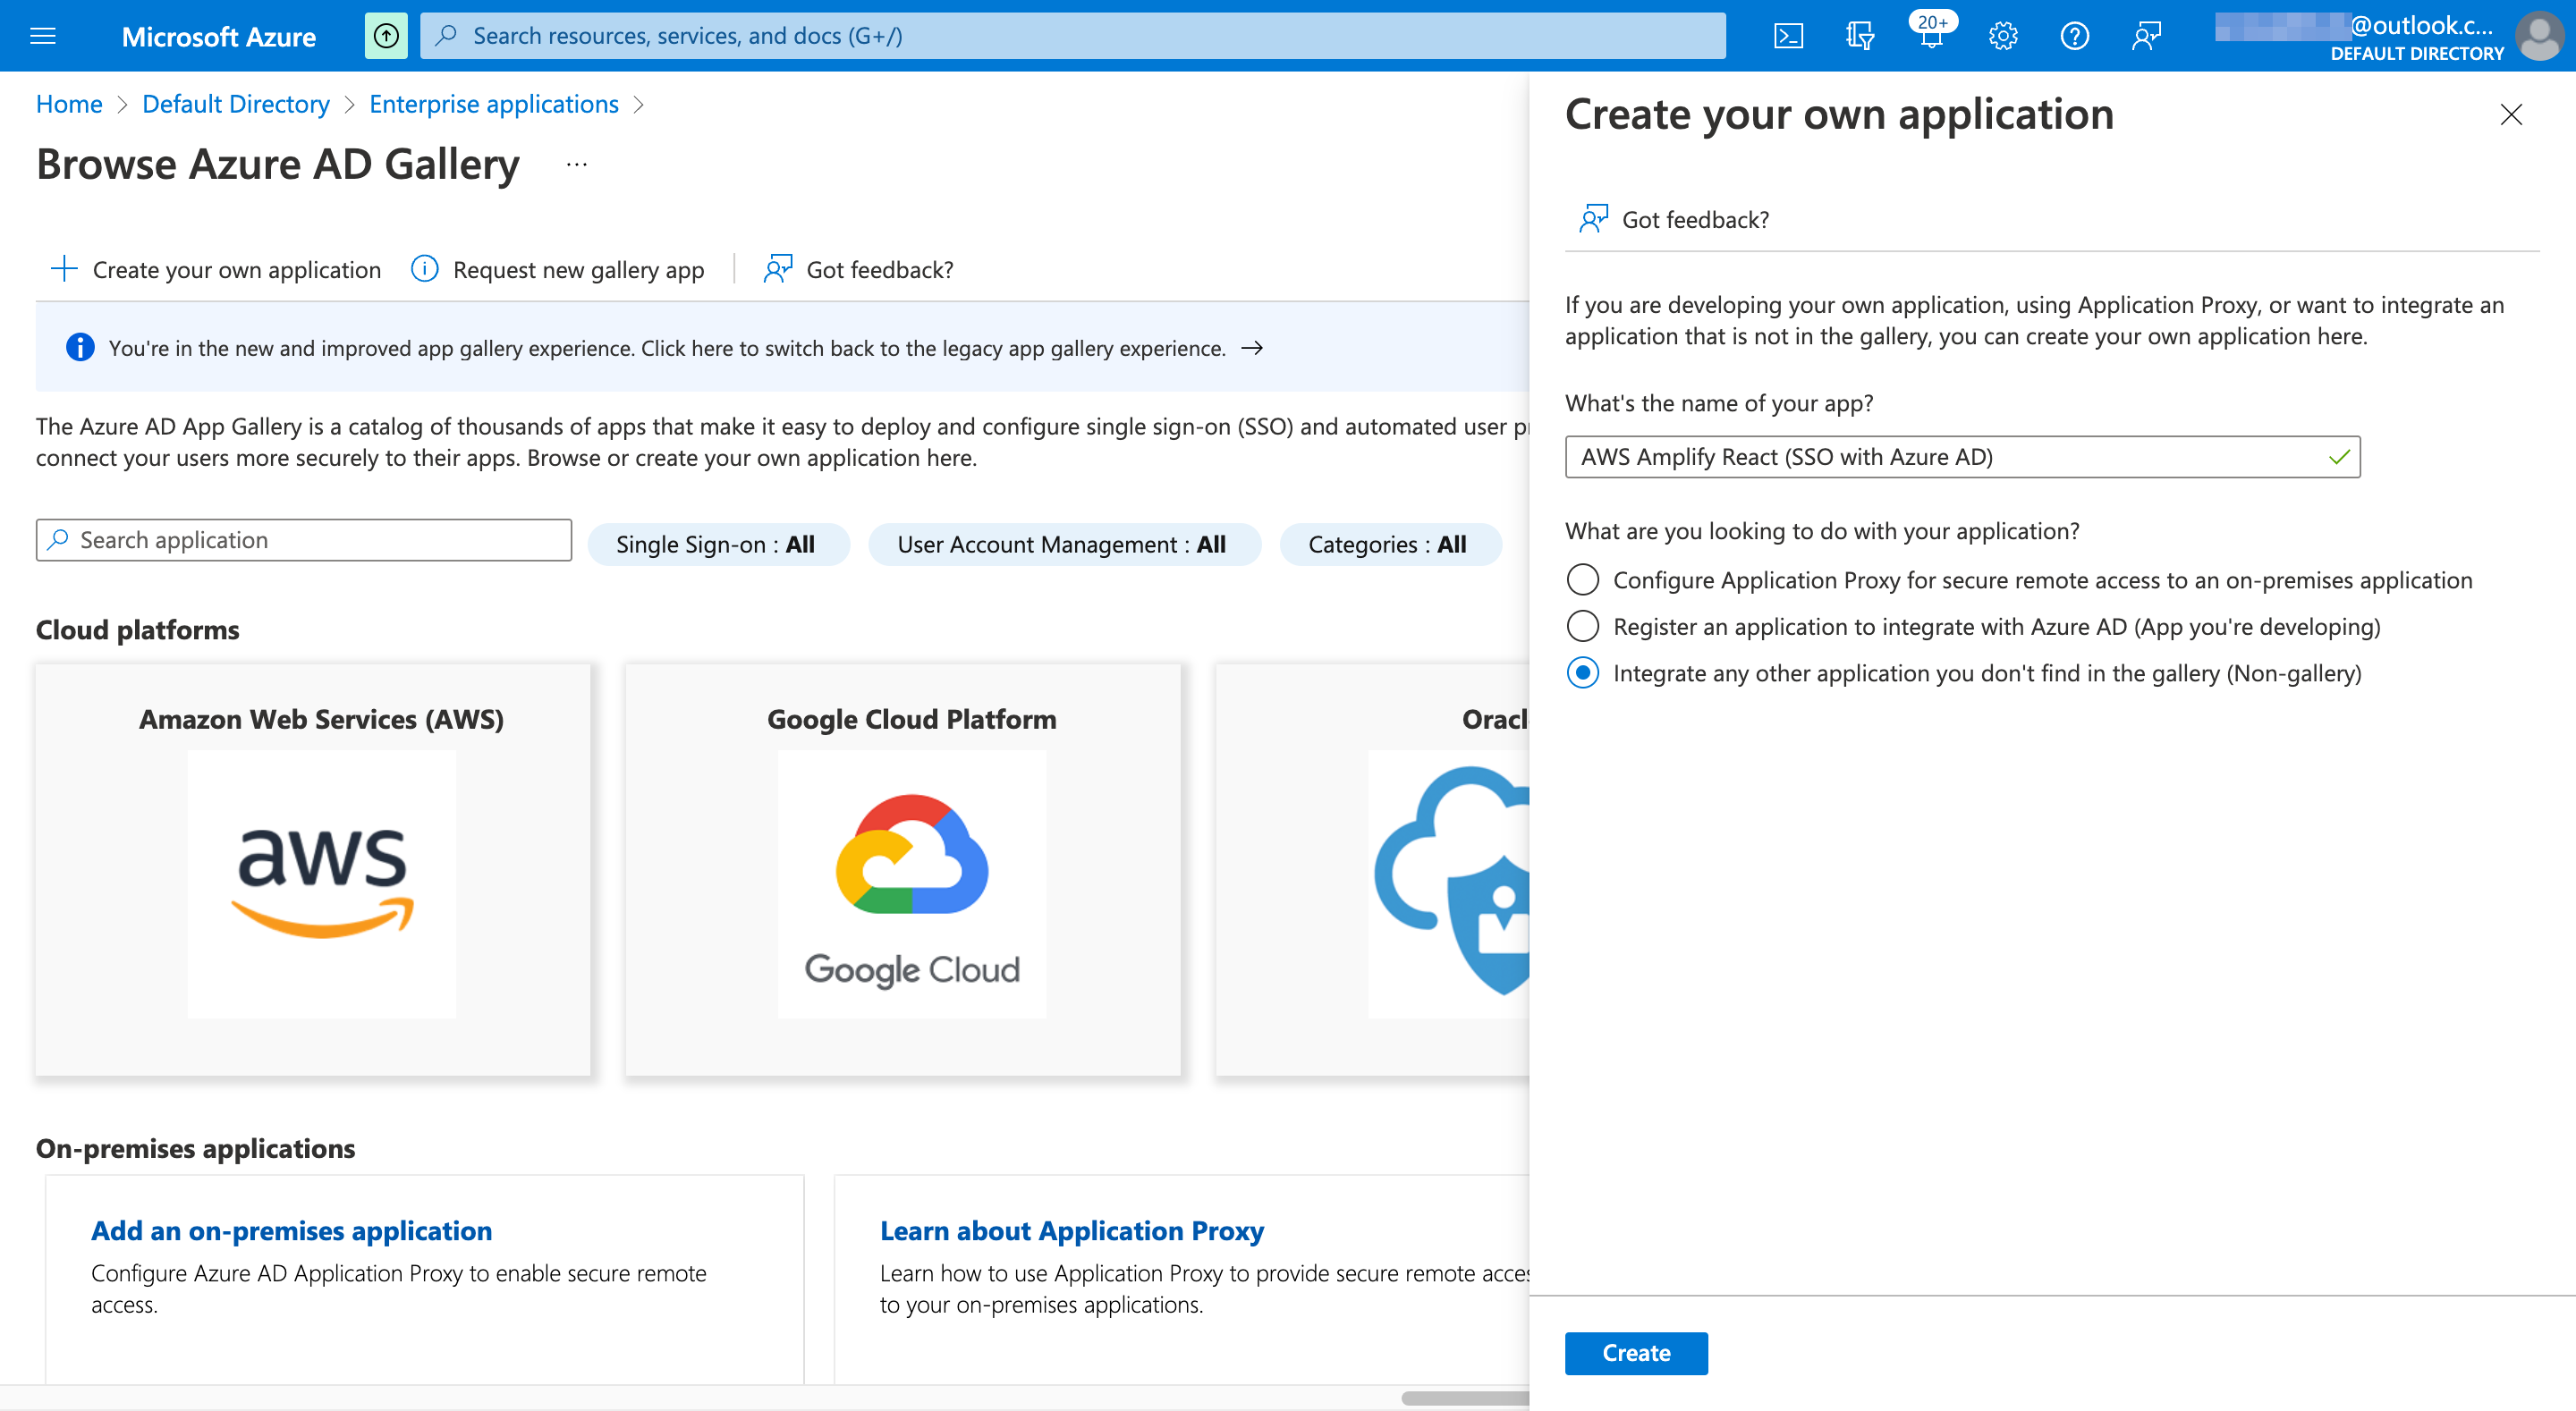
アプリケーション名とアプリケーションタイプを入力・選択し、「Create」ボタンを選択します。アプリケーション名は少し長いですが、AWS Amplify React (SSO with Azure AD) としました。
| キー | 値 |
|---|---|
| What's the name of your app? | <アプリケーション名> |
| What are you looking to do with your application? | Integrate any other application you don't fine in the gallery (Non-gallery) |
以上の手順で、エンタープライズアプリケーション(AWS Amplify React (SSO with Azure AD))が登録されました。

エンタープライズアプリケーションにユーザを追加する
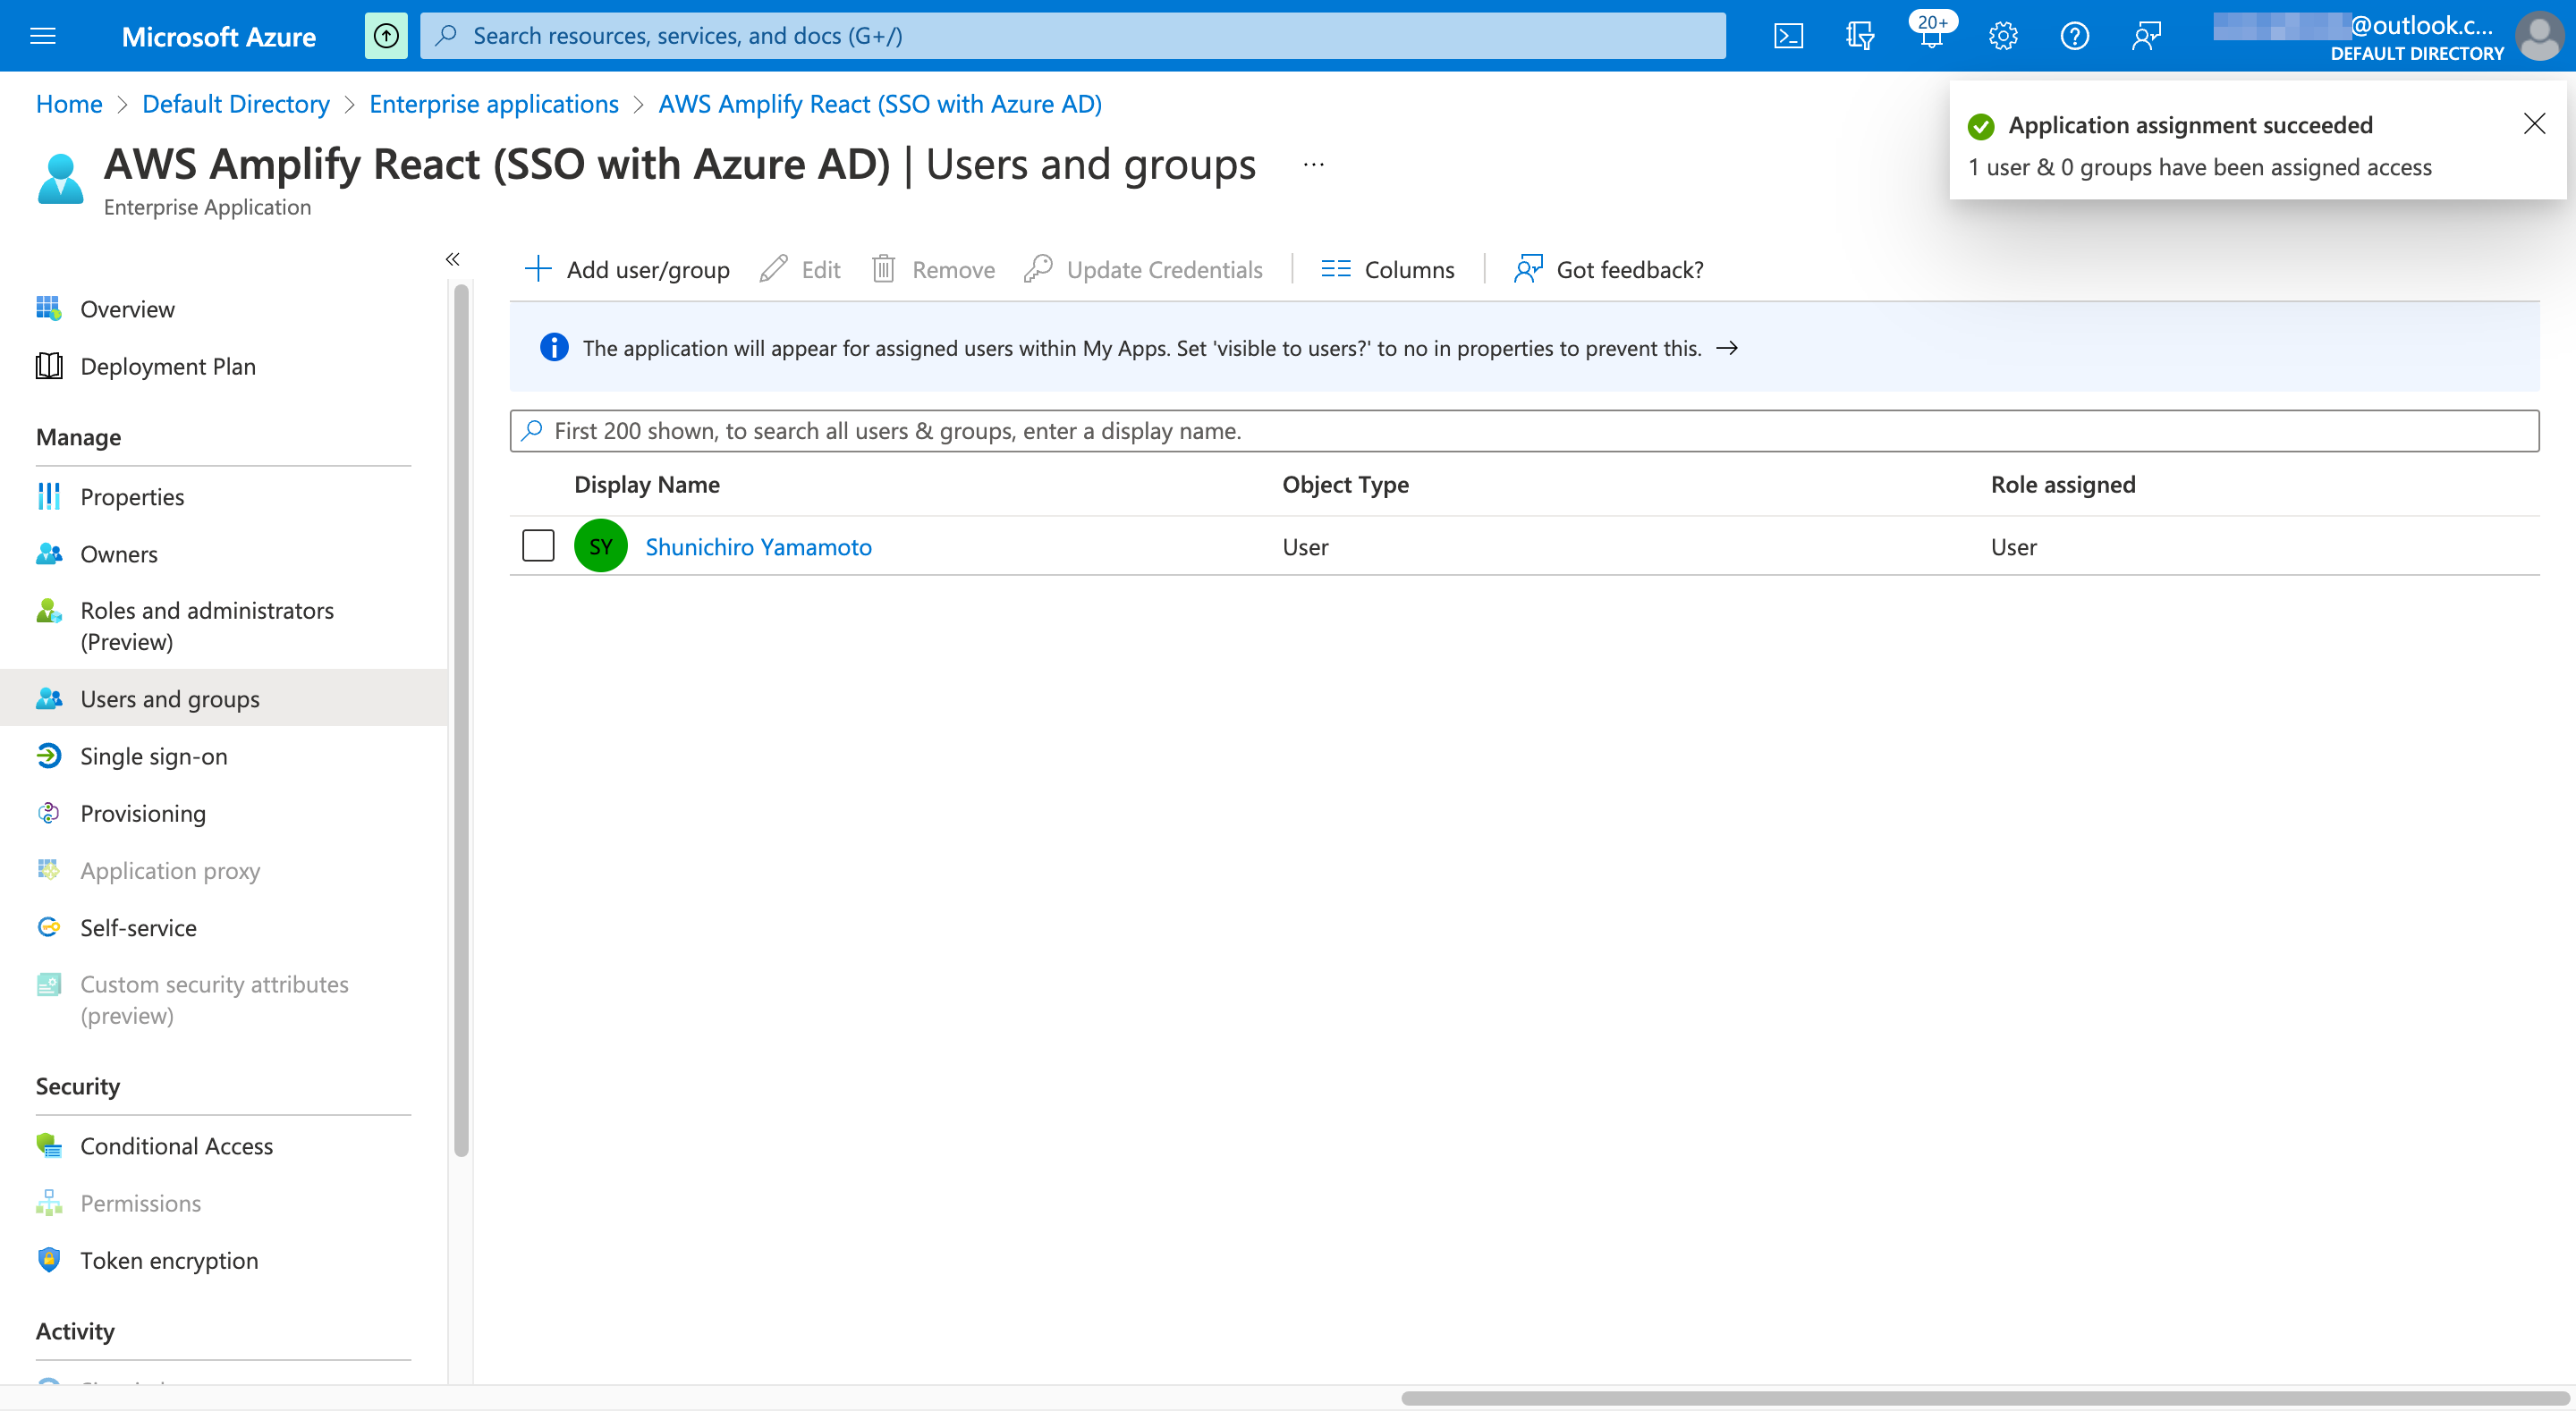
サイドメニューから「Users and groups」を選択し、ツールバーの「Add user/group」をクリックをします。

Users の None selected を選択します。

追加したいユーザを選択し、「Select」ボタンを選択します。

1 user selected. と表示されていることを確認し、「Assign」ボタンを選択します。

以上の手順で、AWS Amplify React (SSO with Azure AD) エンタープライズアプリケーションにユーザが割り当たりました。
エンタープライズアプリケーションに Single sign-on (SSO) を設定する
サイドメニューから「Single sign-on」を選択します。4 つの方式から「SAML」を選択します。

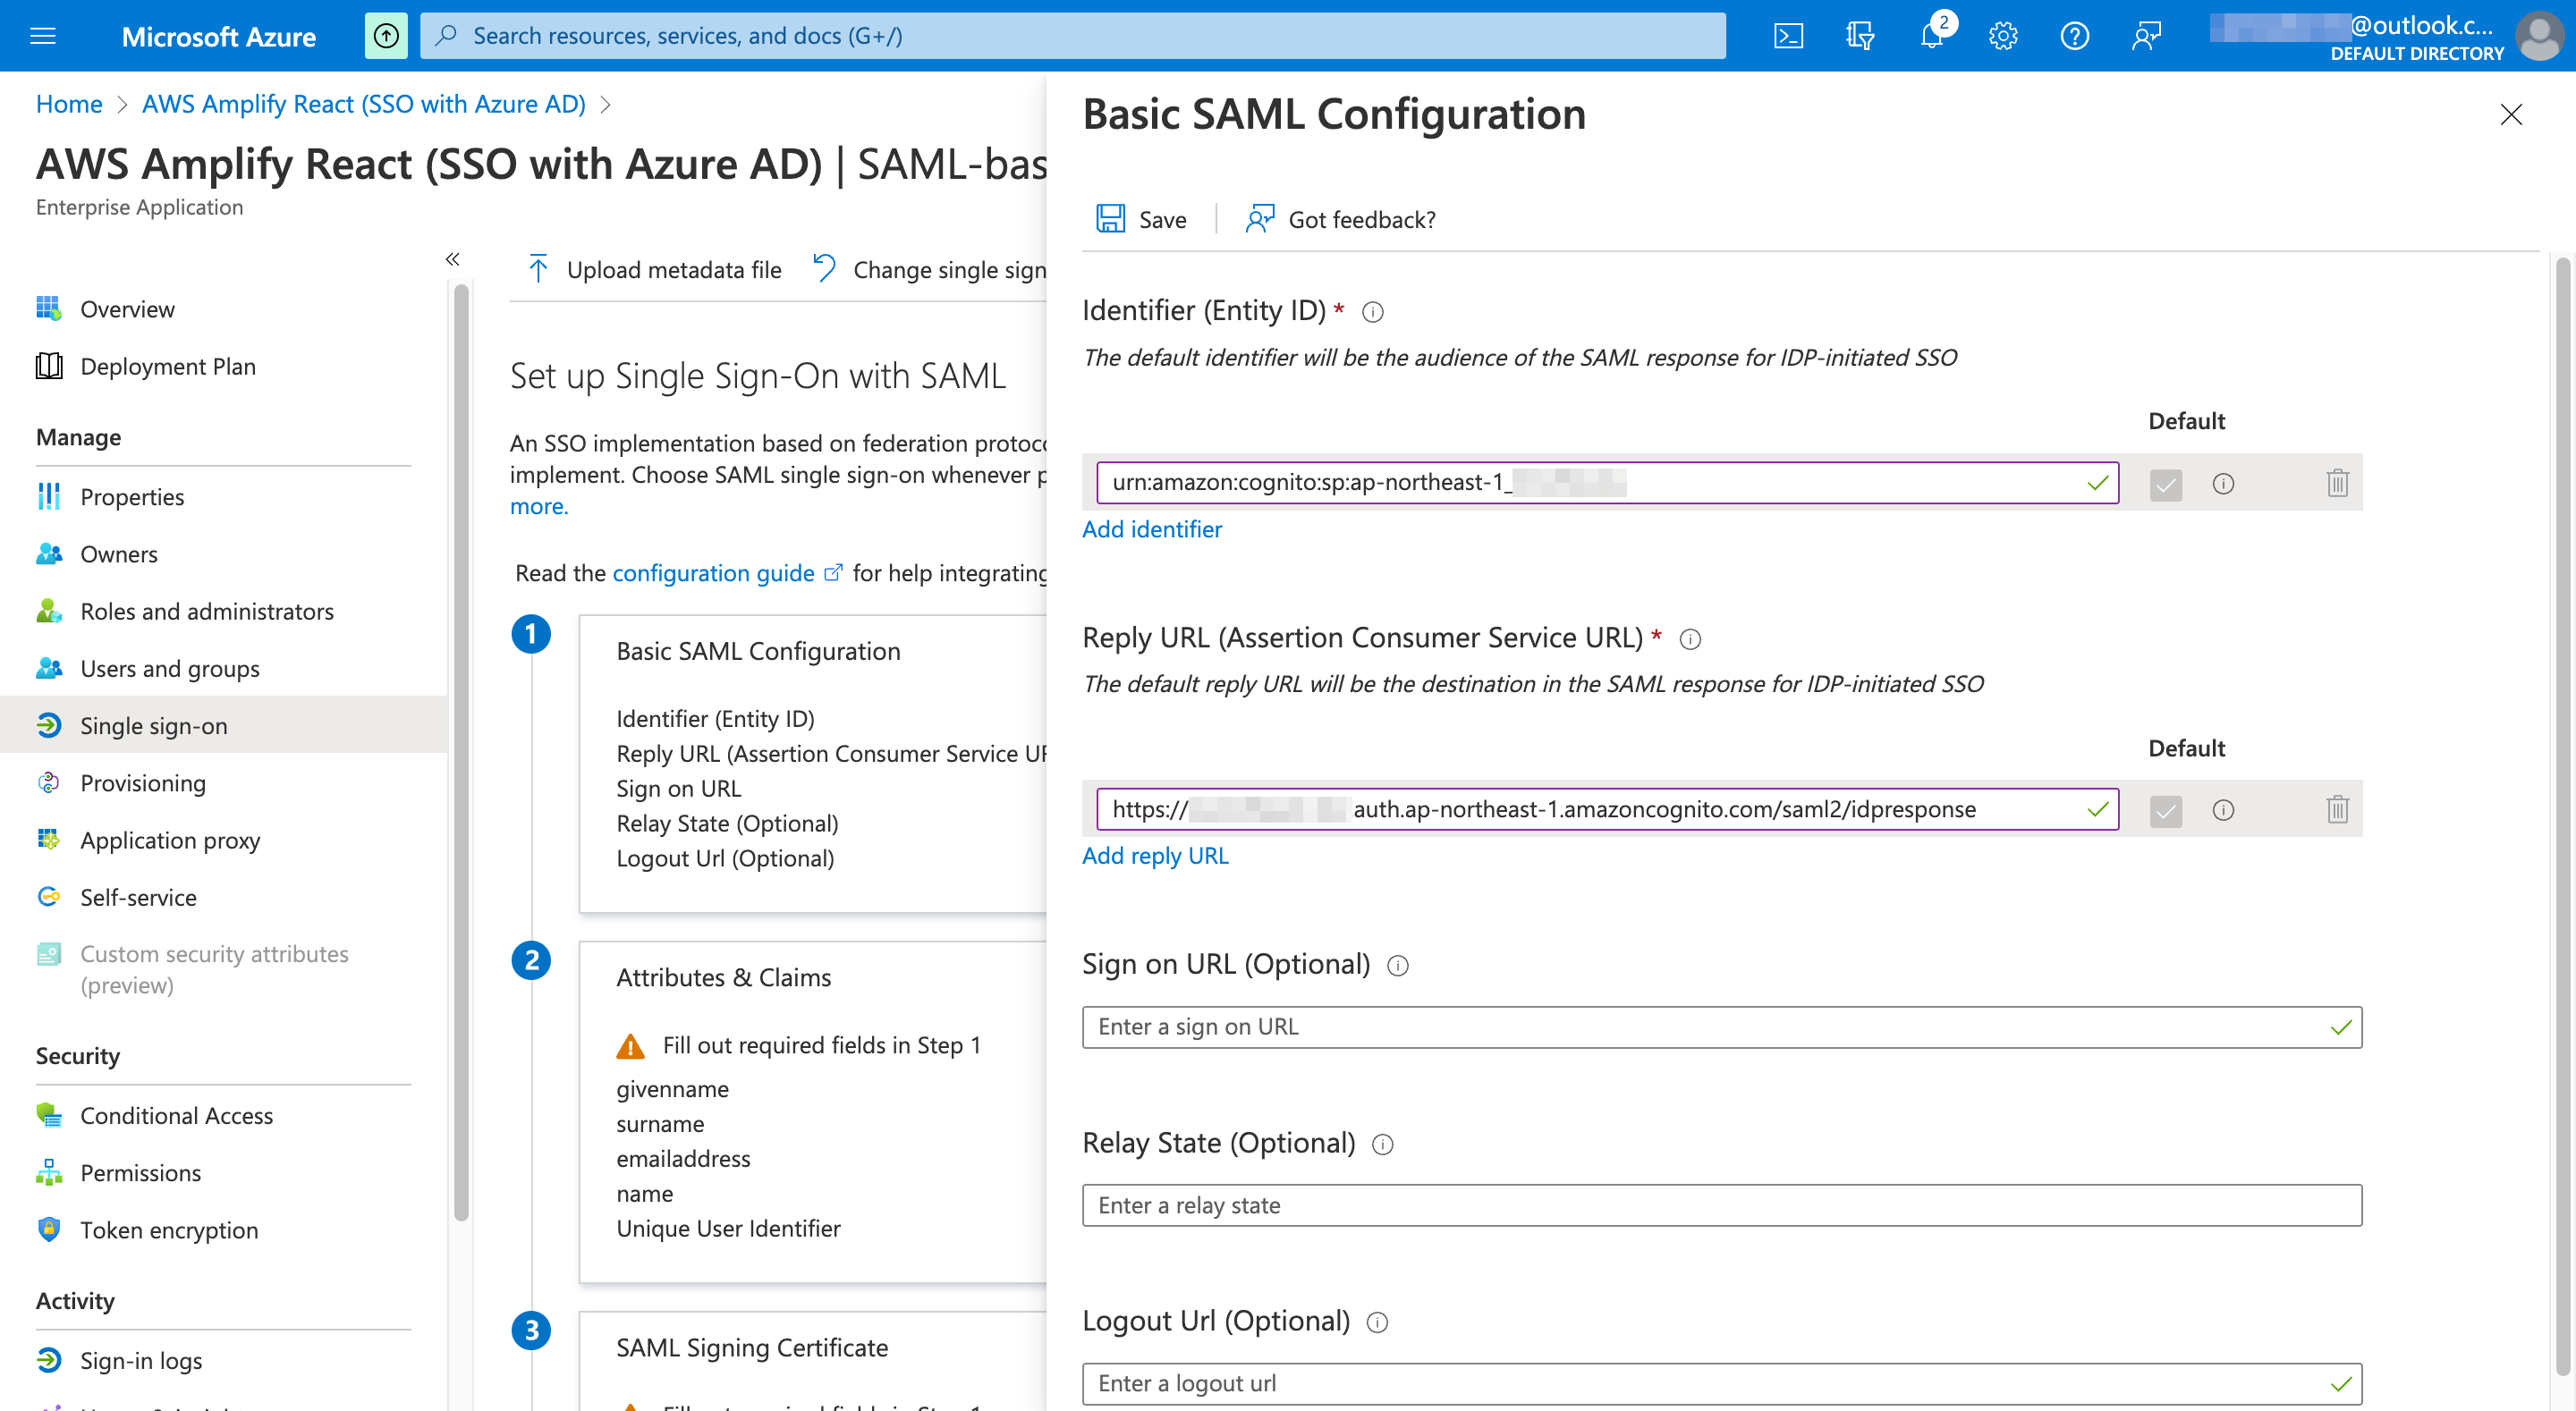
Single Sign-On with SAML 設定画面が表示されます。ステップ 1:Basic SAML Configuration の「Edit」を選択します。

Identifier と Reply URL を入力し、「Save」ボタンを選択します。Cognito の User Pool ID と Cognito Domain (Hosted UI および Auth 2.0 エンドポイント)は、前の手順で控えておいたものを指定します。
| 項目 | 入力値 |
|---|---|
| Identifier (Entity ID) | urn:amazon:cognito:sp:<Cognito User Pool ID> |
| Reply URL (Assertion Consumer Service URL) | https://<Cognito Domain>.auth.ap-northeast-1.amazoncognito.com/saml2/idpresponse |
 |
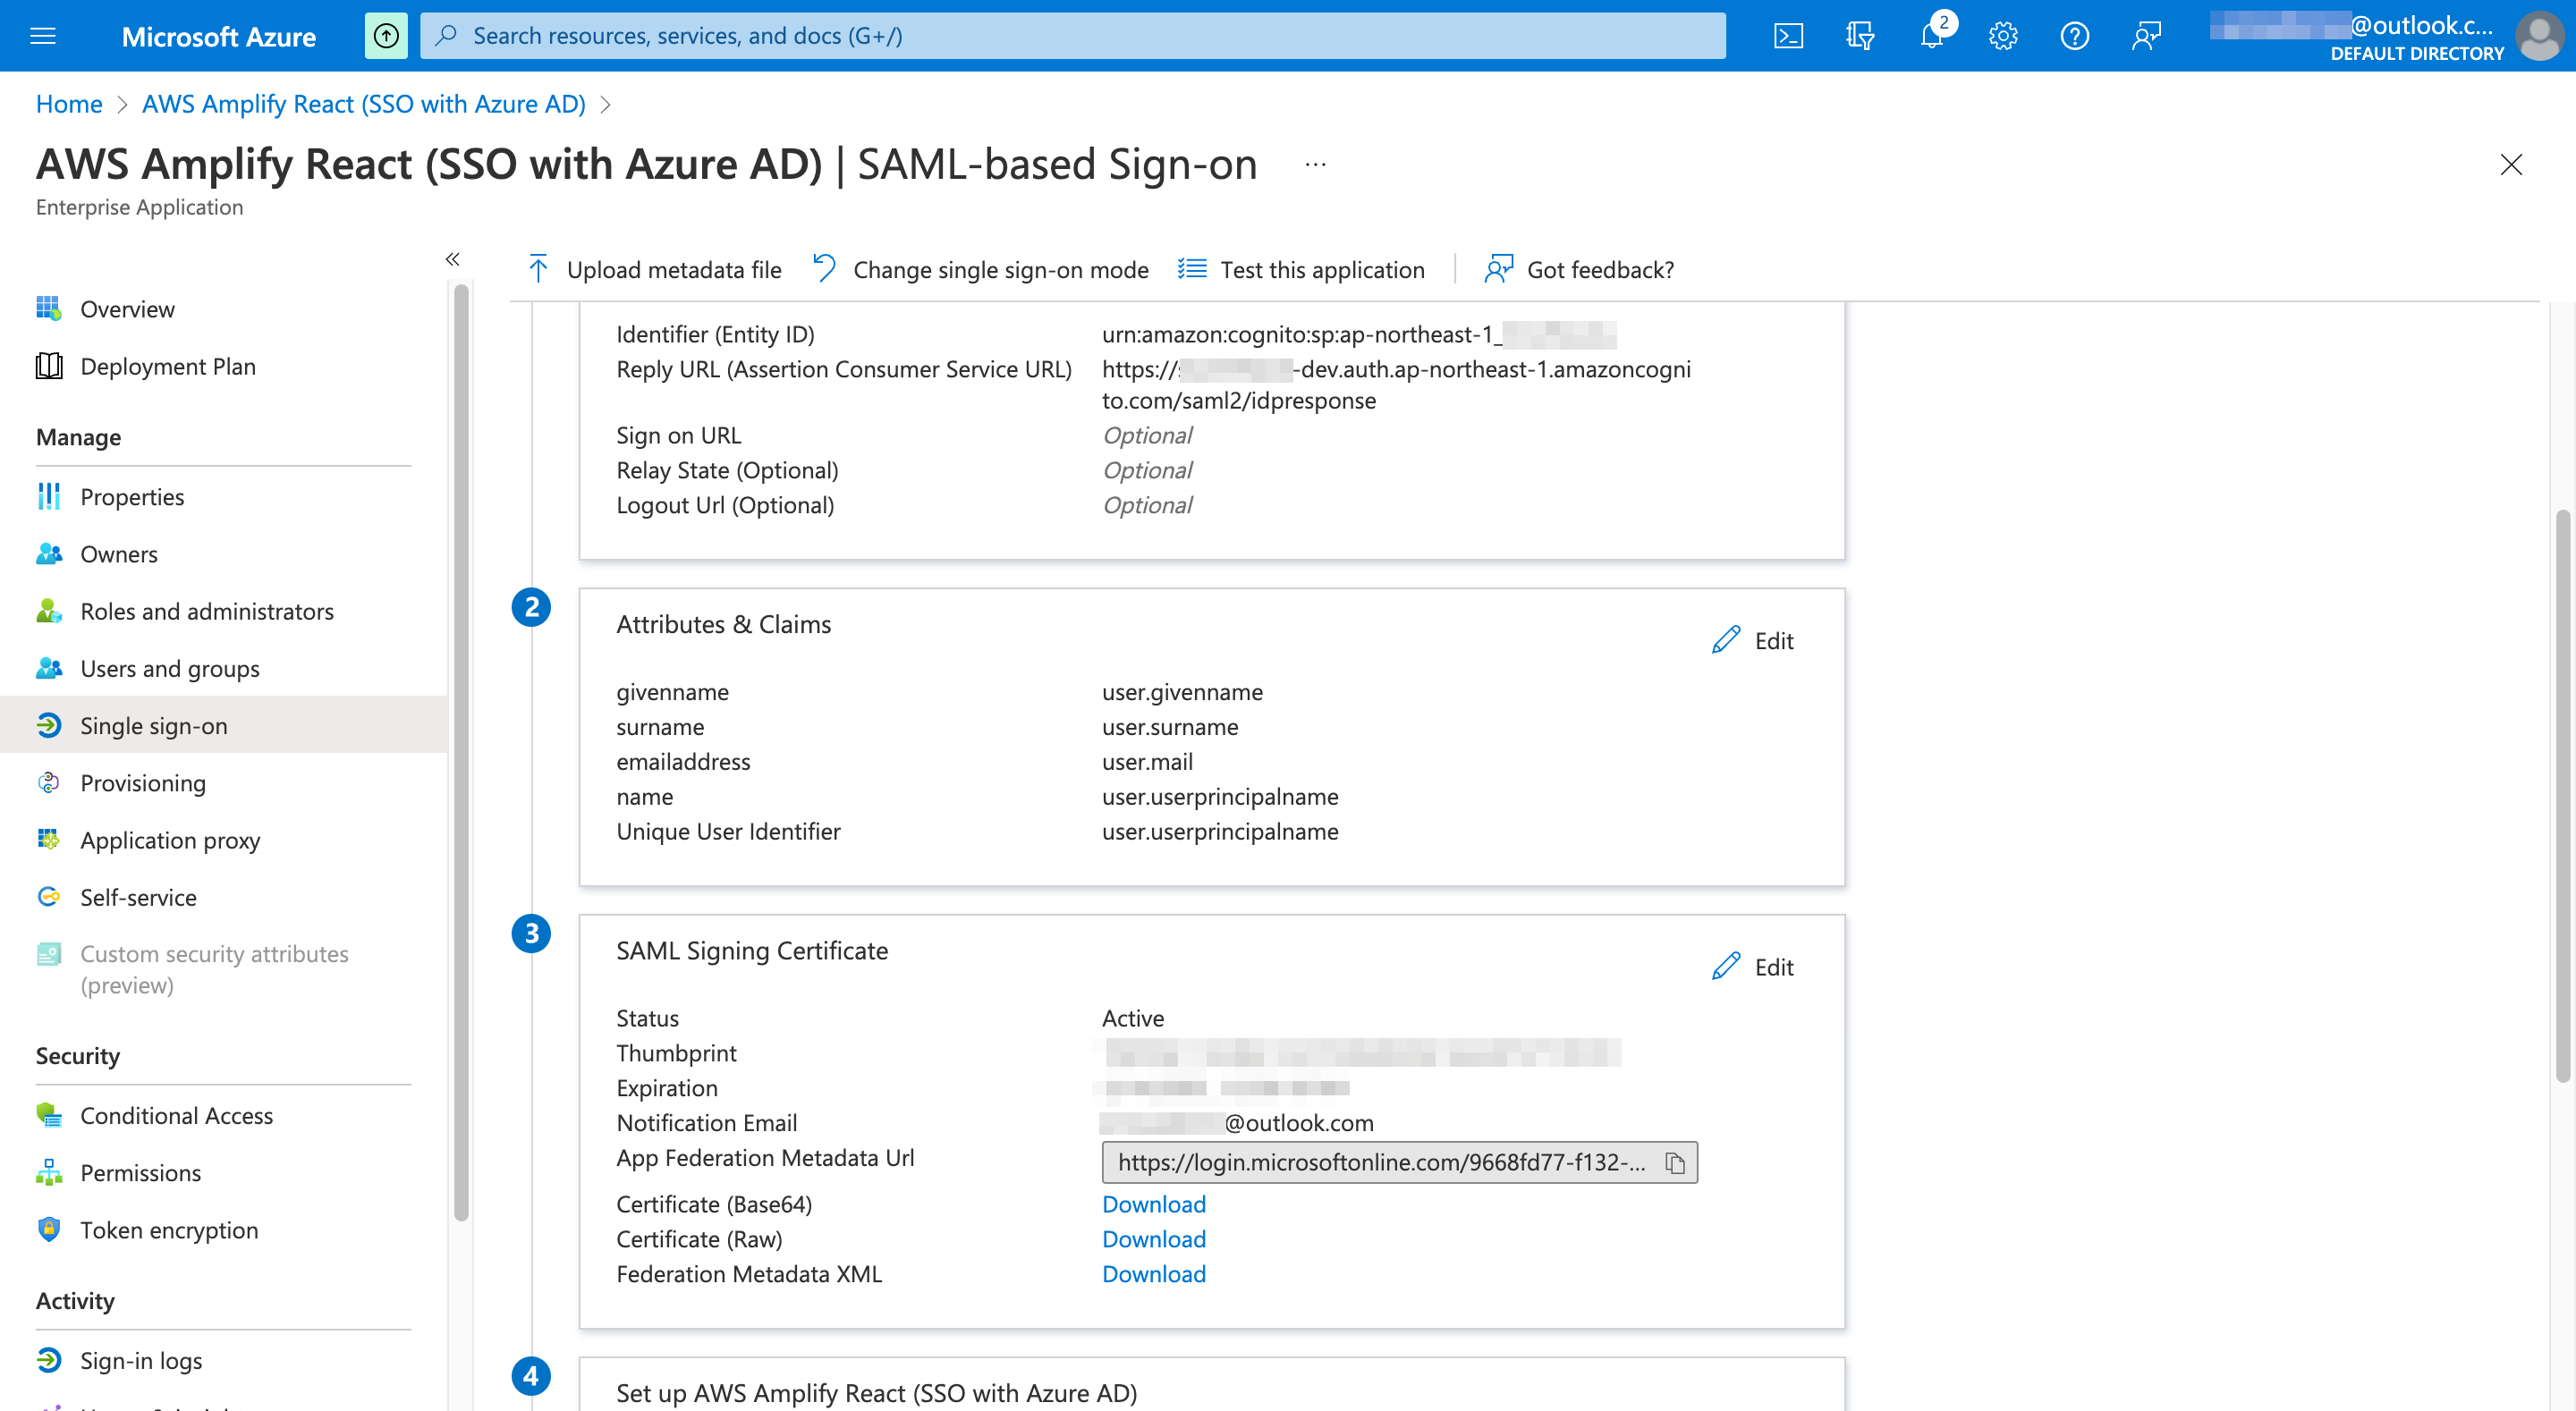
ステップ 3:SAML Signing Certificate の App Federation Metadata Url の値をコピーしておきます。後ほど、Cognito 側で設定します。
エンタープライズアプリケーションの Single sign-on (SSO) をテストする
ステップ 5:Test single sign-on with AWS Amplify React (SSO with Azure AD) の「Test」ボタンを選択します。

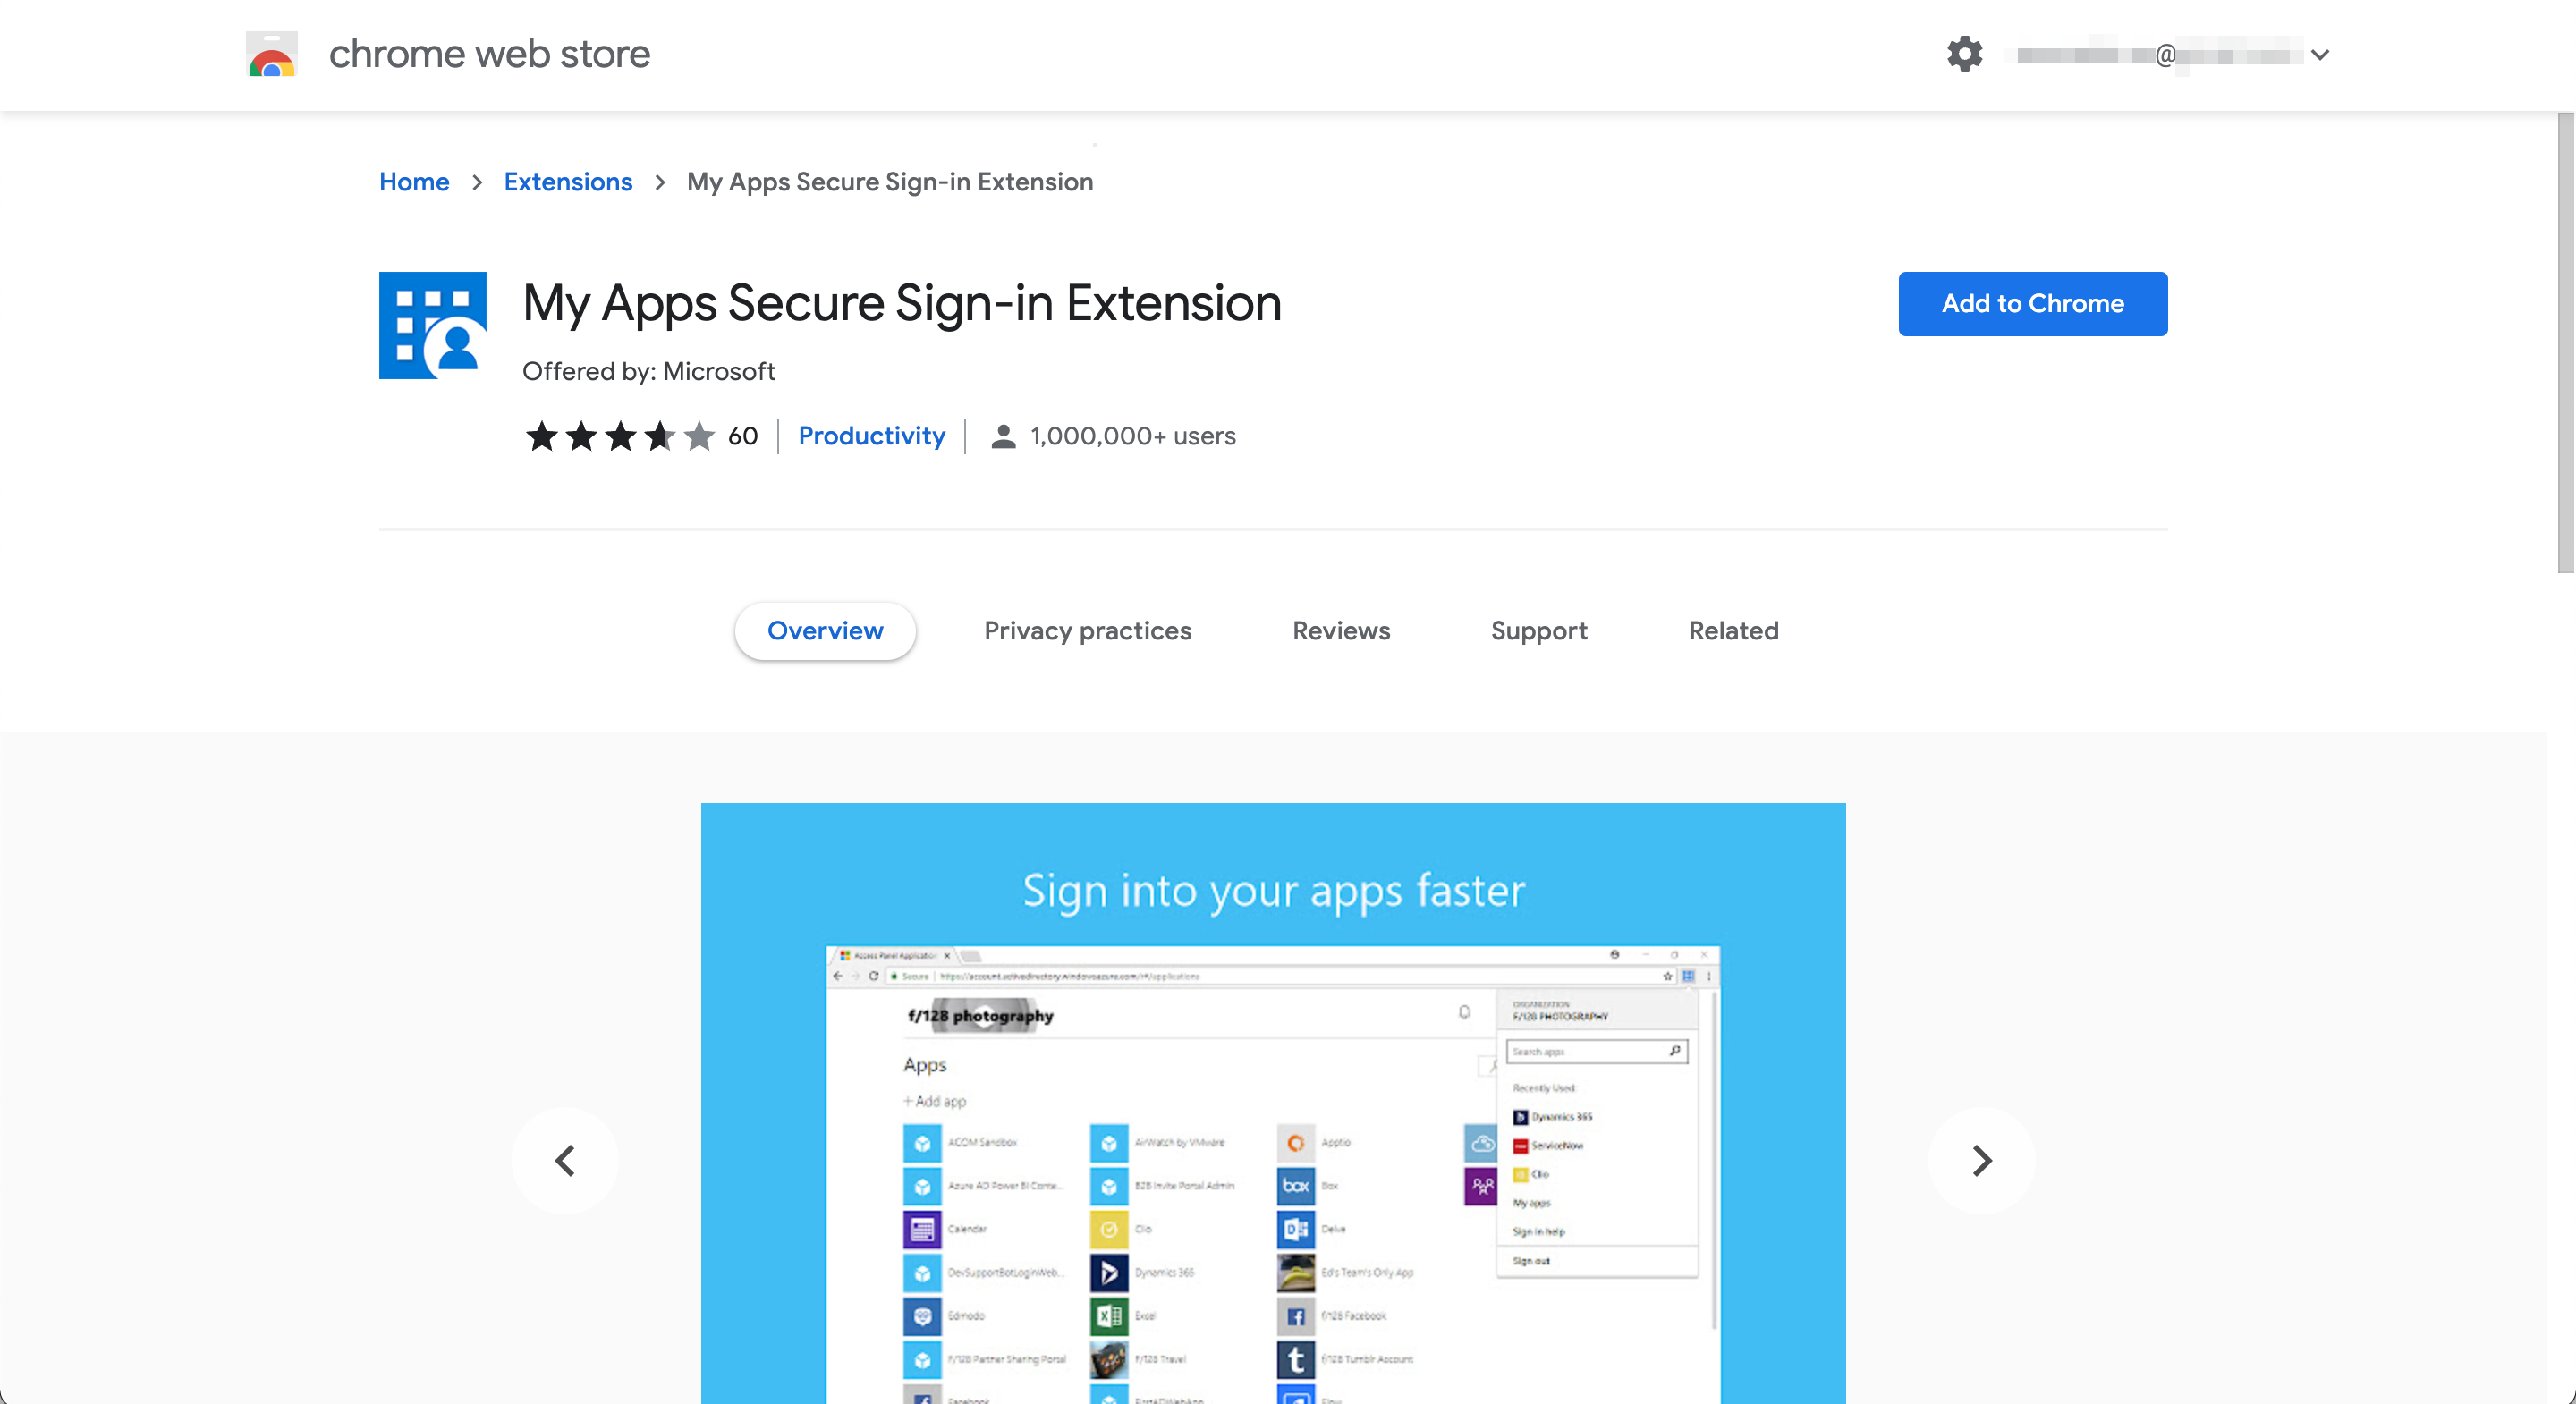
次の手順のために、Microsoft 謹製の My Apps Secure Sign-in Extension ブラウザ拡張をインストールしておきます(「Sign in as current user」を選択する場合は不要です)。今回は、Azure 管理者の Microsoft アカウントでサインインした状態で、検証用ユーザのサインインをテストするので、「Sign in as someone else (required browser extension)」を選択します。
「Sign in as someone else (required browser extension)」を選択し、「Test sign in」ボタンを選択します。

先ほど追加した検証用ユーザの Azure AD アカウント(連絡用メールアドレスではなく、myalias@mydomain.com の方です)を入力し、「Next」を選択します。

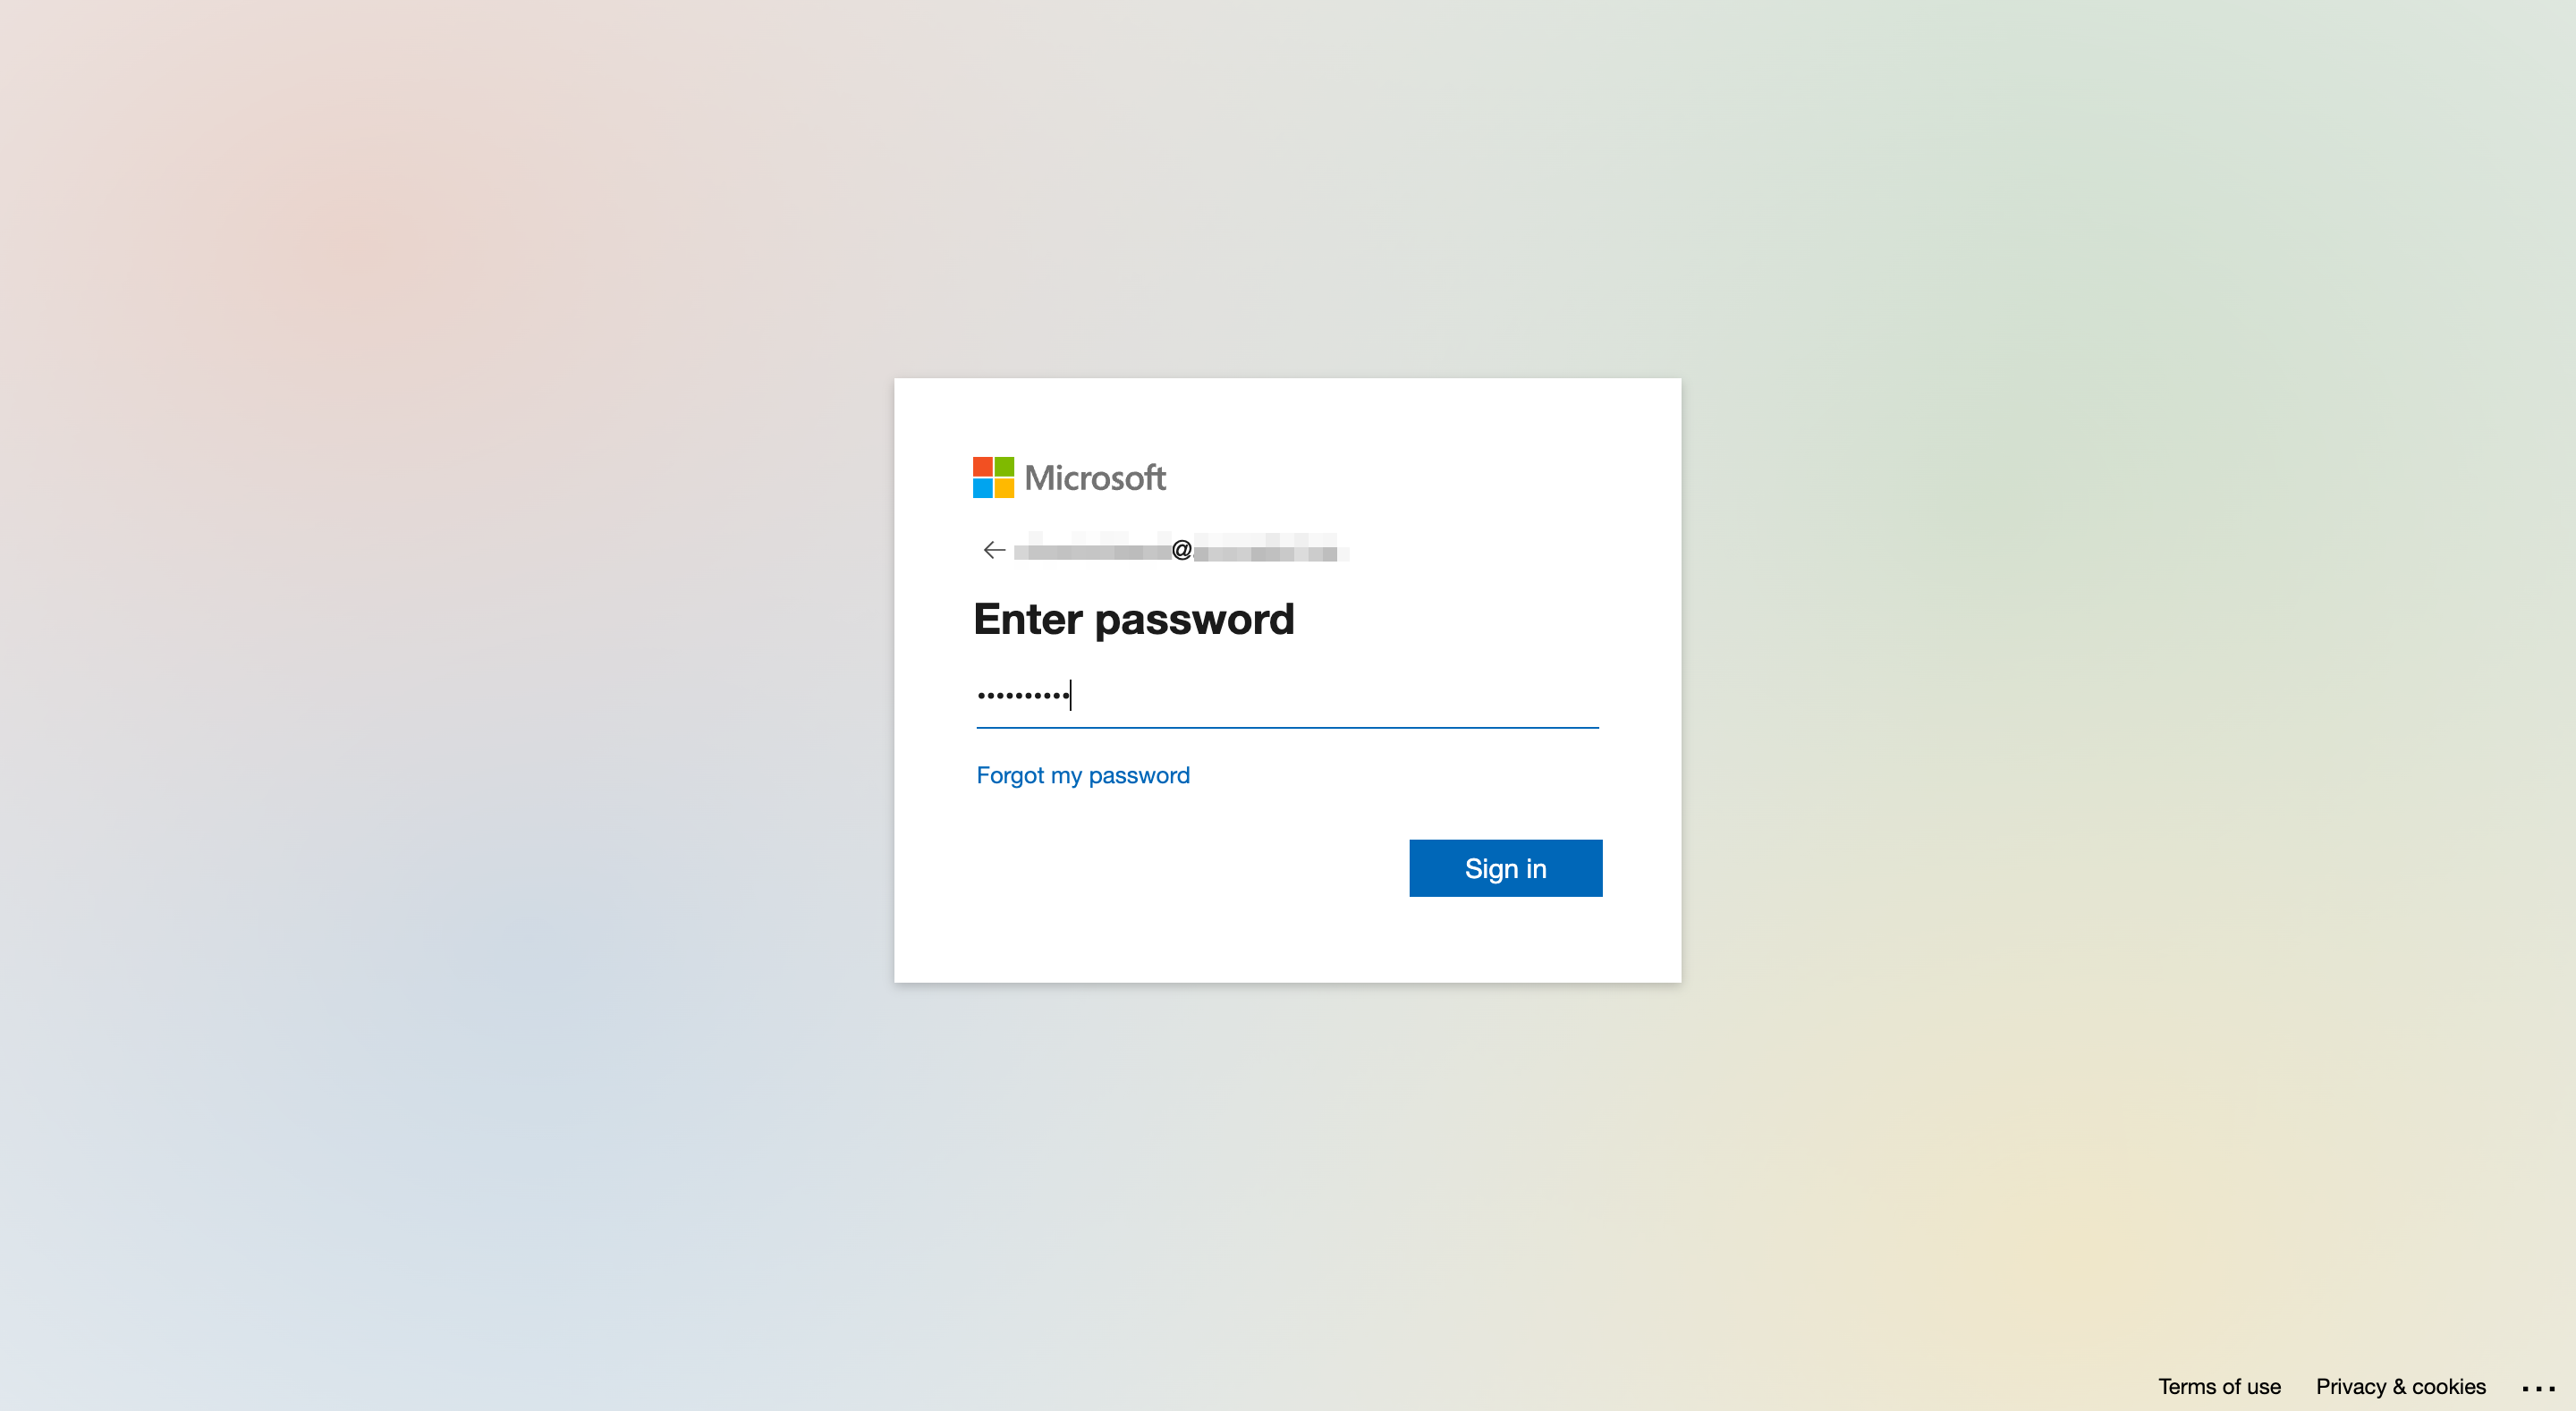
パスワードを入力し、「Sign in」を選択します。
Azure ADでの認証が OK となり、Reply URL で指定した Cognito エンドポイントにリダイレクトされ、別タブが開きます。パラメータエラーが発生していますが、現時点では無視して構いません。

SSO テストに成功し、以下のメッセージが表示されました。右上の「×」で Test を閉じます。以上の手順で、AWS Amplify React (SSO with Azure AD) エンタープライズアプリケーションの設定が完了しました。続けて、リダイレクト先である Cognito の設定を行います。
Azure AD successfully issued a token (SAML response) to the application (service provider). If you still can’t access the application you need to contact the software vendor and share the information below.

Amazon Cognito を設定する
いよいよ設定の大詰めです。まず、Cognito から見たときの Federated IdP として Azure AD を追加し、
- アイデンティティプロバイダを追加する
- Cognito Hosted UI を設定する
アイデンティティプロバイダを追加する(オーバーライド)
管理コンソールから手でポチポチ設定しても良いのですが、せっかくなのでオーバーライドしてみます。amplify override auth コマンドを実行し、amplify/backend/auth//override.ts を生成します。
% amplify override auth
以下のコードを追加します。Directory ID と Applicaiton ID は、適宜読み替えてください。
import { AmplifyAuthCognitoStackTemplate } from "@aws-amplify/cli-extensibility-helper";

export function override(resources: AmplifyAuthCognitoStackTemplate) {
  resources.addCfnResource(
    {
      type: "AWS::Cognito::UserPoolIdentityProvider",
      properties: {
        ProviderName: "AzureAD",
        ProviderType: "SAML",
        UserPoolId: resources.userPool.ref,
        AttributeMapping: {
          email:
            "http://schemas.xmlsoap.org/ws/2005/05/identity/claims/emailaddress",
        },
        ProviderDetails: {
          MetadataURL:
            "https://login.microsoftonline.com/<Directory ID>/federationmetadata/2007-06/federationmetadata.xml?appid=<Applicaiton ID>",
        },
      },
    },
    "SAML"
  );
}
amplify push コマンドを実行し、設定変更を反映します。
% amplify push
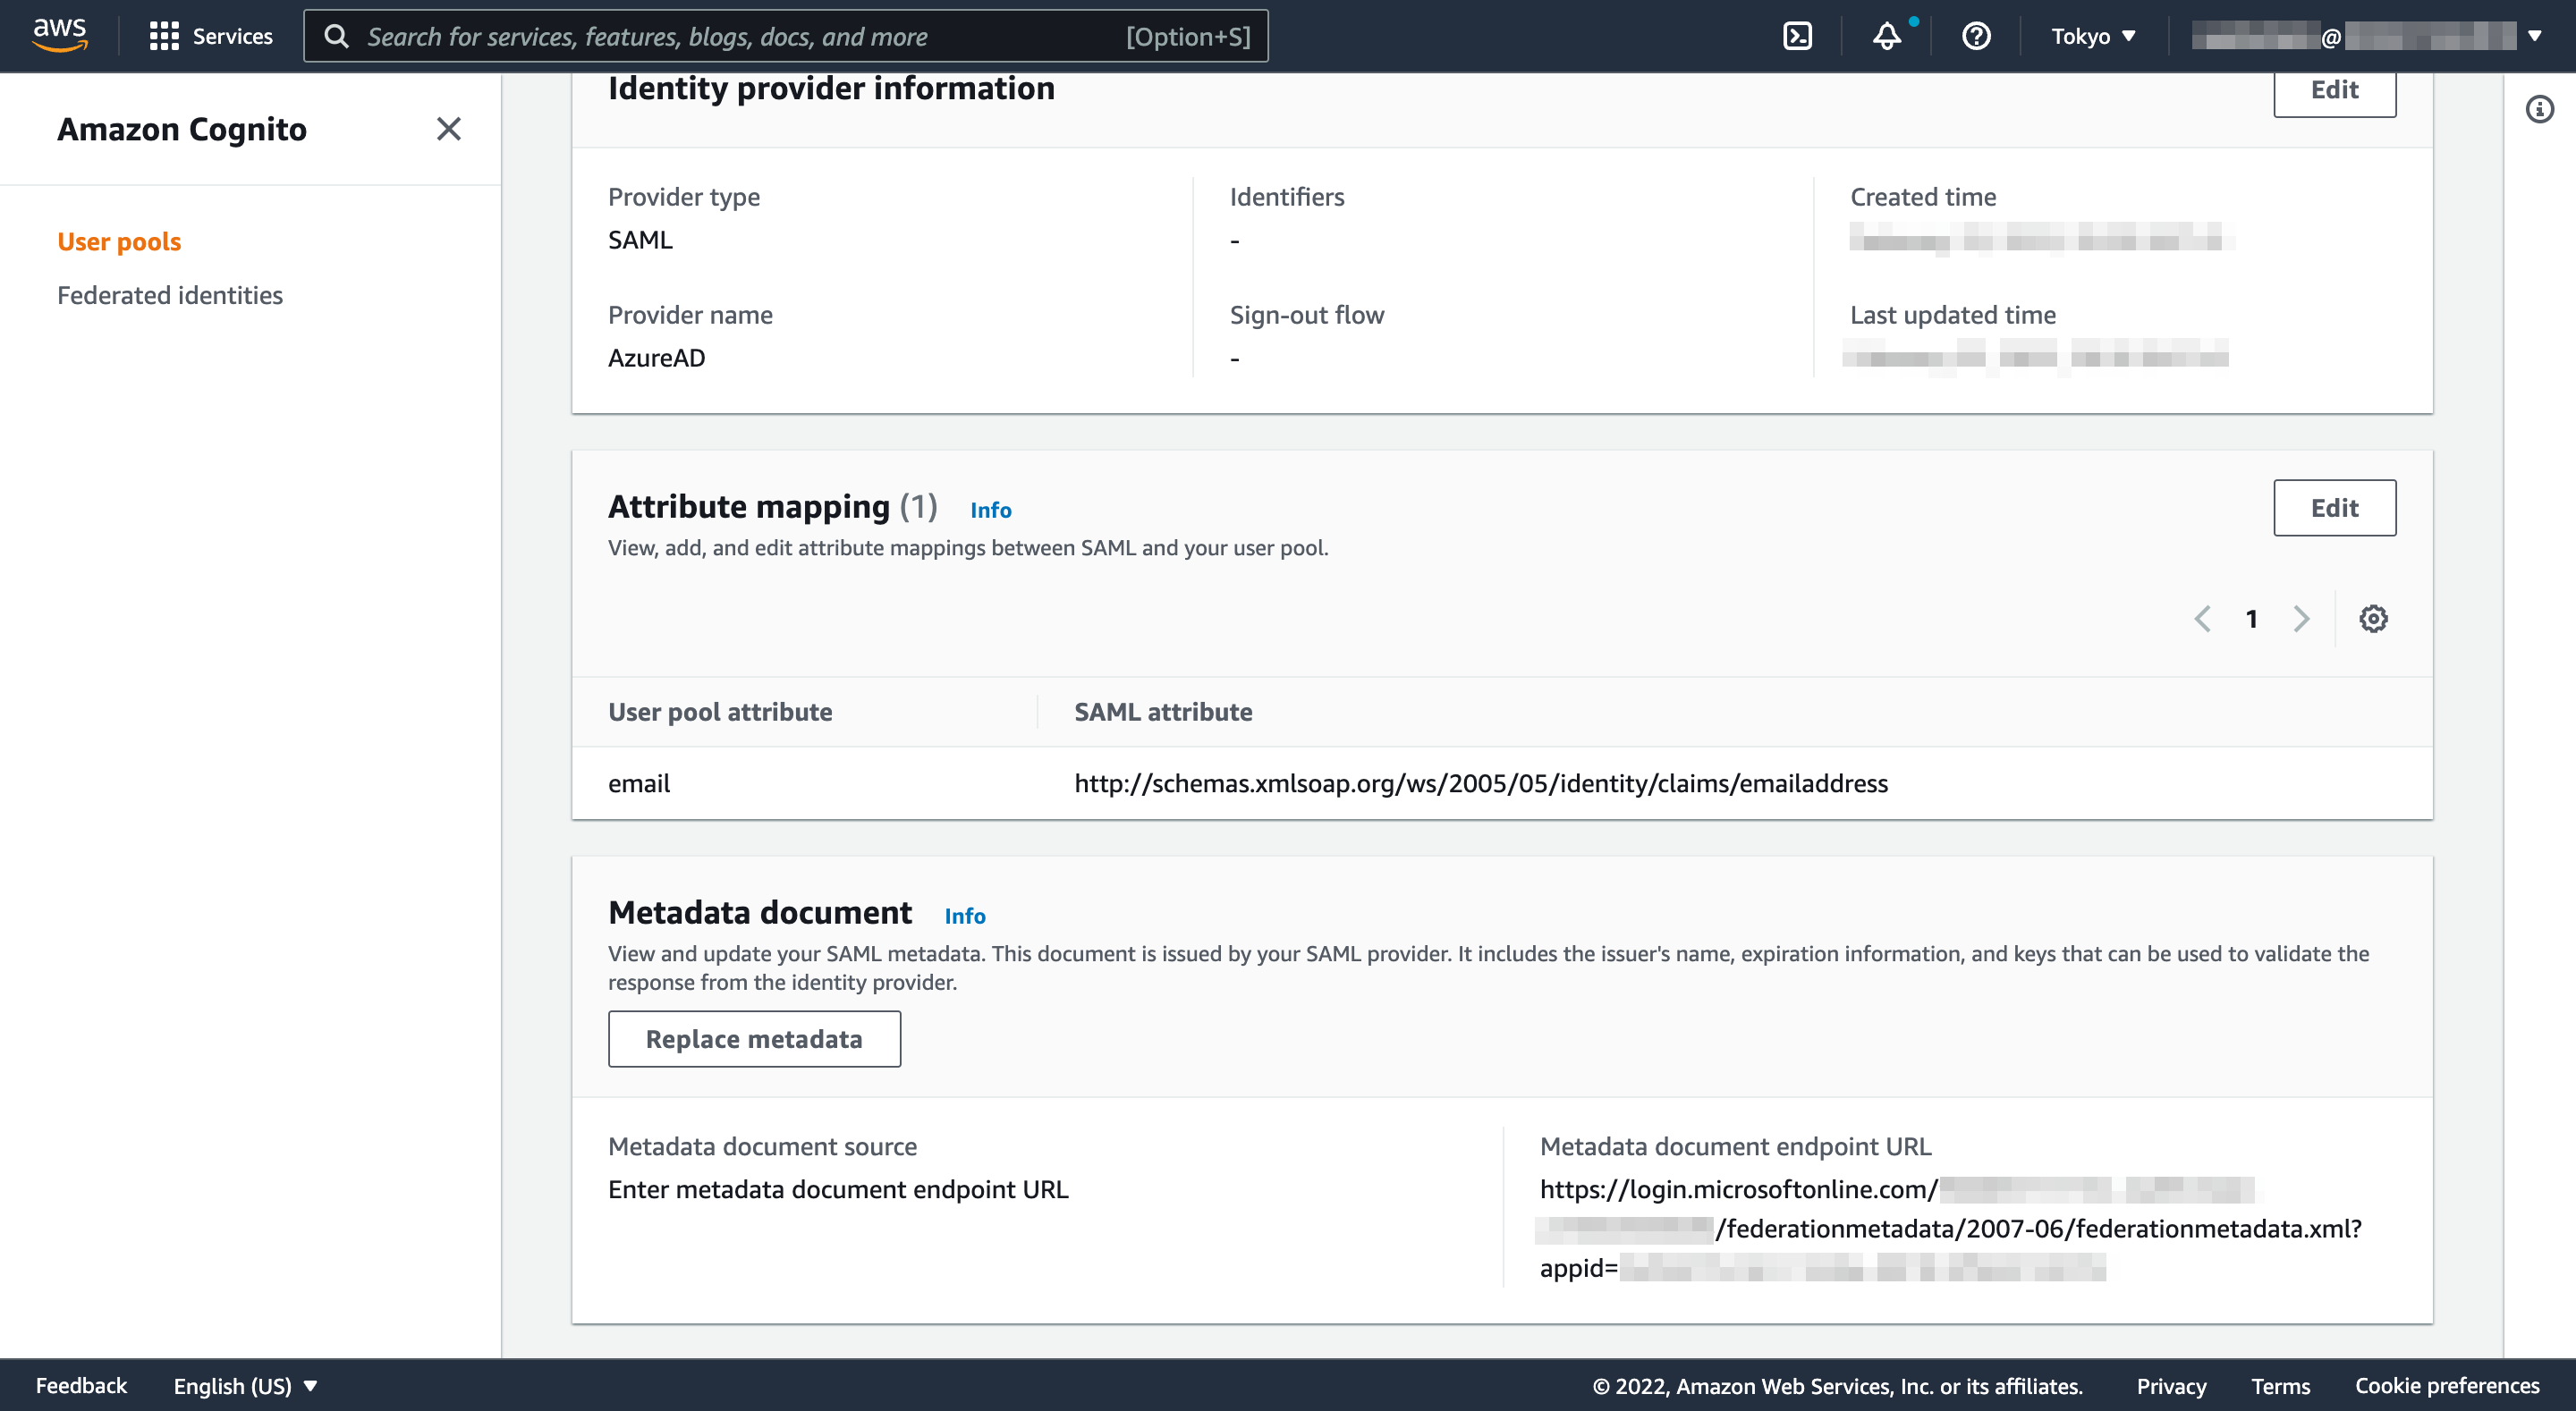
以上の手順で、AzureAD という名前の SAML アイデンティティプロバイダが追加されました。

オーバーライドコードで指定した Attribute mapping や Metadata document も反映されています。
Cognito Hosted UI を設定する
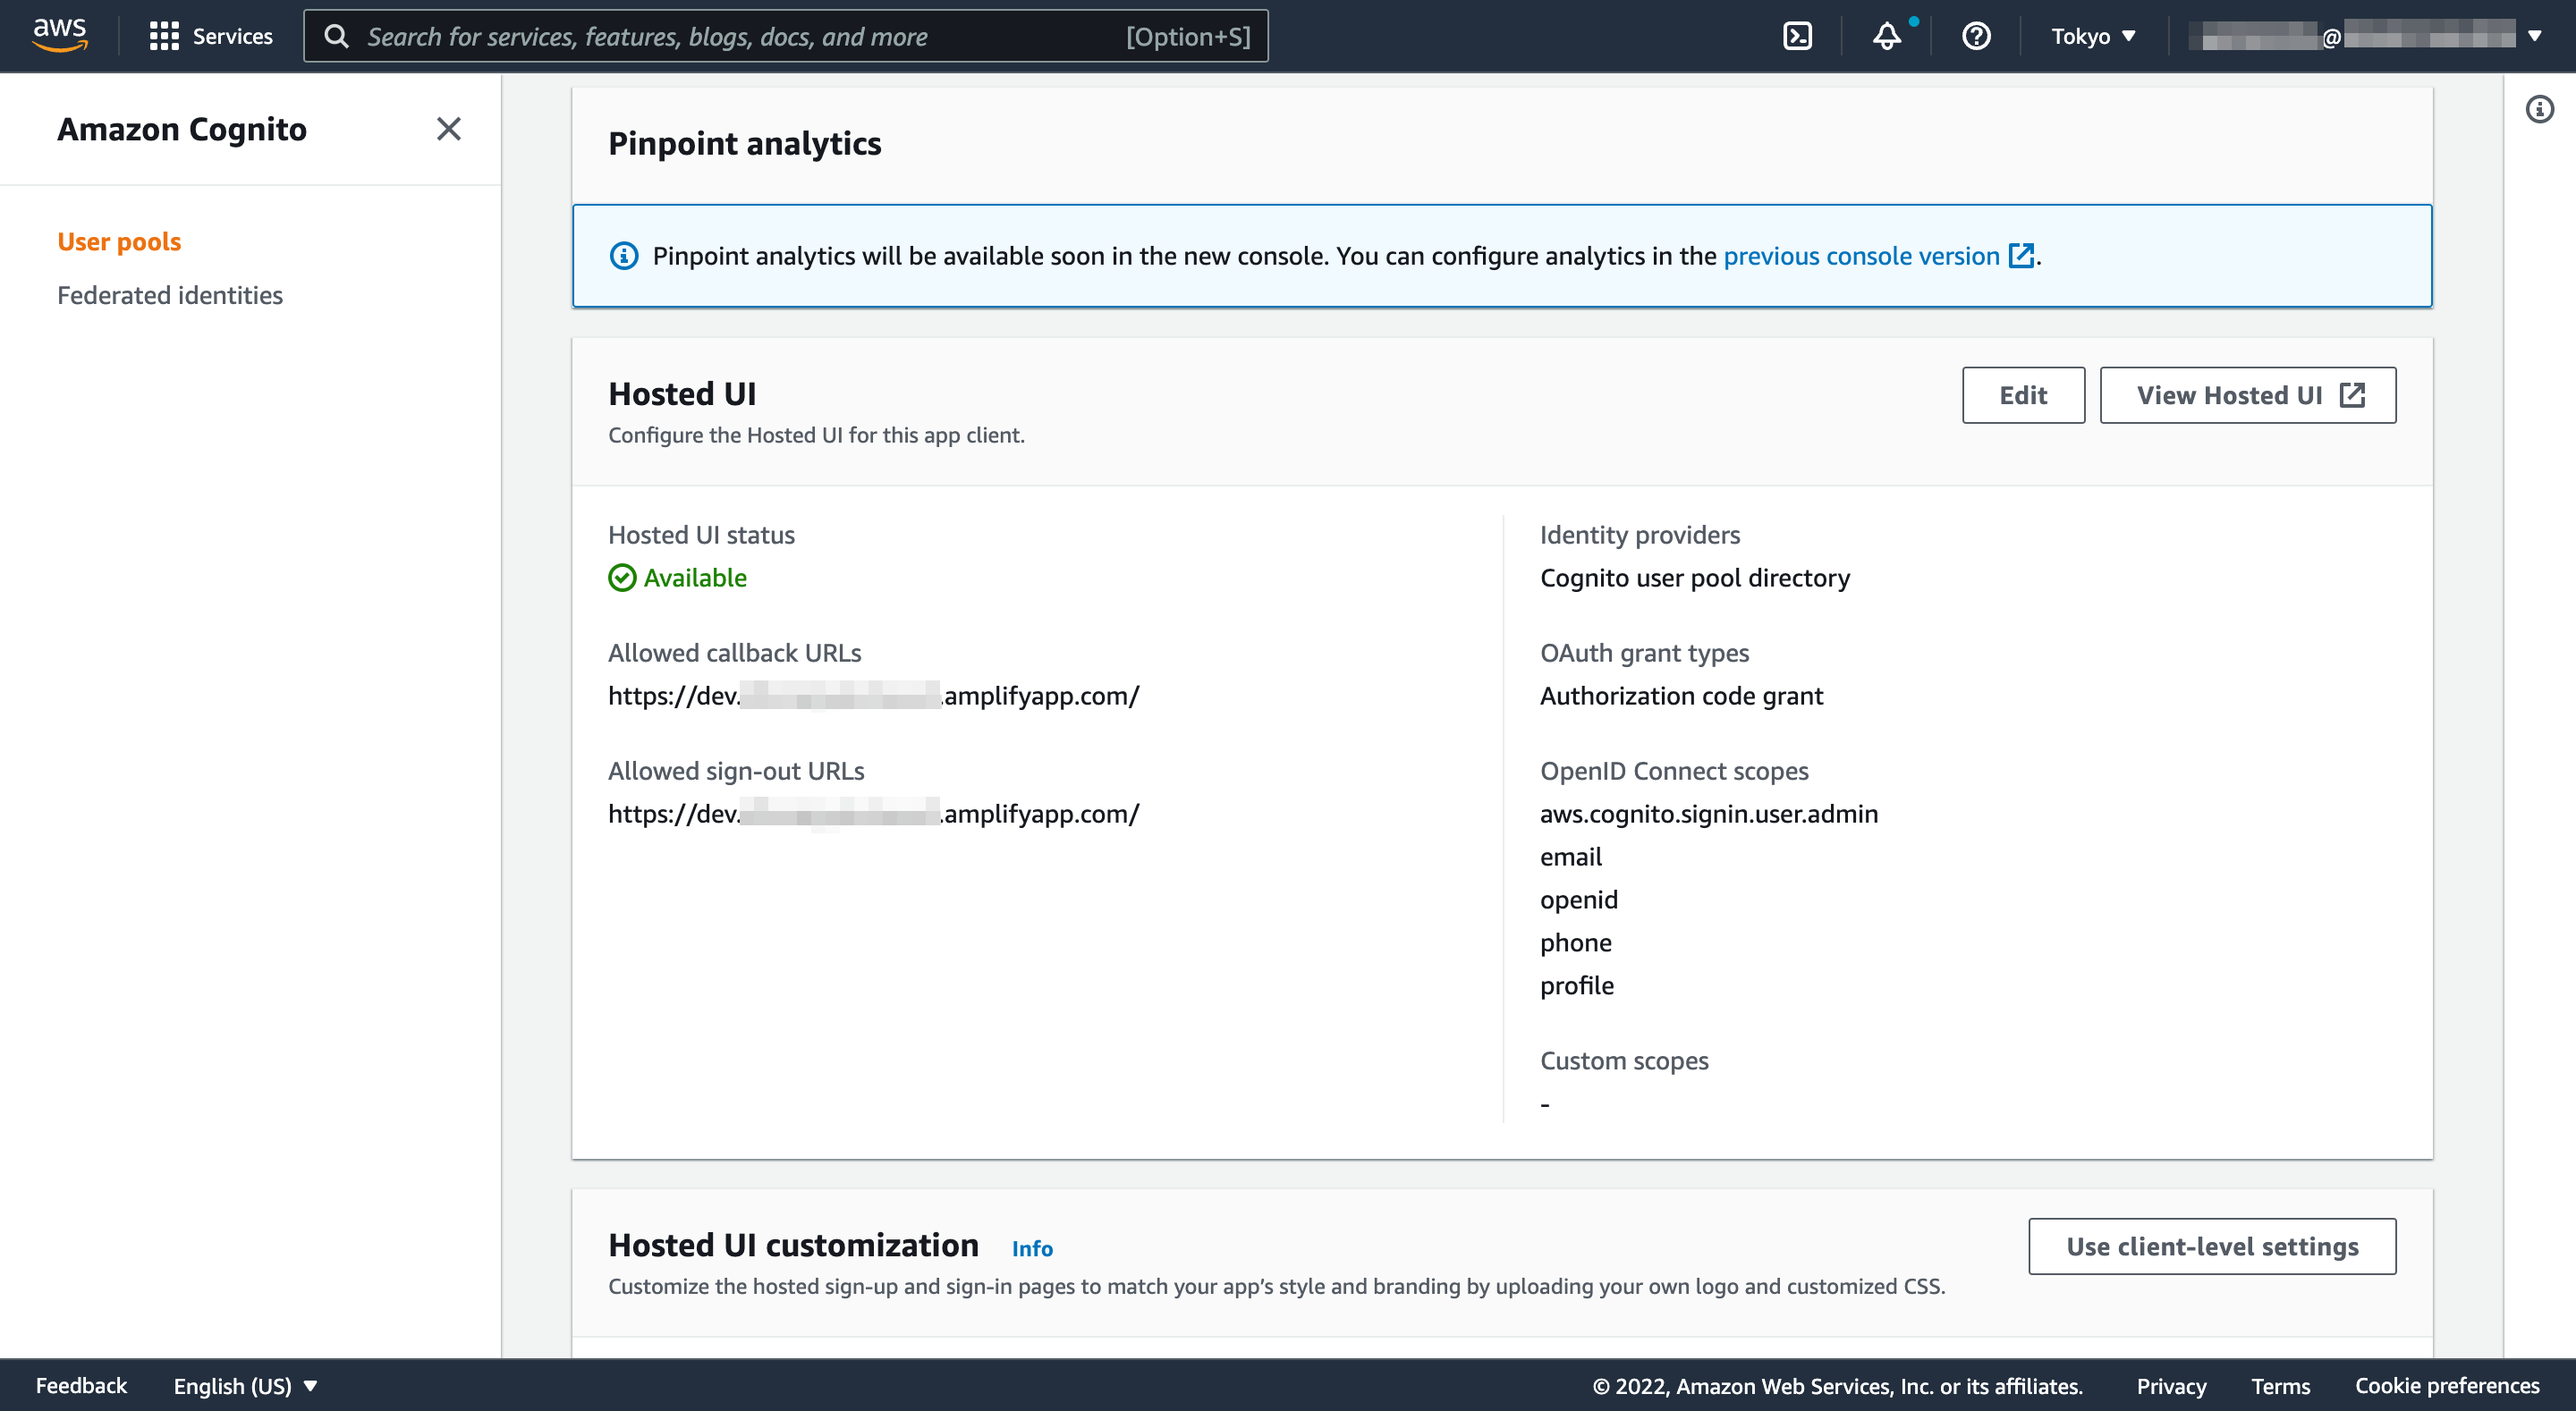
続けて、App integration タブにある App client list から、Web 向けのアプリケーションクライアント(_app_clientWeb で終わるもの)を選択します。

選択したアプリケーションが表示されますので、下の方にスクロールしていきます。

Hosted UI の「Edit」を選択します。
Identity providers として、先ほど作成した AzureAD のみを選択します。
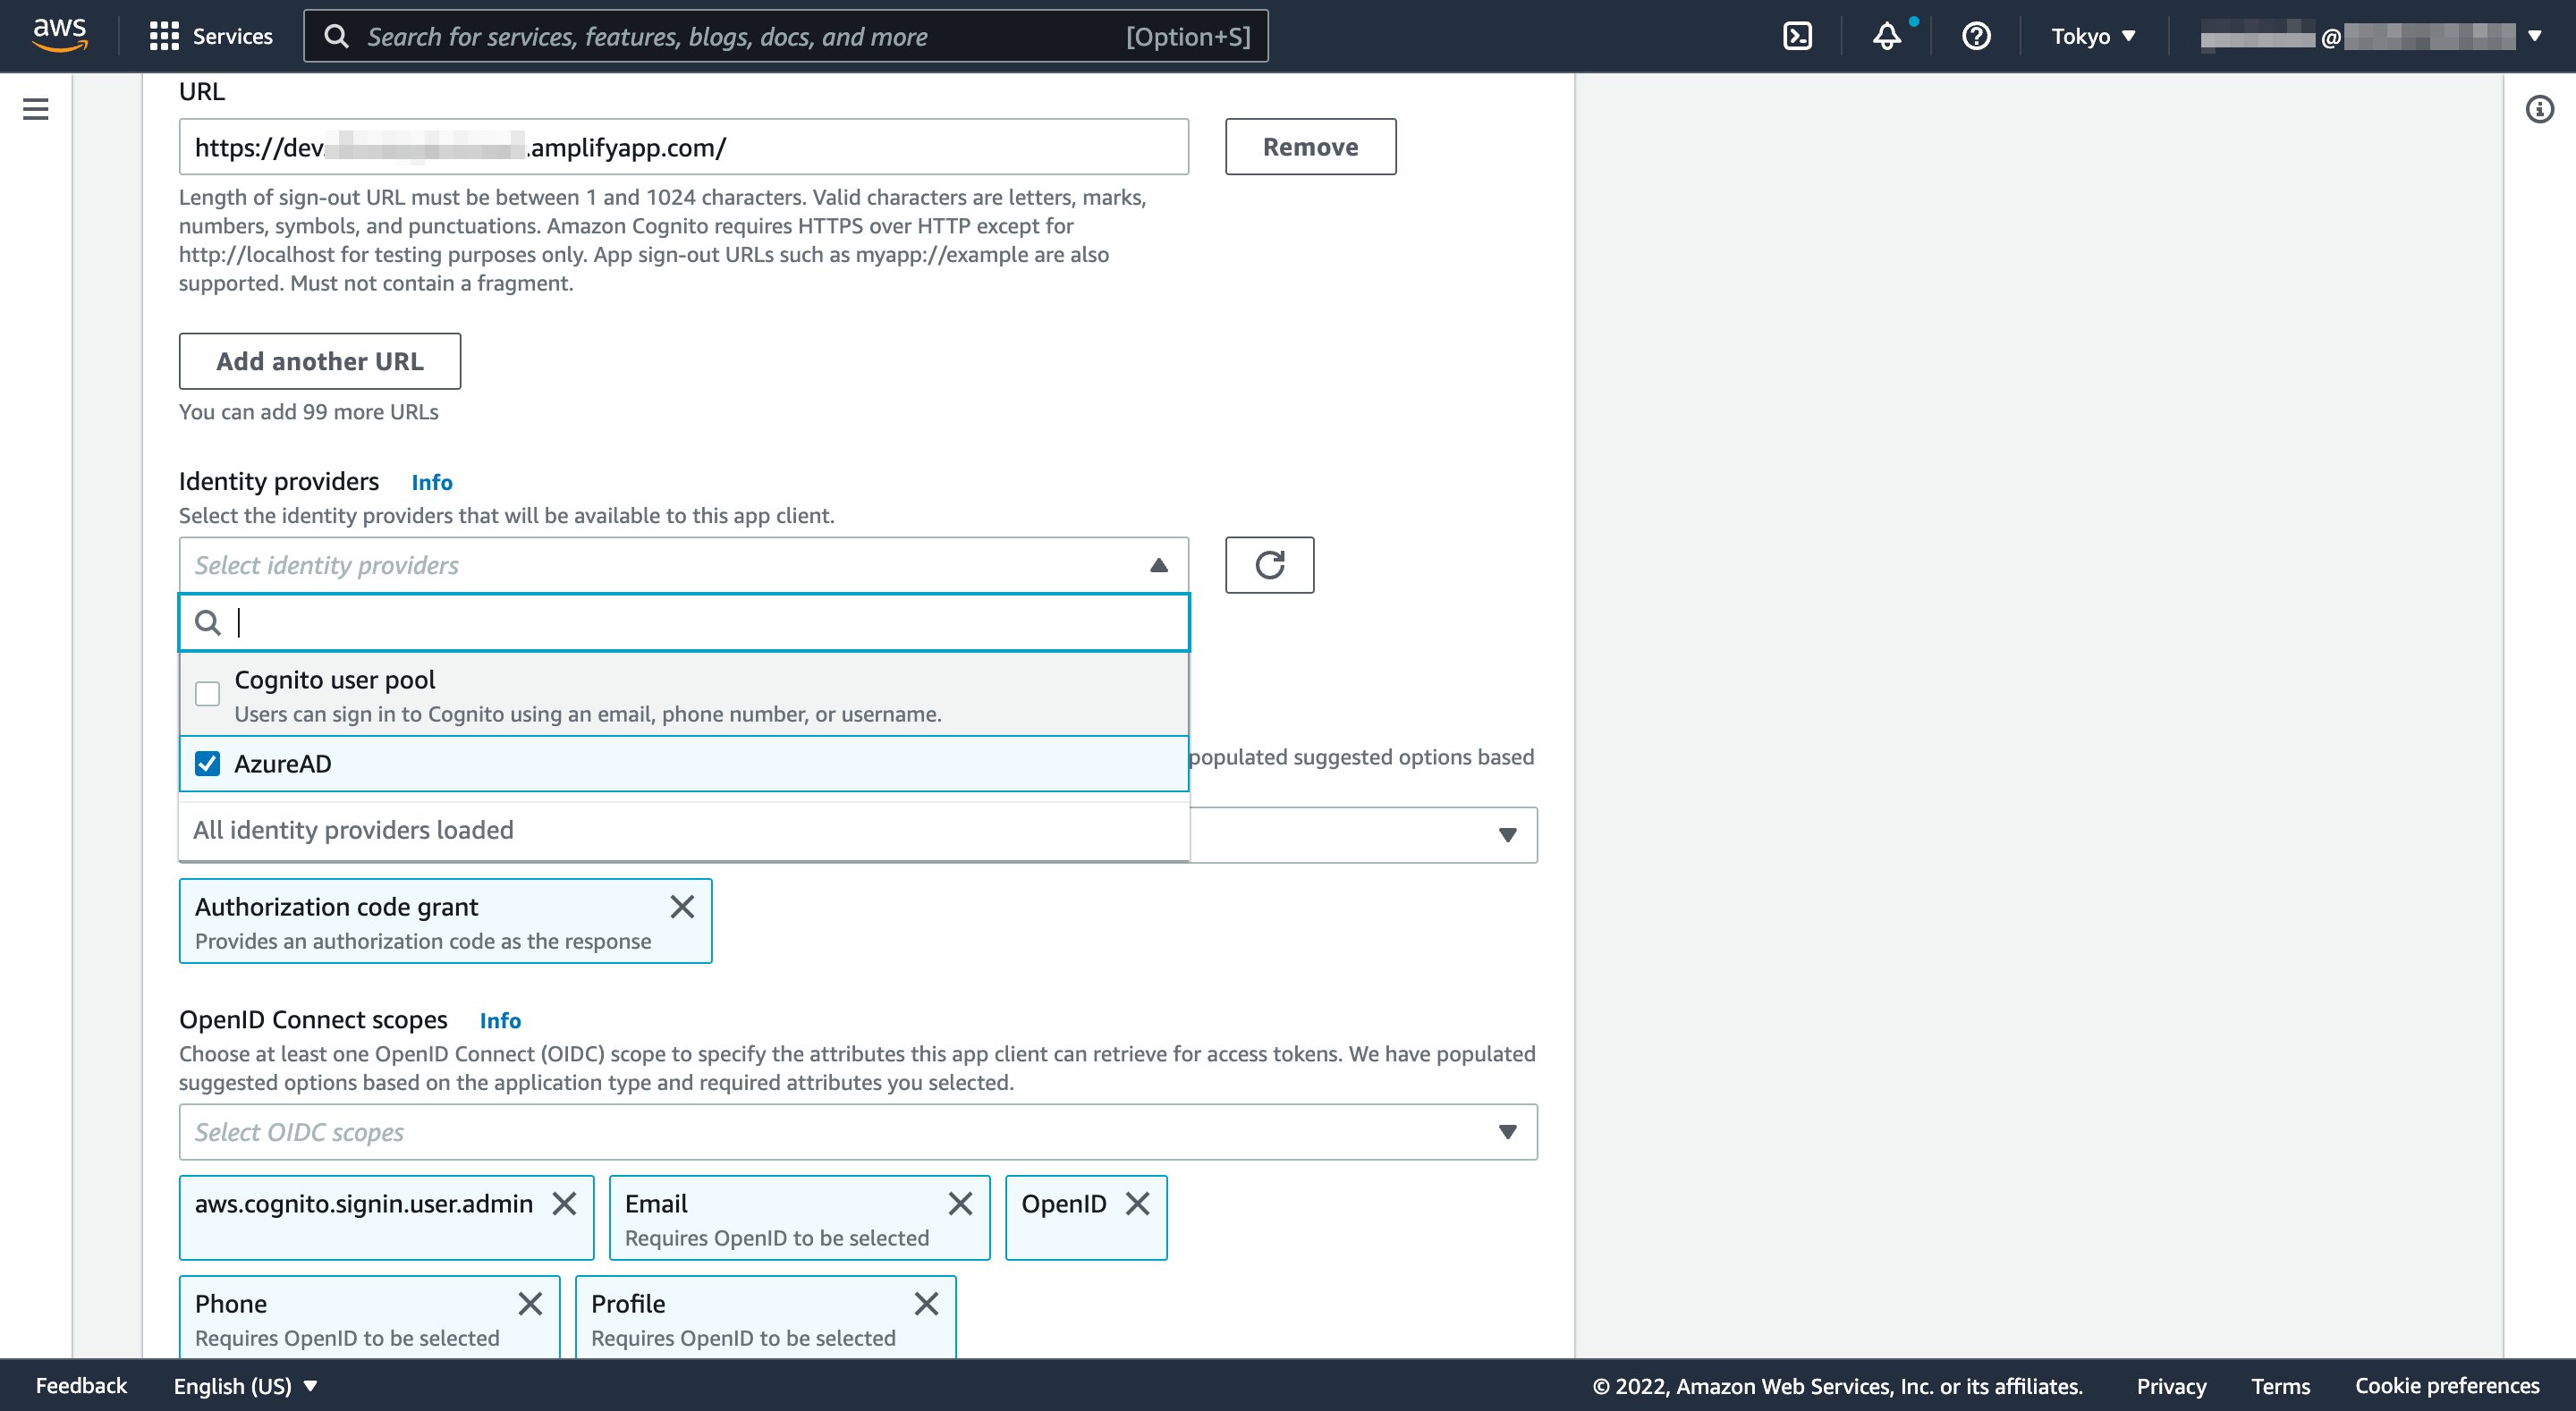
「Save Changes」ボタンを選択します。以上の手順で、AzureAD がアイデンティティプロバイダとして設定されました。

Amplify アプリに認証を組み込む
やっと Amazon Cognito と Azure AD の設定が完了しましたので、いよいよ Amplify アプリに認証を組み込みます。
- ソースコードを修正する
- 修正版の動作確認する
- フローをまとめておく
ソースコードを修正する
yarn create react-app で生成されたテンプレートに対して、以下のような修正を加えました。意味もなくダークテーマを適用しているため、少し長くなっていますが、要するに認証されていない場合、Coginito エンドポイントを呼び出すという少々乱暴なコードですが、ご容赦ください。
import { useEffect, useState } from "react";
import Amplify, { Auth, Hub } from "aws-amplify";
import {
  createTheme,
  defaultTheme,
  AmplifyProvider,
  Button,
  Loader,
  Text,
} from "@aws-amplify/ui-react";
import "@aws-amplify/ui-react/styles.css";
import { CognitoUser } from "@aws-amplify/auth";

import logo from "./logo.svg";
import "./App.css";
import awsconfig from "./aws-exports";

Amplify.configure(awsconfig);

const App = () => {
  const [user, setUser] = useState<CognitoUser | null>(null);
  const [authInProgress, setAuthInProgress] = useState(false);

  const theme = createTheme({
    name: "dark-mode-theme",
    overrides: [
      {
        colorMode: "dark",
        tokens: {
          colors: {
            neutral: {
              // flipping the neutral palette
              10: defaultTheme.tokens.colors.neutral[100],
              20: defaultTheme.tokens.colors.neutral[90],
              40: defaultTheme.tokens.colors.neutral[80],
              80: defaultTheme.tokens.colors.neutral[40],
              90: defaultTheme.tokens.colors.neutral[20],
              100: defaultTheme.tokens.colors.neutral[10],
            },
            black: { value: "#fff" },
            white: { value: "#000" },
          },
        },
      },
    ],
  });

  useEffect(() => {
    const unsubscribe = Hub.listen("auth", ({ payload: { event, data } }) => {
      switch (event) {
        case "signIn":
          setUser(data);
          setAuthInProgress(false);
          break;
        case "signOut":
          setUser(null);
          setAuthInProgress(false);
          break;
        default:
      }
    });

    Auth.currentAuthenticatedUser()
      .then((user) => setUser(user))
      .catch(() => {
        window.location.href = `https://${awsconfig.oauth.domain}/login?response_type=${awsconfig.oauth.responseType}&client_id=${awsconfig.aws_user_pools_web_client_id}&redirect_uri=${awsconfig.oauth.redirectSignIn}`;
        setAuthInProgress(true);
      });

    return unsubscribe;
  }, []);

  return (
    <AmplifyProvider theme={theme} colorMode="dark">
      <div className="App">
        <header className="App-header">
          {authInProgress ? (
            <>
              <Loader width="5rem" height="5rem" />
              <Text>Signing in ...</Text>
            </>
          ) : (
            <>
              <img src={logo} className="App-logo" alt="logo" />
              <p>
                Edit <code>src/App.js</code> and save to reload.
              </p>
              <a
                className="App-link"
                href="https://reactjs.org"
                target="_blank"
                rel="noopener noreferrer"
              >
                Learn React
              </a>
              <br />
              <Button onClick={() => Auth.signOut()}>
                Sign Out ({user?.getUsername()})
              </Button>
            </>
          )}
        </header>
      </div>
    </AmplifyProvider>
  );
};

export default App;
修正版の動作確認する
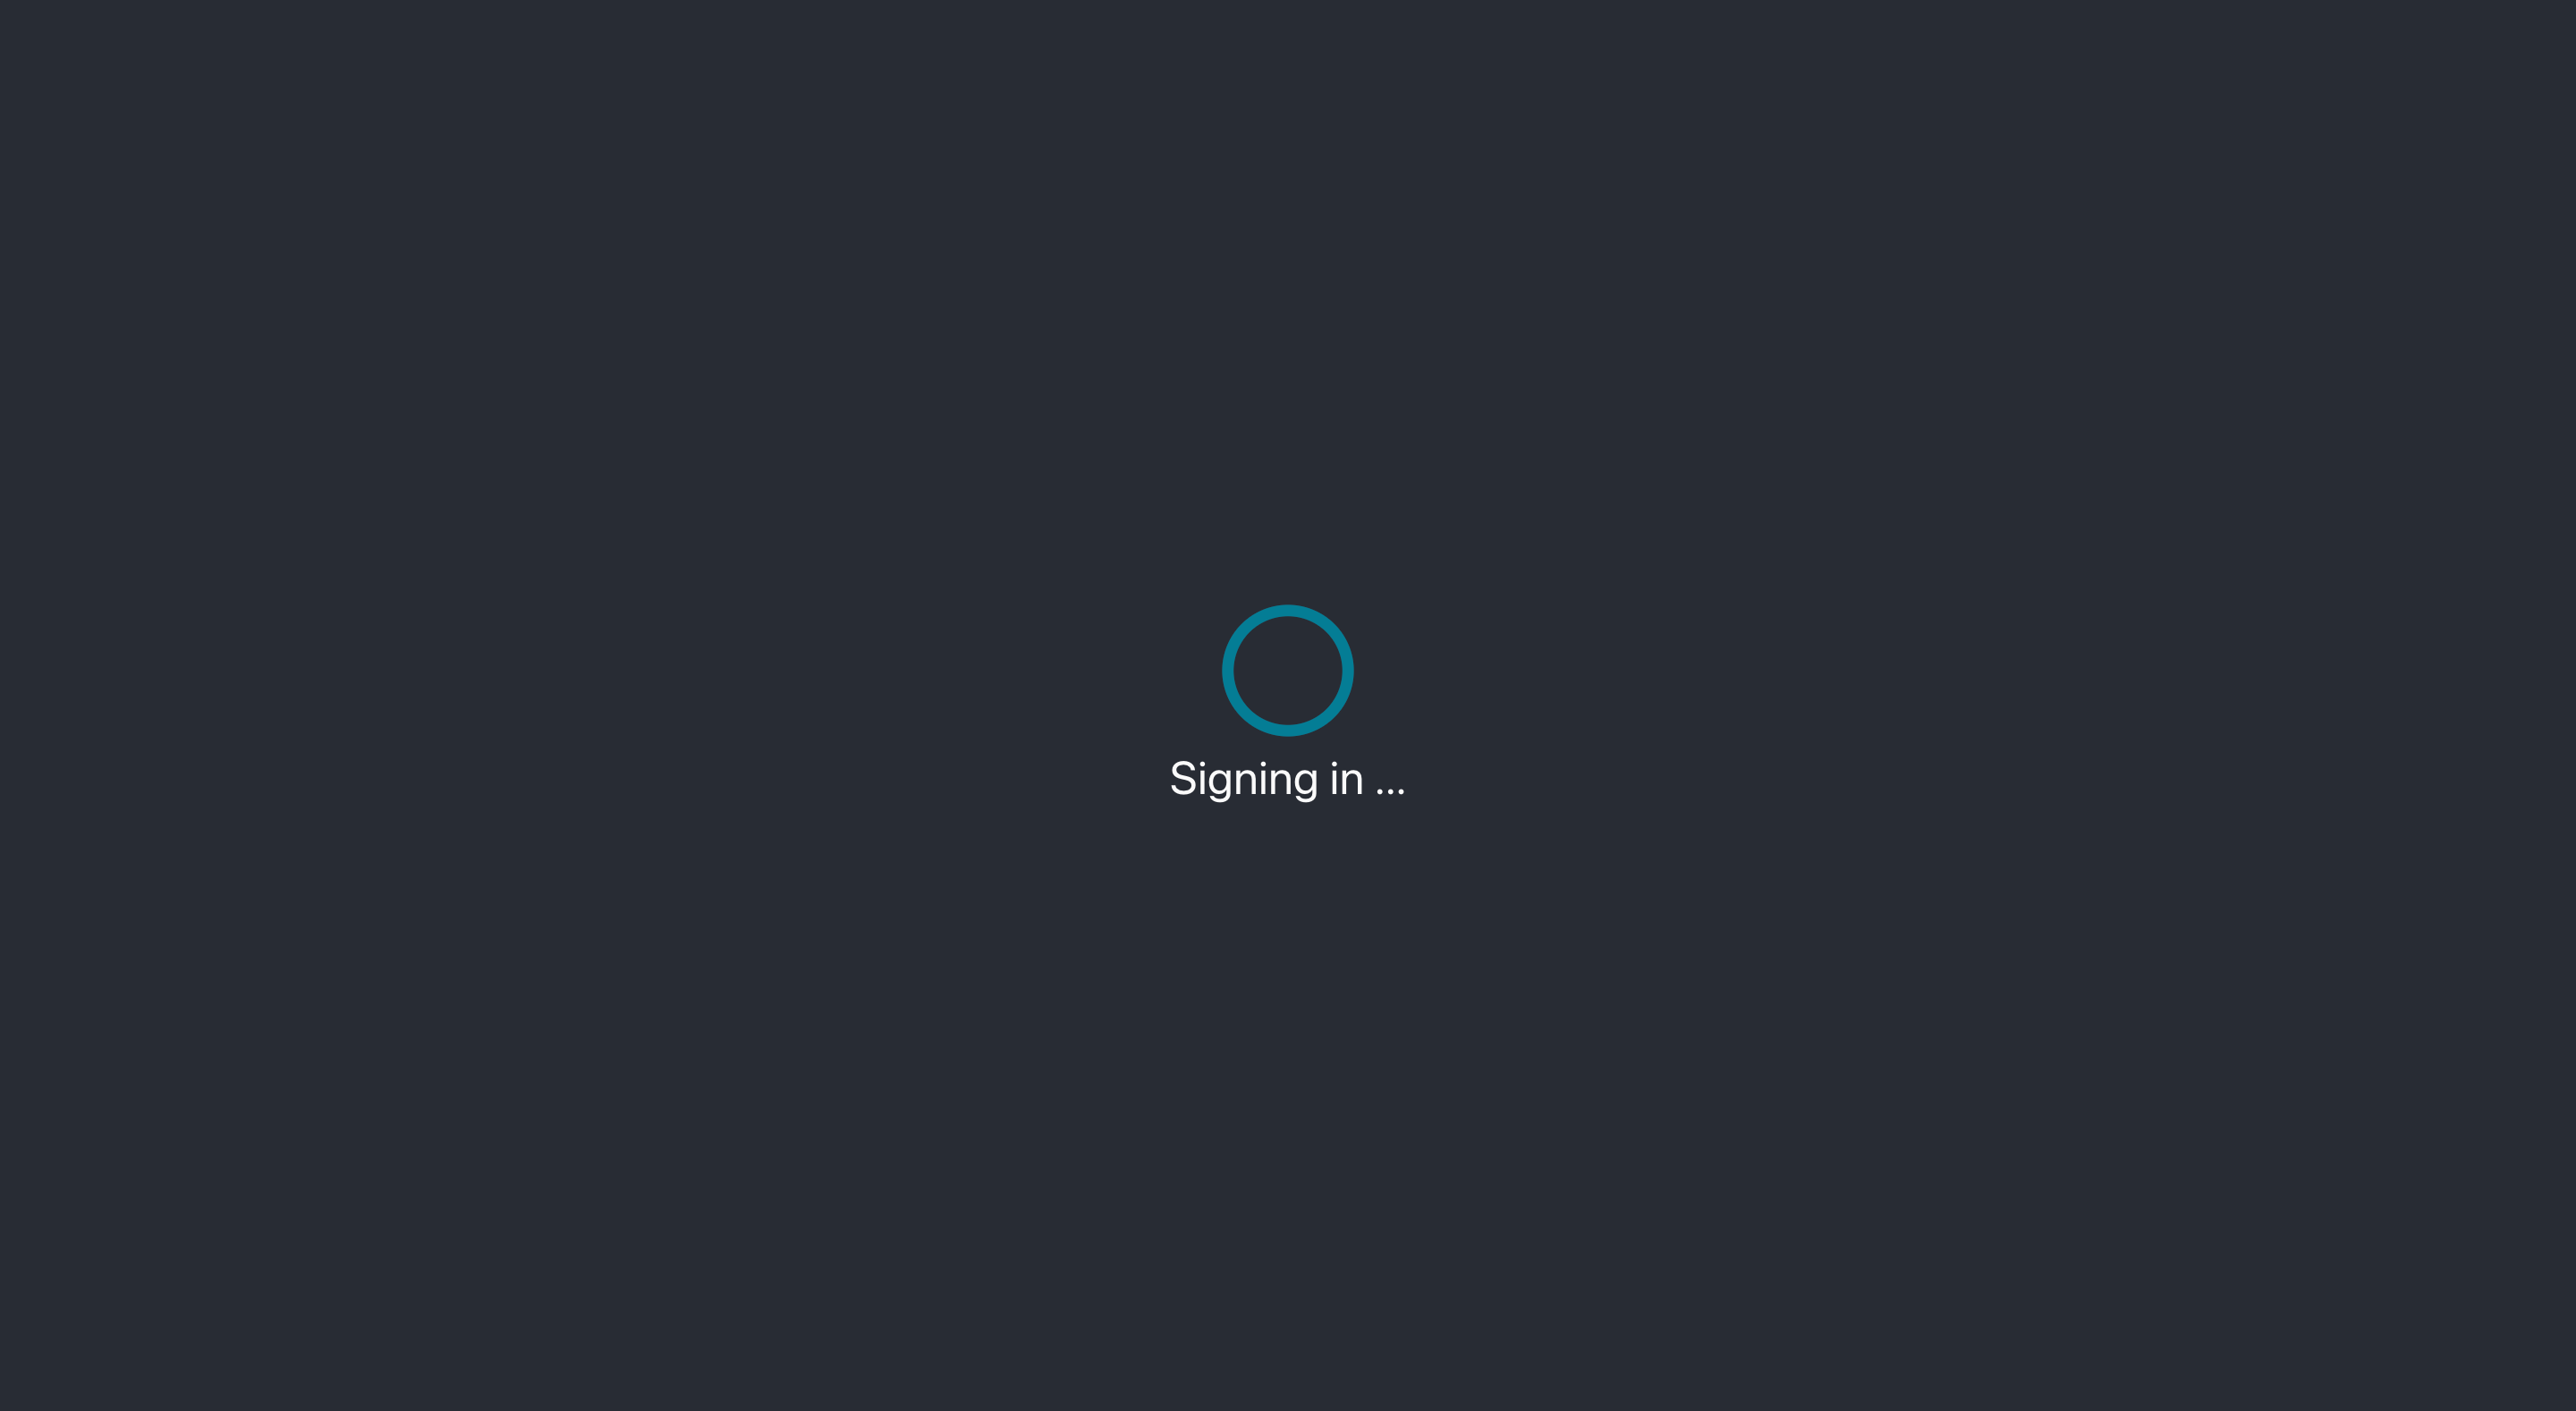
https://dev.<Applicaiton ID>.amplifyapp.com にアクセスします。一瞬、以下の画面が表示されて、Cognito Hosted UI に遷移します。
Cognito Hosted UI が表示されたら、「AzureAD」ボタンをクリックします。AzureAD は、Cognito の Hosted UI に設定した Identity providers 名です。

既にサインイン済みのため、アカウントを選択します。もし、サインイン済みでない場合は、ユーザ名およびパスワードを入力することになります。

アプリにリダイレクトされ、「Sign Out」ボタンが表示されました。カッコ内は、Cognito User Pool の User name が表示されています。ここで「Sign Out」ボタンを選択すると、Cognito からサインアウトされて、再び Cognito Hosted UI が表示されます。

フローをまとめておく
おおまかには、このようなフローとなります(非同期の API コールなどは、端折っています)。

各エンドポイントは以下の通りです。手順は多かったですが、要するに「次にどこへ行けばいいのか」を順番に設定していたことが分かります。
| No | URL | 説明 |
|---|---|---|
| 1 | https://dev.<Applicaiton ID>.amplifyapp.com | Amplify Hosting エンドポイント(アプリ)。Cognito Hosted UI の Allowed callback URLs および Allowed sign-out URLs に設定されている |
| 2 | https://<Cognito Domain>.auth.ap-northeast-1.amazoncognito.com/login?response_type=code&client_id=<Client ID>&redirect_uri=<Redirect URI> | Amazon Cognito へのサインイン。未認証の場合、Hosted UI が表示される |
| 3 | https://<Cognito Domain>.auth.ap-northeast-1.amazoncognito.com/oauth2/authorize?identity_provider=AzureAD&redirect_uri=<Redirect URI>&response_type=CODE&client_id=<Client ID>&scope=<Scopes> | Hosted UI の「Sign In」ボタン選択により、Cognito ユーザプールに Federated IdP として設定した AzureAD 設定に従い、OAuth フローが開始される |
| 4 | https://login.microsoftonline.com/<Directory ID>/saml2?SAMLRequest=<Token>&RelayState=<Token> | マイクロソフトのサインイン UI が表示される。未認証の場合は、ユーザおよびパスワードを入力。認証済みの場合は、サインイン済みのアカウントリストから選択する。Cognito の SAML IdP として追加した AzureAD の Metadata document に指定した URL から返される XML 内で SingleSignOnService の Location に設定されている |
| 5 | https://login.microsoftonline.com/<Directory ID>/login | Azure AD へのサインイン。認証に成功した場合、サインイン状態を維持するかどうかを選択する |
| 6 | https://<Cognito Domain>.auth.ap-northeast-1.amazoncognito.com/saml2/idpresponse | Amazon Cognito へのフェデレーテッドサインイン。アプリへの認可コード(?code=<Grant Code>)付きのアプリ URL が返される。Azure AD エンタープライズアプリケーションの Reply URL (Assertion Consumer Service URL) に設定されている |
| 7 | https://dev.<Applicaiton ID>.amplifyapp.com/?code=<Grant Code> | Amplify Hosting エンドポイント(アプリ) |
さいごに
AWS Amplify との出会いは遅めだったのですが、幸いエンタープライズ界隈の人間ですので、相対的に早めになっている気がします(良いか悪いかは別として)。AWS Amplify を採用したアジャイルプロジェクトがもたらす破壊的なアジリティは、非常に魅力的です。今後より一層、AWS Amplify のエンタープライズ採用が進むことを大いに期待しています。その意味でも、「エンタープライズあるある」である当記事がお役に立てば幸いです。
「はじめに」で触れたように、本記事は、「Azure ADをAWS Cognito Federated IdPに追加して、Amplify+Vueアプリでログインする(模索中)」の続編となります。前編の投稿から 2 年 7 ヶ月(!)が経過していることに驚きを禁じ得ません。その間に、AWS Amplify も React も大きな進化を遂げ、AWS や Azure も非常に多くの機能が追加・改善されました。少し足を止めて当記事をまとめましたが、引き続き、終わりなきキャッチアップの旅に出たいと思います。