2019年にGoogleから,Web上でAndroidを学べるコースが提供されました.(Android Kotlin Fundamentals Course)
この記事では,そのコースを実際にやってみてアウトプットしてみるといった内容です.
何かツッコミなどあれば編集リクエストかコメントかTwitterでいただければ修正いたします
目指す成果物

ステップ
1. アクティビティファイルについて知る
アクティビティというのがUIを描画するクラスです.
アプリが起動すると,AndroidManifest.xmlファイルで指定されたアクティビティが最初に起動します.
Androidアプリにはメインメソッドが無い代わりに,MainActivityを指定しています.
また,アクテビティが開始されると,レイアウトファイル内のビューがビューオブジェクトに変換されます.
これによりレイアウトファイル内のビューがアクティビティ内で使用できるようになります.
(レイアウトインフレーションという仕組み)
2. レイアウトファイルについて知る
すべてのアクティビティには,レイアウトファイルが紐付けられていて,ビューを定義し,画面のどこに配置するかを決めます.
レイアウトファイルをXMLtosite表示するには,「Text」をクリックします.
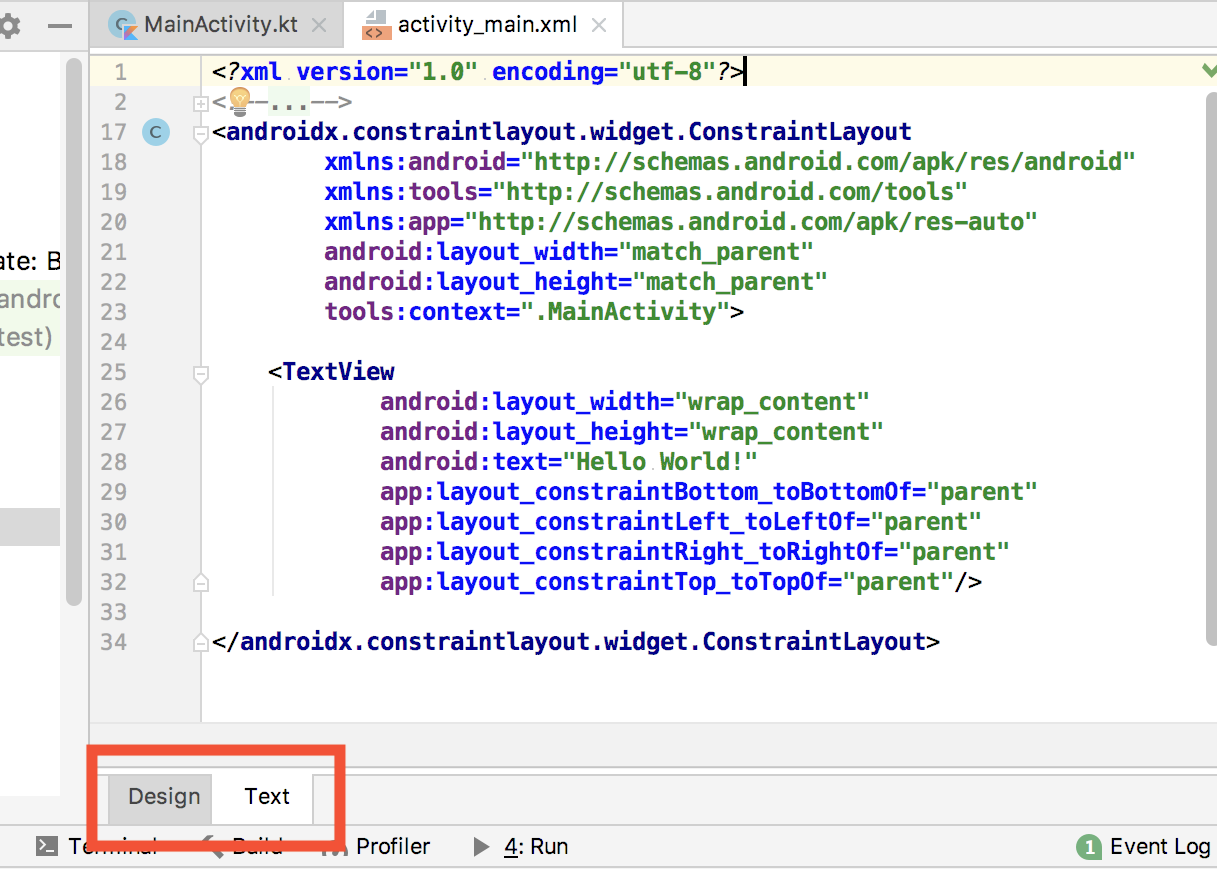
そしてactivity_main.xmlを以下のように変更しましょう.
<?xml version="1.0" encoding="utf-8"?>

<LinearLayout
    xmlns:android="http://schemas.android.com/apk/res/android"
    xmlns:tools="http://schemas.android.com/tools"
    android:layout_width="match_parent"
    android:layout_height="wrap_content"
    tools:context=".MainActivity" >

    <TextView
        android:layout_width="wrap_content"
        android:layout_height="wrap_content"
        android:text="Hello World!" />

</LinearLayout>
LinearLayoutはレイアウト画面内のビューの位置を指定するのに役立つViewGroupと呼ばれるものです.
3. ボタンを追加する
Buttonと入力して,以下のコードをテキストビューの下に追加します.
<Button
   android:layout_width=""
   android:layout_height="" />
ボタンに属性を追加します.ここではanroid:textに「Roll」の値を指定します.
<Button
   android:layout_width="wrap_content"
   android:layout_height="wrap_content"
   android:text="Roll" />
またさっきのような値を何度も使う場合は,文字列を別のファイルに配置するのがおすすめです.
このファイルはstring.xml と呼ばれ,res/values/ディレクトリにあります.
ファイルは以下のようにします.
<resources>
   <string name="app_name">DiceRoller</string>
   <string name="roll_label">Roll</string>
</resources>
その後,activity_main.xmlのボタンの属性をandroid:text="@string/roll_label"のようにして,レイアウトファイルをこのようにします.
<LinearLayout
   xmlns:android="http://schemas.android.com/apk/res/android"
   xmlns:tools="http://schemas.android.com/tools"
   android:layout_width="match_parent"
   android:layout_height="wrap_content"
   android:orientation="vertical"
   android:layout_gravity="center_vertical"
   tools:context=".MainActivity">
<TextView
   android:layout_width="wrap_content"
   android:layout_height="wrap_content"
   android:layout_gravity="center_horizontal"
   android:text="Hello World!" />

<Button
   android:layout_width="wrap_content"
    android:layout_height="wrap_content"
    android:layout_gravity="center_horizontal"
    android:text="@string/roll_label" />
</LinearLayout>
アプリを実行してみるとこのようになります.

Bottonのタップなどの処理はアクティビティ内で定義されるので,MainActivityでButtonオブジェクトを取得しなければいけません.
取得するには:
・レイアウトファイルでButtonにIDを割り当てる
・アクティビティファイルで,findViewById()というメソッドを使って特定のIDをもつビューを取得する
まず,ビューにIDを割り当てます.
<?xml version="1.0" encoding="utf-8"?>
<LinearLayout xmlns:android="http://schemas.android.com/apk/res/android"
    xmlns:app="http://schemas.android.com/apk/res-auto"
    xmlns:tools="http://schemas.android.com/tools"
    android:layout_width="match_parent"
    android:layout_height="wrap_content"
    android:orientation="vertical"
    android:layout_gravity="center_vertical"
    tools:context=".MainActivity">

    <TextView
        android:id="@+id/textView"
        android:layout_width="wrap_content"
        android:layout_height="wrap_content"
        android:layout_gravity="center_horizontal"
        android:text="Hello World!"
        app:layout_constraintBottom_toBottomOf="parent"
        app:layout_constraintLeft_toLeftOf="parent"
        app:layout_constraintRight_toRightOf="parent"
        app:layout_constraintTop_toTopOf="parent" />

    <Button
        android:id="@+id/button"
        android:layout_width="wrap_content"
        android:layout_height="wrap_content"
        android:layout_gravity="center_horizontal"
        android:text="@string/roll_label" />

</LinearLayout>
次に,アクティビティファイルで,findViewById()というメソッドを使って特定のIDをもつビューを取得するために,
MainActivity.ktのonCreate内に,次の行を追加します.
val rollButton: Button = findViewById(R.id.roll_button)
次にClickHandlerを追加して,Toastを表示させ流ために,MainActivity.ktのonCreate内に,次の行を追加します.
class MainActivity : AppCompatActivity() {

    override fun onCreate(savedInstanceState: Bundle?) {
        super.onCreate(savedInstanceState)
        setContentView(R.layout.activity_main)

        val rollButton: Button = findViewById(R.id.button)
        rollButton.setOnClickListener {
            rollDice()
        }
    }

    private fun rollDice() {
        Toast.makeText(this, "button clicked",
            Toast.LENGTH_SHORT).show()
    }
}
アプリを実行してみてバタンをクリックしたらToastが表示されるのを確認してみてください.

4. ボタンをクリックしたときテキストを変更させる
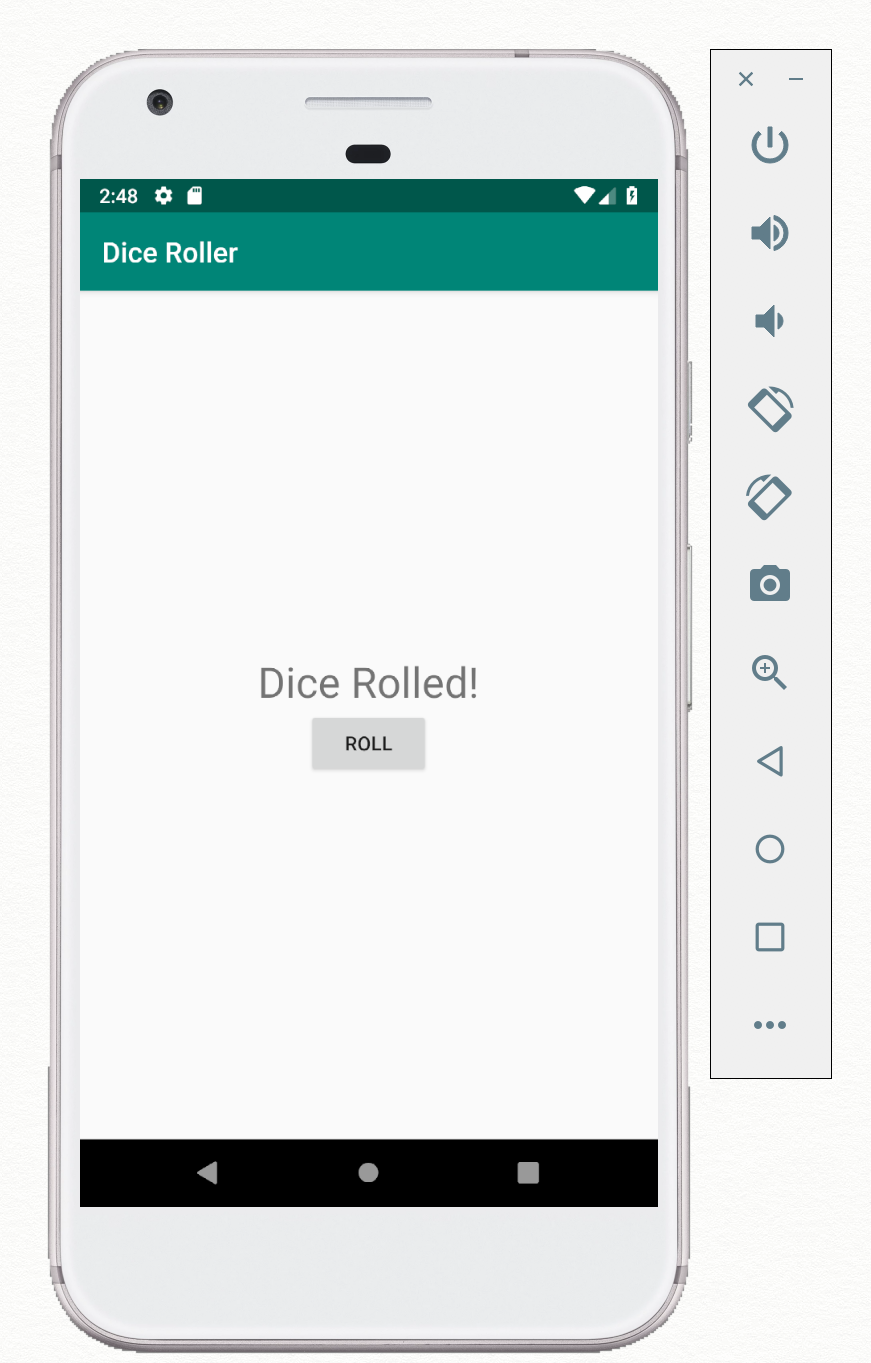
ここでは,表示されるテキストをHello World!からDice Rolled!に変更させてみましょう.
まず,テキストビューを取得するために,
MainActivity.ktのonCreate内に,次の行を追加します.
val resultText: TextView = findViewById(R.id.result_text)
次に,関数rollDice内をtextView.text = "Dice Rolled!"にします.
class MainActivity : AppCompatActivity() {

    override fun onCreate(savedInstanceState: Bundle?) {
        super.onCreate(savedInstanceState)
        setContentView(R.layout.activity_main)

        val rollButton: Button = findViewById(R.id.button)
        val textView: TextView = findViewById(R.id.textView)
        rollButton.setOnClickListener {
            rollDice()
        }
    }

    private fun rollDice() {
        textView.text = "Dice Rolled!"
    }
}
アプリを実行して,ボタンを押したらテキストの値が更新されることを確認してください.
次に乱数を表示させてみましょう.
関数rollDiceをこのようにしてみます.
private fun rollDice() {

        val randomInt = (1..6).random()
        textView.text = randomInt.toString()
    }
アプリを実行して,ボタンを押したら乱数が表示されるか確認してみましょう.
参考資料
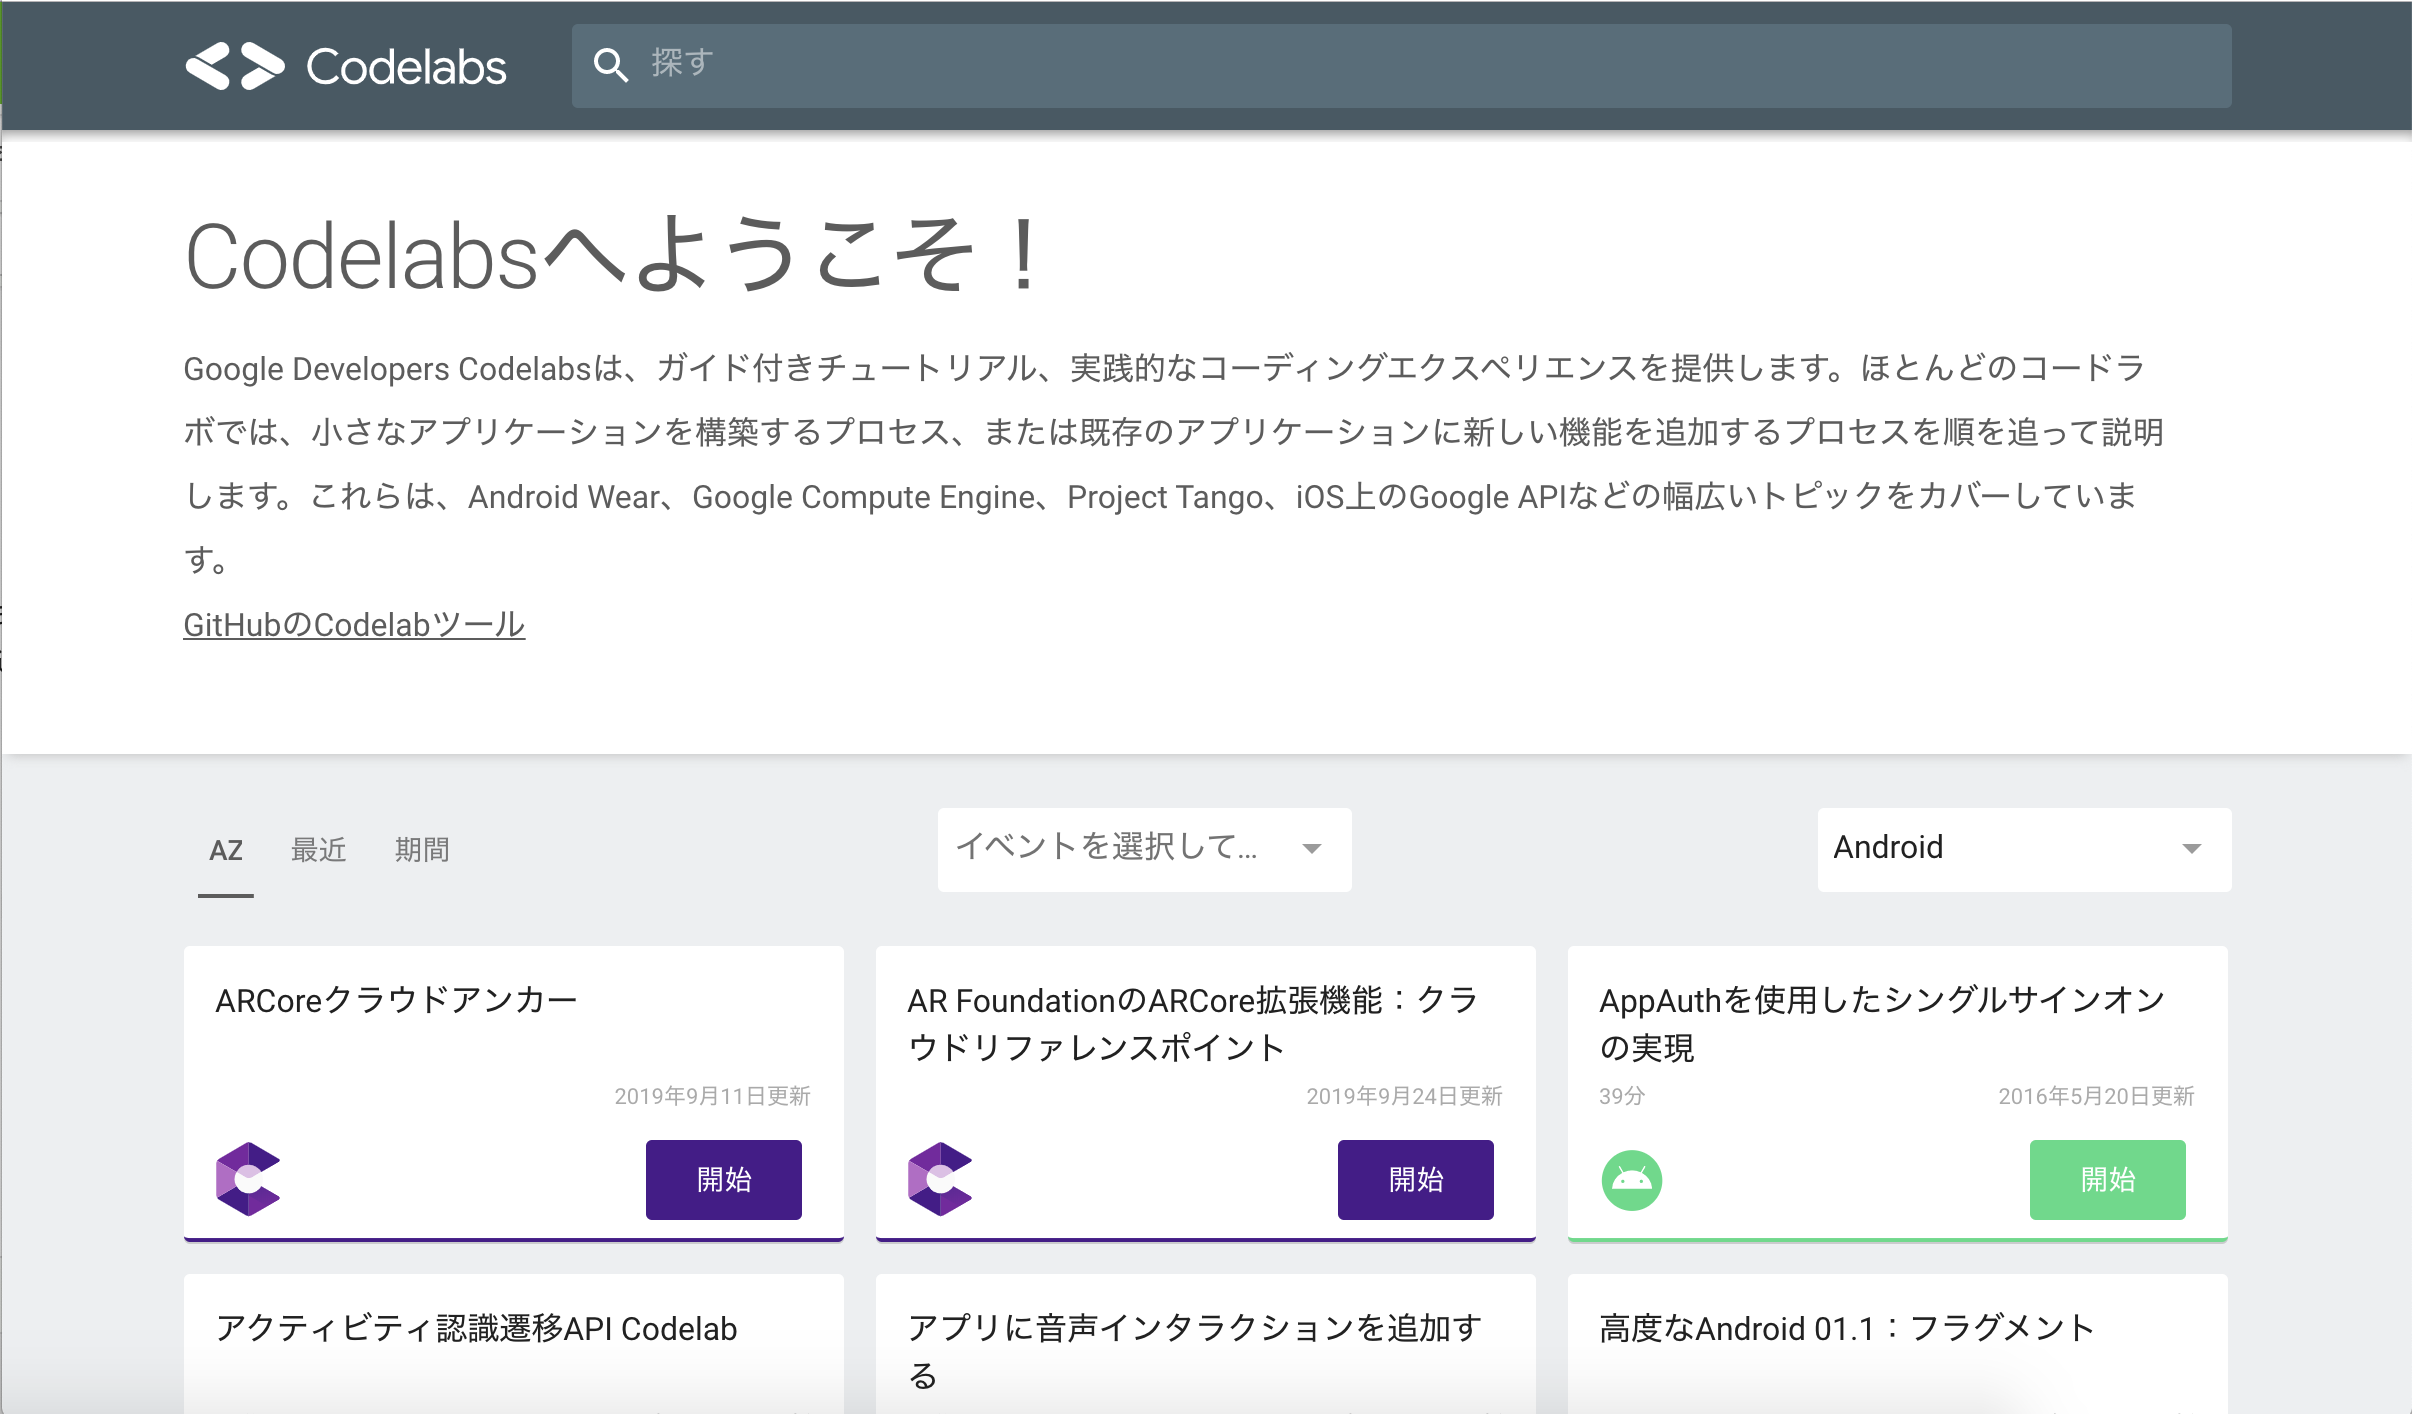
CodeLabs by Google
https://codelabs.developers.google.com/?cat=Android
ソースコード
Github:
https://github.com/syuheifujita/android-codelab-fundamental-1-2
言葉の定義
・アクティビティ
ユーザーが実際に目にするアプリケーション画面のこと
・レイアウトインフレーション
レイアウトファイル内のビューがビューオブジェクトに変換されます.
これによりレイアウトファイル内のビューがアクティビティ内で使用できるようになること
・ビュー
画面レイアウトのテキスト,画像,ボタン,チェックボックスなどのこと
・オブジェクト
レイアウトファイルで定義したビューをアクティビティファイルで読み込んで,実際に使えるようにしたもののこと
・ハンドラー
処理のこと
ex) テキストの値を変更する
・Toast
画面に短時間ポップアップするメッセージのこと
・AppCompatActivity
古いバージョンのAndroidから,最新のものまでサポートするためのサブクラスのこと
宿題
・タップすると、現在の値を取得し、1を追加するボタンを追加してください
・番号がすでに6の場合何もしない
クイズ
1問目
どのメソッドActivityがアプリのレイアウトを拡張し、そのビューをオブジェクトとして利用可能にしますか?
onCreate()
setClickListener()
setContentView()
show()
2問目
ビューの幅を設定してコンテンツに合わせて調整するために、どのビュー属性を使用しますか?
android:view_width="wrap"
android:layout_width="wrap_content"
android:layout_height="wrap_content"
android:layout_width="match_parent"