はじめに
OpenCVを使用して画像切り取りツールを作成しました。
対象物を切り取り、射影変換して形を整えた後それぞれを保存します。
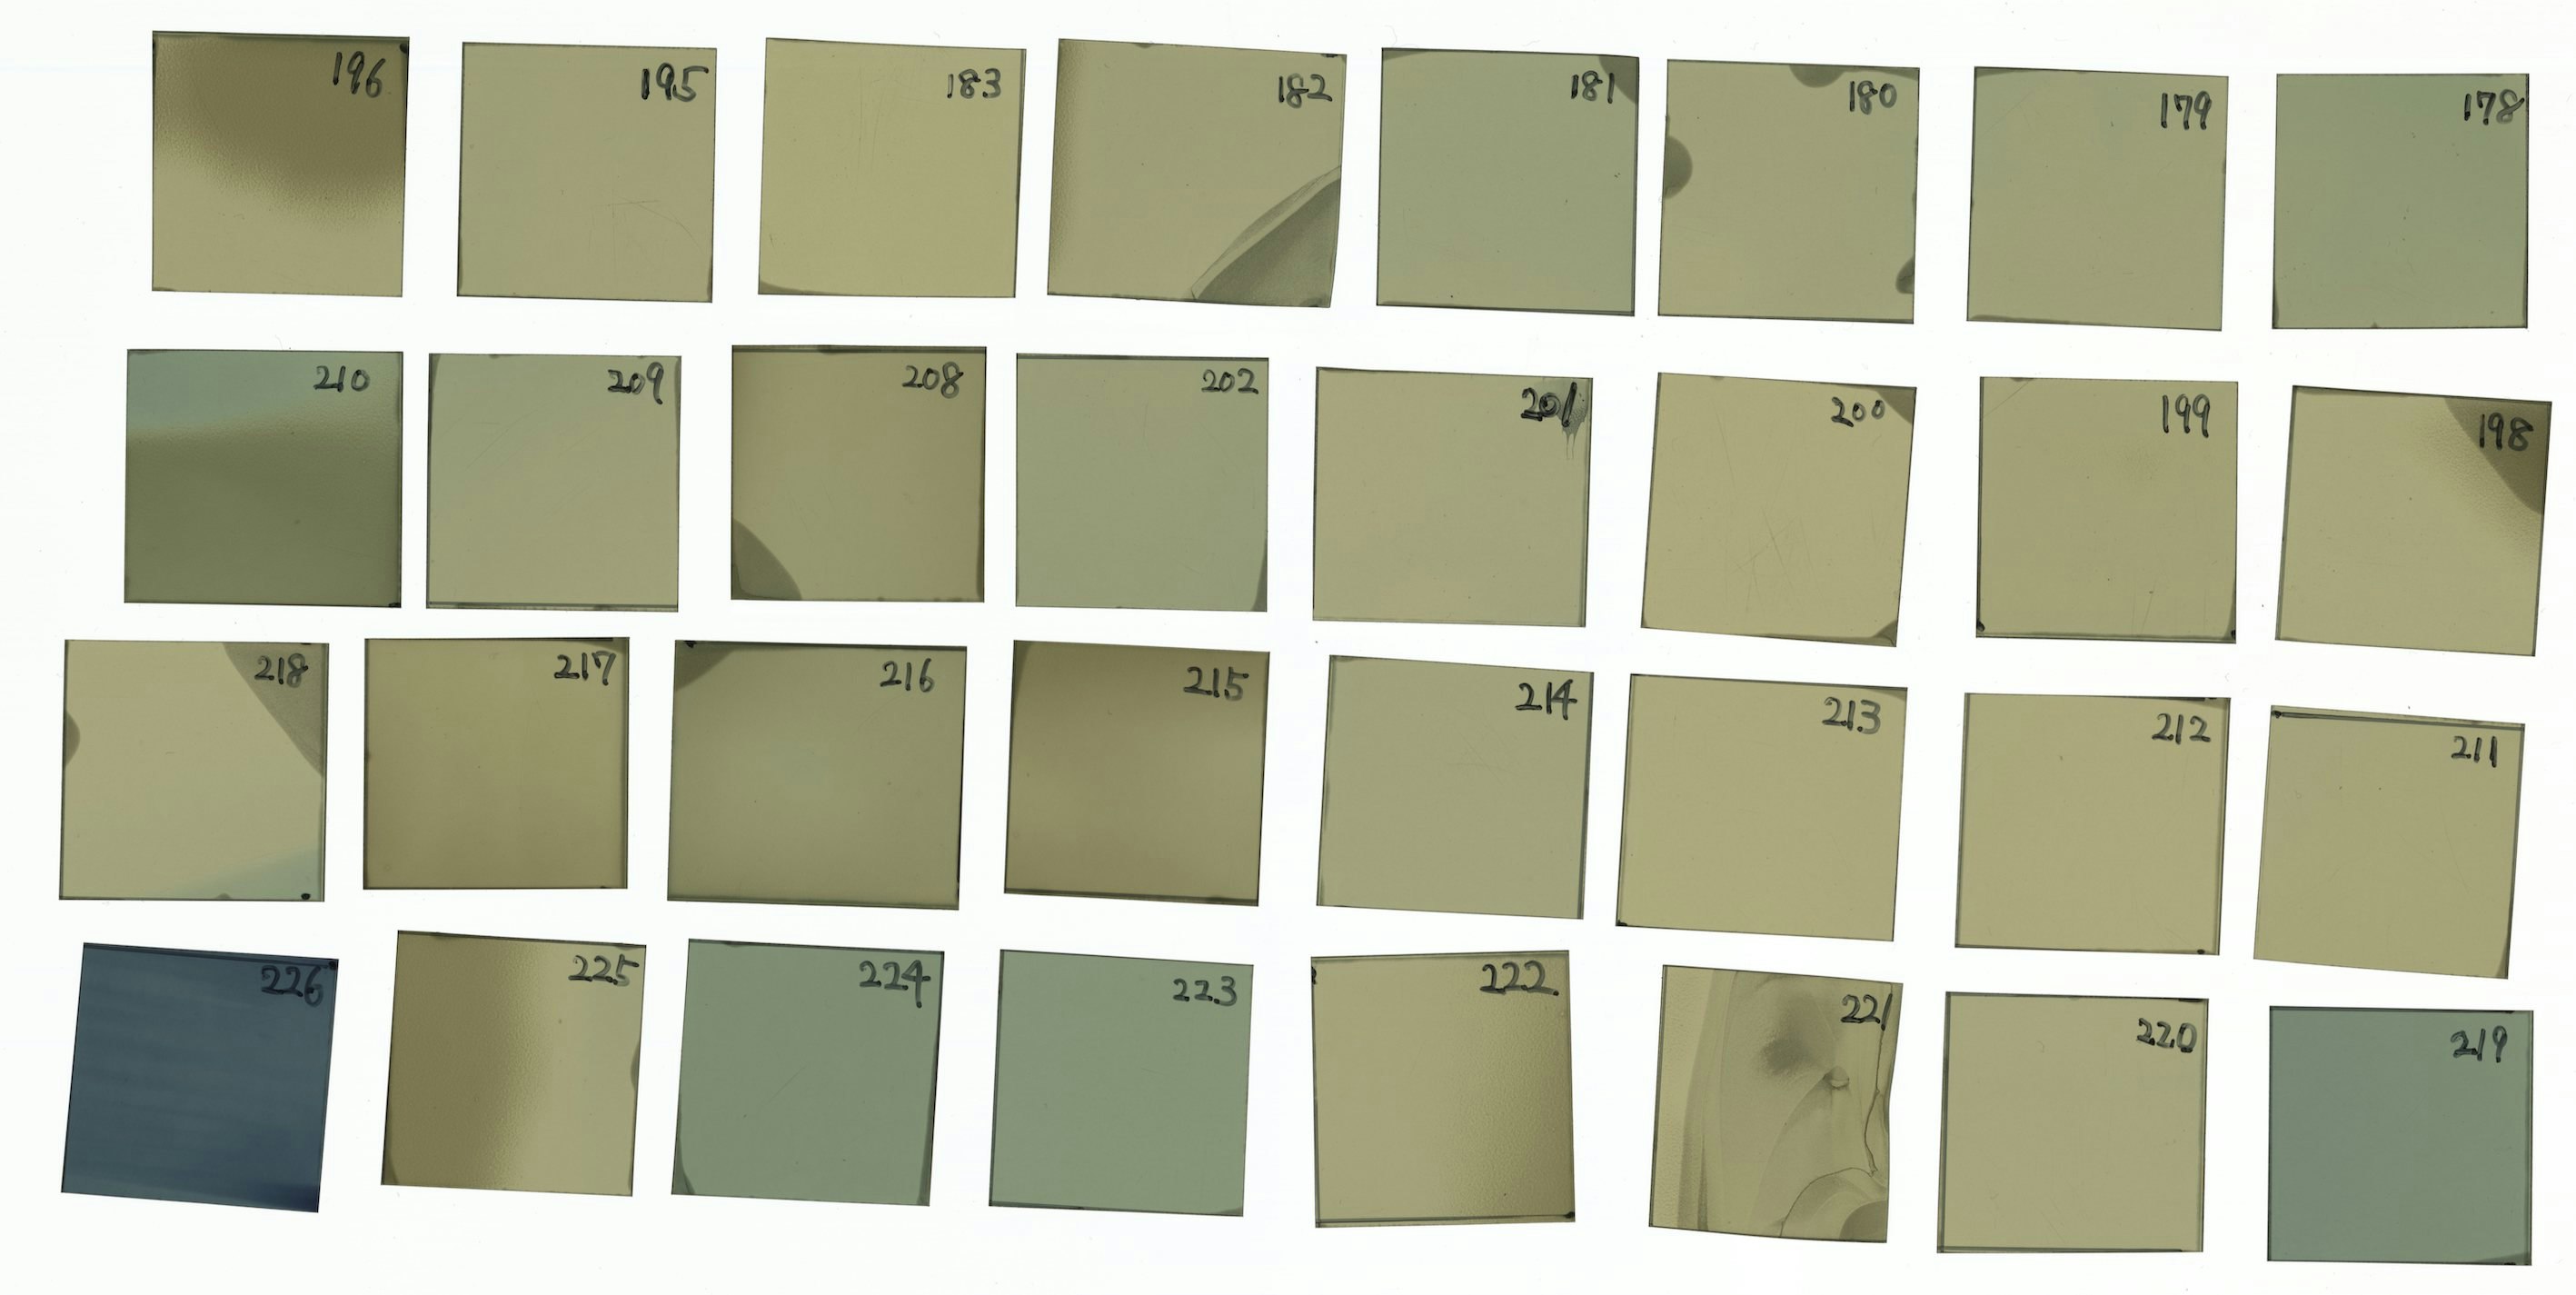
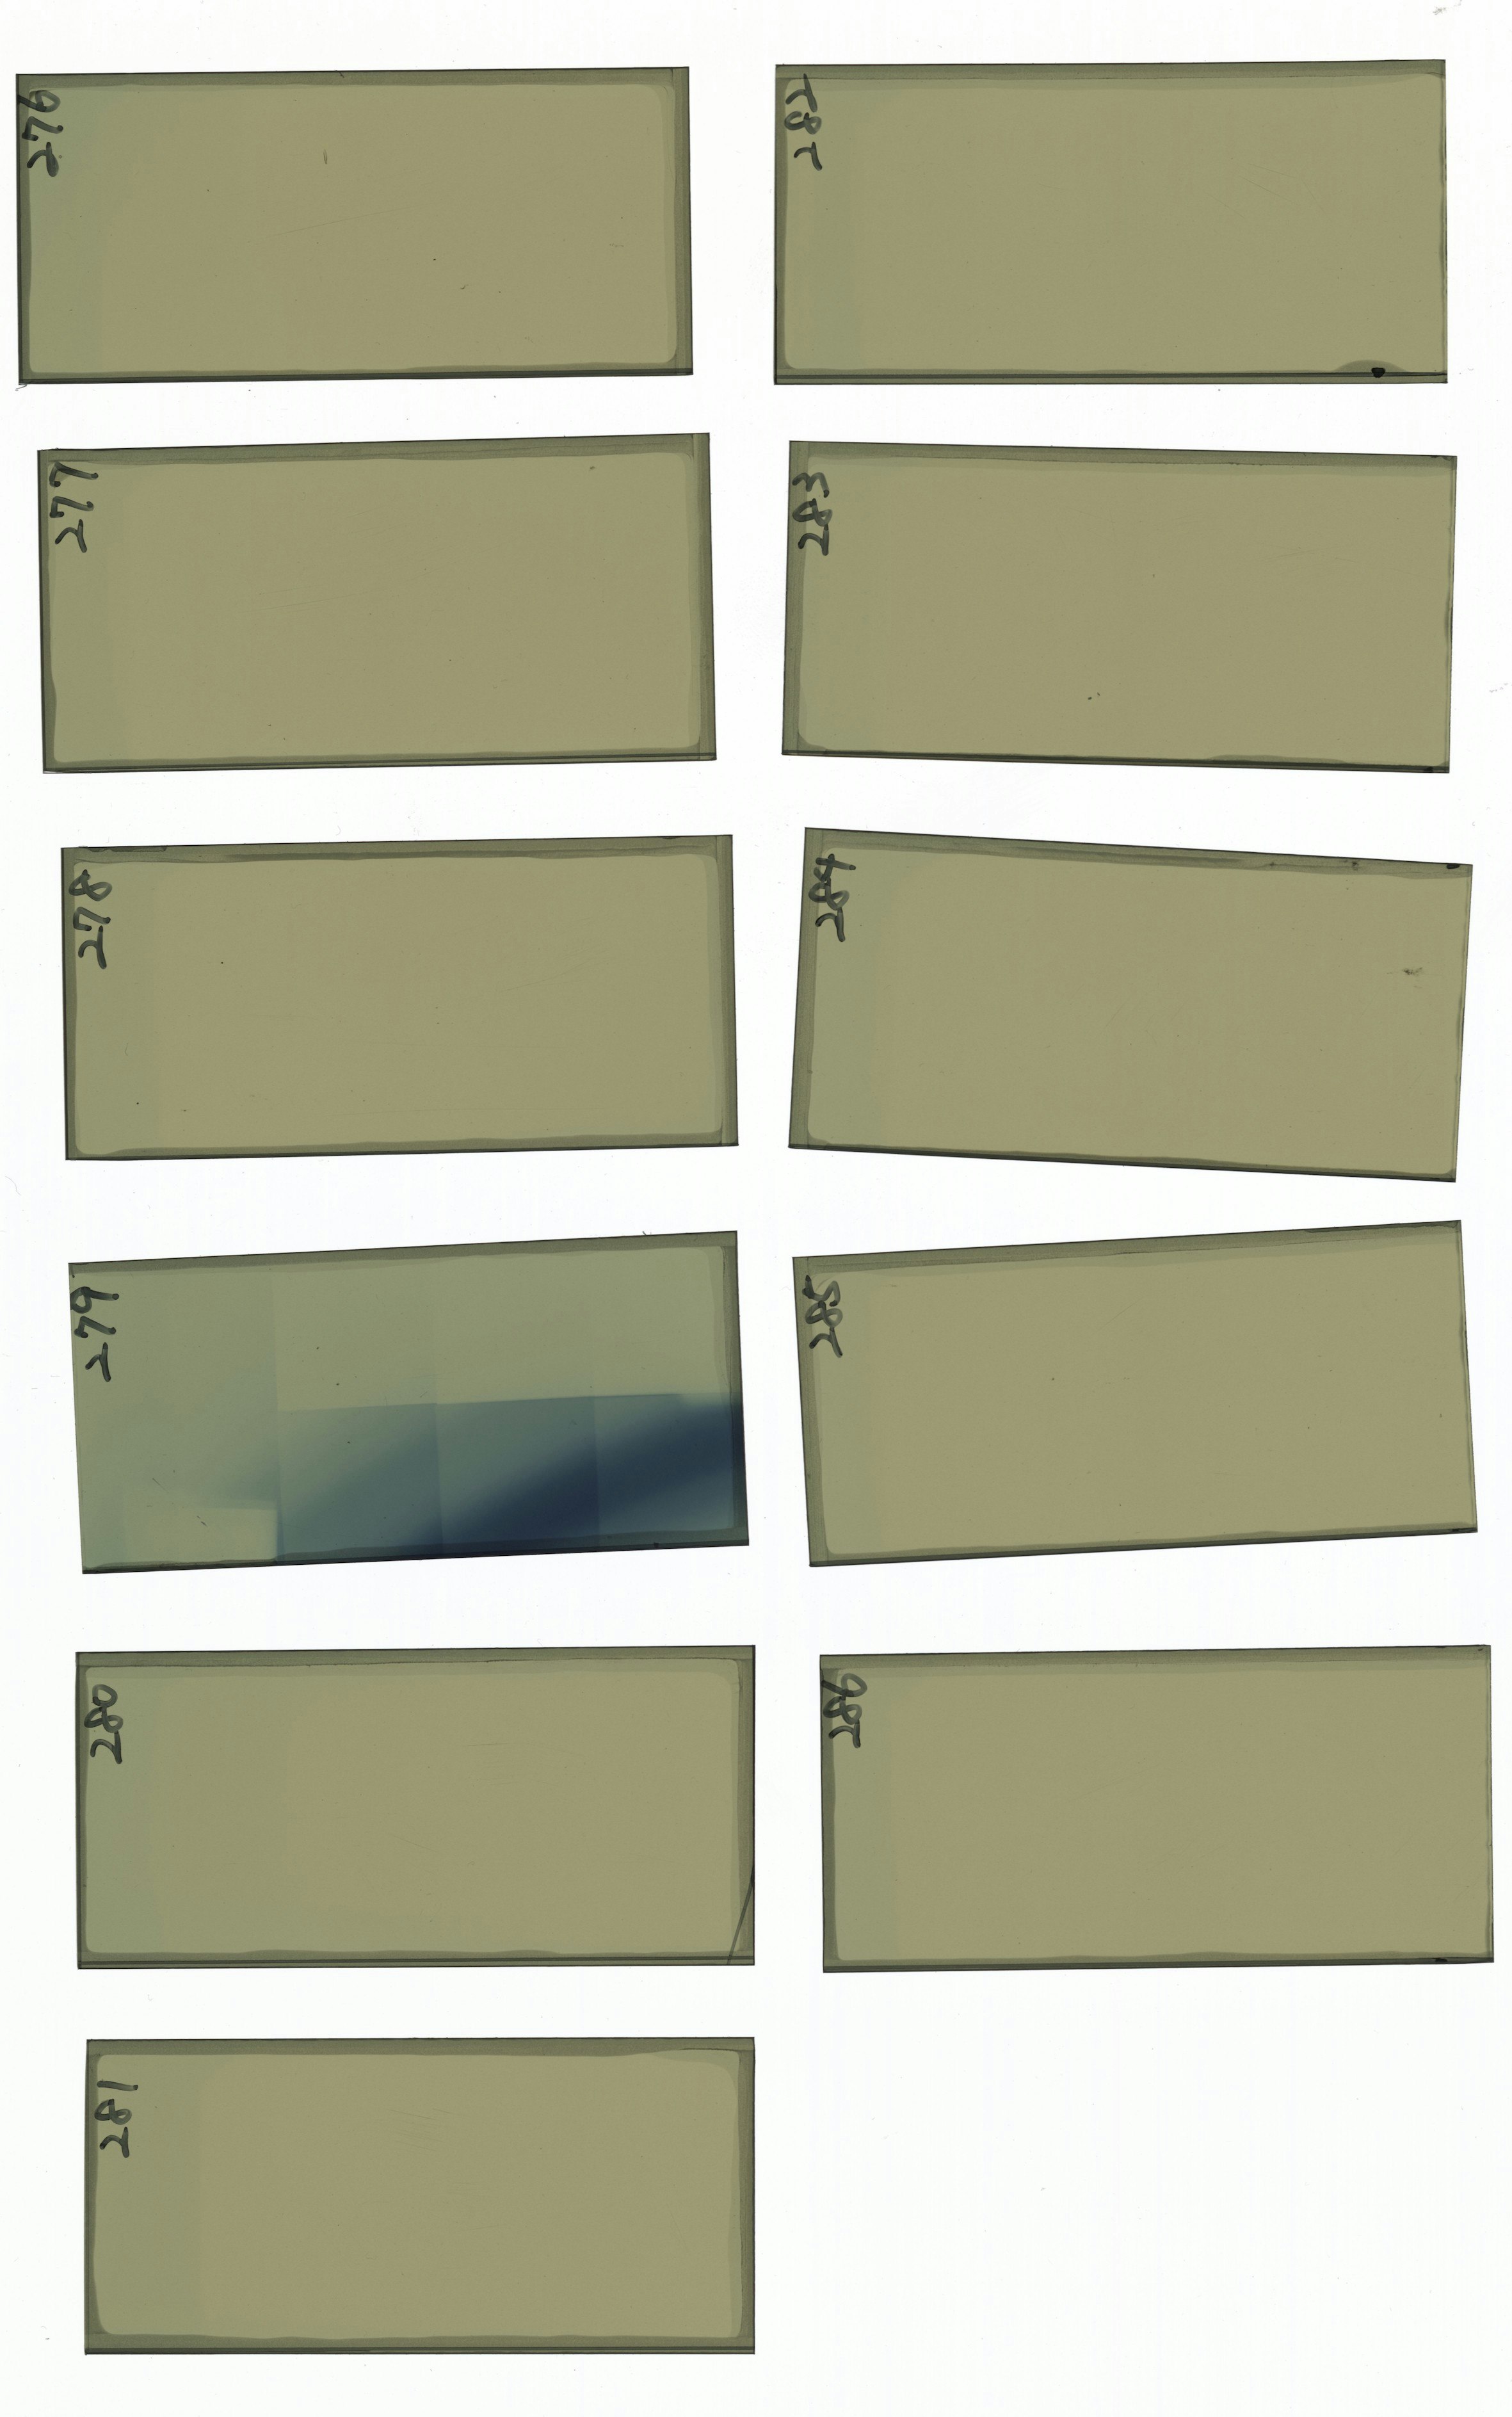
対象物は以下のような画像にあるフィルムを想定しています。
これでなくても、四角形を抽出する際は使用できると思います。
また、作成中に射影変換で躓いたので最後に内容、解決策を記載しています。
詳細
環境
Mac OS
python 3.8.5
opencv-python 4.4.0.44
numpy 1.19.2
tqdm 4.50.2
pip install opencv-python
pip install tqdm
プログレスバーを使用する為tqdmをインポートしています。
射影変換
対象物を真正面から撮影したように補正する処理です。
切り取りした画像を直角にしたかったので使用しました。
射影変換の参考記事
Python/OpenCVの射影変換なら簡単に画像補正ができる! | WATLAB -Python, 信号処理, AI-
OpenCVを使って画像の射影変換をしてみるwithPython - Qiita
全文
画像読み取りに日本語パスも対応させるため以下の記事を参考にしています。
Python OpenCV の cv2.imread 及び cv2.imwrite で日本語を含むファイルパスを取り扱う際の問題への対処について - Qiita
操作方法は
- スクリプトと同じ階層にresourceフォルダ作成
- resourceフォルダ内に処理したい画像をいれる(複数可, jpg, jpeg or png)
- 実行
結果は"./resultフォルダ/画像ファイル名/画像ファイル名_0,..."と保存されていきます。
ファイル名と同じフォルダがresultに存在していた場合処理をスルーします。
うまく切り取りできない場合はthresh_valueかminimum_areaを変更してみて下さい.
画像のしきい値処理 — OpenCV-Python Tutorials 1 documentation
領域(輪郭)の特徴 — OpenCV-Python Tutorials 1 documentation
import os, shutil, time
from pathlib import Path
import cv2
import numpy as np
from tqdm import tqdm

thresh_value = 240  # 2値化する時の境界値, これより画素値が小さければ白にする(max:255)
minimum_area = 10000  # 輪郭を取得したときにこれより面積が小さい物は処理しない(対象物以外のドットを検出してしまったとき用)


def imread(filename, flags=cv2.IMREAD_COLOR, dtype=np.uint8):
    try:
        n = np.fromfile(filename, dtype)
        img = cv2.imdecode(n, flags)
        return img
    except Exception as e:
        print(e)
        return None


def imwrite(filename, img, params=None):
    try:
        ext = os.path.splitext(filename)[1]
        result, n = cv2.imencode(ext, img, params)

        if result:
            with open(filename, mode='w+b') as f:
                n.tofile(f)
            return True
        else:
            return False
    except Exception as e:
        print(e)
        return False


def calculate_width_height(pts, add):
    """
    検出した形状の幅, 高さを三平方を使用して求める
    あまりに斜めになっていると射影変換したときに形状が変わる為

    :parameter
    ------------
    pts: numpy.ndarray
        抽出した形状の4点の座標, shape=(4, 1, 2)
    add: int
        形状によって始点の座標が違う為その補正

    :return
    ------------
    width: int
        幅の計算値
    height: int
        高さの計算値
    """
    top_left_cood = pts[0 + add][0]
    bottom_left_cood = pts[1 + add][0]
    bottom_right_cood = pts[2 + add][0]

    width = np.int(np.linalg.norm(bottom_left_cood - bottom_right_cood))
    height = np.int(np.linalg.norm(top_left_cood - bottom_left_cood))

    return width, height


def img_cut():
    """
    resourceフォルダにある画像(jpg, png)を読み取り対象物の輪郭を取得
    対象物を切り取り射影変換して正面に持ってくる

    1. フォルダ, ファイル読込
    2. 画像読込, 2値化(白黒)処理
    3. 輪郭取得
    4. 射影変換
    5. 出力
    6. resourceファイルをresultへ移動

    :return: None
    """

    # 1. フォルダ, ファイル読込
    resource_folder = Path(r'./resource')
    result_folder = Path(r'./result')
    # resultフォルダが存在していなかったら作成
    if not result_folder.exists():
        result_folder.mkdir()

    img_list1 = list(resource_folder.glob('*.jpg'))  # フォルダ内にあるjpgファイルのpathリスト
    img_list2 = list(resource_folder.glob('*.jpeg'))
    img_list3 = list(resource_folder.glob('*.png'))
    img_list = img_list1 + img_list2 + img_list3

    for img in img_list:
        img_name, img_suffix = img.stem, img.suffix  # 画像の名前と拡張子取得

        # resultフォルダ内に画像ファイル名でフォルダを作成, 既に同じフォルダが存在している場合変換をスキップ
        result_img_folder = Path(r'./result/{}'.format(img_name))
        if not result_img_folder.exists():
            result_img_folder.mkdir()
        else:
            print('{}と同じ名前のフォルダがresult内に存在している為変換できません'.format(img_name))
            continue

        # 2. 画像読込, 2値化(白黒)処理
        read_img = imread(str(img))
        gray_img = cv2.cvtColor(read_img, cv2.COLOR_BGR2GRAY)
        ret, thresh_img = cv2.threshold(gray_img, thresh_value, 255, cv2.THRESH_BINARY_INV)

        # --------------------------------------------
        # 2値化画像確認用
        # cv2.namedWindow('final', cv2.WINDOW_NORMAL)
        # cv2.imshow('final', thresh_img)
        # cv2.waitKey(0)
        # cv2.destroyAllWindows()
        # --------------------------------------------

        # 3. 輪郭取得
        # cv2.RETR_EXTERNAL:検出した輪郭のうち、最も外側にある輪郭だけを抽出->輪郭の中に輪郭があってもそれを無視する
        # cv2.CHAIN_APPROX_SIMPLE:輪郭の辺ではなく、角4点のみ取得
        contours, hierarchy = cv2.findContours(thresh_img, cv2.RETR_EXTERNAL, cv2.CHAIN_APPROX_SIMPLE)
        process_cnt = []  # 実際に切り取りする輪郭のリスト
        for cnt in contours:
            if cv2.contourArea(cnt) < minimum_area:  # 輪郭内の面積が小さすぎる物は切り取らない
                continue
            process_cnt.append(cnt)

        num = 0
        for p_cnt in tqdm(process_cnt[::-1], desc='{}'.format(img_name)):  # 何故か一番下の画像から処理を始めるのでスライスで逆(上)からに直す
            x, y, w, h = cv2.boundingRect(p_cnt)  # 輪郭の左上x, y座標 & 幅, 高さ取得
            img_half_width = x + w / 2

            # cv2.arcLength: 輪郭の周囲長, Trueは輪郭が閉じているという意味
            # cv2.approPolyDP: 検出した形状の近似
            epsilon = 0.1 * cv2.arcLength(p_cnt, True)
            approx = cv2.approxPolyDP(p_cnt, epsilon, True)
            try:
                # 4. 射影変換
                pts1 = np.float32(approx)
                if pts1[0][0][0] < img_half_width:  # ptsに格納されてある座標の始点が左上だったら
                    width, height = calculate_width_height(pts1, 0)
                    pts2 = np.float32([[0, 0], [0, height], [width, height], [width, 0]])
                else:
                    width, height = calculate_width_height(pts1, 1)
                    pts2 = np.float32([[width, 0], [0, 0], [0, height], [width, height]])
            except IndexError:
                continue
            M = cv2.getPerspectiveTransform(pts1, pts2)
            dst = cv2.warpPerspective(read_img, M, (width, height))

            result_img_name = img_name + '_{}.{}'.format(num, img_suffix)
            imwrite(str(result_img_folder) + '/' + result_img_name, dst)

            num += 1
        # 6. resourceファイルをresultへ移動
        shutil.move(str(img), result_img_folder)


if __name__ == '__main__':
    img_cut()
    print('実行終了')
    time.sleep(3)
詳細
# cv2.arcLength: 輪郭の周囲長, Trueは輪郭が閉じているという意味
# cv2.approPolyDP: 検出した形状の近似
epsilon = 0.1 * cv2.arcLength(p_cnt, True)
approx = cv2.approxPolyDP(p_cnt, epsilon, True)
try:
    # 4. 射影変換
    pts1 = np.float32(approx)
pts1に対象物の角4点の座標情報が格納されています。
ex)
[[[6181. 598.]]
[[ 145. 656.]]
[[ 135. 3499.]]
[[6210. 3363.]]]
この4点を画像の角に持ってくることで正面から見たような画像に補正しています。
if pts1[0][0][0] < img_half_width:  # ptsに格納されてある座標の始点が左上だったら
    width, height = calculate_width_height(pts1, 0)
    pts2 = np.float32([[0, 0], [0, height], [width, height], [width, 0]])
else:
    width, height = calculate_width_height(pts1, 1)
    pts2 = np.float32([[width, 0], [0, 0], [0, height], [width, height]])
pts1の始点がどこかを判定しています。
格納されている座標4点は最も上にある(y軸が小さい)点を始点に反時計回りに格納されている為、画像の傾きによってpts1の始点が変わります。それを判定して射影変換後の座標pts2と対応させています。

判定方法は始点のx座標が画像中央より左右どちらにいるかで判断しています。
また、対象物の形状はなるべく保持したいため、三平方を使用して幅、高さを計算、そのサイズで切り取り画像を出力しました。
終わりに
pts1の始点が変わることを知らず、最初は意味不明な画像を出力していました。ネットで探してもなかなか見つからず、最後は画像と睨めっこしてようやく分かったという状態でした。
同じように困った方がいた時に参考になれば幸いです。
参考サイト
チュートリアル
画像のしきい値処理 — OpenCV-Python Tutorials 1 documentation
輪郭: 初めの一歩 — OpenCV-Python Tutorials 1 documentation
領域(輪郭)の特徴 — OpenCV-Python Tutorials 1 documentation
OpenCV参考(輪郭, 画像切り取り, 射影変換)
OpenCVで画像から輪郭検出の基本(findContours関数あたり) | 北館テック.com
輪郭を使用して画像内のオブジェクトを取得およびトリミングする - python、image、opencv-contour
OpenCVを使って画像の射影変換をしてみるwithPython - Qiita
OpenCV 日本語パス読書対応
Python OpenCV の cv2.imread 及び cv2.imwrite で日本語を含むファイルパスを取り扱う際の問題への対処について - Qiita
numpy 三平方計算参考
ユークリッド距離を求める
プログレスバー参考
tqdmでプログレスバーを表示させる - Qiita


