原始のiPhoneからカメラは搭載されていましたが、デプス(深度)が取れるデュアルカメラやTrueDepthカメラが搭載されたのは比較的最近のことです。従来のカメラやGPSが、デジタルの世界と我々が生きる現実世界を繋ぐ重要な役割を担い、アプリ開発者に多くの創造性を与えてくれたのと同様に、「奥行き」がわかるようになったというのはアプリ開発の次元がひとつ増えたようなもの。そのわりに、深度関連APIにどのようなものがあるか、何ができるか、どう実装するのか、という情報は日本語はもちろん、英語でもあまり多くはありません。
そこで、iOSにおけるデプス(深度)関連APIの実装方法を示すサンプル集「iOS-Depth-Sampler」をオープンソースで公開しました。
ソースコードは GitHub に置いてあるので、ご自由にご活用ください。Swift 4.2です。
今のところ6つのサンプル(後述)が入っています。本記事のタイトル「網羅した」は少し大げさですが、撮影済みの写真からデプスを取得する方法から、リアルタイムに取得する方法、ARKitで取得する方法、フロント/リアカメラ、Disparity / Depth / Portrait Matteといったタイプと相互変換、デプスを利用した背景合成や3D空間へのマッピングといったサンプルも備えています。
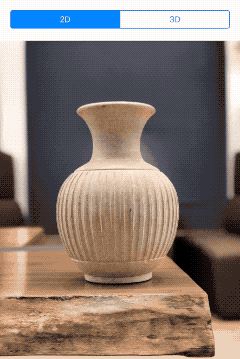
(2次元の写真をデプスを利用して3D空間へマッピング)
今後iOSにデプス関連の機能が追加されるたびに、サンプルも追加していく予定です。
利用可能なデバイス
デュアルカメラもしくはTrueDepthカメラを持つデバイスを使用してください。
2018年9月現在、7 Plus, 8 Plus, X, XS, XRが対象機種です。お持ちの方はぜひビルドして遊んでみてください。リア(Dual Camera)とフロント(TrueDepth Camera)でそれぞれサポートしている機能が全然違うので、X or XSが理想です。
利用方法
git cloneしてXcode 10でビルドしてiOS 12端末 1 にインストール
以上です。Metalを使用しているのでシミュレータでは動作しない点、ご注意ください。
サンプル一覧
Real-time Depth
リアルタイムにカメラから深度情報を取得し、可視化するサンプルです。
Real-time Dpeth Mask
リアルタイムにカメラから取得した深度情報をマスクとして使用し、背景合成を行うサンプルです。

Depth from Camera Roll
カメラロールにある撮影済みの写真から深度情報を取り出し、可視化するサンプルです。標準のカメラアプリのポートレートモードで撮影した写真を利用できます。

Portrait Matte
Portrait Matte (Portrait Effect Matte)を使用し、背景を除去するサンプルです。ポートレートモードで「人間を撮影」した写真を利用できます。要iOS 12。
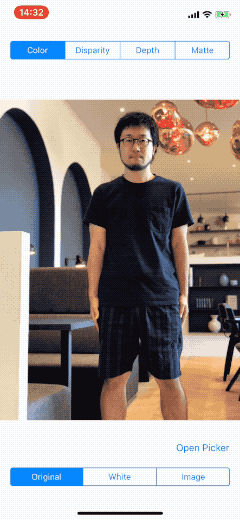
カメラはフロント・リアどちらもOKです。
関連記事: iOS 12のPortrait Matteがすごい - その後のその後
ARKit Depth
ARKitで深度情報を取得し、可視化するサンプルです。

現状、ARKitではARFaceTrackingConfiguration使用時のみ(つまりフェイストラッキングARのときだけ)この方法で(※後で貼るスライド内で説明しています)深度情報を取得できます。
2D image in 3D space
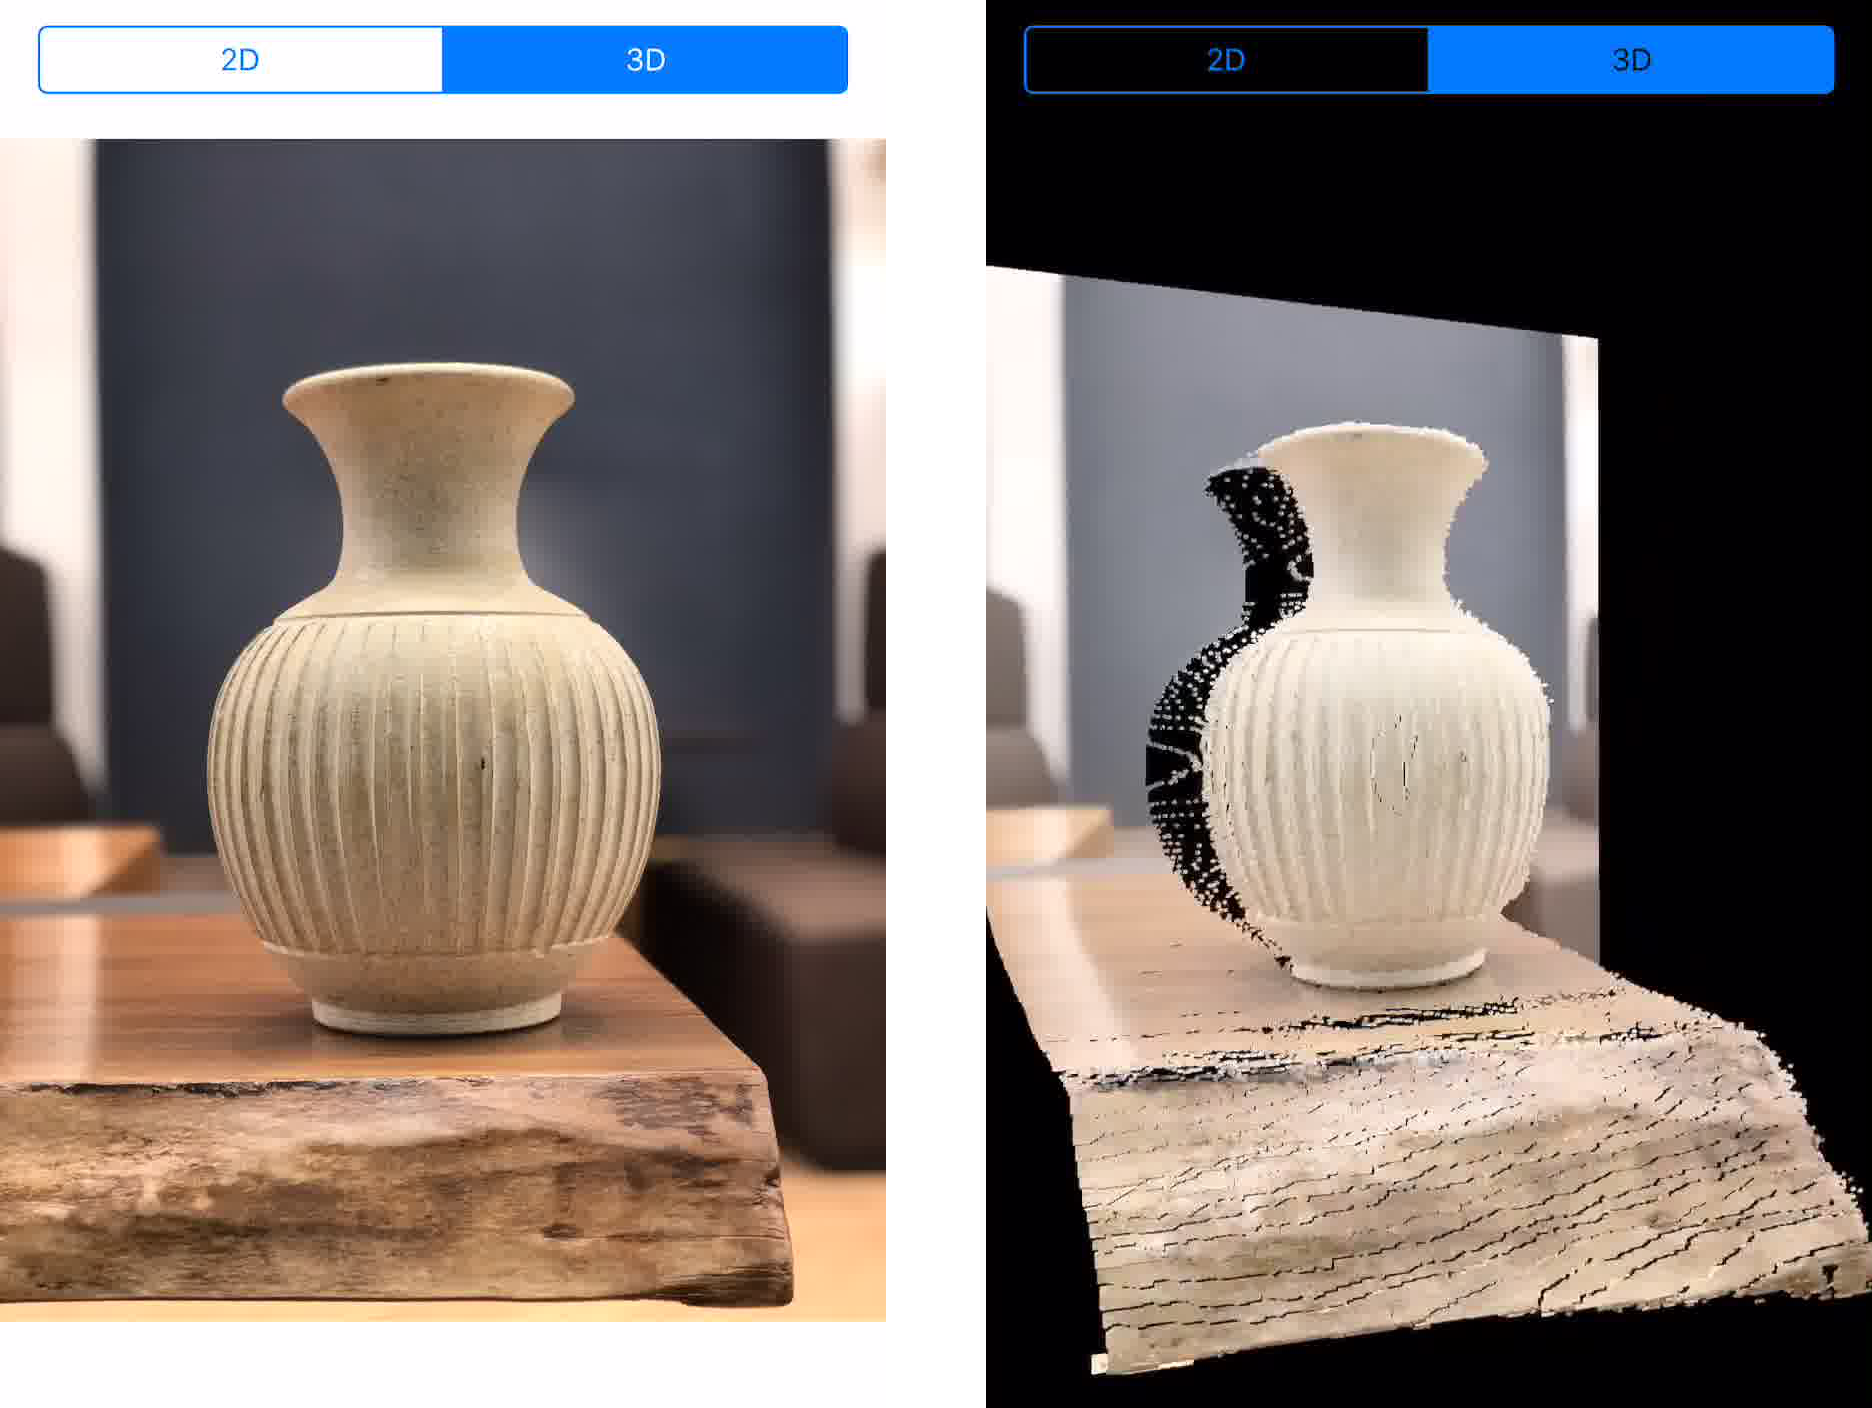
写真(2D)を深度をz値として3D空間にマッピングするサンプルです。
AR occlusion
[WIP] An occlusion sample on ARKit using depth.
そもそもデプスって?
「デプスって何?」「何が嬉しいの?」「どういう仕組みで計測してるの?」といったところは拙スライドもご参照ください。
付録: iOSで深度データにアクセスする方法のまとめ(書きかけ)
途中になってるので、ここに一旦おいておきます。
PHAssetから深度マップ画像を生成
requestContentEditingInput(with: nil) { (contentEditingInput, info) in
    guard let url = contentEditingInput?.fullSizeImageURL else { fatalError() }
    let depthImage = CIImage(contentsOf: url, options: [CIImageOption.auxiliaryDisparity : true])!
    ...
}
深度データを持つPHAssetだけを取得する
let resultCollections = PHAssetCollection.fetchAssetCollections(
    with: .smartAlbum,
    subtype: .smartAlbumDepthEffect,
    options: nil)
var assets: [PHAsset] = []
resultCollections.enumerateObjects({ collection, index, stop in
    let result = PHAsset.fetchAssets(in: collection, options: nil)
    result.enumerateObjects({ asset, index, stop in
        assets.append(asset)
    })
})
PHAssetが持つ深度データからAVDepthData生成
アセットのURLを指定して、CGImageSourceを作成する。
guard let source = CGImageSourceCreateWithURL(url as CFURL, nil) else { fatalError() }
CGImageSourceCopyAuxiliaryDataInfoAtIndexを使用する
let info = CGImageSourceCopyAuxiliaryDataInfoAtIndex(source, 0, kCGImageAuxiliaryDataTypeDisparity) as? [String : AnyObject]
let info = CGImageSourceCopyAuxiliaryDataInfoAtIndex(source, 0, kCGImageAuxiliaryDataTypeDepth) as? [String : AnyObject]
ここで得られる辞書型データは次のような情報を持っている。
- the depth data (CFDataRef) - (kCGImageAuxiliaryDataInfoData),
- the depth data description (CFDictionary) - (kCGImageAuxiliaryDataInfoDataDescription)
- metadata (CGImageMetadataRef) - (kCGImageAuxiliaryDataInfoMetadata)
この辞書型データをそのままAVDepthDataのイニシャライザに渡せる。
let depthData = try! AVDepthData(fromDictionaryRepresentation: info)
CGImageSourceCopyPropertiesから深度に関する情報を取得する
以下のように辿って深度に関する情報を得ることもできる。
guard let sourceProperties = CGImageSourceCopyProperties(source, nil) as? [String: AnyObject] else { fatalError() }
guard let fileContentsProperties = sourceProperties[String(kCGImagePropertyFileContentsDictionary)] as? [String : AnyObject] else { fatalError() }
guard let images = fileContentsProperties[String(kCGImagePropertyImages)] as? [AnyObject] else { return nil }
for imageProperties in images {
    guard let auxiliaryDataProperties = imageProperties[String(kCGImagePropertyAuxiliaryData)] as? [[String : AnyObject]] else { continue }
    ...
}
こういう情報が取れる。
["Width": 576, "AuxiliaryDataType": kCGImageAuxiliaryDataTypeDisparity, "Height": 768]
とはいえ深度マップのデータそのものは入っていない。
AVCaptureSynchronizedDataCollectionからデータを取り出す
AVCaptureDataOutputSynchronizerDelegateのdidOutputメソッドの第2引数からAVCaptureSynchronizedDataCollectionオブジェクトが得られる。
func dataOutputSynchronizer(_ synchronizer: AVCaptureDataOutputSynchronizer, didOutput synchronizedDataCollection: AVCaptureSynchronizedDataCollection) {

    if let syncedDepthData = synchronizedDataCollection.synchronizedData(for: depthDataOutput) as? AVCaptureSynchronizedDepthData, !syncedDepthData.depthDataWasDropped {
        let depthData = syncedDepthData.depthData
        ...
    }

    if let syncedVideoData = synchronizedDataCollection.synchronizedData(for: videoDataOutput) as? AVCaptureSynchronizedSampleBufferData, !syncedVideoData.sampleBufferWasDropped {
        let videoSampleBuffer = syncedVideoData.sampleBuffer
        ...
    }
}
iOS 12のPortrait Matte
let info = CGImageSourceCopyAuxiliaryDataInfoAtIndex(self, 0, kCGImageAuxiliaryDataTypePortraitEffectsMatte) as? [String : AnyObject]
let matte = try! AVPortraitEffectsMatte(fromDictionaryRepresentation: info)
-
ほとんどのデプスAPIはiOS 11から使えるのですが、インパクトのある「Portrait Matte」がiOS 12〜なので、本サンプルはiOS 12以上にしてしまいました。 ↩