随時追加していきます。
MTLBufferの内容を更新する
makeBufferでバッファを新規作成するのではなく、既にあるバッファの中身を変更したい場合、UnsafeMutableRawPointerのcopyMemoryメソッドを使用する
buffer.contents().copyMemory(from: &value, byteCount: MemoryLayout<Float>.stride)
MTLTextureをコピーする
たとえばMTKViewで画像ファイルから読み込んできたテクスチャ(MTLTexture)を描画したいときに、
currentDrawable.texture = aTexture
みたいなことはできない。
この記事でやったみたいに、パススルーシェーダを書いて書き込む方法もあるが、もっと手軽な方法として、 MTLBlitCommandEncoderを使う方法がある。
let commandBuffer = commandQueue.makeCommandBuffer()

let blitEncoder = commandBuffer.makeBlitCommandEncoder()
blitEncoder.copy(from: fromTexture,
                 sourceSlice: 0,
                 sourceLevel: 0,
                 sourceOrigin: MTLOrigin(x: 0, y: 0, z: 0),
                 sourceSize: MTLSizeMake(fromTexture.width, fromTexture.height, fromTexture.depth),
                 to: drawable.texture,
                 destinationSlice: 0,
                 destinationLevel: 0,
                 destinationOrigin: MTLOrigin(x: 0, y: 0, z: 0))
blitEncoder.endEncoding()

commandBuffer.present(drawable)
commandBuffer.commit()
commandBuffer.waitUntilCompleted()
MTLTextureをリサイズする
Metal Performance ShadersフレームワークのMPSImageLanczosScaleというクラスを利用する。
下記記事を参照:
MTLTextureを新規生成する
画像ファイルからMTKTextureLoaderで読み込んでくるのではなく、新規でテクスチャを生成するには、MTLTextureDescriptorを使用する。
let textureDescriptor = MTLTextureDescriptor.texture2DDescriptor(pixelFormat: pixelFormat, width: width, height: height, mipmapped: true)
let texture = device.makeTexture(descriptor: textureDescriptor)
UIImageをMTLTextureに変換する
image というUIImageオブジェクトがあるとして、MTKTextureLoaderを用いて次のように処理する。
guard let cgImage = image?.cgImage else {return}
try? texture = textureLoader.newTexture(with: cgImage, options: do
アセットからMTLTextureを生成する
アセットから読み込んですぐ描画したいのであれば、いったんUIImageオブジェクトをつくるのはCPUのムダ。MTKTextureLoader には下記のようにasset nameを直接渡してテクスチャを生成するメソッドも用意されている。
func newTexture(withName name: String, scaleFactor: CGFloat, bundle: Bundle?, options: [String : NSObject]? = nil) throws -> MTLTexture
iOSデバイスがMetal Performance Shadersをサポートしているかを確認する
この記事の『Metal Feature Sets』の項に書いたとおり、当該iOSデバイスが、MetalをサポートしていてもMPSはサポートしていないこともありえます。(例:iPhone 5s)
以下のコードでチェックできます。
guard MPSSupportsMTLDevice(device) else {
    print("Metal Performance Shaders not Supported on current Device")
    return
}
MTLTextureにブラーをかける
Metal Performance ShadersフレームワークのMPSImageGaussianBlurというクラスを利用する。
入力テクスチャ/出力テクスチャをそれぞれ指定する方法と、**入力テクスチャそのものに出力(in place)**する方法とがある。
たとえばMTKViewのcurrentDrawable.textureに既に書き込まれているテクスチャにブラーを書けたい場合、in placeで以下のように処理できる。
guard let drawable = currentDrawable else {
    return
}
let blur = MPSImageGaussianBlur(device: device, sigma: blurRadius)
let commandBuffer = commandQueue.makeCommandBuffer()
var drawableTexture = drawable.texture
_ = withUnsafeMutablePointer(to: &drawableTexture) { (texturePtr: UnsafeMutablePointer<MTLTexture>) in
    blur.encode(commandBuffer: commandBuffer, inPlaceTexture: texturePtr, fallbackCopyAllocator: nil)
}
commandBuffer.commit()
commandBuffer.waitUntilCompleted()
入力/出力をそれぞれ指定する場合は以下のようにする。
let blur = MPSImageGaussianBlur(device: device, sigma: blurSigma)
let commandBuffer = commandQueue.makeCommandBuffer()
blur.encode(commandBuffer: commandBuffer, sourceTexture: sourceTexture, destinationTexture: destinationTexture)
commandBuffer.commit()
commandBuffer.waitUntilCompleted()
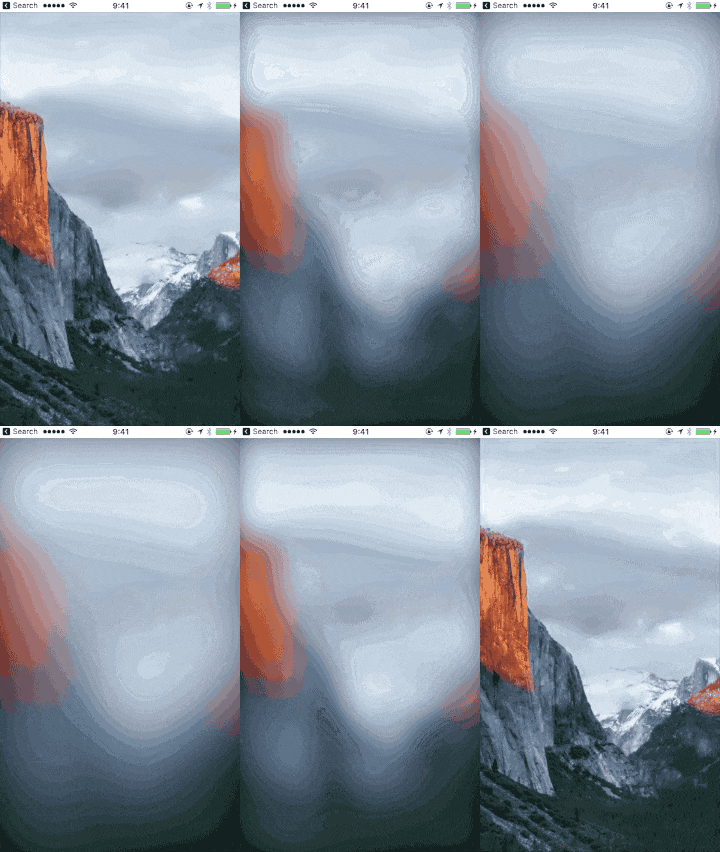
(シグマ0〜100〜0を60 fpsで変化させてみた様子。AnimatedGIFというフォーマットの都合上、グラデーションが汚いですが、実際はすごく綺麗です。)
MTLTextureの転置(行と列の入れ替え)
Landscapeで入ってきたカメラ入力をPortraitにしたい場合とかに。MPSImageTransposeを使う。引数等は一切なし。
MPSImageTranspose *transpose =[[MPSImageTranspose alloc] initWithDevice:commandQueue.device];
[transpose encodeToCommandBuffer:commandBuffer
                   sourceTexture:scrTexture
              destinationTexture:dstTexture];
MTLTexture -> CIImage
CIImageにはMTLTextureを引数に渡せるイニシャライザが用意されているが、
let inputImage = CIImage(mtlTexture: texture, options: nil)
これだけだと上下反転した画像ができてしまう。
というわけで以下のようにy方向にフリップさせる。
let inputImage = CIImage(mtlTexture: texture, options: nil)?.applying(CGAffineTransform(scaleX: 1, y: -1).translatedBy(x: 0, y: CGFloat(texture.height)))
CIImage -> MTLTexture
Metalを利用
Metalを利用してレンダリングするためのCIContextを用意しておく。
context = CIContext(mtlDevice: device)
CIImageの内容をMTLTextureに描画する。
let colorSpace = CGColorSpaceCreateDeviceRGB()
context.render(inputImage, to: toTexture, commandBuffer: commandBuffer, bounds: inputImage.extent, colorSpace: colorSpace)
コマンドバッファの指定はオプショナル。コマンドバッファを渡す場合はcommitもやる。
Core Graphicsを利用
CGImageに変換してMTKTextureLoaderを用いてMTLTextureをロードする
let context = CIContext(options:nil)
guard let cgImage = context.createCGImage(image, from: image.extent) else {return}
let texture = try? textureLoader.newTexture(cgImage: cgImage)
CIImageをMTKViewに描画する
上記の応用例。MTKViewのcurrentDrawableのtextureにCIImageを書き込み、presentする。
let commandBuffer = commandQueue.makeCommandBuffer()

let colorSpace = CGColorSpaceCreateDeviceRGB()
context.render(outputImage, to: drawable.texture, commandBuffer: commandBuffer, bounds: outputImage.extent, colorSpace: colorSpace)

commandBuffer.present(drawable)
commandBuffer.commit()
commandBuffer.waitUntilCompleted()
CMSampleBuffer -> CVImageBuffer (CVPixelBuffer) -> MTLTexture
AVFoudationを用いて得られるカメラ入力をMetalでリアルタイム処理する際にこの変換が必要になる。詳しくは以下の記事を参照:
ここにはコードだけ貼っておく(リンク先にはObjective-C版のコードもあり)
-
CVImageBuffer(CVPixelBuffer)を取り出す
let imageBuffer = CMSampleBufferGetImageBuffer(sampleBuffer)
-
CVMetalTextureCacheを用意
var textureCache : CVMetalTextureCache?
CVMetalTextureCacheCreate(kCFAllocatorDefault, nil, device, nil, &textureCache)
-
CVMetalTextureCacheを用いて、CVImageBufferから、CVMetalTextureを生成
let width = CVPixelBufferGetWidth(imageBuffer)
let height = CVPixelBufferGetHeight(imageBuffer)

var imageTexture: CVMetalTexture?

let result = CVMetalTextureCacheCreateTextureFromImage(kCFAllocatorDefault, textureCache, imageBuffer, nil, pixelFormat, width, height, 0, &imageTexture)
-
CVMetalTextureから、MTLTextureを取り出す
let texture = CVMetalTextureGetTexture(imageTexture)
CVMetalTextureCacheを利用しない方法
iOS 11だとMTLTextureのusageを指定しないと実行時エラーになるようになって、CVMetalTextureCacheを使う場合にそれを指定する方法がわからなかった。MTLTextureDescriptorから生成する場合はそのusageに指定するだけ。
というわけでCVMetalTextureCacheを使いたくない場合、
let image = CIImage(cvPixelBuffer: buffer)
あとは「CIImage -> MTLTexture」 の方法で変換できる(この方法がさらに2種類ある。別項に記載済み)
Core ImageとMetalを併用する
MTLTexture -> CIImage -> (CIFilterで画像処理) -> MTLTexture -> MTKViewに描画
という流れ。Core ImageはMetalとシームレスに統合できるよう実装されているので、CPUとGPUを行ったり来たりするようなムダはない。詳しくはこちらの記事を参照: Metalの恩恵は受けつつCore Imageで「手軽に」画像処理 - Qiita
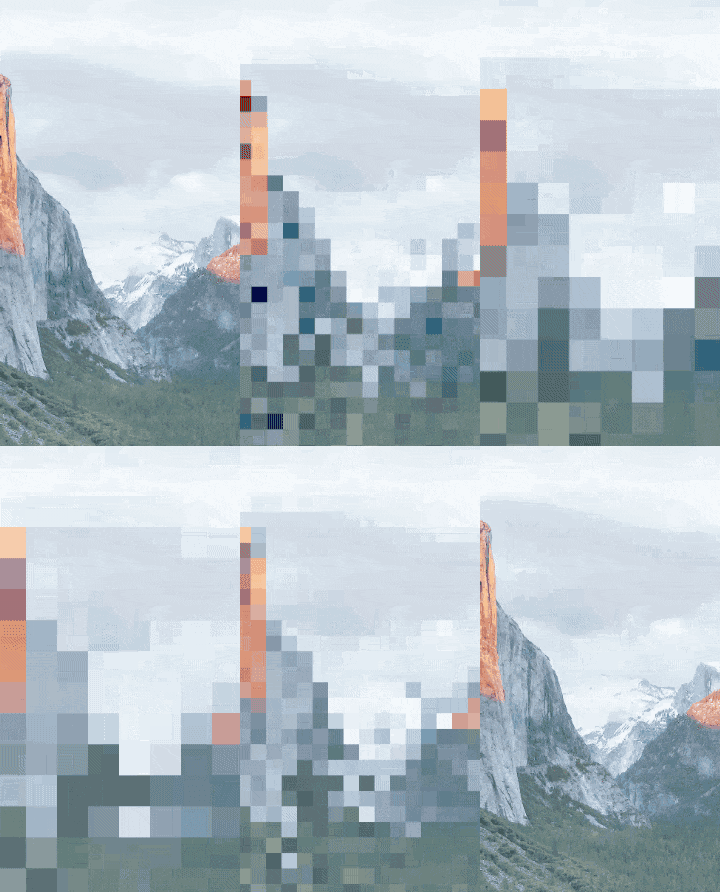
(Core ImageのCIPixellateフィルタをパラメータを変えつつ60fpsでMTKViewに描画)
MetalシェーダでSceneKitのマテリアルを描画する
SCNProgramというクラスを使う。
let program = SCNProgram()
program.fragmentFunctionName = "myVertex"
program.vertexFunctionName = "myFragment"
material.program = program
詳細は下記記事を参照:
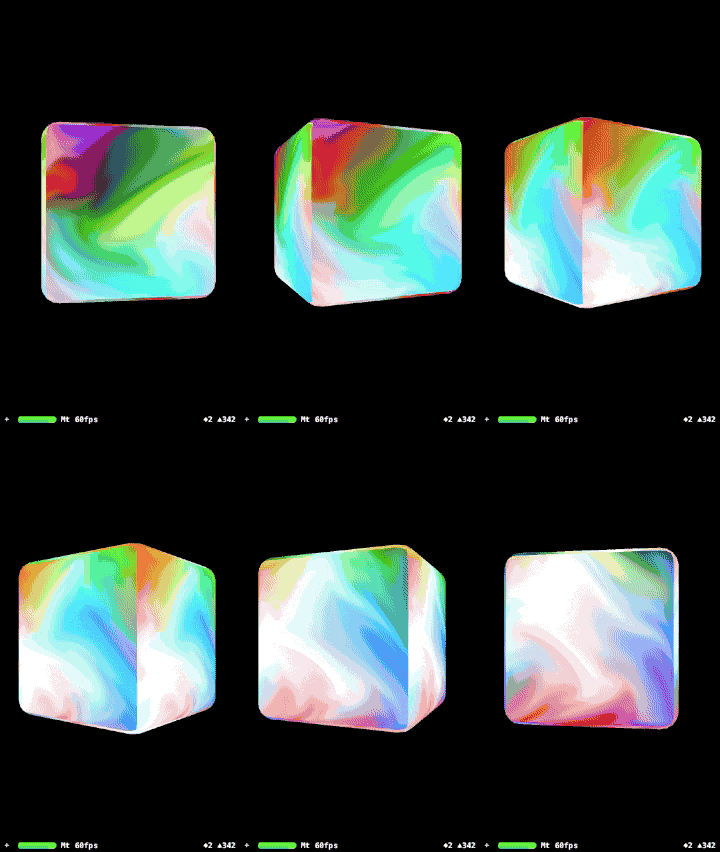
(http://glslsandbox.com/e#36858.0 のGLSLをMSLに移行しつつSceneKitに描画)
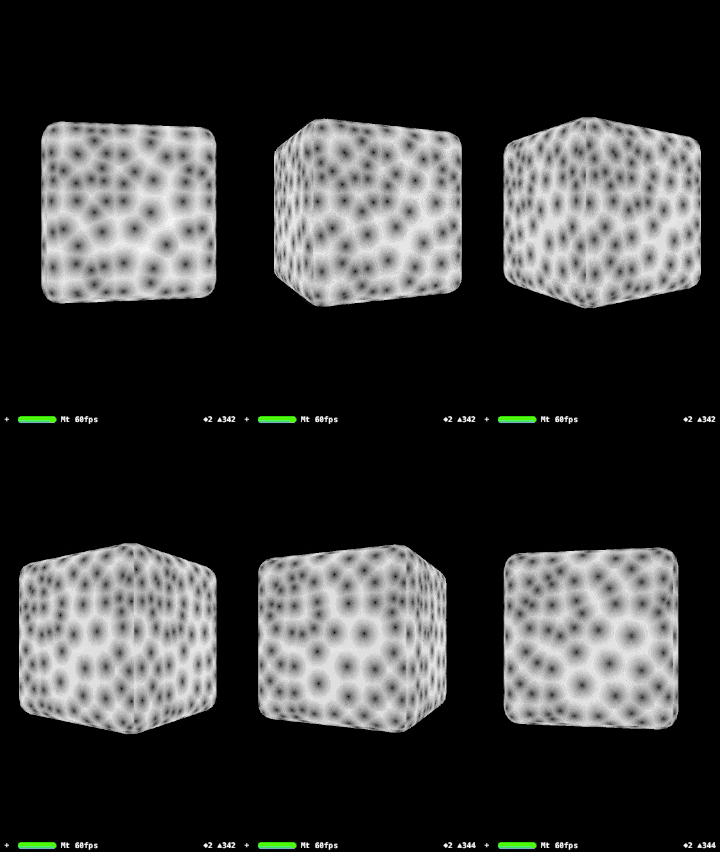
(http://glslsandbox.com/e#37017.0 のGLSLをMSLに移行しつつSceneKitに描画)


