homebrewのOpenCVのオプション設定が無くなる
2017年夏くらいにopencvのオプションがなくなったようでHomebrewではcontribとpython以外のオプション指定でインストールできなくなっていたので自力でインストールします。
There’s no such option because Homebrew builds opencv with contrib by default. All the existing options were removed when opencv was imported into the core repository two weeks ago.
Just use brew install opencv.
関連ライブラリをbrewでインストールする(特にvtkを入れたい)
brew update
brew upgrade
brew install qt5
brew linkapps qt5
brew install git cmake pkg-config eigen numpy jpeg webp ffmpeg jasper openexr libpng libtiff openexr python3 qt5 gstreamer libgphoto2 eigen libtiff ilmbase openexr numpy imagemagick
brew uninstall vtk
brew install vtk --with-python3 --without-python--with-qt
※すでに環境構築済みだったので足りないものもあるかも。またcmakeとimagemagick等は必要ないかも
※vtkのインスートールはソースからmakeするためかなり時間が掛かります
makeの準備
cmake(GUI版)をダウンロードしインストール
https://cmake.org/files/v3.11/cmake-3.11.0-rc1-Darwin-x86_64.dmg
opencv本体とcontribをダウンロード
https://github.com/opencv/opencv/archive/3.4.1.zip
https://github.com/opencv/opencv_contrib/archive/3.4.1.zip
contribは解凍後opencv-3.4.1直下のcontribとしてコピー
cp -r opencv_contrib-3.4.1 opencv-3.4.1/contrib
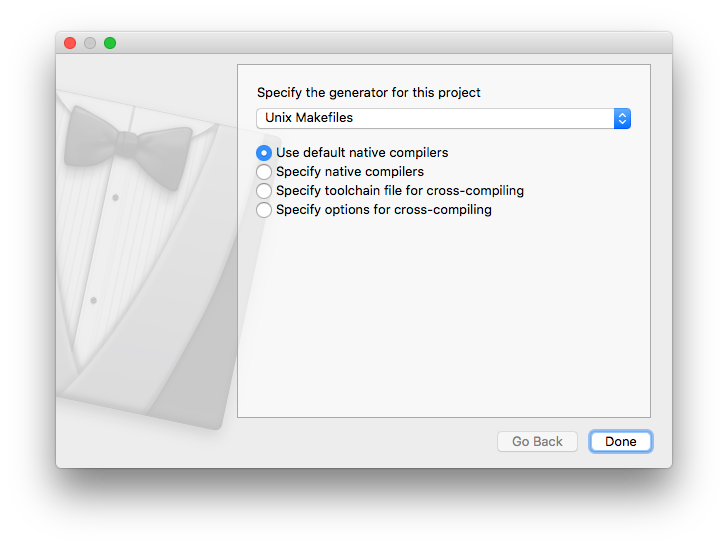
cmake
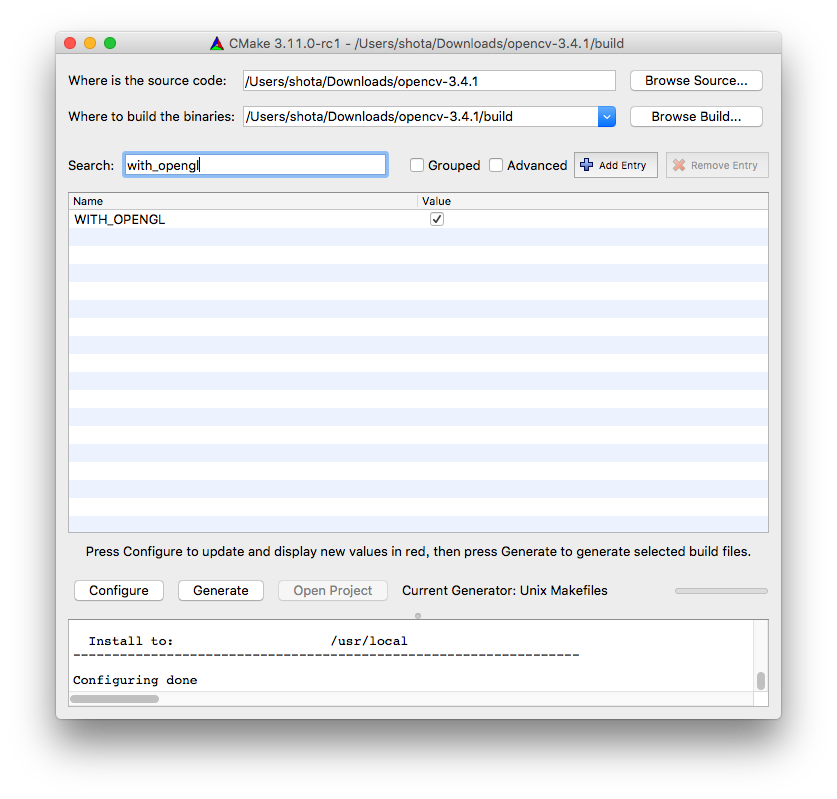
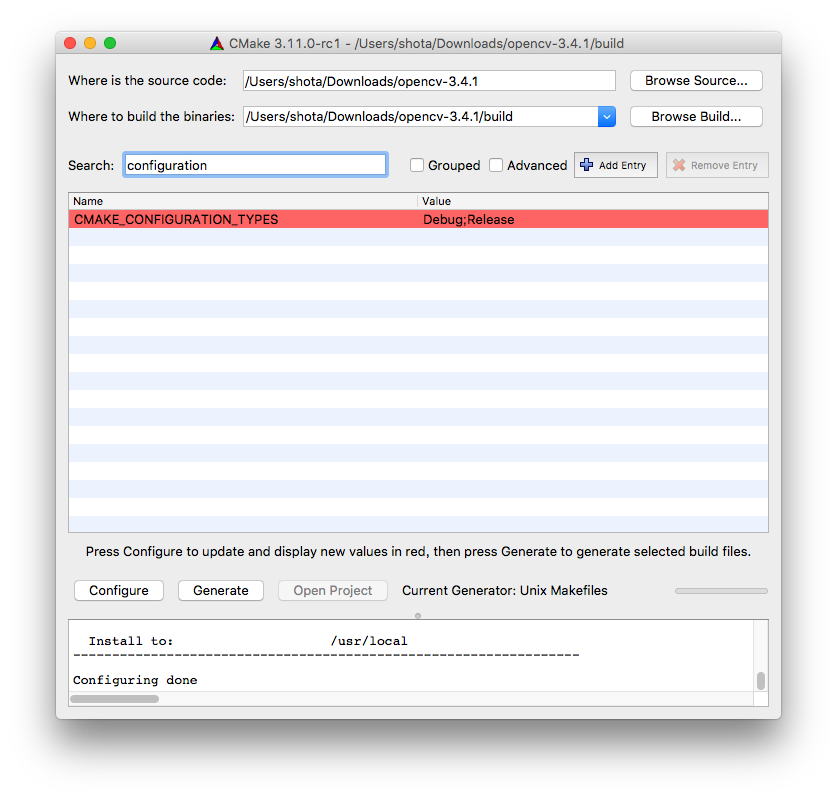
souceとbinariesの場所を設定した上でCMAKE_CONFIGURATION_TYPESをReleaseに設定
以下のようにQTの設定を行う、もう一度configureを押した後QtOpenGL_DIRの設定をしもう一度configureを押す。
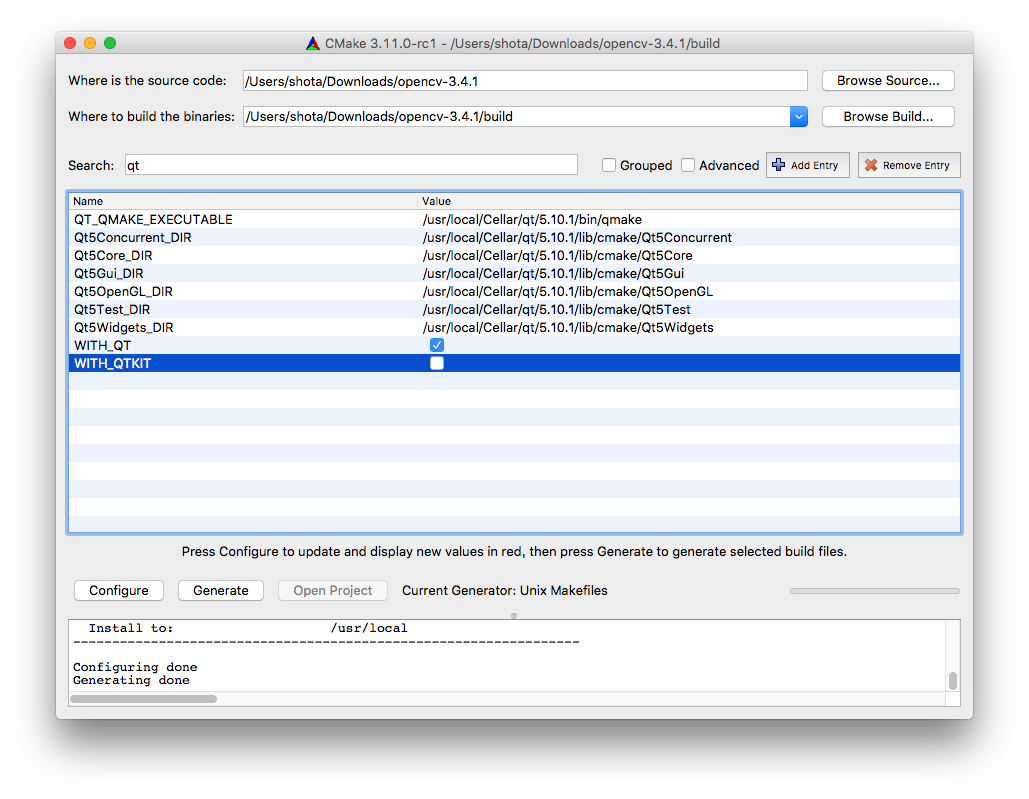
make
opencv-3.4.1/buid以下でmake
make
install
opencv-3.4.1/buid以下でmake install
make install
C++コンパイル時にエラーが出るのでpython関係のライブラリを退避させる
cd /usr/local/lib
mkdir python
mv libvtk*Python* python
動作確認
ほぼ
http://whoopsidaisies.hatenablog.com/entry/2013/12/20/232625
の内容なのですが、Perfumeのデータで動作確認を行おうと思ったのですが、ダウンロードにflashが必要?そうで面倒なのでやめました。
以下からteapot.objをダウンロード、ソースと同じディレクトリに設置
ソース(http://whoopsidaisies.hatenablog.com/entry/2013/12/20/232625 をほぼそのままコピー)
// coppied from http://whoopsidaisies.hatenablog.com/entry/2013/12/20/232625
# include <opencv2/viz.hpp>
# include <opencv2/viz/widget_accessor.hpp>

# include <vtkPolyDataMapper.h>
# include <vtkActor.h>
# include <vtkOBJReader.h>

using namespace cv;
using namespace std;

// Objファイルから3Dデータを読み込み可能なウィジェット
class WObj : public viz::Widget3D
{
public:
	WObj(const string& filename)
	{
		// OBJファイルを読み込むクラスの生成
		vtkSmartPointer<vtkOBJReader> reader = vtkSmartPointer<vtkOBJReader>::New();
		reader->SetFileName(filename.c_str());
		reader->Update();

		// mapperにOBJファイルからデータを取り込む
		vtkSmartPointer<vtkPolyDataMapper> mapper = vtkSmartPointer<vtkPolyDataMapper>::New();
		mapper->SetInputConnection(reader->GetOutputPort());

		// actorの設定
		vtkSmartPointer<vtkActor> actor = vtkSmartPointer<vtkActor>::New();
		actor->SetMapper(mapper);

		// ウィジェットにactorをセットする
		viz::WidgetAccessor::setProp(*this, actor);
	}
};

int main()
{
	// 表示用ウィンドウの生成
	viz::Viz3d objWindow("Creating Widgets");

	// Perfumeのウィジェットを生成
	string filename1 = "teapot.obj";
	WObj objTeapot(filename1);

	// Perfumeのウィジェットをウィンドウに表示
	objWindow.showWidget("Teapot", objTeapot);

	// 軸を表示
  Affine3d cloud_pose = Affine3f().translate(Vec3f(0,0,0));
  objWindow.showWidget("Coordinate Widget", viz::WCoordinateSystem(10), cloud_pose);

	// 表示のスタート
	objWindow.spin();
}
コンパイルと実行
clang++ -std=c++11 `pkg-config --cflags opencv` -I/usr/local/include/vtk-8.1 main.cpp `pkg-config --libs opencv` /usr/local/lib/libvtk*
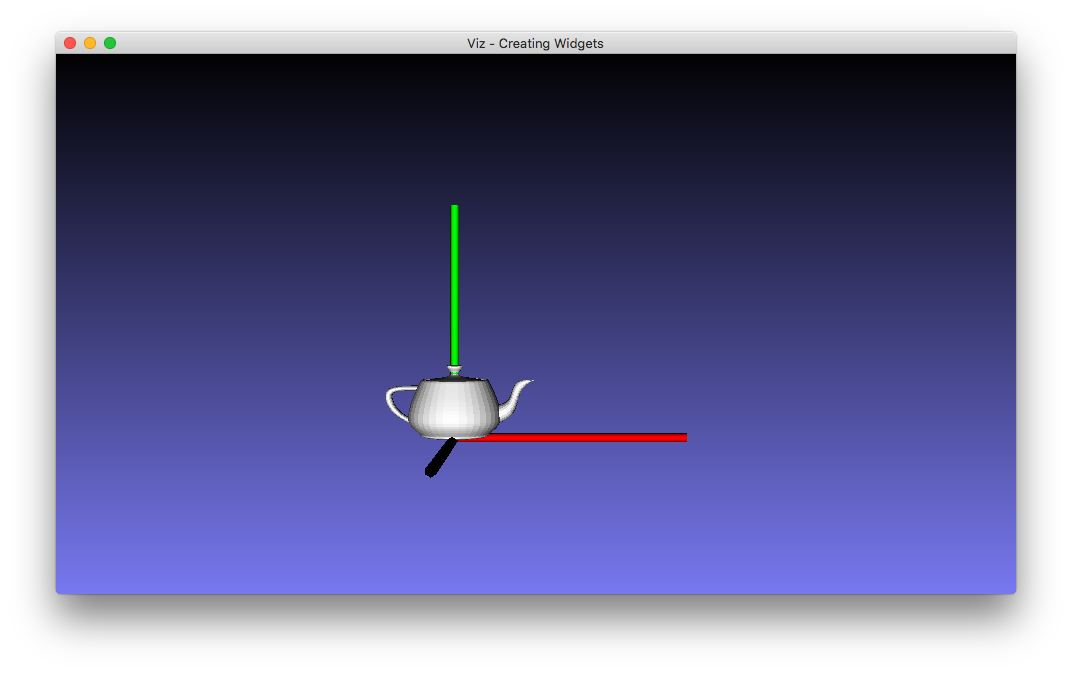
./a.out
参考
https://stackoverflow.com/questions/45906638/there-is-no-options-in-hombrew-for-opencv-installation
https://docs.opencv.org/3.3.1/d2/d64/tutorial_creating_widgets.html
http://whoopsidaisies.hatenablog.com/entry/2013/12/20/232625
https://github.com/opencv/opencv/issues/9899
