はじめに
- 高エネルギー物理学分野で使われている解析フレームワーク
ROOTを使ってみる - ひさしぶりに使うので、とりあえずインストールからデモで遊ぶところまで
ROOTのインストール
ROOTのインストール
$ brew install root

Because ROOT depends on several installation-dependent
environment variables to function properly, you should
add the following commands to your shell initialization
script (.bashrc/.profile/etc.), or call them directly
before using ROOT.

For bash users:
  . /usr/local/bin/thisroot.sh
For zsh users:
  pushd /usr/local >/dev/null; . bin/thisroot.sh; popd >/dev/null
For csh/tcsh users:
  source /usr/local/bin/thisroot.csh

Emacs Lisp files have been installed to:
  /usr/local/share/emacs/site-lisp/root
-
Homebrewを使ってインストールできた(とても簡単になってる!) - 環境変数とかを設定する必要があるので、
bashユーザなどは書かれたとおりの設定ファイルを読み込む - 僕は
fishユーザなので、よく分からない。けど、このまま進める -
Emacsユーザのための補完用Lispもある
ROOTの起動
$ root
   ------------------------------------------------------------
  | Welcome to ROOT 6.14/04                http://root.cern.ch |
  |                               (c) 1995-2018, The ROOT Team |
  | Built for macosx64                                         |
  | From tags/v6-14-04@v6-14-04, Aug 23 2018, 17:00:44         |
  | Try '.help', '.demo', '.license', '.credits', '.quit'/'.q' |
   ------------------------------------------------------------
root [0]
-
rootと打つと、青っぽい画面が表示され、ターミナルに上のガイドが表示される
デモの起動
root [0] .demo
root [1]
-
ROOTの中で.demoと入力した - ディスプレイの左端にメニューバーが表示された
-
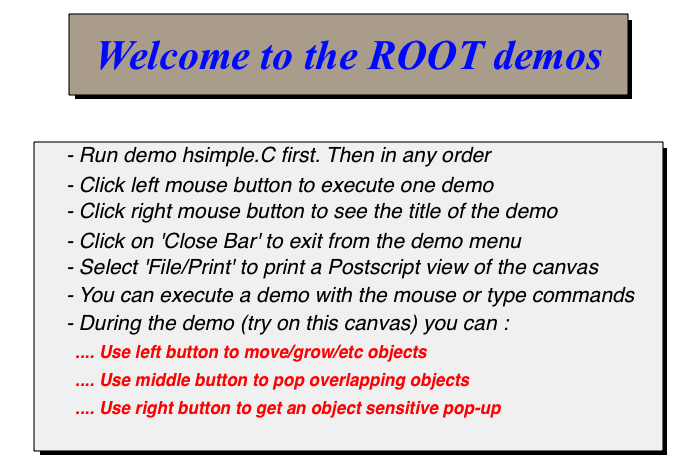
Help Demosをクリックしたら以下の画面(TCanvas)が表示された
-
hsimpleを最初に実行する。あとはお好きな順番で。 - 左クリックでデモを実行
- 右クリックでデモのタイトルを表示
- ...などなど
デモを実行する前に
- デモを実行するといくつかファイルが生成されるので、デモ用のディレクトリを作成したほうがよい