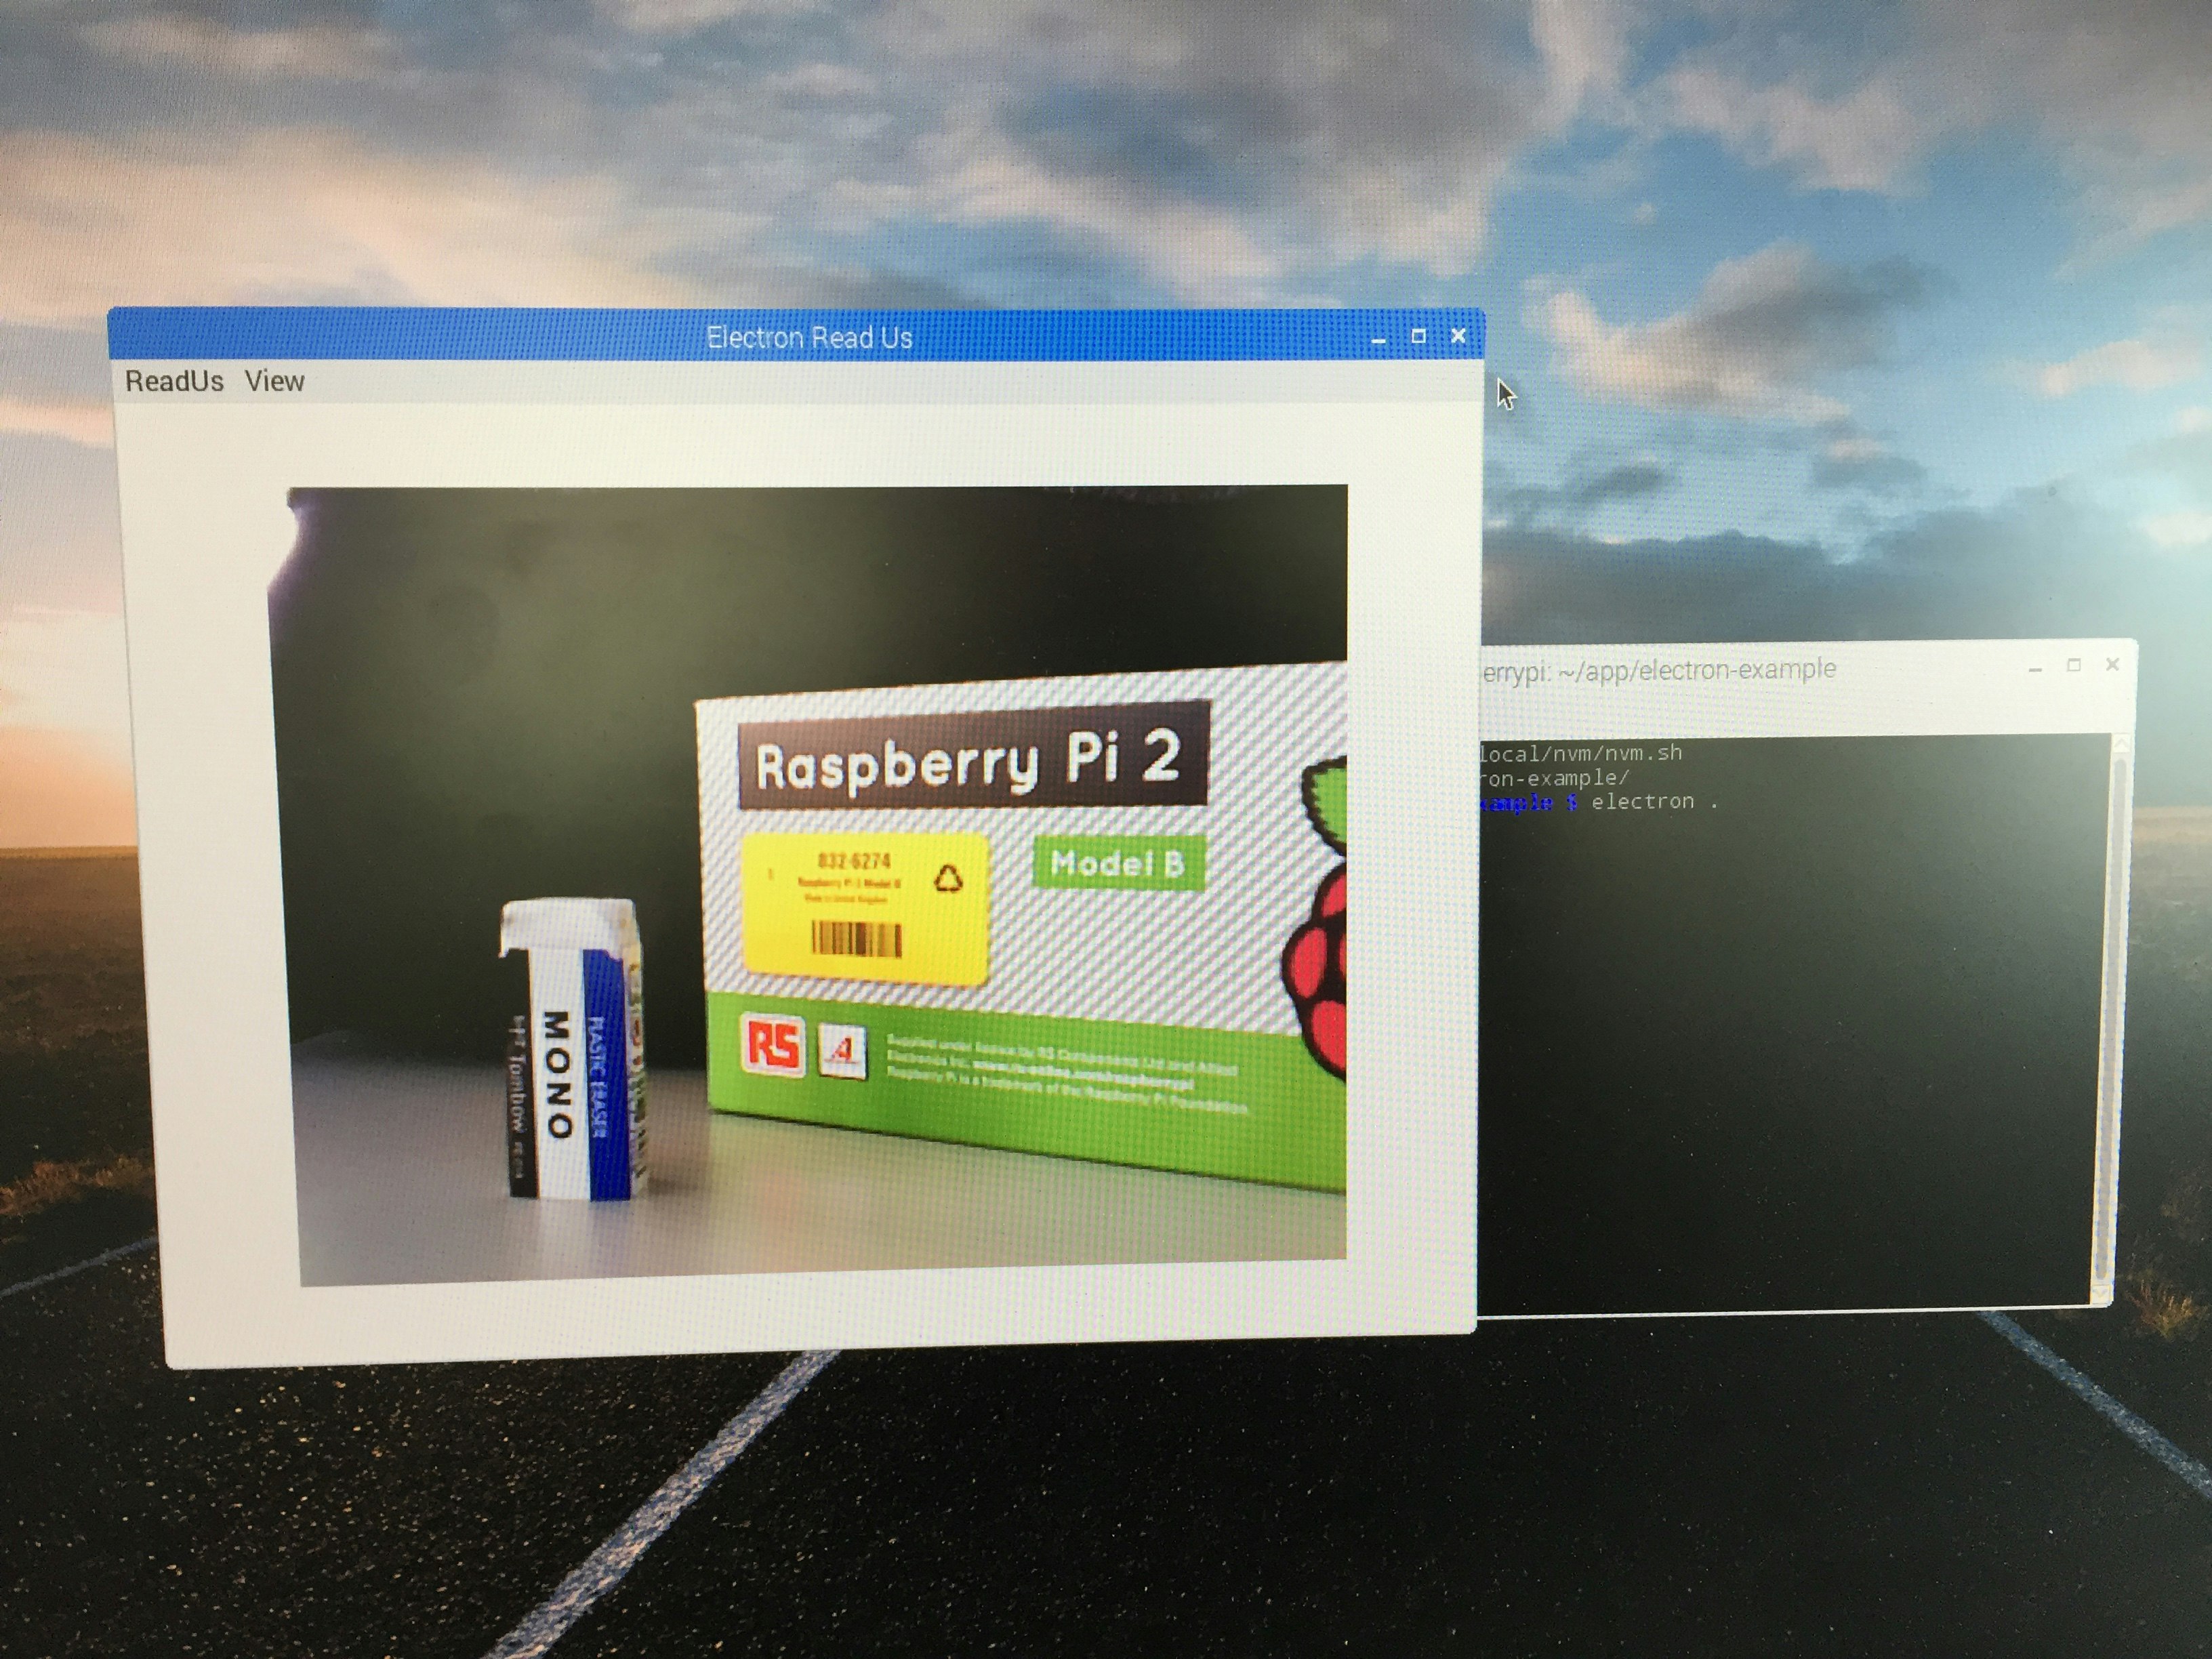
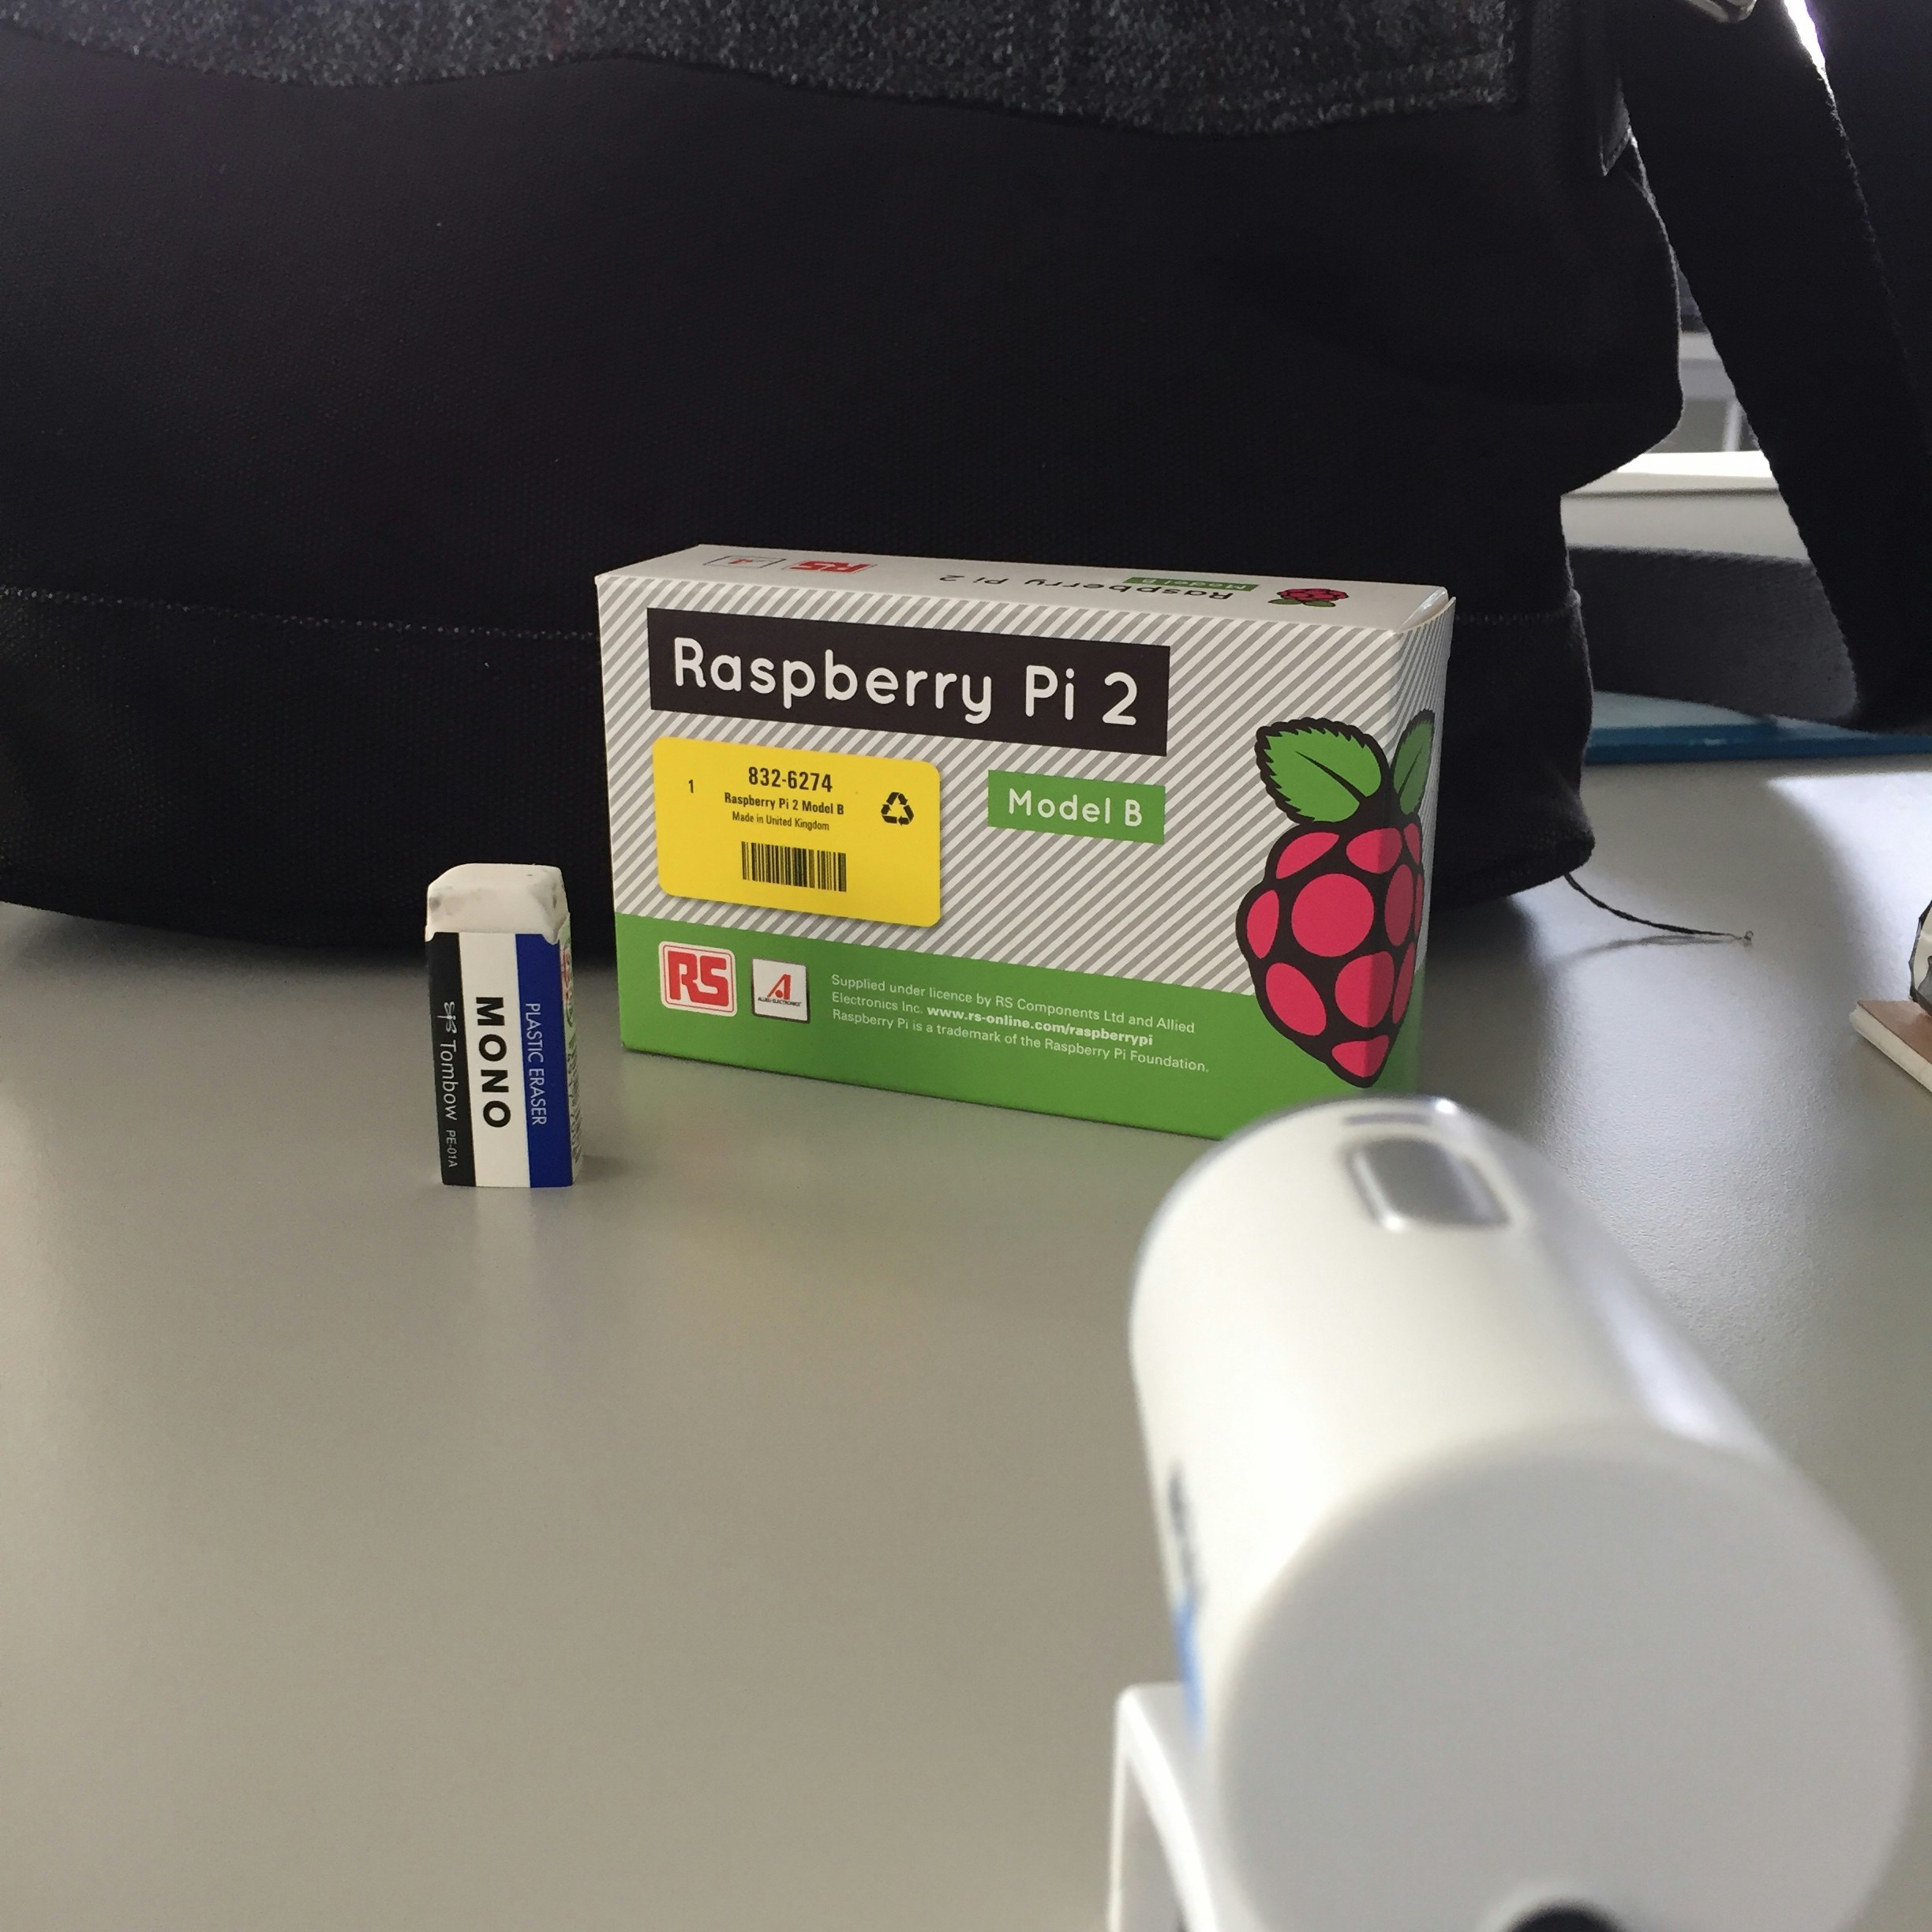
内容
RaspberryPiでElectronを使用し、カメラからの映像をデスクトップに出力する。
結果
やり方
構成
- RaspberryPi2 ModelB
- USBカメラ(BUFFALO製・130万画素)
- node v.7.7.4
- electron v1.4.13
ソースコード
特に凝ったことはせず、Electronで画面を作るだけ。
- index.js
'use strict';

var electron = require('electron');
var app = electron.app;
var BrowserWindow = electron.BrowserWindow;
var Menu = electron.Menu;
var mainWindow = null;
var remote = require("electron").remote;

app.on('window-all-closed', function() {
  if (process.platform != 'darwin')
    app.quit();
});

app.on('ready', function() {
  // メニューをアプリケーションに追加
  Menu.setApplicationMenu(menu);
  openWindow();
});

function openWindow() {
  mainWindow = new BrowserWindow({width: 800, height: 600});
  mainWindow.loadURL('file://' + __dirname + '/index.html');
  mainWindow.on('closed', function() {
    mainWindow = null;
  });
}

function fullscreen(){
  var w = BrowserWindow.getFocusedWindow();
  w.setFullScreen(!w.isFullScreen());
}


var template = [
  {
    label: 'ReadUs',
    submenu: [{label: 'Quit', accelerator: 'Command+Q', click: function () {app.quit();}}]
  },

  {
    label: 'View',
    submenu: [
      { label: 'Reload', accelerator: 'Command+R', click: function() { BrowserWindow.getFocusedWindow().reload(); } },
      { label: 'Toggle DevTools', accelerator: 'Alt+Command+I', click: function() { BrowserWindow.getFocusedWindow().toggleDevTools(); } },
      { label: 'Full Screen', accelerator: 'Alt+Command+F', click: fullscreen }
    ]
  }
];

var menu = Menu.buildFromTemplate(template);
- index.html
<!DOCTYPE html>
<html>
<head>
<meta charset="UTF-8">
<title>Electron Read Us</title>
<link rel="stylesheet" href="css/index.css">
</head>
<body>
<video id="camera-preview"></video>
<script type="text/javascript" src="app/camera.js"></script>
</body>
</html>
- camera.js
画面側でカメラデバイスをnavigator.webkitGetUserMediaで取得して<video>に出力する
'use strict';

var video = document.getElementById("camera-preview");
var handleCameraSuccess = function(mediaStream){
  video.style.display = "block";
  video.src = window.URL.createObjectURL(mediaStream);
  video.play();
};
var handleCameraError = function(){
  alert("カメラ検出に失敗しました");
};
navigator.webkitGetUserMedia({video:true, audio:false}, handleCameraSuccess, handleCameraError);
知見
- RaspberryPi純正のカメラモジュールだとダメでした。
raspstilで撮影はできるのに、Chromiumには渡せなかった。 -
RaspberryPi 1 ModelBはElectron自体の起動に難あり。パワー不足だと思います。 - リソース消費はそれなりにある。(
topコマンドで観察)- 単純に画面を起動したときはCPU使用率がバックプロセス、レンダリングプロセスともに約1%程度
-
camera.jsで画面に映像を出力すると両方のプロセスで16%程度のCPU使用率となる(合計で約30%がElectronで使用される)。 - 映像出力しているElectronのウィンドウを最小化すると両方のプロセスが約5%のCPU使用率にさがる。
- 表示開始に時間がかかるなどはない(PCでHTMLを開いたときと同じ程度)
- 映像はふつうにスムーズ(スカイプとかと同じ感じ)

