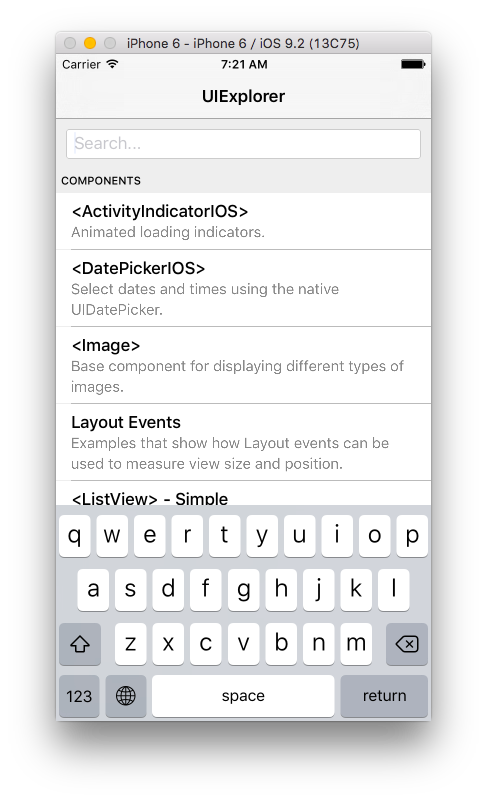
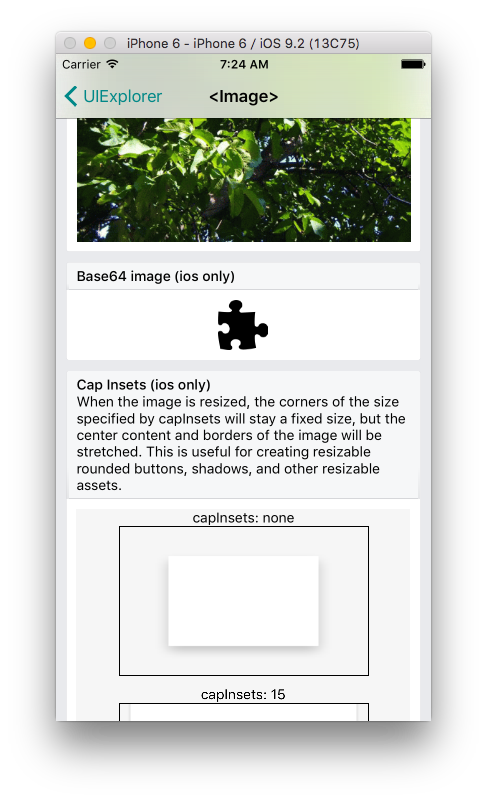
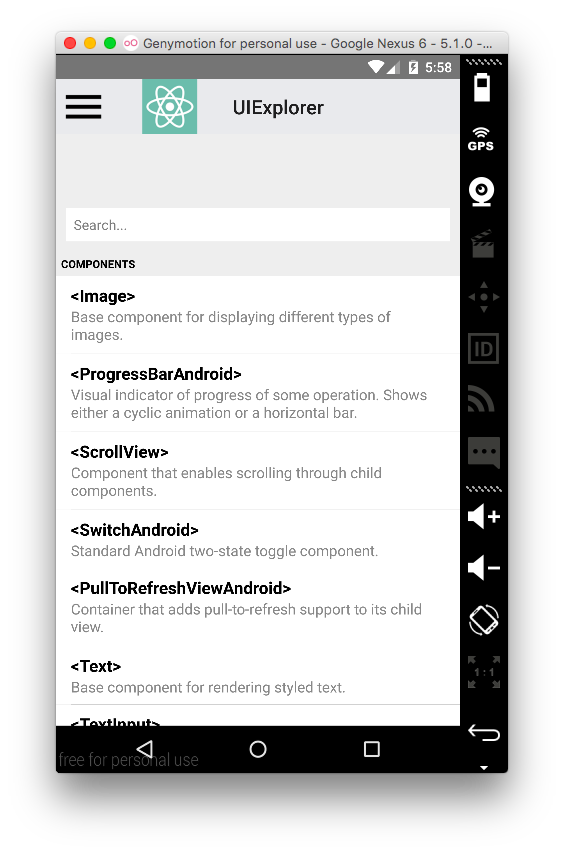
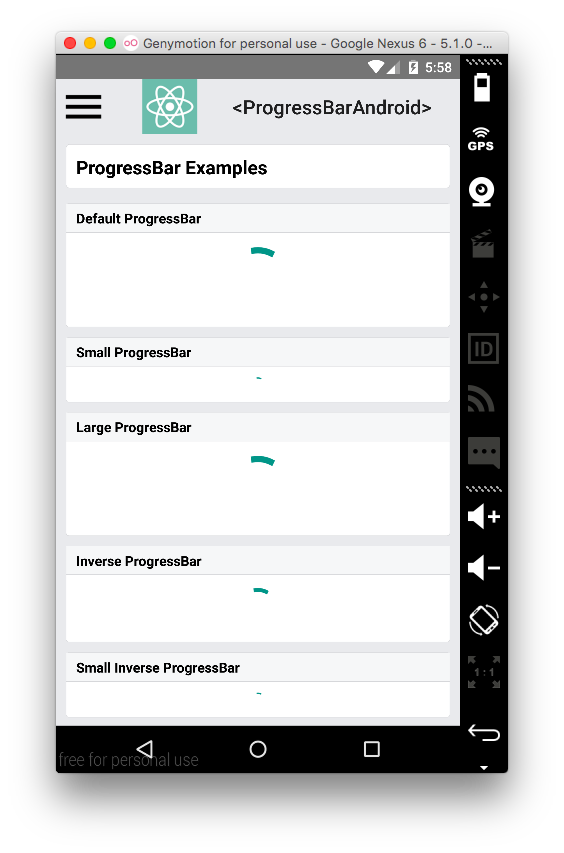
React Nativeで開発していて、困ることの一つにUIコンポーネントがどのように動くのかドキュメントを読むだけではわからないことです。そこで、React Nativeのレポジトリの中にExamples/UIExploreというサンプルが入っていて、それをシミュレーターで動かすことで動きを確認することができます。
Examples/UIExplorer
Install
git cloneしてnpmモジュールをインストールする。
 $ cd /tmp
 $ git clone git@github.com:facebook/react-native.git
 $ cd react-narive
 $ npm install
起動方法
iOS
XcodeからExamples/UIExplorer/UIExplorer.xcodeproj/を開いて、Runする。
propertyの情報とそのUIを確認できる。
Android
3日目のエントリのReact Native - Android開発のはじめの方で説明したようにSDK等をインストールしておく。Examples起動には別途、NDKが必要なので、ここからダウンロードして、展開する。
 $ chmod a+x android-ndk-r10e-darwin-x86_64.bin
 $ ./android-ndk-r10e-darwin-x86_64.bin
これをsdk同様に/usr/local/optあたりに配置。(optは../Cellarへのシンボリックリンクだったので同じように作る。
 $ cd /usr/local/Cellar
 $ mkdir android-ndk
 $ mv ~/Download/android-ndk-r10e /usr/local/Cellar/android-ndk/r10e
 $ cd /usr/local/opt
 $ ln -s ../Cellar/android-ndk/r10e android-ndk
.bash_profileに環境変数を追加
# .bash_profile
export ANDROID_NDK=/usr/local/opt/android-ndk
Genymotionなどのデバイスを起動後に下記のコマンドでUIExplorerをPush。
$ cd /tmp/react-native
$ source ~/.bash_profile
$ ./gradlew :Examples:UIExplorer:android:app:installDebug
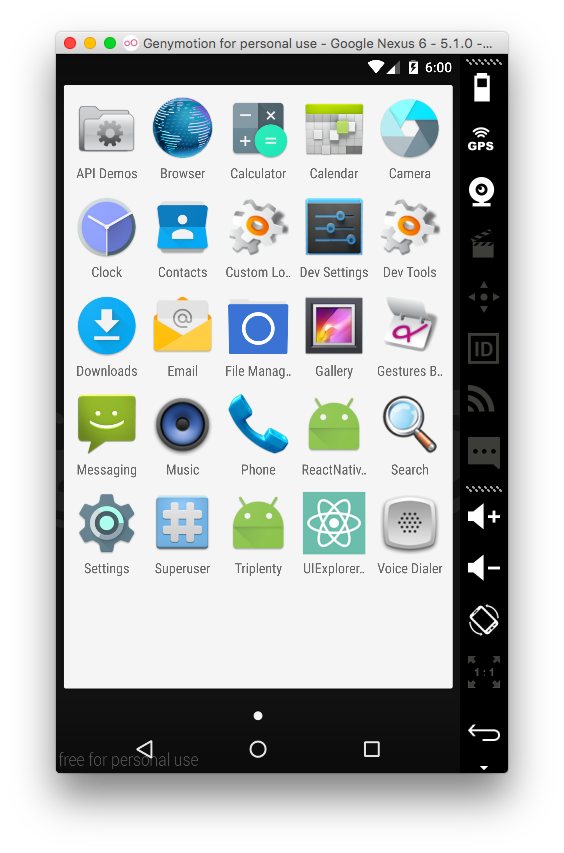
すると、アプリ一覧に表示されるので起動する。
Summary
今回はExamples/UIExplorerを説明しました。設計時にどのUIコンポーネントを使うかを考えるのに非常に便利なデモアプリです。React Nativeのバージョンが上がるとコンポーネントも増えてる可能性があるので、最新のものを適宜見ていくのが良いと思います。
