はじめに
Androidアプリ開発(javaも)を触るのはかなり久々で何も覚えていなかったのですが、ちょっと思い立ってアプリを作ってみようかと思って奮闘中です。あまり詳しくないので細かい解説は出来ませんしn番煎じ感が否めませんが、ログとして残す意味でも書いておきます。
昔は結構重かったEclipseを使ってAndroid用のプラグインやらAVD入れてゴチャゴチャやって・・・って感じでしたが、今ではAndroid studioでレイアウトもGUIで直感的に作れるようになって、エミュレータやら外部端末の設定も楽々で、サクサクになっていて便利になりましたね。
やりたいこと
ある一定間隔で何らかの処理をさせるAndroidアプリを開発したいと思っています。勝手に死んで欲しくはないので、ここではIntentServiceではなく、Serviceを使おうと思いました。
サービスの開始・停止にはToggleButtonを使用します。
環境について
- 開発環境はAndroid studio 3.5.2
- テストを走らせる端末はAndroid 8.0.0 & 9
- 言語はJava
実装
レイアウトについて
<?xml version="1.0" encoding="utf-8"?>
<androidx.constraintlayout.widget.ConstraintLayout xmlns:android="http://schemas.android.com/apk/res/android"
    xmlns:app="http://schemas.android.com/apk/res-auto"
    xmlns:tools="http://schemas.android.com/tools"
    android:layout_width="match_parent"
    android:layout_height="wrap_content"
    tools:context=".MainActivity">

    <ToggleButton
        android:id="@+id/service_toggle"
        android:layout_width="0dp"
        android:layout_height="wrap_content"
        android:layout_marginTop="16dp"
        android:text="ToggleButton"
        android:textOff="サービス開始"
        android:textOn="サービス終了"
        app:layout_constraintEnd_toEndOf="parent"
        app:layout_constraintHorizontal_bias="0.5"
        app:layout_constraintStart_toStartOf="parent"
        app:layout_constraintTop_toTopOf="parent" />

</androidx.constraintlayout.widget.ConstraintLayout>
作り方は簡単です。
activity_main.xmlを開くとレイアウトをGUIで作れるDesignモードで開けるので、Palletteの中からButtons->ToggleButtonを選択します。On / Off時の表示させるテキストは右側Attributesから編集出来ます。
MainActivityについて
ここでは、主にToggleButtonの処理を行います。
package com.example.testproject;

import androidx.appcompat.app.AppCompatActivity;

import android.content.Intent;
import android.os.Bundle;
import android.widget.CompoundButton;
import android.widget.ToggleButton;

public class MainActivity extends AppCompatActivity implements CompoundButton.OnCheckedChangeListener {

    ToggleButton service_toggle;

    @Override
    protected void onCreate(Bundle savedInstanceState) {
        super.onCreate(savedInstanceState);
        setContentView(R.layout.activity_main);

        service_toggle = (ToggleButton)findViewById(R.id.service_toggle);
        service_toggle.setChecked(TestService.isActive);
        service_toggle.setOnCheckedChangeListener(this);
    }

    @Override
    public void onCheckedChanged(CompoundButton buttonView, boolean isChecked) {
        if (isChecked) {
            startService(new Intent(MainActivity.this, TestService.class));
        } else {
            stopService(new Intent(MainActivity.this, TestService.class));
        }
    }
}
serviceを起動するToggleButtonservice_toggleをレイアウトと紐付けます。後に出てくるTestServiceが起動中かを取得して、その結果をToggleに反映させます(service_toggle.setChecked(TestService.isActive);)。
こうすることによって、例えばActivityが破棄された状態でもバックグラウンドでServiceが起動していればToggleがOnになるように出来ます。
implementしているCompoundButton.OnCheckedChangeListenerのonCheckedChangedをOverrideして、Toggleを操作した時にServiceへIntentを送ります。
Serviceについて
ここでは具体的にバックグラウンドで処理させたいものを書きます。
今回はServiceのStart / Stop時にToastを出力させ、Serviceの実行中は1秒毎にLogを出力させるようにします。
package com.example.roadmemo;

import android.app.Notification;
import android.app.NotificationChannel;
import android.app.NotificationManager;
import android.app.PendingIntent;
import android.app.Service;
import android.content.Context;
import android.content.Intent;
import android.os.Handler;
import android.os.IBinder;
import android.util.Log;

import android.widget.Toast;

import androidx.core.app.NotificationCompat;
import androidx.core.app.NotificationManagerCompat;

import static android.widget.Toast.*;

public class TestService extends Service {
    static boolean isActive = false;
    final Handler handler = new Handler();
    final Runnable runnable = new Runnable() {
        Integer count = 0;
        @Override
        public void run() {
            ++count;
            Log.d("LocalService", "runnable" + count.toString());
            handler.postDelayed(this, 1000);
        }
    };

    @Override
    public void onCreate() {
        super.onCreate();;
        Log.d("LocalService", "onCreate");
    }

    @Override
    public int onStartCommand(Intent intent, int flags, int startId) {
        Context context = getApplicationContext();
        int notificationId = 1;
     //------------ for test ------------
        Log.d("LocalService", "onStartCommand Received start id" + startId + ": " + intent);
        Toast toast = makeText(this, "Start service", LENGTH_LONG);
        toast.show();

     // -------------- begin notification ---------------
        Intent notificationIntent = new Intent(this, MainActivity.class);
        notificationIntent.setFlags(Intent.FLAG_ACTIVITY_NEW_TASK | Intent.FLAG_ACTIVITY_CLEAR_TASK);
        PendingIntent pendingIntent = PendingIntent.getActivity(this, 0, notificationIntent, 0);

        NotificationManagerCompat notificationManager = NotificationManagerCompat.from(context);
        String channelId = "default";
        NotificationChannel channel = new NotificationChannel(
                channelId, context.getString(R.string.app_name), NotificationManager.IMPORTANCE_LOW);
        if (notificationManager != null) {
            notificationManager.createNotificationChannel(channel);
        }

        NotificationCompat.Builder builder = new NotificationCompat.Builder(context, channelId)
                .setSmallIcon(R.drawable.ic_launcher_foreground)
                .setContentTitle("サービス")
                .setContentText("サービスが起動中です。終了するには通知をタップしてアプリから終了してください。")
                .setPriority(NotificationCompat.PRIORITY_DEFAULT)
                .setVisibility(NotificationCompat.VISIBILITY_PUBLIC)
                .setContentIntent(pendingIntent)
                .setAutoCancel(true);

        Notification notification = builder.build();
        notification.flags |= Notification.FLAG_ONGOING_EVENT;

        startForeground(notificationId, notification);
// -------------- end notification ---------------

        handler.post(runnable);

        return START_STICKY;
    }

    @Override
    public IBinder onBind(Intent intent) {
        return null;
    }

    @Override
    public void onDestroy() {
        Log.d("LocalService", "onDestroy");
        Toast toast = makeText(this, "Stop service", LENGTH_LONG);
        toast.show();
        handler.removeCallbacks(runnable);

    }
}
作ったServiceが動かせるように、AndroidManifest.xmlに以下を追記します。
<service android:name=".CachePositionService" />
Android 9以降に対応するのには、こちらにあるようにAndroidManifest.xmlに、以下の権限
<uses-permission android:name="android.permission.FOREGROUND_SERVICE" />
を追加しなければなりません。
一定時間毎に行う処理
まず、一定時間(ここでは1秒)ごとの処理を記述するのにはHandler.postDelayed()メソッドを使います。このHandlerは他のThreadとの通信をするもの。Runnableクラスのインスタンスを投げることが出来ます。Runnableクラスのインスタンスはお決まりがあるようです(Android studioでは、Runnableのインスタンスを書こうとすると自動的にRunnable.run()をOverrideする形で記述するように出てきた)。
Serviceが実行中に行われるonStartCommand内で
handler.post(runnable)
とし、Serviceが終了される時に行われるonDestroy内で
handler.removeCallbacks(runnable)
とすることで、handlerの処理を制御出来ます。
通知に関して
通知バーに出てくる通知をタップすると、MainActivityが呼ばれるようにしたいです。この際にもIntentを渡します。が、この時は通知を押されるという処理が行われるまでIntentを発行したくないので、そんな時にはPendingIntentというものを使います。
そして、NotificationManagerCompat1にてこのServiceにおけるContextについて通知を出すよと書いて、Builderで具体的な通知内容の雛形を書き、その雛形を元にBuildします。
ここでのポイントですが、BuildしたNotificationのインスタンスに、バックグラウンドで動いているときには通知を消せないように
notification.flags |= Notification.FLAG_ONGOING_EVENT;
を追加します。
また、notificationIdに0を入れると通知が表示されないので、別の数字にします。
作ったServiceが動いているかをActivityで確認する
今、自分が作ったServiceが動いているのかをActivityで確認するのに最初は, MainActivity.javaにて
    boolean isActive() {
        boolean active = false;
        ActivityManager activityManager = (ActivityManager)this.getSystemService(ACTIVITY_SERVICE);
        for (ActivityManager.RunningServiceInfo serviceInfo : activityManager.getRunningServices(Integer.MAX_VALUE)) {
            if (TestService.class.getName().equals(serviceInfo.service.getClassName())) active = true;
        }
    return active;
のように全ての起動中のServiceを舐め回して、Stringで一致する時にtrueを返すようにしていましたが、これはAndroid 8 (API > 26)からはgetRunningServicesメソッドが非推奨となったようなので、代わりにServiceの方でstaticなbool型変数を用意しておいて、onDestroy()が呼ばれるまでtrueにしておくという形にしました。
結果
まず、出来た画面がこちら
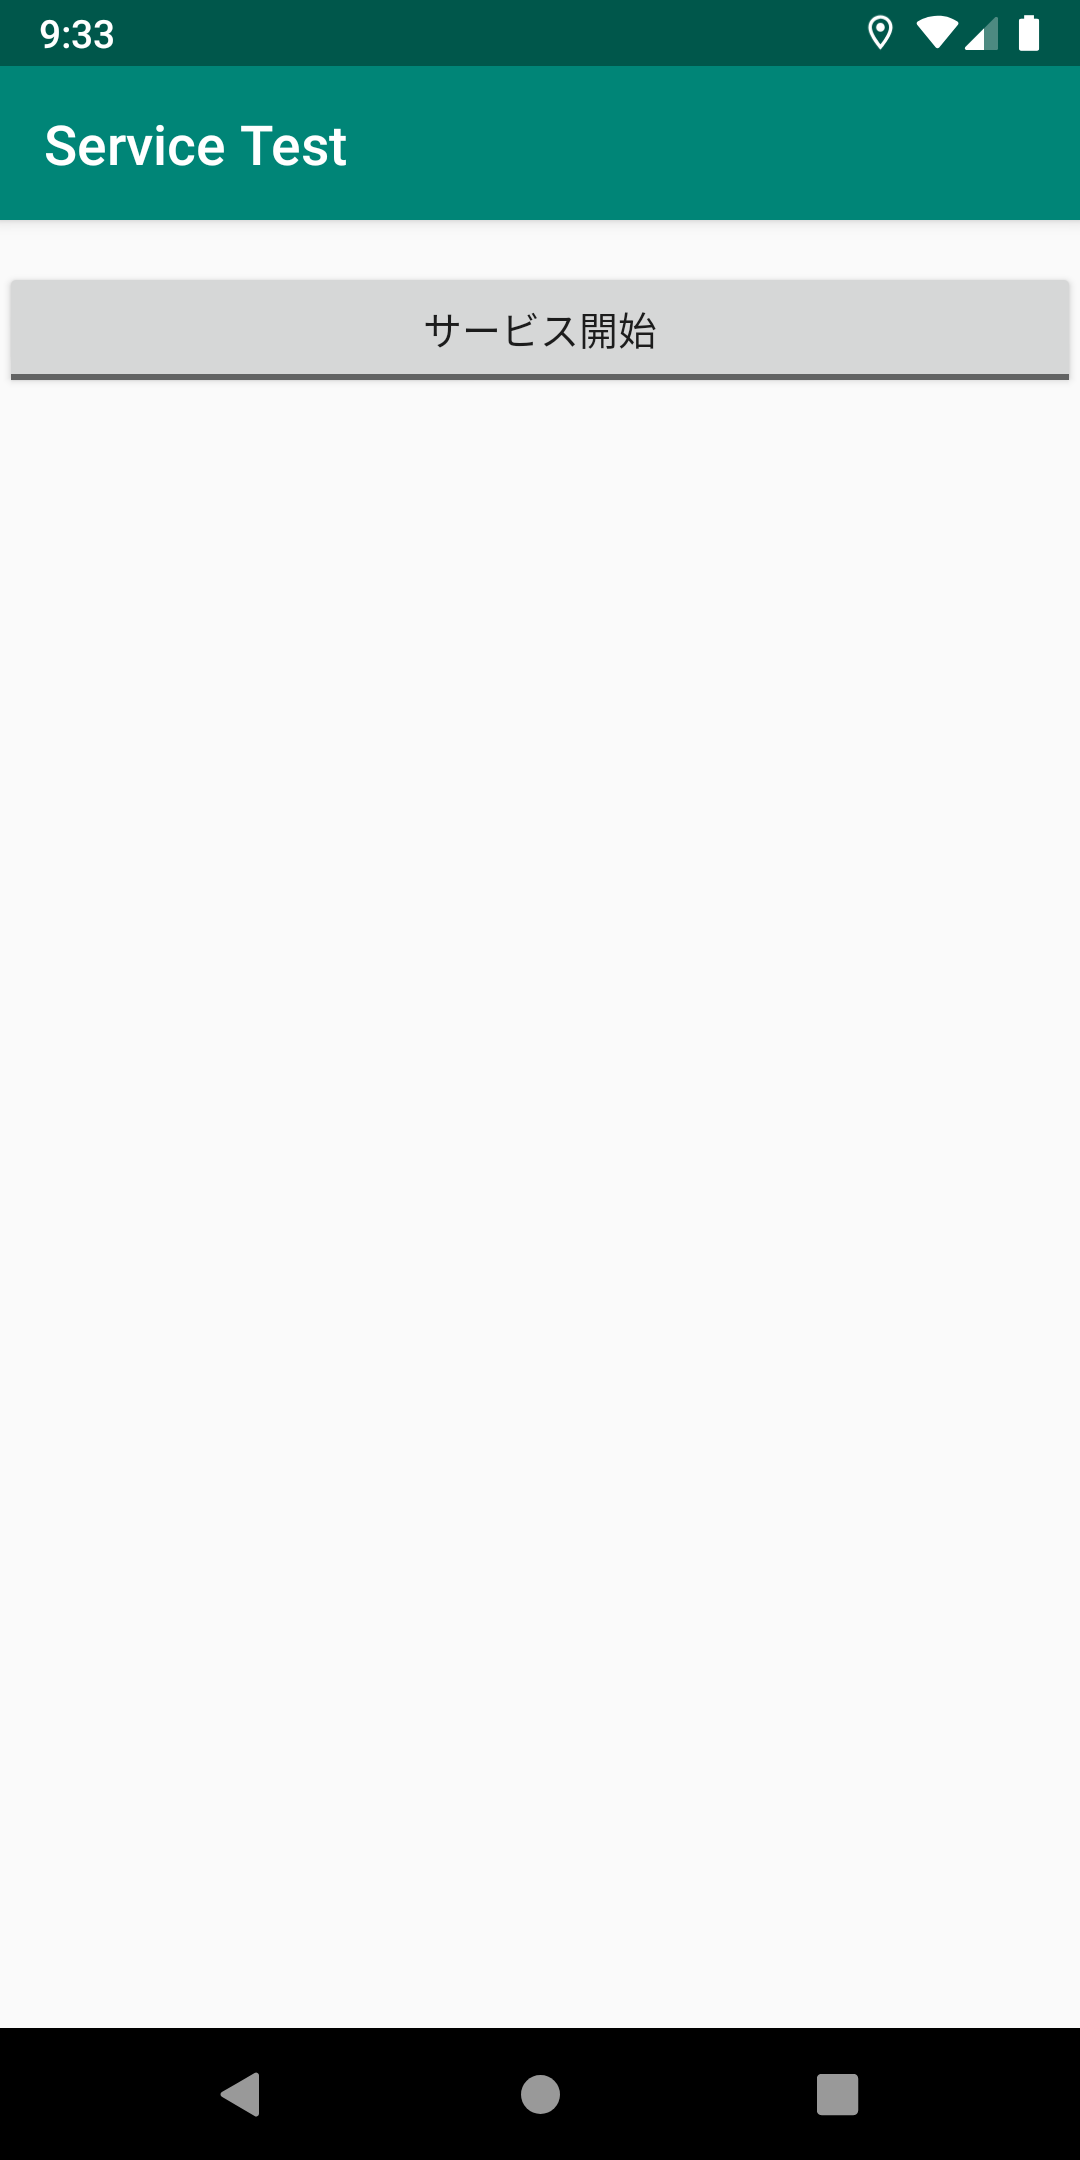
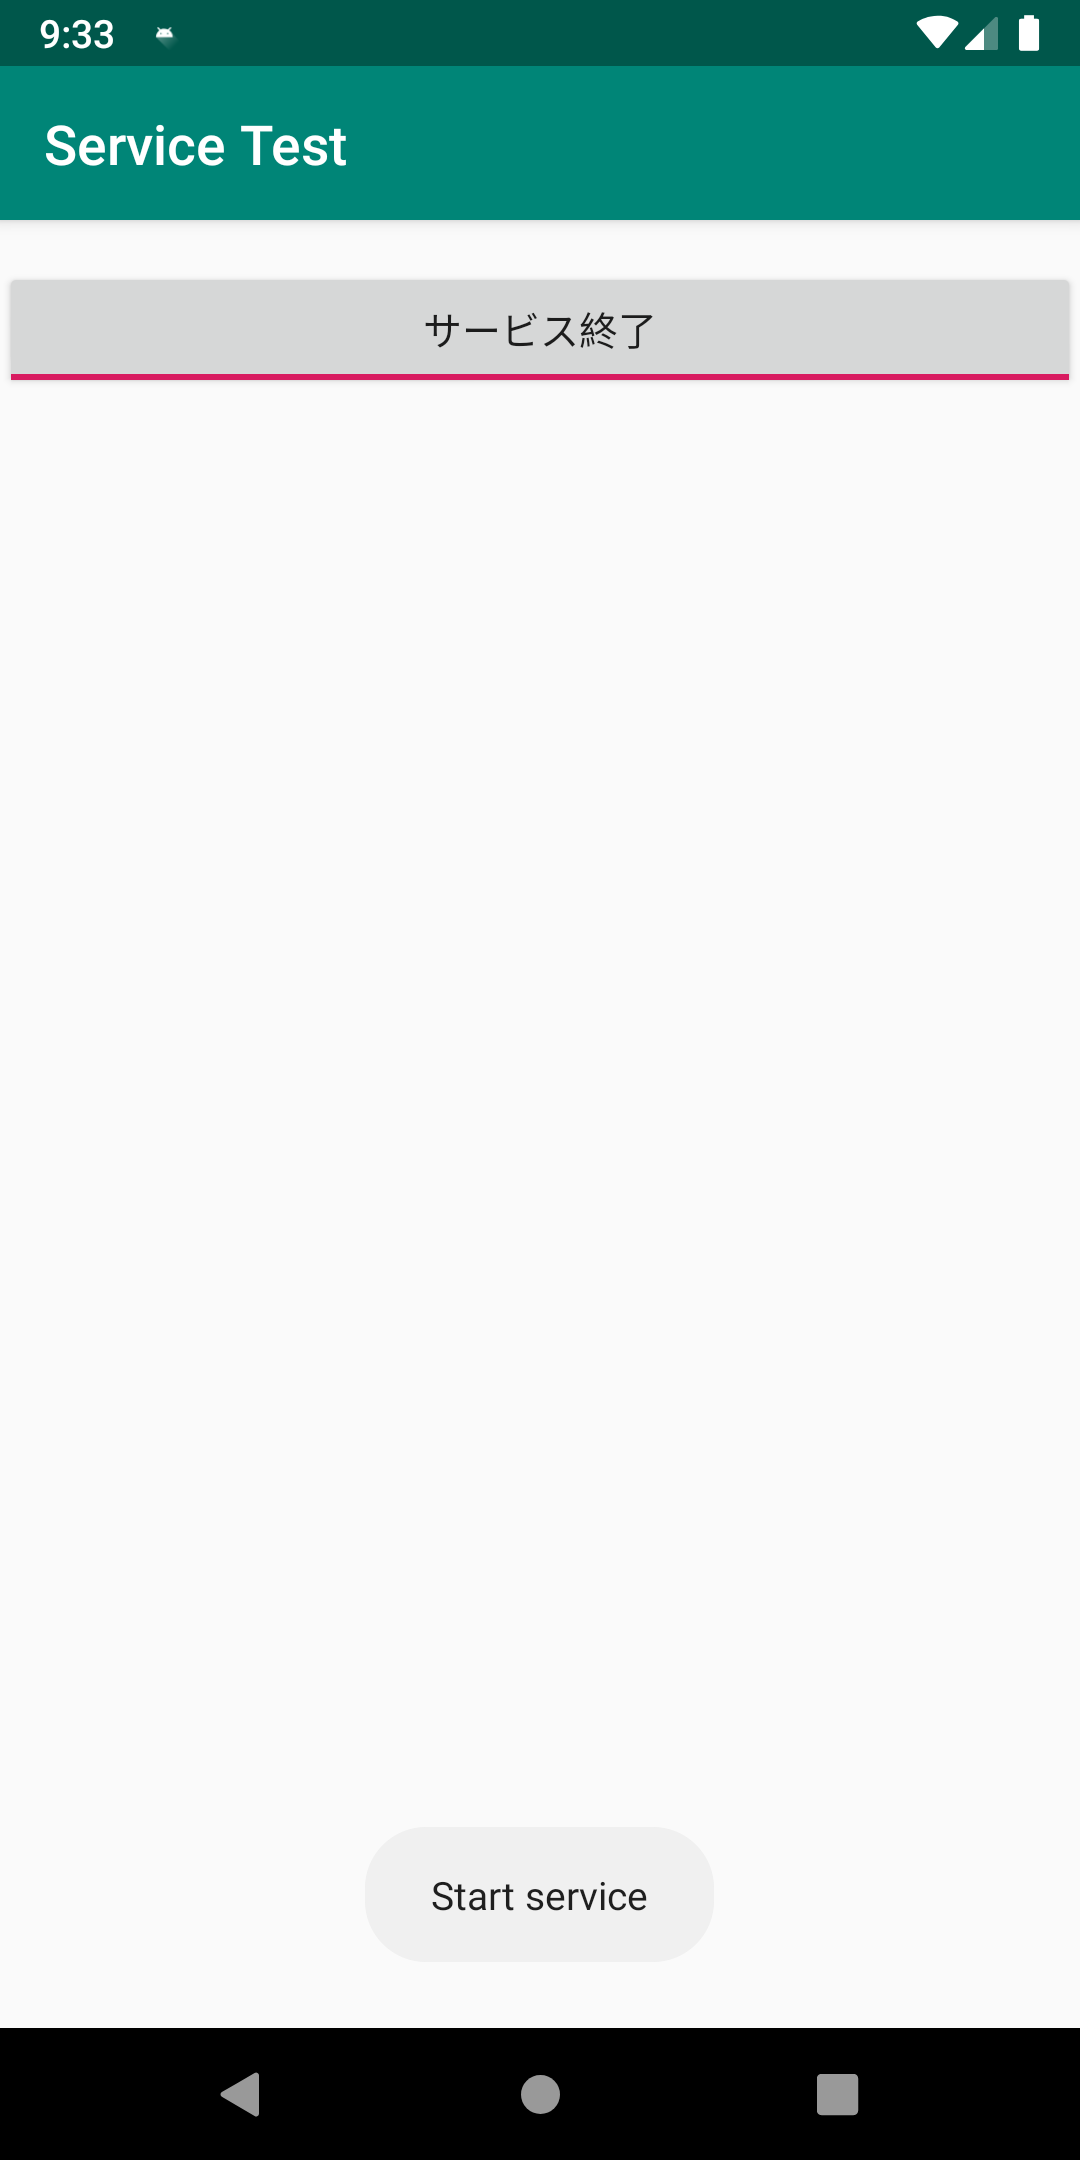
ToggleButtonをタップすると"Service start"というToast表示が出力されると共に通知バーに通知が現れます。Logcatを確認するとTestService.onStartCommandが呼ばれているのが分かります。
通知もこのように出てきます(目隠ししているのはアプリの名前です)

Serviceが生きている時に、Activityを破棄(アプリを終了)されても、Serviceは生きていることが確認出来ます。通知バーの通知は消えませんし、Logcatの方ではServiceが生き続けていて1秒毎にログが出力されている筈です。
最後に、通知をタップしてActivityを再び起動させ、ToggleButtonを見ると、On状態のままになっています。このToggleを押すと"stop service"というToastと共に通知が消えます。TestService.onDestroyも無事にCallされていることがLogを見ても分かります。
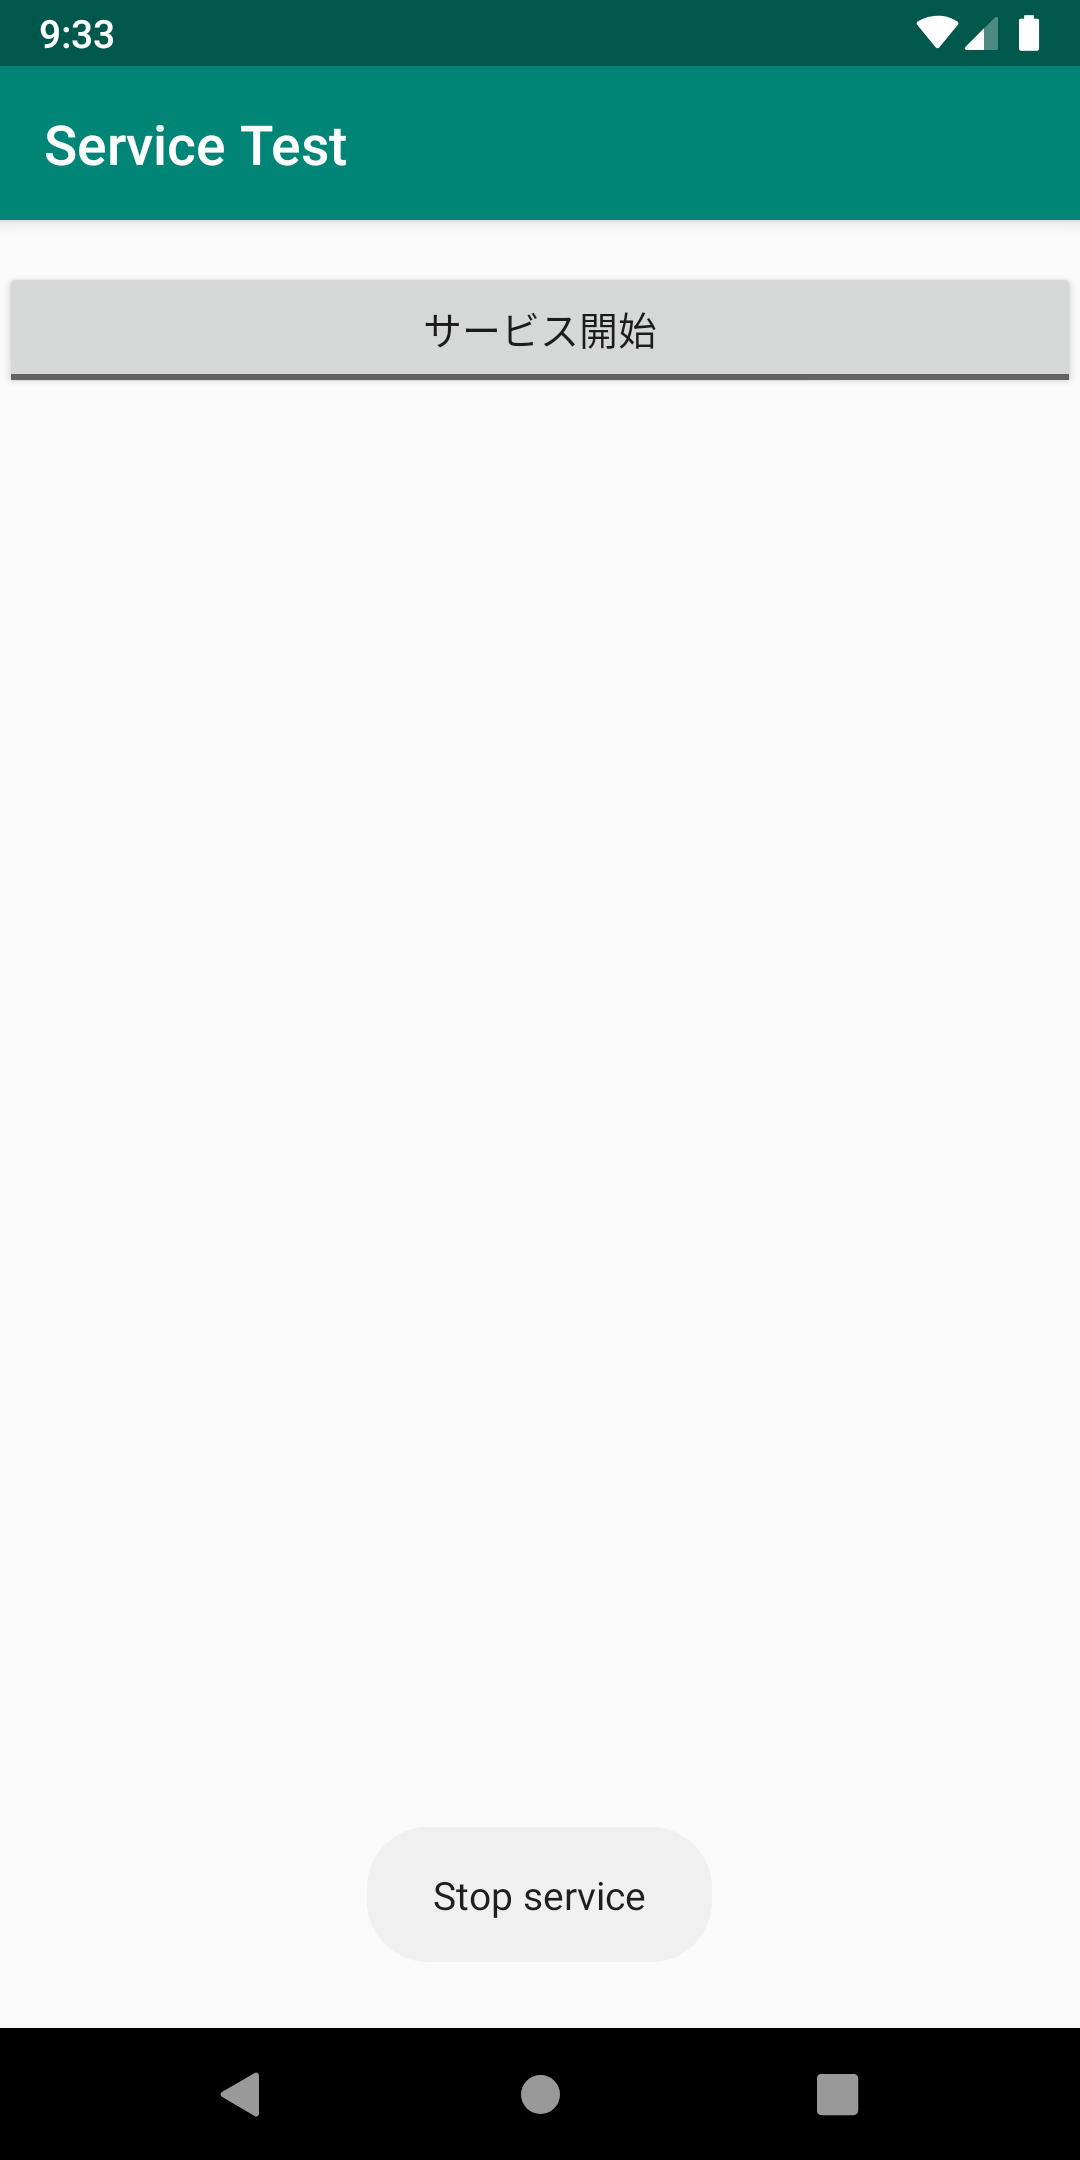
これで狙った挙動になりました!
参考
一通りのチュートリアルは公式のこちら
https://developer.android.com/training/basics/firstapp?hl=ja
レイアウトの作り方(公式)
https://developer.android.com/training/basics/firstapp/building-ui?hl=ja
トグルボタンについて
https://developer.android.com/guide/topics/ui/controls/togglebutton?hl=ja
Serviceの解説(公式)
https://developer.android.com/guide/components/services
サービス中の通知について(公式)
https://developer.android.com/guide/components/services#Foreground
サービスの使い方
https://akira-watson.com/android/service.html
定期的に処理を行う方法について
https://qiita.com/aftercider/items/81edf35993c2df3de353
-
公式のReferenceを見ると、
NotificationManager,Notificationを用いるよりNotificationManagerCompat,NotificationCompatを使用した方が複数バージョンの互換性があるらしいです。 ↩