はじめに
前回FaviconGenerator作成した時にIcon繋がりでSvgのコンバーターも作りたいと思ったので
学習用にRustとWebAssembly使ってSvgコンバーター的なのを作成しようと思います。
前回FaviconGeneratorについて
プロジェクトの作成
wasmで画像dataと閾値を受け取り、グレースケール変換と256x256にリサイズする。
ピクセルを走査し、閾値よりも暗い場合は、Pathに描画していく。
最後に、出力結果のSvgのFormatの文字列を返す。
lib.rs
// 省略

#[wasm_bindgen]
pub fn image_to_path(image_data: &[u8], threshold: u8) -> String {
    let img = image::load_from_memory(image_data).unwrap();
    let img = img.grayscale();
    let img = img.resize(256, 256, FilterType::Nearest);

    let mut path_data = String::new();
    for y in 0..img.height() {
        for x in 0..img.width() {
            let pixel = img.get_pixel(x, y);
            if pixel[0] < threshold {
                path_data.push_str(&format!("M{} {}h1v1h-1z", x, y));
            }
        }
    }

    format!("<svg width=\"{}\" height=\"{}\"><path d=\"{}\" /></svg>", img.width(), img.height(), path_data)
}

// 省略
あとは、Javascript側で上記関数を利用するだけで実装完了!!
今回の成果物
デモURL
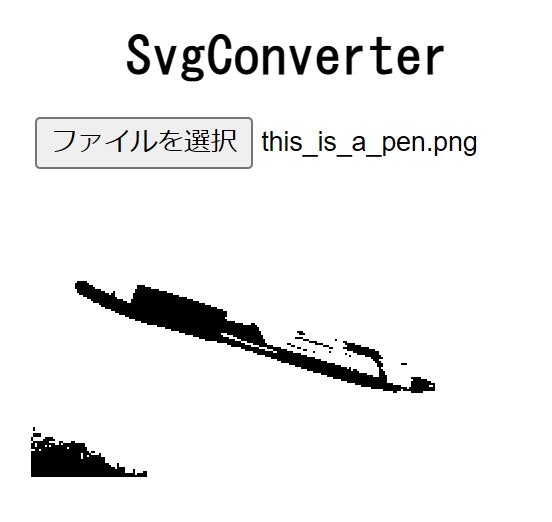
デモ画像
・元画像

・変換後
ソース
まとめ
今回は画像をSvgに変換してみた。📚
Svgへの変換部分の処理はほぼAIに聞いたが、
ただ質問をなげるだけでなく知識も着実に身につけていきたい。💪
※間違い等ありましたら、ご指摘いただけると助かります。