概要
Chefを使ってWebLogic Serverをインストールし、WebLogic Server ドメインを作成しました。
折角ここまでChefを使って自動でドメインの作成まで行ってきたので、ラスト・ワンマイルという事でWebLogic Serverの起動もChefで行います。
WebLogic Server の起動
WebLogic Serverの起動に関するマニュアルは以下にまとまっています。
WebLogic Serverの起動にはいくつかの方法があります。
- WebLogic Server付属の起動スクリプト(startWebLogic.sh)を使用して起動
- java weblogic.Serverコマンドによる管理サーバーの起動
- WLSTとノード・マネージャを使用した管理サーバーの起動
- ノード・マネージャを使用しないWLSTによる管理サーバーの起動
Chefを使ってやりたい事
起動スクリプトによる起動や、weblogic.Serverコマンドによる起動の場合は、起動するプロセスが終了した時点でWebLogic Serverのプロセスも終了してしまいます。そのため、nohupで起動するなどの工夫が必要となってしまいます。
そこで、WLSTによる起動を行います。また、開発環境用途などの場合、ノード・マネージャを構成していないケースも考えられます。
そのため、今回はノードマネージャを使わないWLSTによる起動をChefを用いて実施します。
今回作成するRecipe
- WLSTのスクリプト・モードでWebLogic 管理サーバを起動します。
- 使用するWLSTスクリプトは、Templateとして用意しておきます。
Recipe. WebLogic Server 管理サーバの起動
以下の3種類のファイルを作成します。
- Recipe
- Template
- Attribute
Templateでは、WebLogic Server 起動用のWLSTスクリプトを用意します。
- Template
以下の箇所で、startServerコマンドにより管理サーバを起動します。
startServer('AdminServer','mydomain','t3://localhost:7001','<%= node['weblogic-domain-lifecycle']['wlsuser'] %>','<%= node['weblogic-domain-lifecycle']['password'] %>','<%= node['weblogic-domain-lifecycle']['domain_base'] %>/<%= node['weblogic-domain-lifecycle']['domain_name'] %>','<%= node['weblogic-domain-lifecycle']['block'] %>',<%= node['weblogic-domain-lifecycle']['timeout'] %>,'<%= node['weblogic-domain-lifecycle']['server_log'] %>')
- startServer構文
- startServer([adminServerName], [domainName], [url], [username], [password], [domainDir], [block], [timeout], [serverLog])
使用している引数の説明です。
| 引数 | 定義 |
|---|---|
| adminServerName | 起動する管理サーバーの名前 デフォルト:myserver |
| domainName | 管理サーバーが属しているWebLogicドメインの名前。デフォルト:mydomain |
| url | 管理サーバーのURL デフォルトのt3://localhost:7001 |
| username | WLSTをサーバーに接続するときのユーザー名 |
| password | WLSTをサーバーに接続するときのパスワード |
| domainDir | 管理サーバーが起動されるドメイン・ディレクトリ。 デフォルト:WLSTの起動元ディレクトリ |
| block | サーバーが起動されるまでWLSTがユーザー対話をブロックするかどうかを指定するブール値 デフォルト:true |
| timeout | 操作を取り消す前にWLSTがサーバーの起動を待機する時間(ミリ秒単位)。デフォルト:60000 blockがtrueに設定されている場合にのみ適用可能 |
- Attribute
Attributeでは各デフォルト値を設定しています。
default['weblogic-domain-lifecycle']['domain_base'] = '/u01/app/oracle/config/domains'
default['weblogic-domain-lifecycle']['domain_name'] = 'mydomain'
default['weblogic-domain-lifecycle']['wlsuser'] = 'weblogic'
default['weblogic-domain-lifecycle']['password'] = ''
default['weblogic-domain-lifecycle']['block'] = 'true'
default['weblogic-domain-lifecycle']['timeout'] = '60000'
default['weblogic-domain-lifecycle']['server_log'] = 'false'
- Recipe
RecipeではWLSTをスクリプト・モードで実行しています。
-(参考)スクリプト・モード
execute "wlst.sh start_#{node['weblogic-domain-lifecycle']['domain_name']}_AdminServer.py" do
  environment "CONFIG_JVM_ARGS" => "-Djava.security.egd=file:/dev/./urandom"
  command <<-EOH
    . #{node['weblogic-domain-lifecycle']['wls_home']}/server/bin/setWLSEnv.sh
    #{node['weblogic-domain-lifecycle']['oracle_common']}/common/bin/wlst.sh #{node['weblogic-domain-lifecycle']['response_file_dir']}/start_#{node['weblogic-domain-lifecycle']['domain_name']}_AdminServer.py
  EOH
  user node['weblogic-domain-lifecycle']['user']
  group node['weblogic-domain-lifecycle']['group']
  action :run
  creates "#{node['weblogic-domain-lifecycle']['domain_base']}/#{node['weblogic-domain-lifecycle']['domain_name']}/default_server.lok"
end
管理サーバが起動済みの場合に再度起動コールを行わないように起動時ロックファイルの存在確認を入れています。
creates "#{node['weblogic-domain-lifecycle']['domain_base']}/#{node['weblogic-domain-lifecycle']['domain_name']}/servers/AdminServer/tmp/AdminServer.lok"
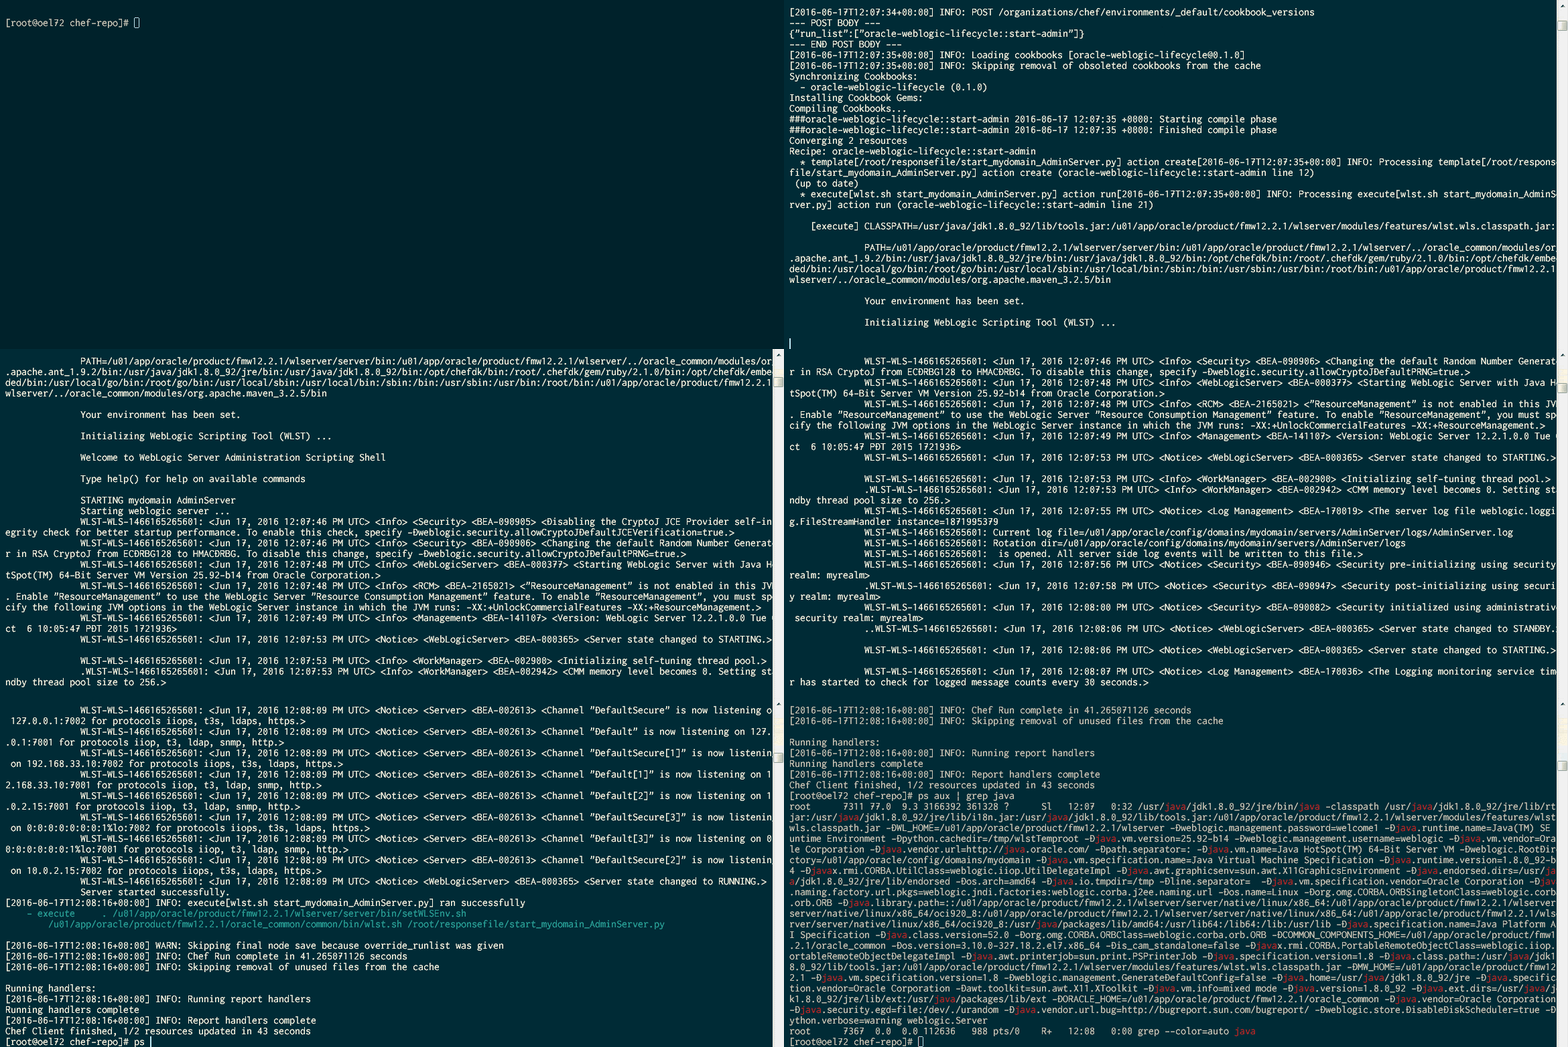
Chefの実行イメージ
まとめ
WebLogic Serverの実行のRecipeを用意したので、これでWebLogi Serverのインストールから管理サーバの起動までChefを使って自動で実施する事が可能になりました。
環境に関する開発やテストを実施するような場合に、このような再現性のある自動化の仕組みがあると便利ですよね
-
今回のレシピ:https://github.com/shinyay/chef-oracle-weblogic-lifecycle/tree/publish_20160617
- WebLogic Server 管理サーバを起動するCookbookです。
