DockerForWindowsでGitLab・Mattermostを構築する
はじめに
MattermostAPIを使って色々試してみたいと思い、サクッとGitLab環境を構築しようと思ったら思いの外ハマりまくったので、やったことを残しておきます。
やりたいこととしては、DockerForWindowsを用いてGitLab環境を構築する、です。
動くもの
GitHub上に置いています。(https://github.com/shimi58/CentOS8_GitLab)
ただし、Mattermost設定に関しては構築する毎に変わってくるので後述の手順が必要。
| 動作確認環境 | バージョン |
|---|---|
| Windows10 Home Edition | バージョン2004 |
| Docker for Windows | 2.4.0.0 |
※GitLabのDockerは、DockerForWindows公式サポート外なんですよねぇ。。ポートフォワーディングがうまく行かず(80→80はうまくいくけど、8080→80とかだと繋がらなくなる)、そういうことかなぁと。

環境構築
Docker上でCentOS8構築
Dockerfileに記述していきます。
出来上がりは以下のとおり。
FROM centos:8

# 日本語化
RUN rpm --import /etc/pki/rpm-gpg/RPM-GPG-KEY-centosofficial && \
    dnf -y upgrade && \
    dnf -y install glibc-locale-source && \
    dnf clean all && \
    localedef -f UTF-8 -i ja_JP ja_JP.UTF-8 && \
    ln -sf /usr/share/zoneinfo/Asia/Tokyo /etc/localtime

# Gitlabインストール用にLANGをC.UTF-8に変更しておく
ENV LANG="C.UTF-8" \
    LANGUAGE="ja_JP:ja" \
    LC_ALL="ja_JP.UTF-8"

# rootパスワード設定
RUN echo "root:root" | chpasswd

# =====
# BASE packages
# =====
RUN dnf install -y  openssl openssl-devel openssh openssh-server wget sudo unzip  which tree git firewalld

# =====
# GitLab CEをインストール
# =====
RUN curl https://packages.gitlab.com/install/repositories/gitlab/gitlab-ce/script.rpm.sh | sudo bash

RUN dnf install -y gitlab-ce
version: '3'
services:
  centos8:
    container_name: "centos8"
    build: ./
    tty: true
    privileged: true
    command: /sbin/init
    ports:
      - "2222:22"
      - "9080:9080" #GitLab用
      - "9081:9081" #GitLabMattermost用
      - '10443:443'
    volumes:
      # 公式に則って永続化
      - './srv/gitlab/config:/etc/gitlab'   #GitLab定義ファイルを配置
      - './srv/gitlab/logs:/var/log/gitlab' #GItLabログファイル出力
      - './srv/gitlab/data:/var/opt/gitlab' #GItLabデータ格納
補足
-
日本語環境設定
# 日本語化 RUN rpm --import /etc/pki/rpm-gpg/RPM-GPG-KEY-centosofficial && \ dnf -y upgrade && \ dnf -y install glibc-locale-source && \ dnf clean all && \ localedef -f UTF-8 -i ja_JP ja_JP.UTF-8 && \ ln -sf /usr/share/zoneinfo/Asia/Tokyo /etc/localtime # Gitlabインストール用にLANGをC.UTF-8に変更しておく ENV LANG="C.UTF-8" \ LANGUAGE="ja_JP:ja" \ LC_ALL="ja_JP.UTF-8"こちら(https://qiita.com/polarbear08/items/e5c00869c7566db5f7b8 )を参考にさせていただきました。
LANGをC.UTF-8にしておかないと、「gitlab-ctl reconfigure」のDBマイグレーションあたりで止まるので要注意。 -
GitLab CEをインストール
RUN curl https://packages.gitlab.com/install/repositories/gitlab/gitlab-ce/script.rpm.sh | sudo bash

RUN dnf install -y gitlab-ce
こちらは公式にある手順の通りです。(公式だとサンプルはgitlab-eeになっているので注意)
-
データ永続化
docker-compose.ymlvolumes: # 公式に則って永続化 - './srv/gitlab/config:/etc/gitlab' #GitLab定義ファイルを配置 - './srv/gitlab/logs:/var/log/gitlab' #GItLabログファイル出力 - './srv/gitlab/data:/var/opt/gitlab' #GItLabデータ格納こちらを設定しておくと、コンテナを落としてもデータが保持された状態になる
構築手順
-
前述のDockerfile、docker-compose.ymlを任意のディレクトリに配置する
-
配置したディレクトリに移動し、コンテナを起動する
docker-compose up -d -
gitlab.rbを所定のフォルダに配置する
srv └─gitlab ├─config │ gitlab.rb │ ├─data └─logsこのファイルはこちら(https://github.com/shimi58/CentOS8_GitLab )に。
※最初は後述のMattermostの設定をコメントアウトしたほうがいいかも。(Applicationsに出てこなくなったり、手順通りできなくなる可能性あり) -
GitLabのポートを設定する
gitlab.rbexternal_url 'http://localhost:9080' -
GitLab Mattermostを有効化する
gitlab.rbmattermost_external_url 'http://localhost:9081' mattermost['enable'] = true -
コンテナにログインする
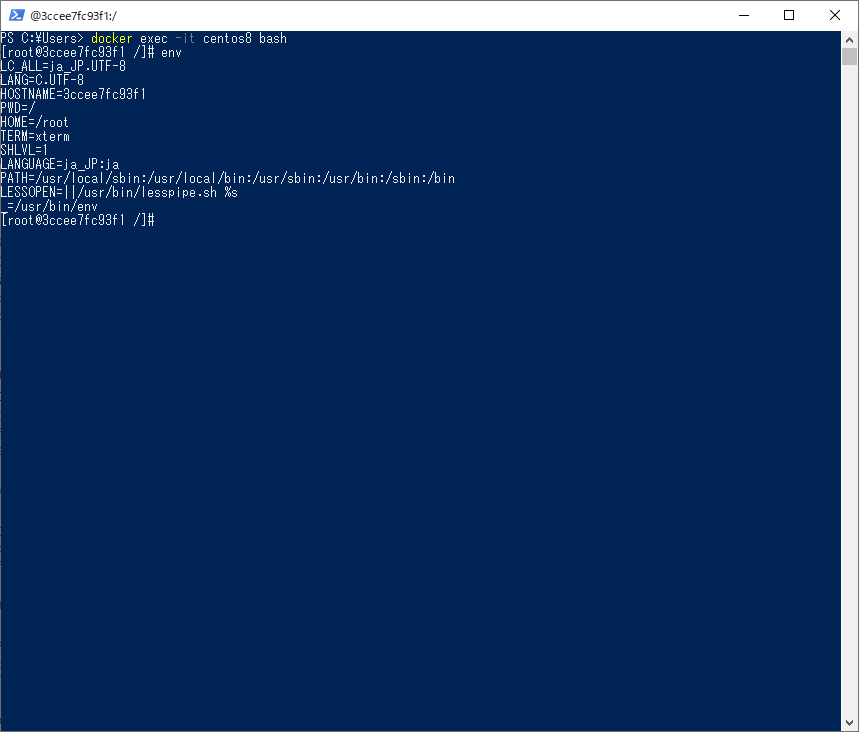
docker exec -it centos8 bash※DockerForWindowsのCLIからログインすると、LANG設定まわりが反映されないので、powershellからログインしている

※LANG設定が期待通り -
GitLab設定を反映する
sudo /opt/gitlab/embedded/bin/runsvdir-start &
gitlab-ctl reconfigure
※「gitlab-ctl reconfigure」単独だと途中で止まるので、こちら(https://teratail.com/questions/229107 )を参考に、runsvdir-start をバックグラウンド実行してから reconfigure。
初回は5分弱はかかります。 -
反映が終わったら、GitLabにアクセス
http://localhost:9080※ログインできることを確認する
-
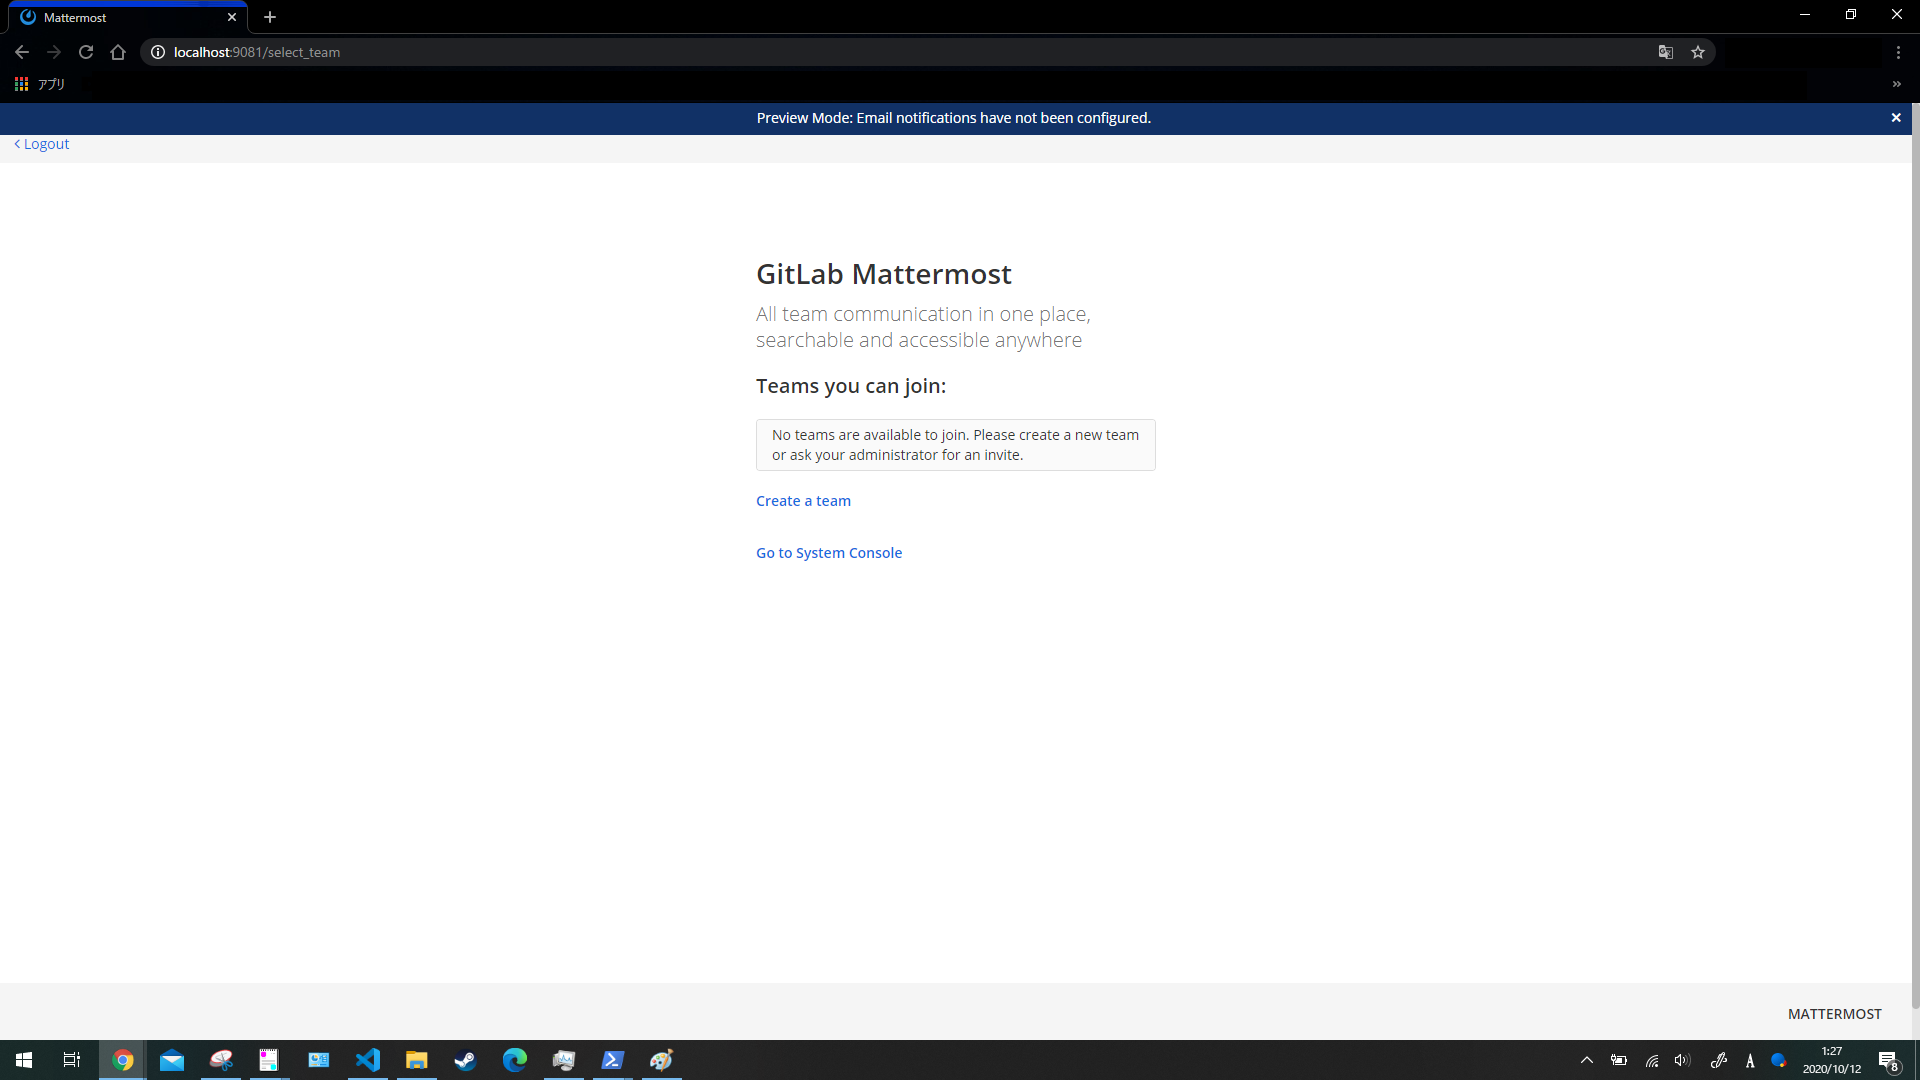
このタイミングでMattermostも表示できる
http://localhost:9081
-
補足
- 以降はMattermostのSSO連携の手順となる
-
パスワード初期設定を終え、ログイン
-
Mattermostの設定を確認する
- 「Admin Area」→「Applications」に移動
- すでにMattermost用の定義があればそれを使用し、なければ新規に作成する(※gitlab.rbのmattermost設定周りを有効にしていたら表示されないです。)
※こちら(https://qiita.com/TomoyukiSugiyama/items/0d828ee2325095a7f247 )を参考にさせていただきました。
-
上述で確認した、「Application ID」、「Secret」をgitlab.rbに反映する
あわせて、必要な設定を追加するgitlab.rbmattermost['gitlab_enable'] = true #SSO有効化 mattermost['gitlab_id'] = "5e7f43cdf588e92c8b0ca589832c64dd5094969c5848667a09e50ffe4834c065" #Application ID mattermost['gitlab_secret'] = "23791f7219f6782f38c9c1f462c5e715e88216ee13d3513a122dc9c302ba130b" #secret mattermost['gitlab_auth_endpoint'] = "http://localhost:9080/oauth/authorize" #GitLabのURLを記載する mattermost['gitlab_token_endpoint'] = "http://localhost:9080/oauth/token" #GitLabのURLを記載する mattermost['gitlab_user_api_endpoint'] = "http://localhost:9080/api/v4/user" #GitLabのURLを記載する -
GitLab設定を反映する
gitlab-ctl reconfigure -
Mattermostから、「Sign in with GitLab」を選択し、ログインする
-
Mattermost画面に遷移することを確認する
さいごに
今回構築したGitLabですが、COREi7、メモリ16Gでもめちゃんこ重たいです。

※CPUメモリともにめっちゃ頑張ってます。。
ということで、ようやくMattermostAPIが触れる下地ができたので、次はAPI触っていきたいと思います。
2020/10/18追記
コンテナ再構築後、永続化データを復元する反映する際は、gitlab-ctl reconfigureが必要です。


