Swift入門では、1つのStoryBordにTableViewを入れてさらにTableViewCellを入れてプログラムを記述していくことが一般的である。
しかし、実際の案件になってくると、Cellの使い回しや修正コストを考えてカスタムセル(XIBファイル)を別途作成し、表示させるということがあります。
そんな時に、1つのカスタムセルを繰り返し表示させるというのは調べれば出てくるが、複数のカスタムセルを表示させるというのが意外にも情報が少ないので備忘録と共有の為に投稿したいと思います。
※完成イメージ

3つのカスタムセルを作成し表示させる
はじめに
任意の名前でプロジェクトファイルを作りましょう
今回は、「CustomCellView」を例として作成
①StoryBordにTableViewを挿入する

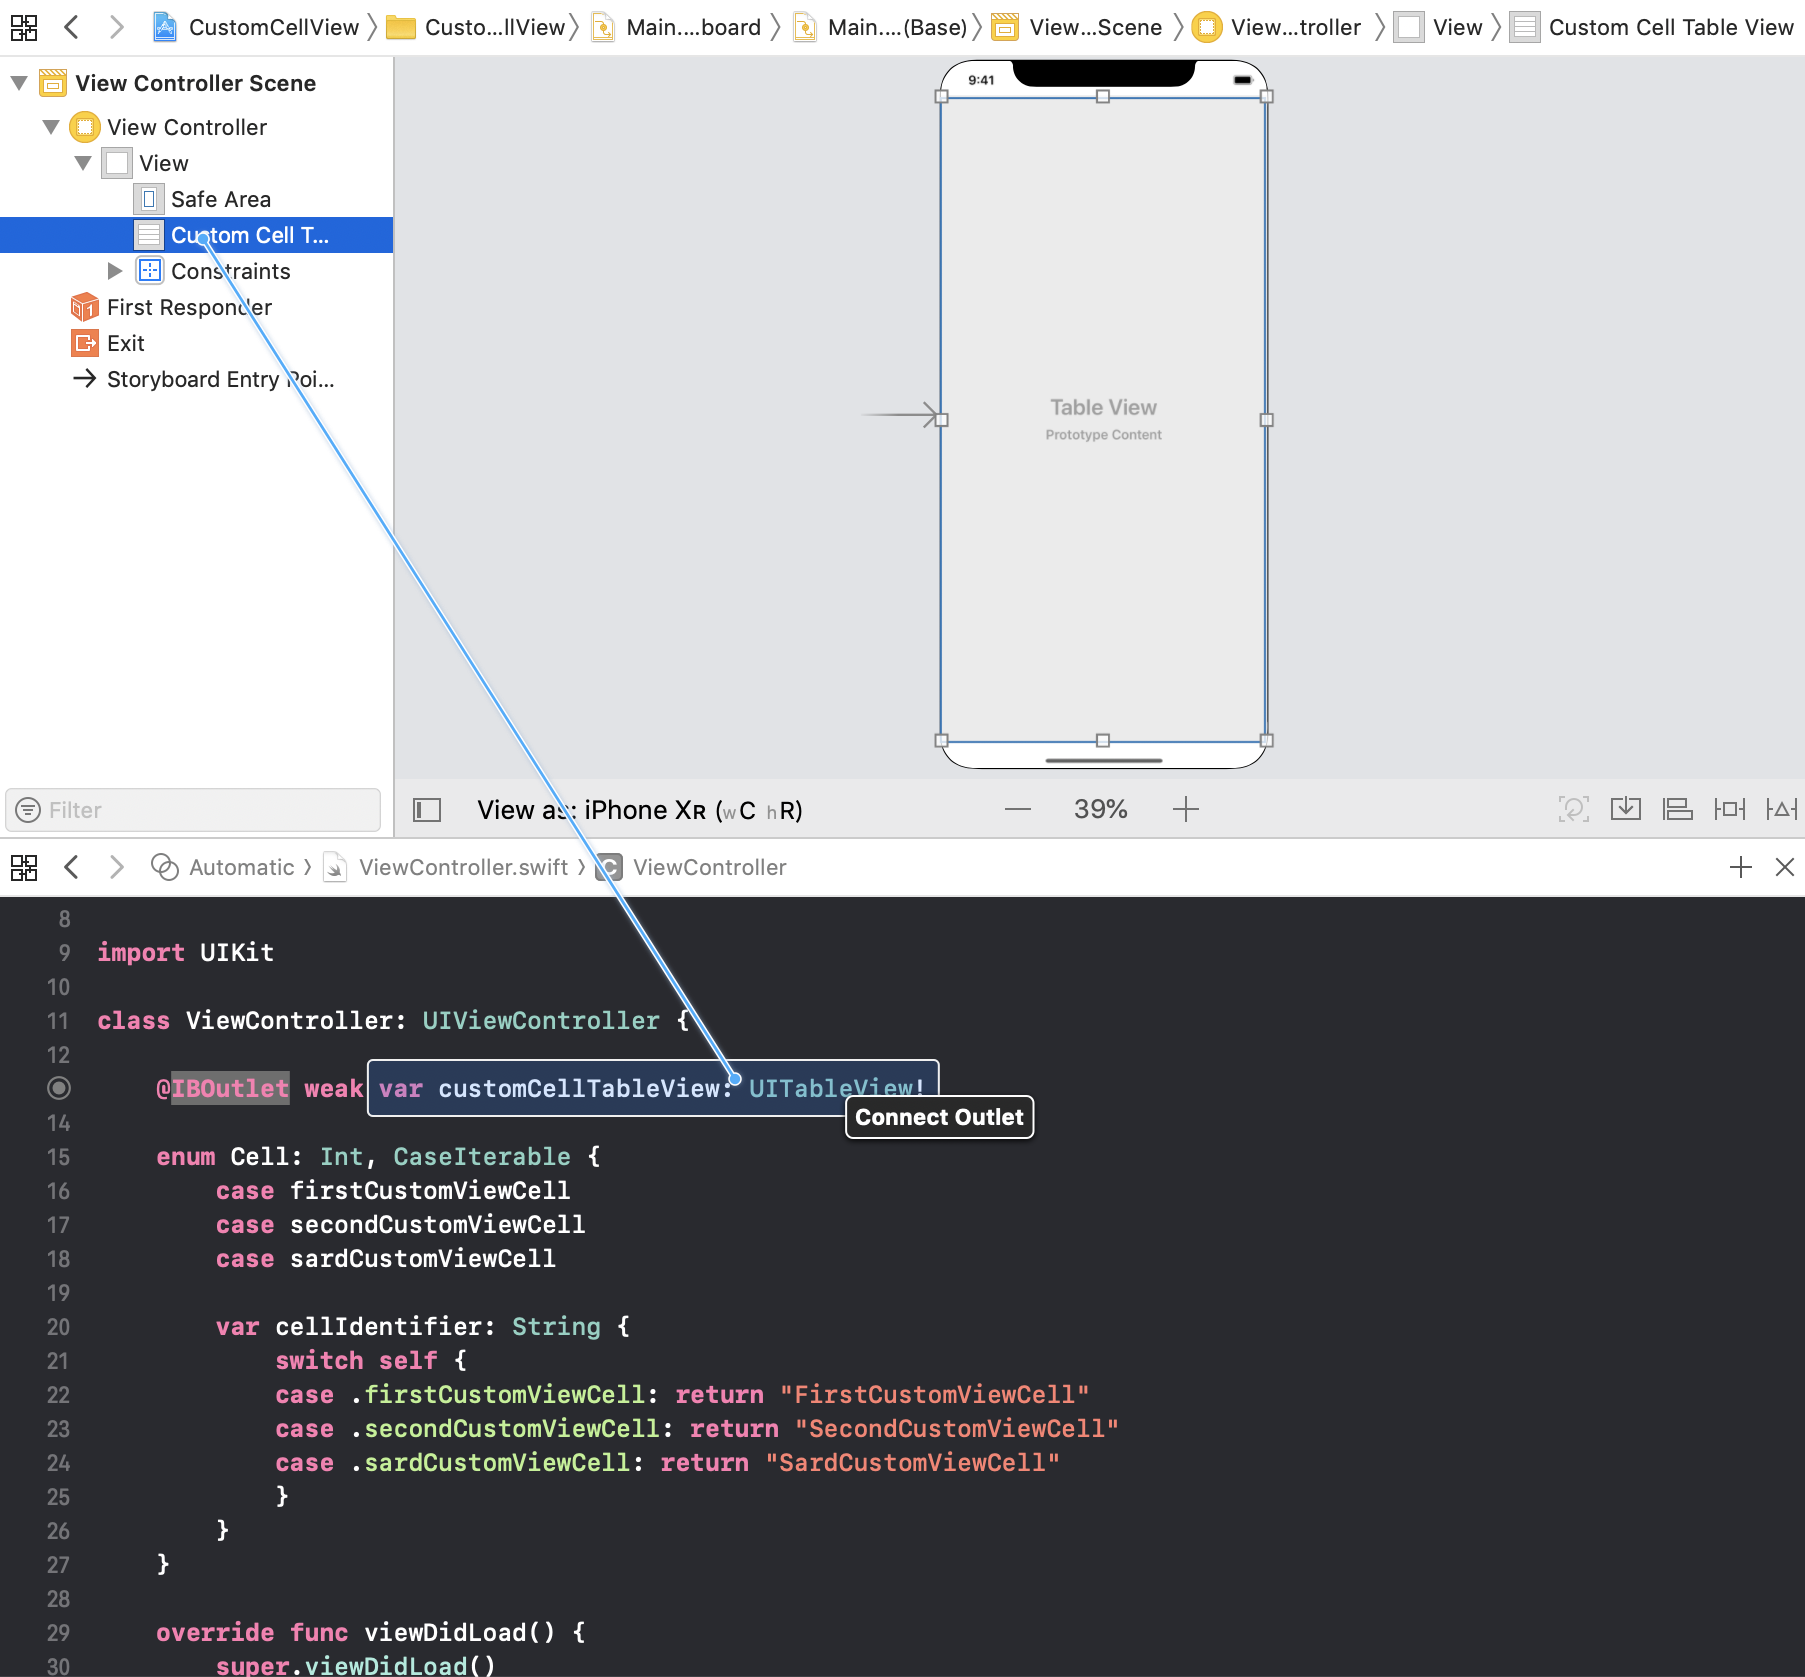
次にTableViewをIBOutletで繋ぐ
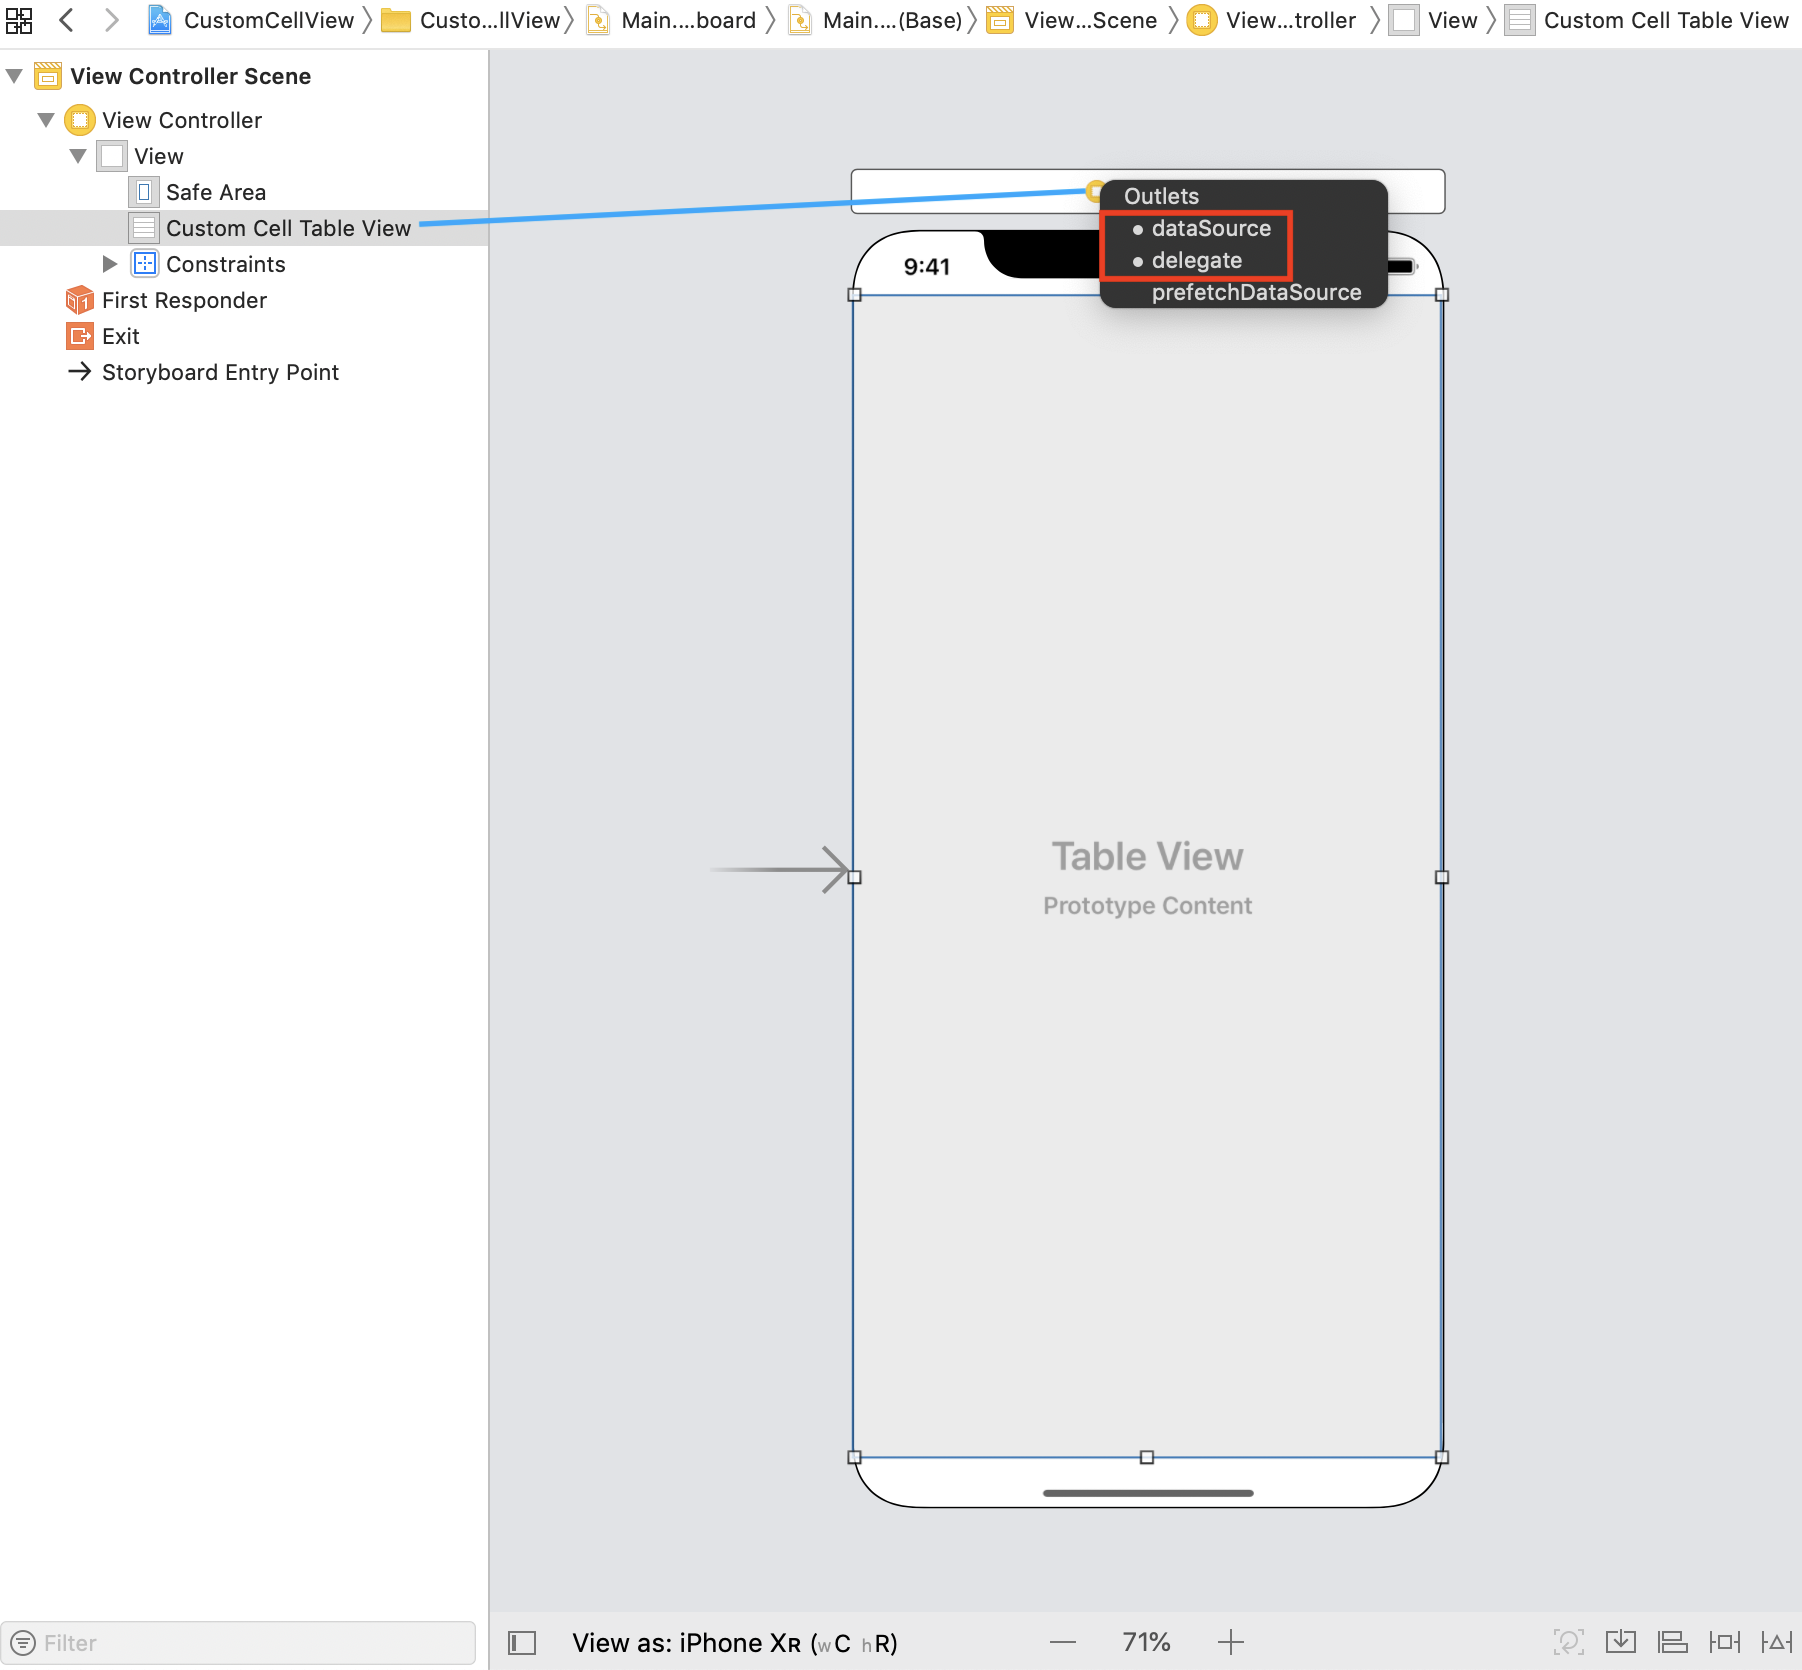
最後にTableViewと黄色いViewControllerボタンを連結させ、delegateとdataSourceを繋ぐ
②カスタムセル(XIBファイル)を作成
 「Cocoa Touch Class」を選択し「Next」を押す
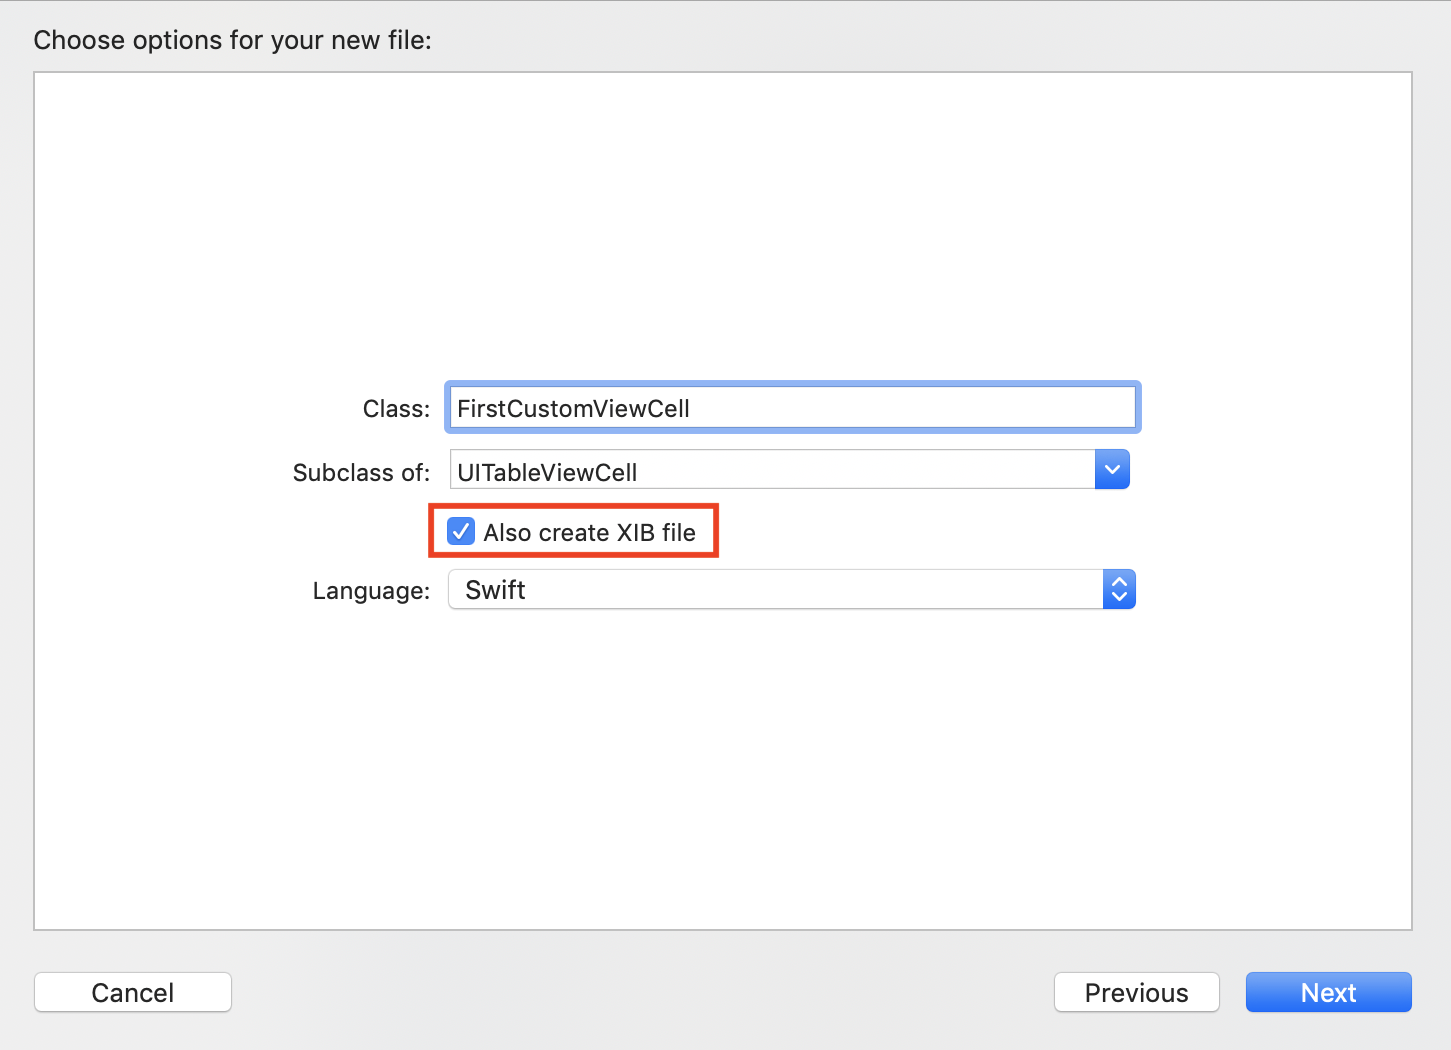
そうすると以下のの画面が出るので、
・任意のClass名を入力 (例)FirstCustomViewCell
・Subclass ofは、「UITableViewCell」を選択
・Also create XIB fileにチェックを入れる←ここ重要!
・「Next」を押し、そのまま「Create」を押してXIBファイルの作成を行う
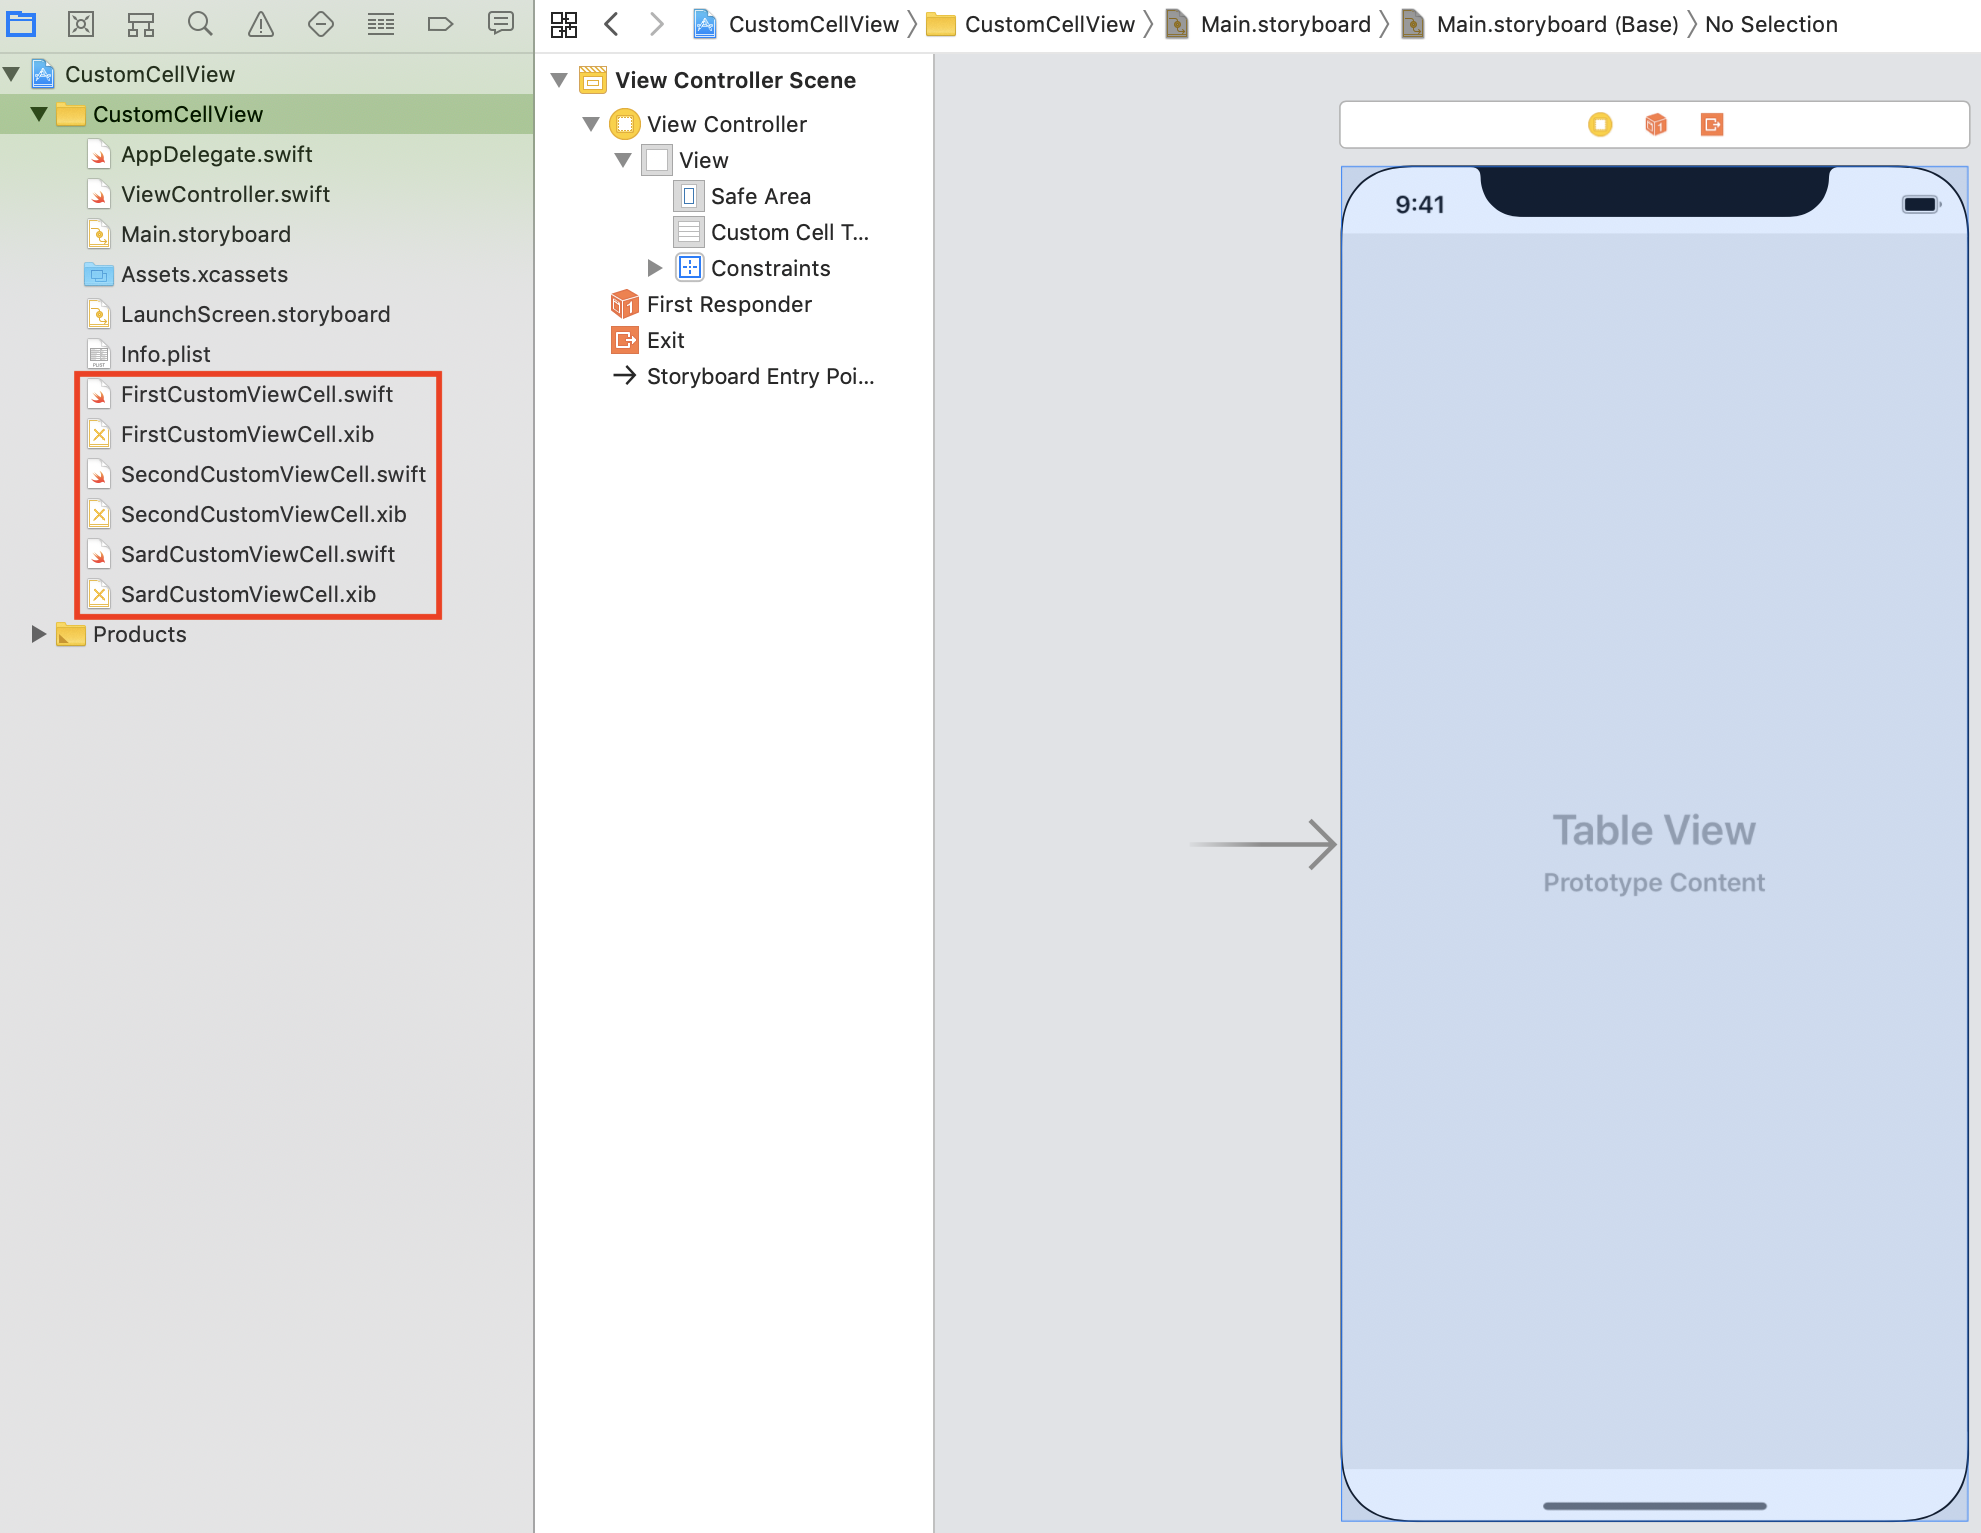
同様に残り2つのXIBファイルを作成する
そうすると以下のように3つのファイルが作成される
お好みのレイアウトデザインを行う
・FirstCustomViewCell.xib

・SecondCustomViewCell.xib

・SardCustomViewCell.xib

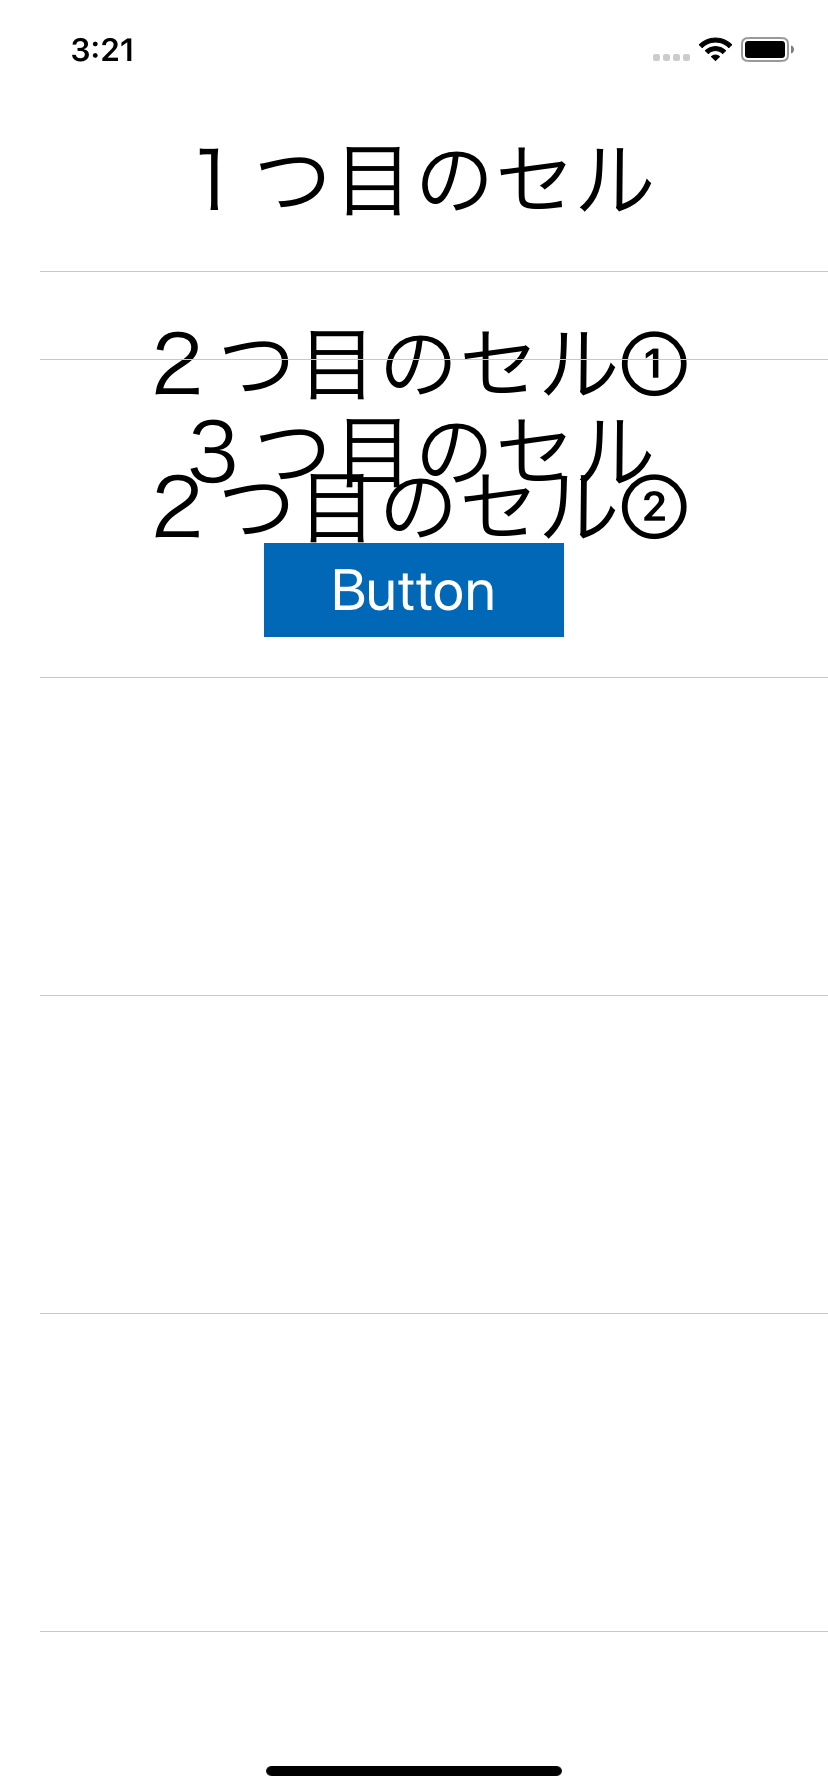
※たまにセルが重なって表示されたりします
この場合は、高さの制約がおかしい可能性があります
XIBファイルでレイアウト高さの制約を見直すと良いかもしれません
③プログラム
enumやswitch文を使ってなるべくシンプルに記述
import UIKit

class ViewController: UIViewController {

    @IBOutlet weak var customCellTableView: UITableView!

    enum Cell: Int, CaseIterable {
        case firstCustomViewCell
        case secondCustomViewCell
        case sardCustomViewCell

        var cellIdentifier: String {
            switch self {
            case .firstCustomViewCell: return "FirstCustomViewCell"
            case .secondCustomViewCell: return "SecondCustomViewCell"
            case .sardCustomViewCell: return "SardCustomViewCell"
            }
        }
    }

    override func viewDidLoad() {
        super.viewDidLoad()

        customCellTableView.register(UINib(nibName: "FirstCustomViewCell", bundle: nil), forCellReuseIdentifier: "FirstCustomViewCell")
        customCellTableView.register(UINib(nibName: "SecondCustomViewCell", bundle: nil), forCellReuseIdentifier: "SecondCustomViewCell")
        customCellTableView.register(UINib(nibName: "SardCustomViewCell", bundle: nil), forCellReuseIdentifier: "SardCustomViewCell")
    }
}

extension ViewController: UITableViewDelegate, UITableViewDataSource {

    func tableView(_ tableView: UITableView, numberOfRowsInSection section: Int) -> Int {
        return Cell.allCases.count
    }

    func tableView(_ tableView: UITableView, cellForRowAt indexPath: IndexPath) -> UITableViewCell {
        let cellType = Cell(rawValue: indexPath.row)!
        switch cellType {
        case .firstCustomViewCell:
            let cell = tableView.dequeueReusableCell(withIdentifier: cellType.cellIdentifier) as! FirstCustomViewCell
            return cell
        case .secondCustomViewCell:
            let cell = tableView.dequeueReusableCell(withIdentifier: cellType.cellIdentifier) as! SecondCustomViewCell
            return cell
        case .sardCustomViewCell:
            let cell = tableView.dequeueReusableCell(withIdentifier: cellType.cellIdentifier) as! SardCustomViewCell
            return cell
        }
    }
}
enumを使用することでセルの拡張がしやすくなり項目を追加するだけで、自動でsectionカウントを取ってくれます。
記述の仕方は、他にもあるので参考程度にどうぞ。
参考