目次
1.環境構築
2.ビルド手順
3.デプロイ手順
4.起動
5.参考サイト
環境構築
VertualBox上にUbuntu18.04の仮想環境作成
必要なパッケージをインストール
sudo apt update
sudo apt install gawk wget git-core diffstat unzip texinfo gcc-multilib \
     build-essential chrpath socat libsdl1.2-dev xterm cpio curl
公式の手順だと以上で足りるはずだが、python3が必要だったので入れる
sudo apt install python
gitの設定
git config --global user.email "XXXX@XXXX"
git config --global user.name "XXXX"
repoのインストール
mkdir -p ~/bin
export PATH=~/bin:$PATH
curl https://storage.googleapis.com/git-repo-downloads/repo > ~/bin/repo
chmod a+x ~/bin/repo
ビルド手順
repo init
repo init -b jellyfish -u https://gerrit.automotivelinux.org/gerrit/AGL/AGL-repo
下記のような表示が出るので「Y」を押してEnter
Testing colorized output (for 'repo diff', 'repo status'):
  black    red      green    yellow   blue     magenta   cyan     white
  bold     dim      ul       reverse
Enable color display in this user account (y/N)? Y
repo sync
repo sync
RasPi向けに環境変数設定し、bitbakeでビルド
source meta-agl/scripts/aglsetup.sh -m raspberrypi4 agl-demo agl-appfw-smack
bitbake agl-demo-platform
ビルド成功のログ
NOTE: Tasks Summary: Attempted 8253 tasks of which 1 didn't need to be rerun and all succeeded.

Summary: There were 11 WARNING messages shown.
デプロイ手順
※先に公式のリリース物を焼いて練習する場合↓
https://download.automotivelinux.org/AGL/release/jellyfish/10.0.1/raspberrypi4/deploy/images/raspberrypi4-64/
下記にあるimageを取得
[repo initしたディレクトリ]/build/tmp/deploy/images/raspberrypi4-64/agl-demo-platform-raspberrypi4-64-[ビルドした日時].rootfs.wic.xz
etcherという便利なソフトがあるのを知ったので、今回はこれを使ってmicroSDカードを作る
https://www.balena.io/etcher/
普通にやる場合は下記を参照
https://qiita.com/shakushi1985/items/9c9a1748afbb3b3c520a
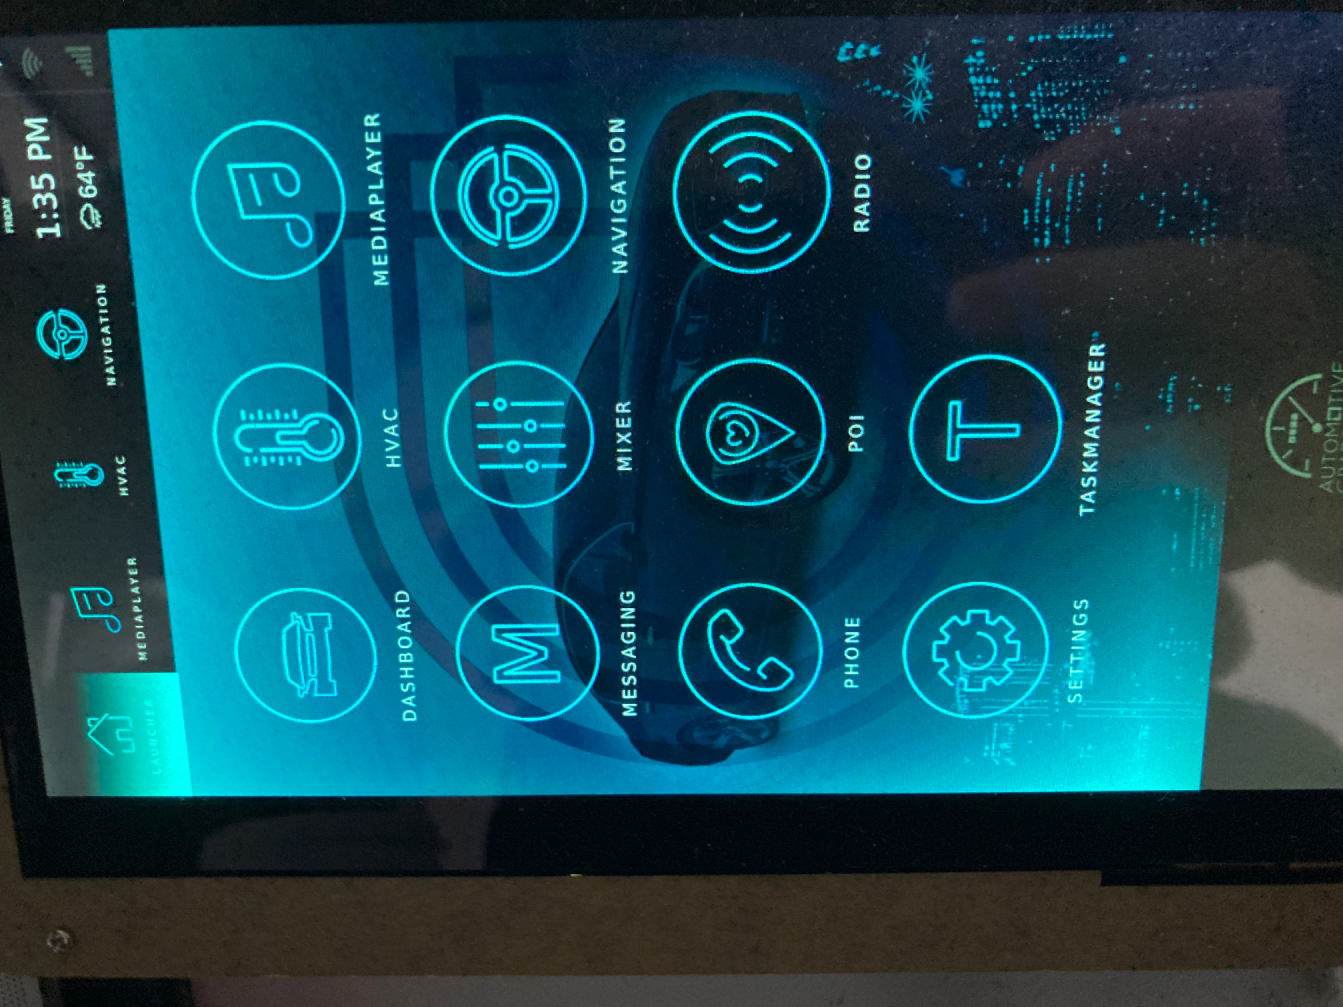
起動
作成したmicroSDをさして起動。
起動すると縦長の画面が出てくる。マウスを接続したら画面操作も可能だった。
参考サイト
公式の手順書
https://wiki.automotivelinux.org/agl-distro/agl-raspberrypi
https://docs.automotivelinux.org/en/master/#0_Getting_Started/1_Quickstart/Using_Ready_Made_Images/#2-raspberry-pi-4
同じようなことしている人の記事
https://qiita.com/seigot/items/2fac658812a6856548f9
リリースノート
https://wiki.automotivelinux.org/agl-distro/release-notes#jumping_jellyfish
repoのリファレンス
https://source.android.com/setup/develop/repo